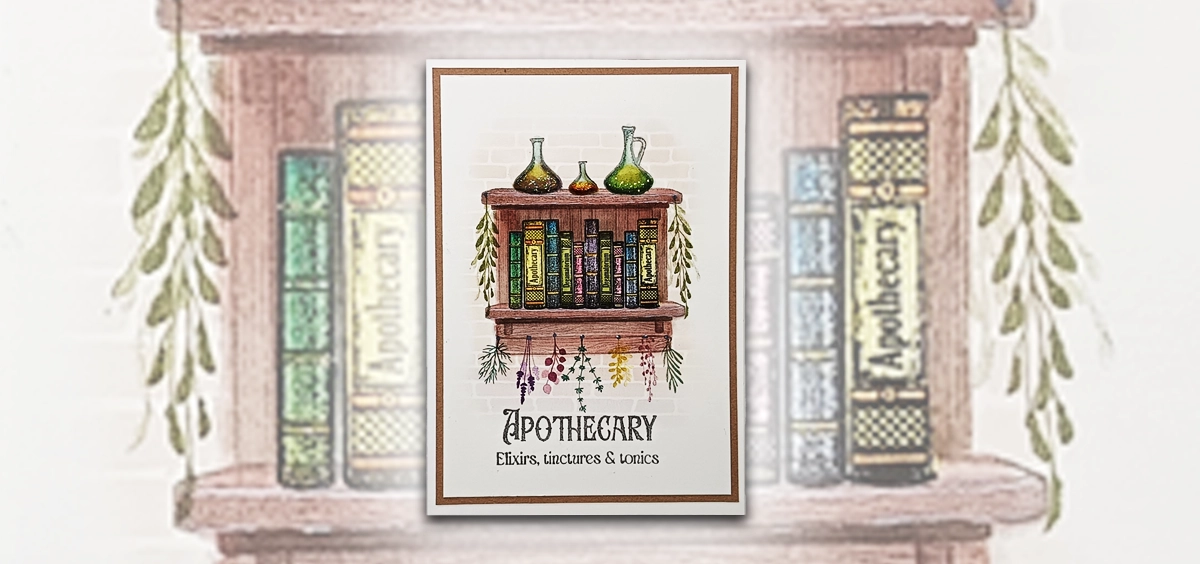
Step by Step by Eleana Evans
Hello everyone, it’s Eleana here. 🧚♀️
Today I’m going to be showing you a make using some of the fabulous “Dreamatorium Collection” of stamps. This card is perfect for any time of the year, and for anyone who loves all things magical. I hope you enjoy it!
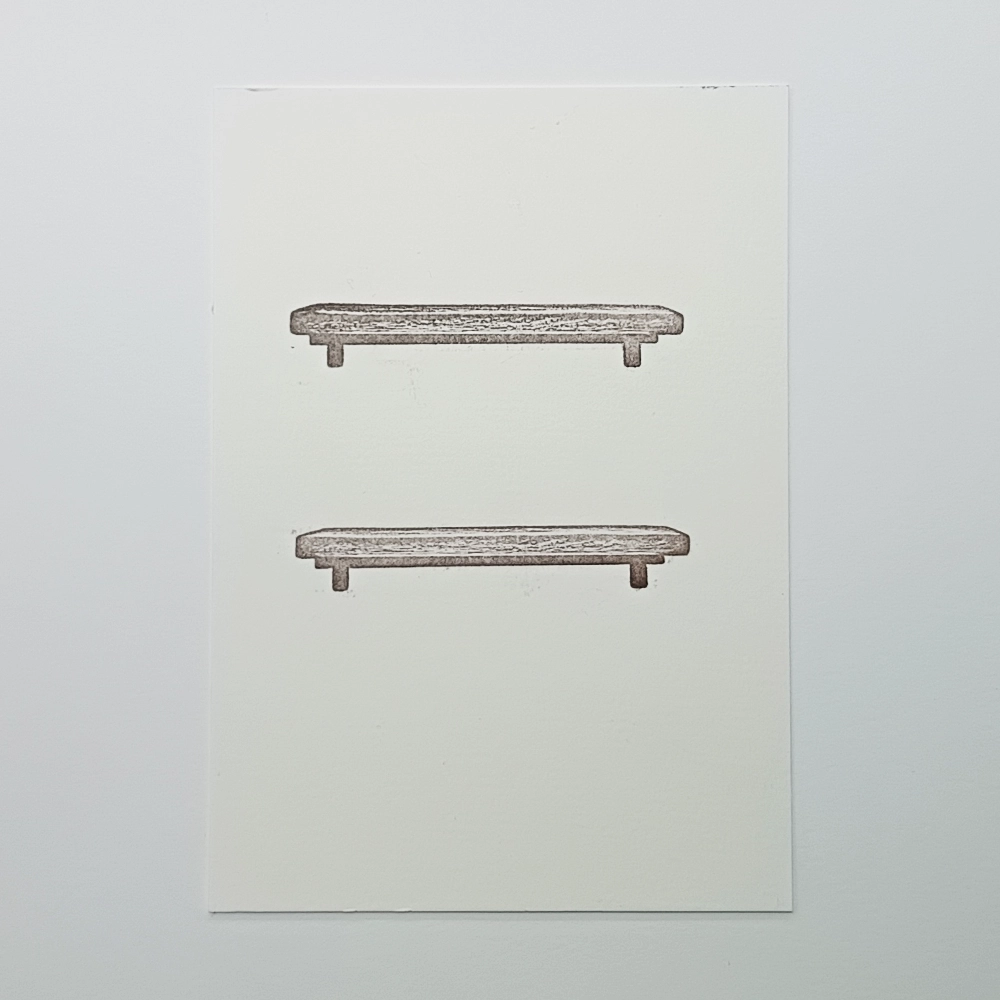
Step 1.
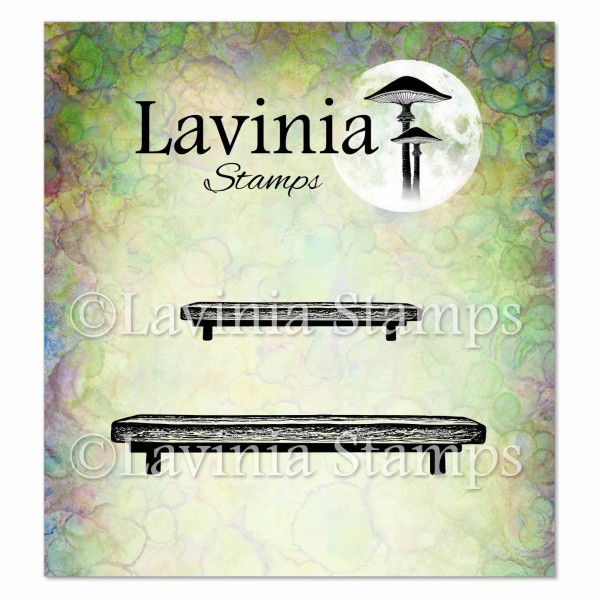
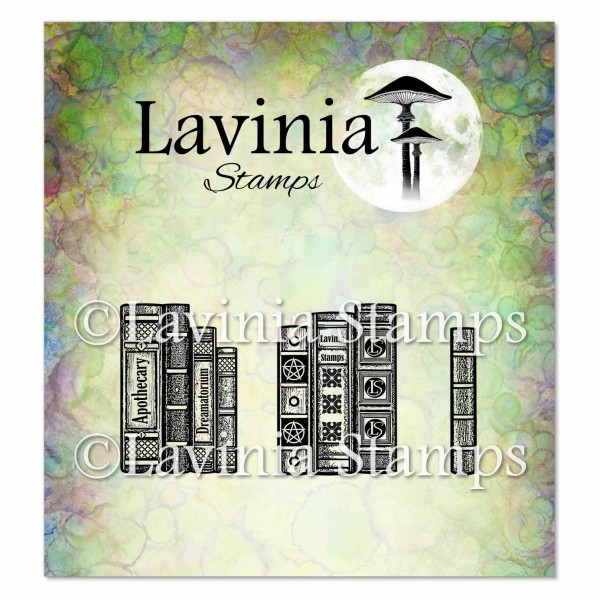
Cut a piece of A4 Multifarious white card measuring 11.4 cm x 16.5 cm. Stamp the larger Bookshelf LAV960 onto your card with second generation stamping. Then, use the acetate from the Book of Lost Words stamp LAV958 to work out where to position your second shelf. Make sure you have enough room on the top shelf for your Tonic of Health stamps LAV977. Leave more room at the bottom of the card than you have at the top. See the picture for placement.
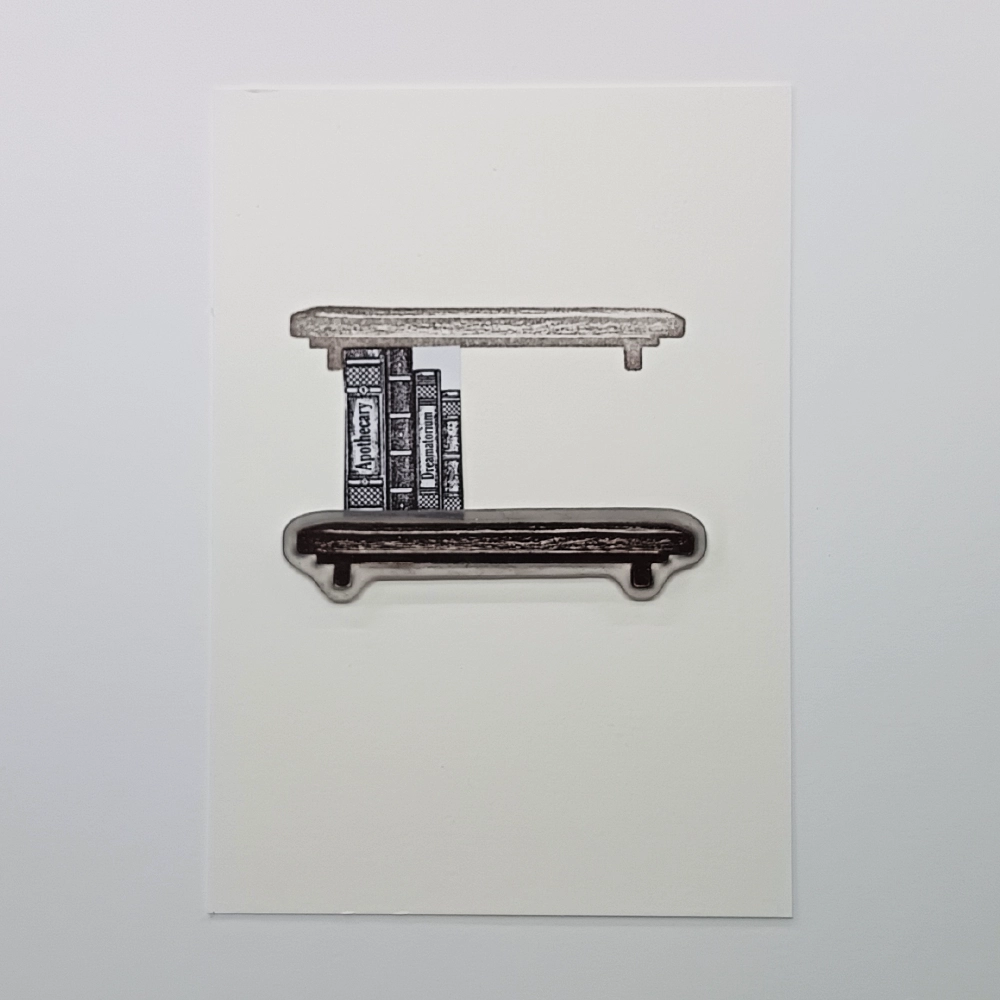
Step 2.
Now stamp your second Bookshelf LAV960 below the first one, remembering to leave space in between them for the Book of Lost Words LAV958.
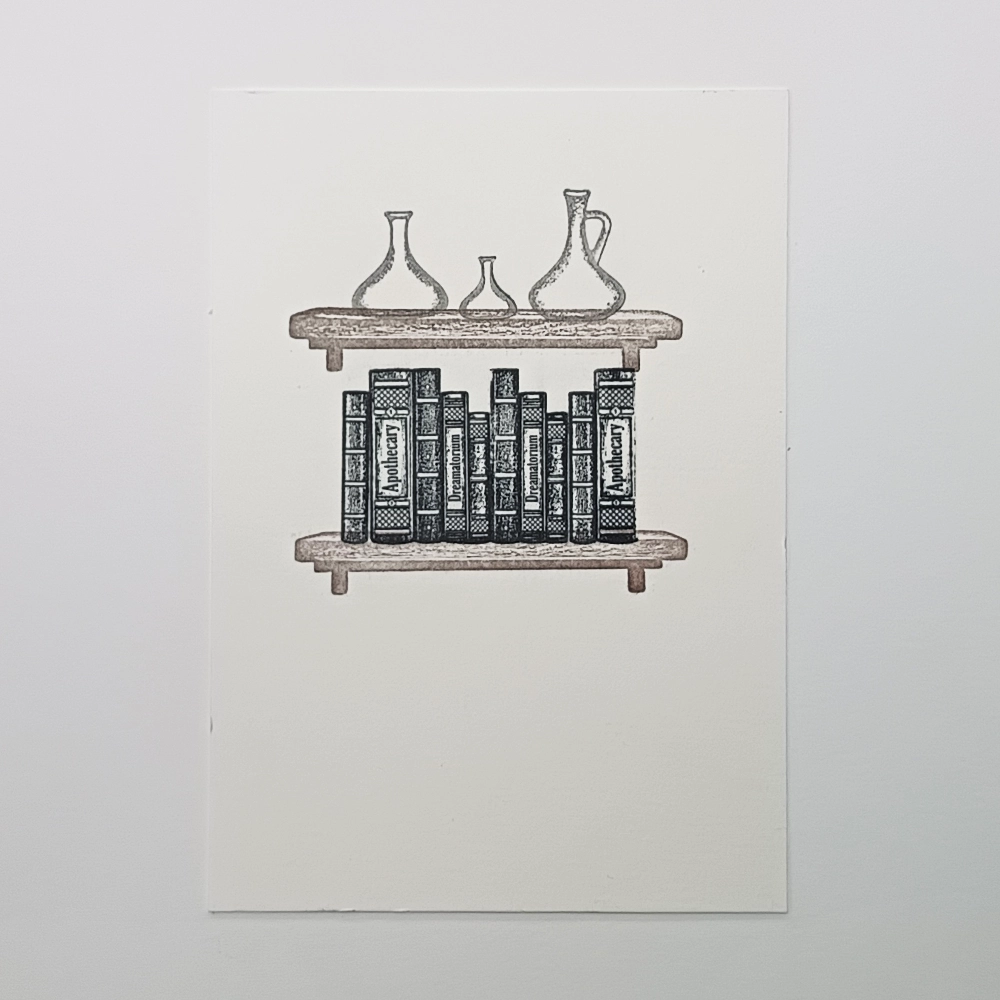
Step 3.
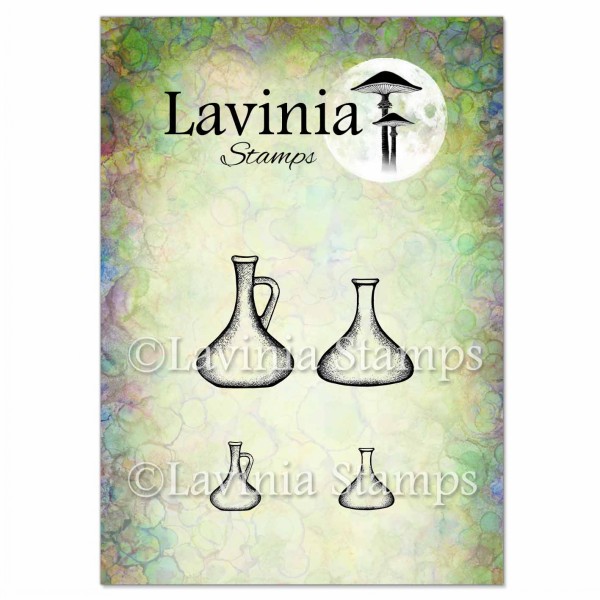
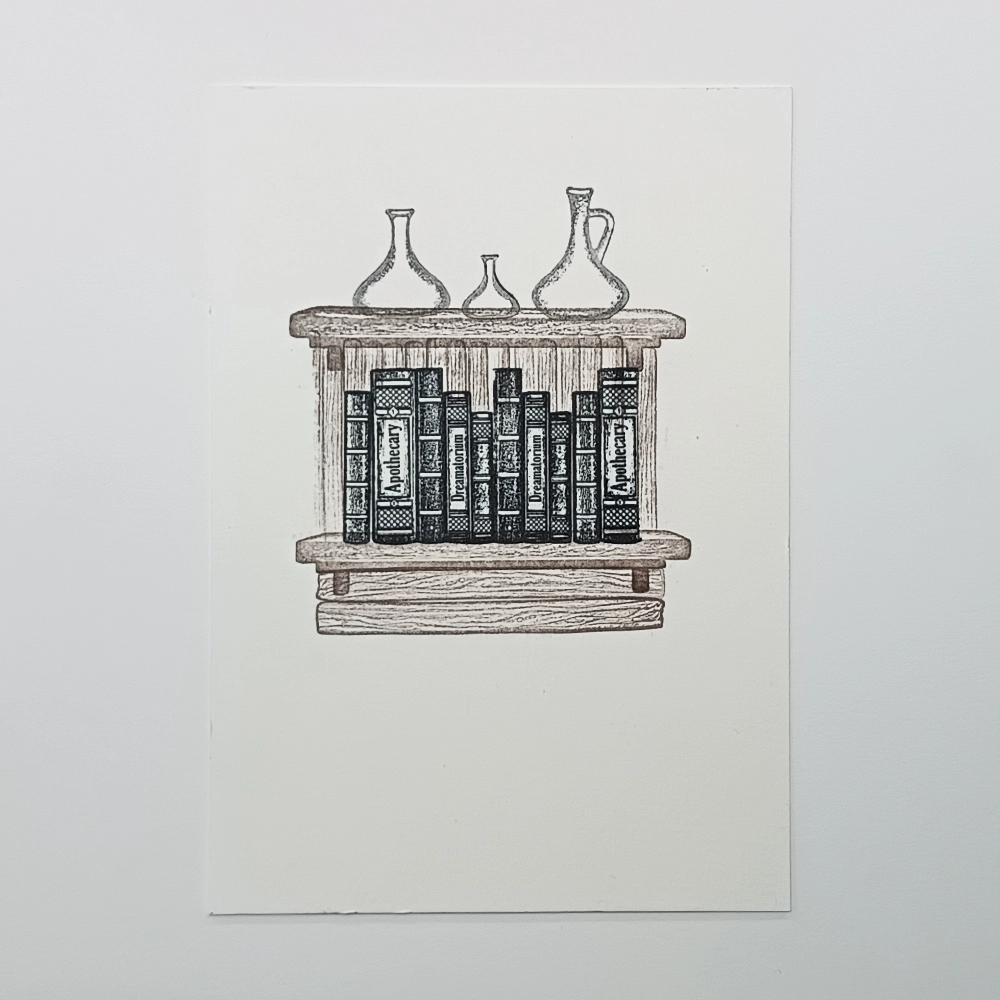
Stamp the Book of Lost Words LAV958 in between the two shelves. In second generation stamping, stamp three of the bottles from Tonic of Health LAV977 onto the top shelf. See picture for placement.
Step 4.
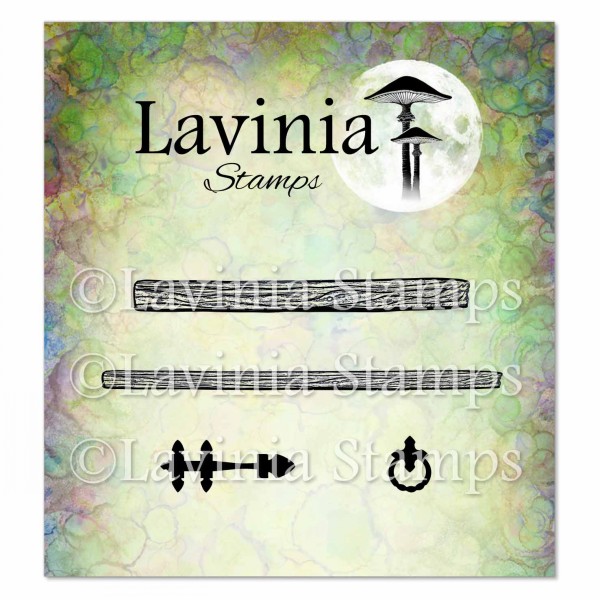
Stamp the books onto a masking sheet, cut out and place over the books to protect them. Then, in second generation stamping, stamp the longer of the two wooden strips from the Hobbits Door Accessories LAV967 vertically over the books to create a board between the two shelves. Then using the shorter strip of wood from the same set, add two horizontal boards underneath the lower bookshelf. See picture for placement.
Step 5.
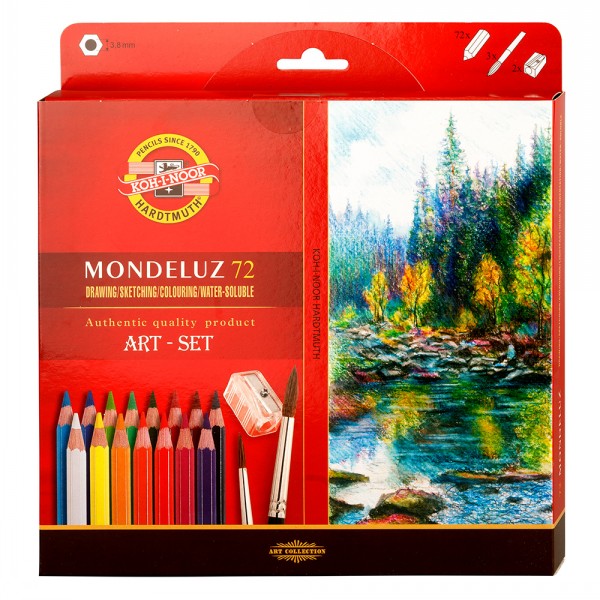
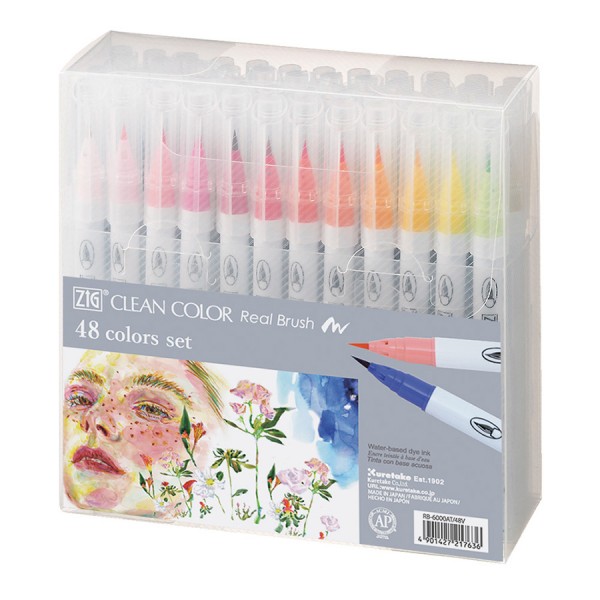
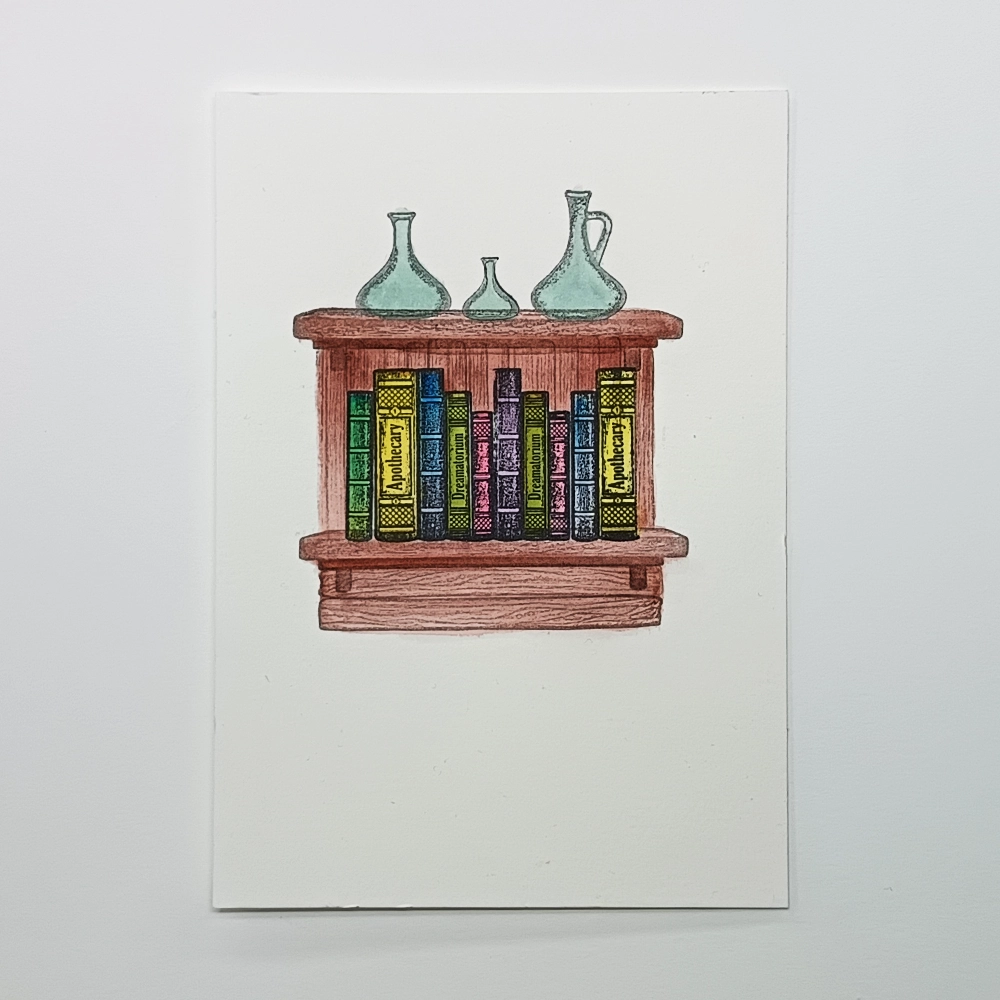
Making sure to remove the masking sheet, you can now add some colour to the image. I have used Mondeluz watercolour pencils, red, pink, purple, green, dark green and blue. Colour the bottles using Kuretake Clean Colour Real Brush Pens. Colour the bookshelves in a brown watercolour pencil.
Step 6.
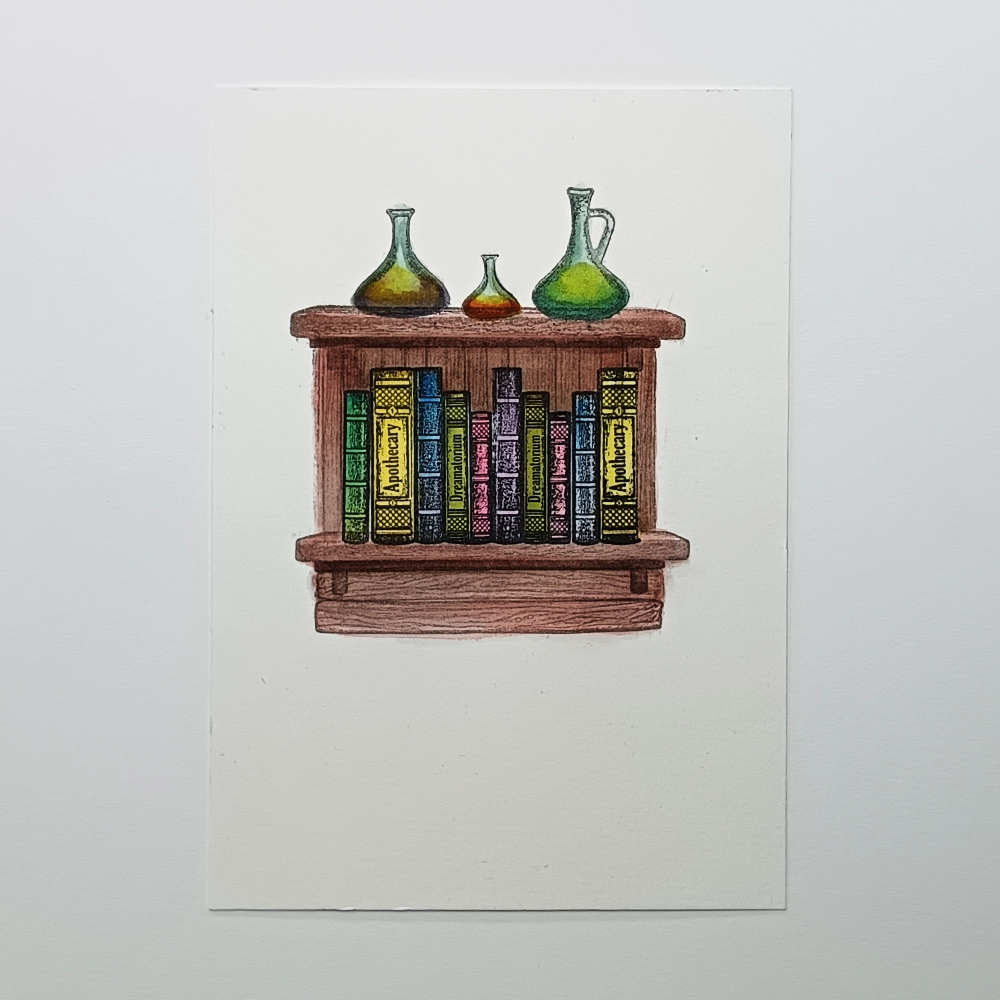
Add a second shade of colour to the bottles to create the effect of liquid inside. I have used a Kuretake Clean Colour Real brush pens in green, orange and brown.
Step 7.
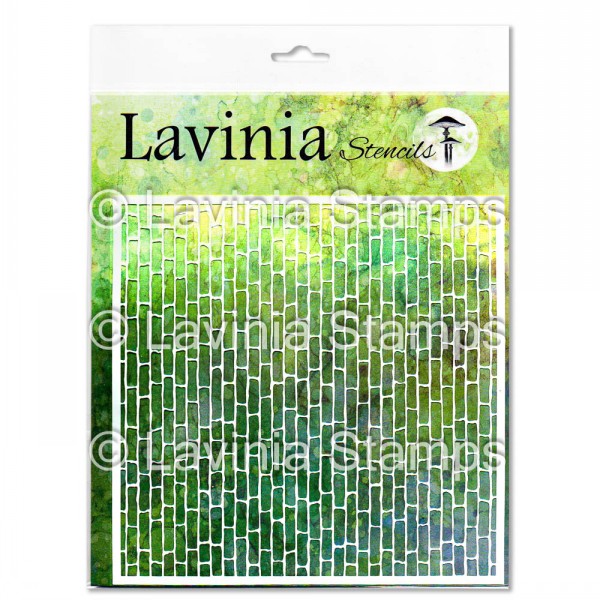
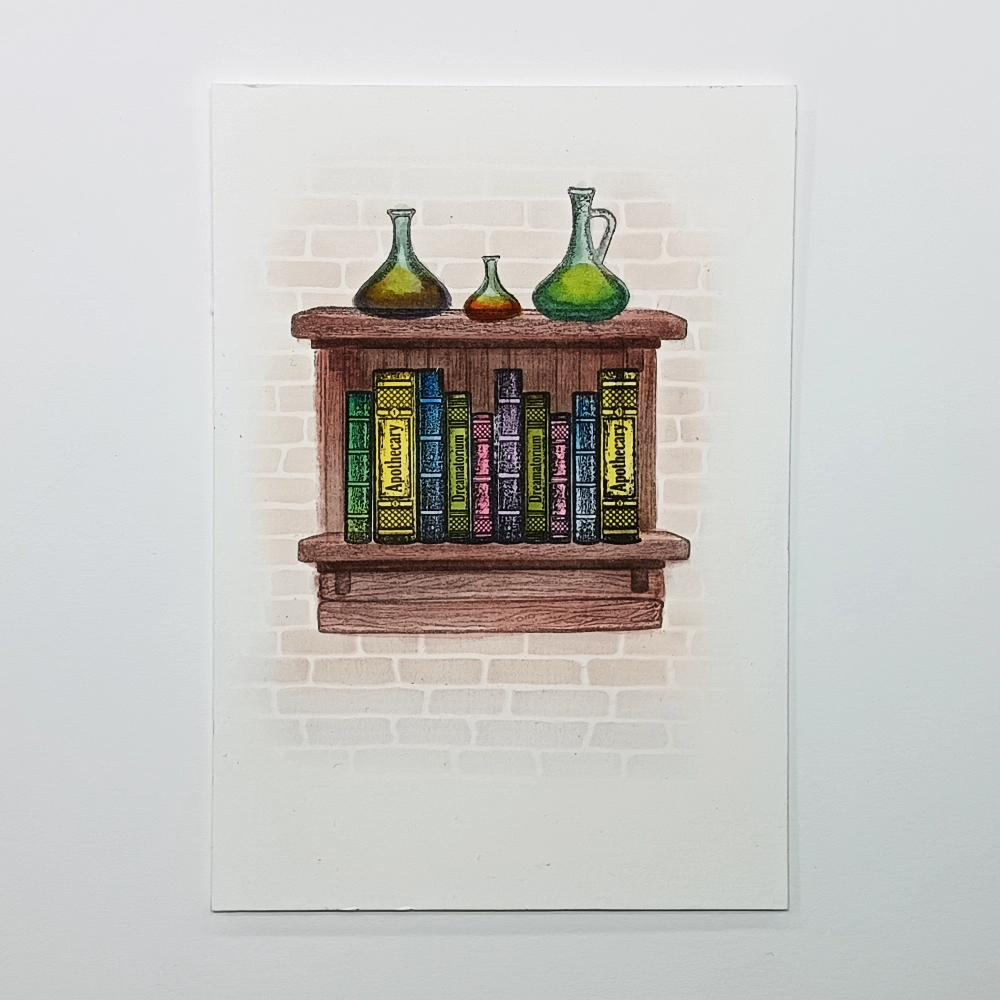
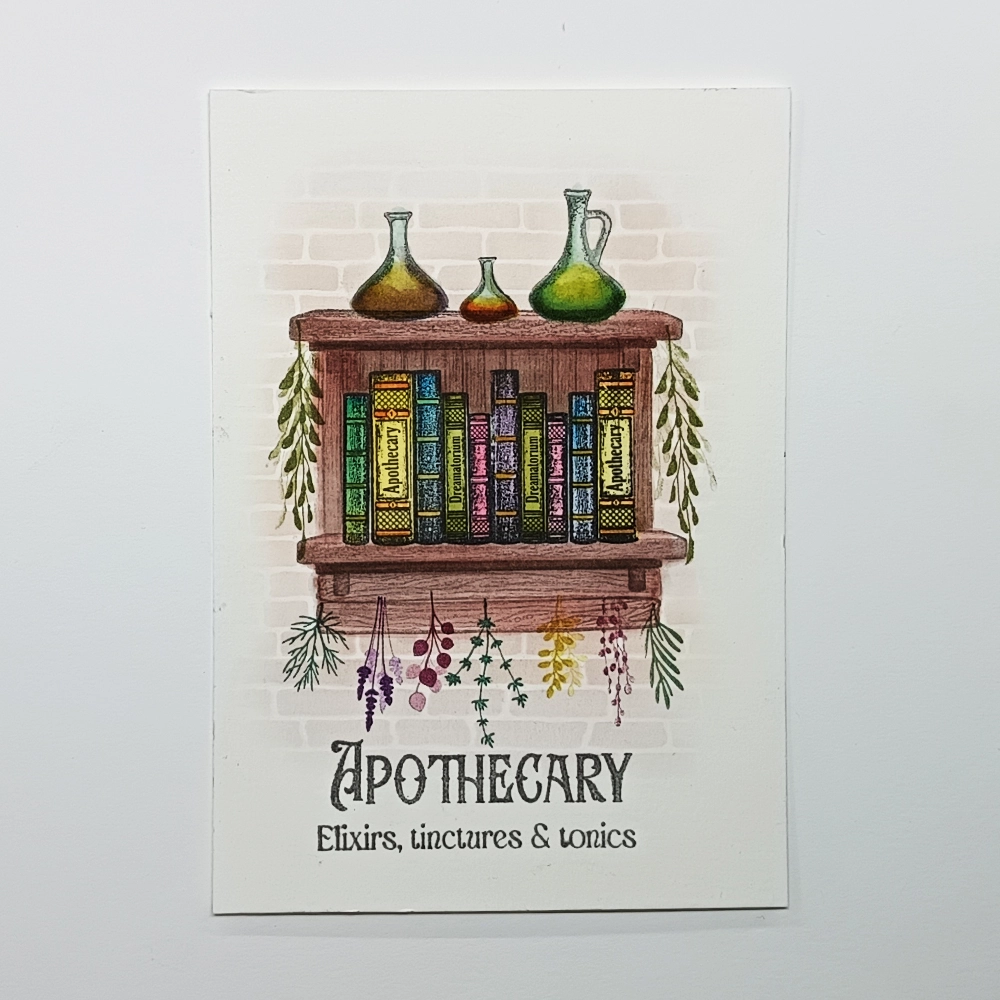
Place the Red Brick stencil over the card and using a Series 7 Stencil Brush, very lightly blend Elements ink Truffle over the top. This will give the impression of the shelves hanging on the wall. See picture for guidance.
Step 8.
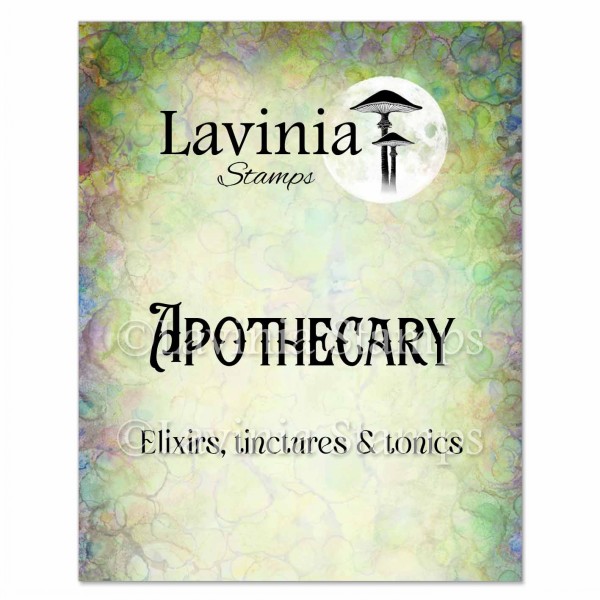
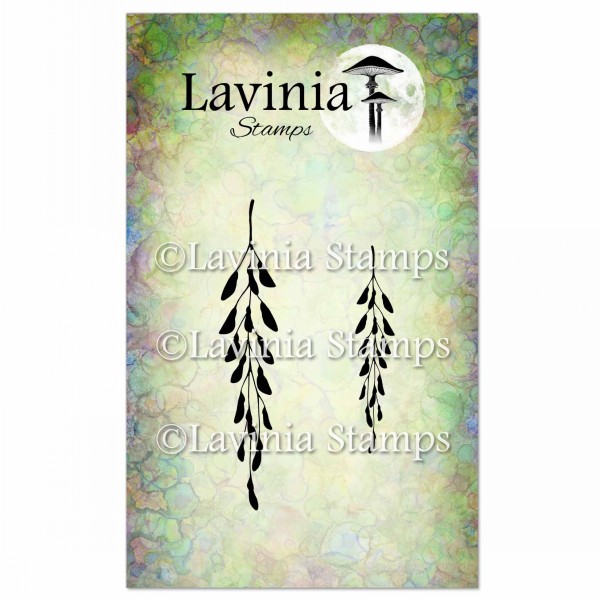
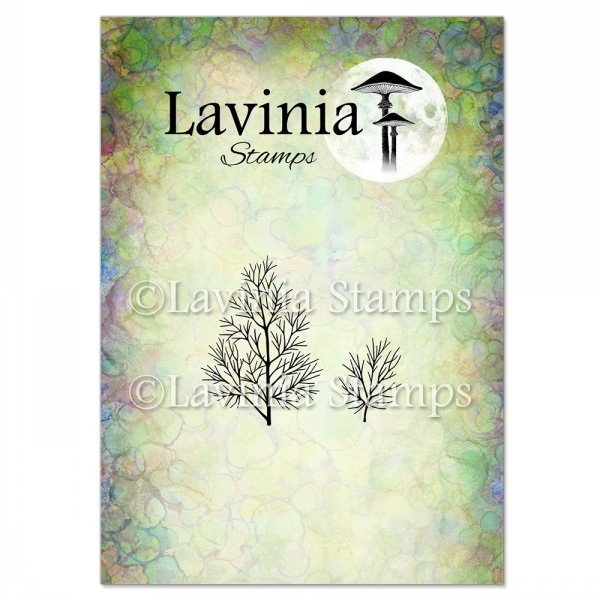
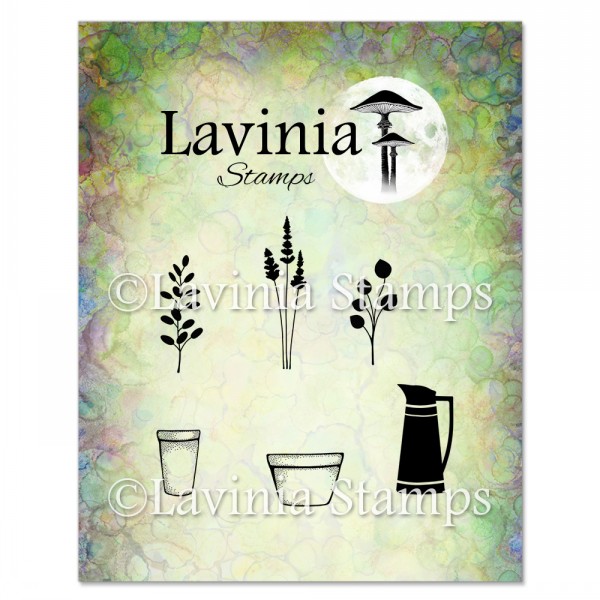
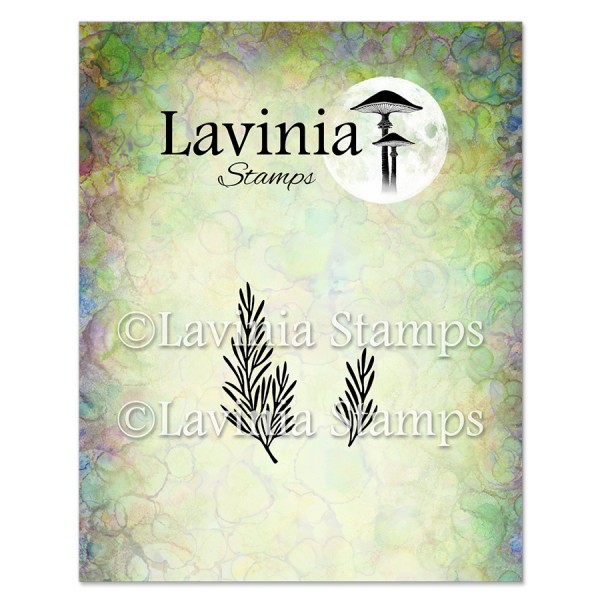
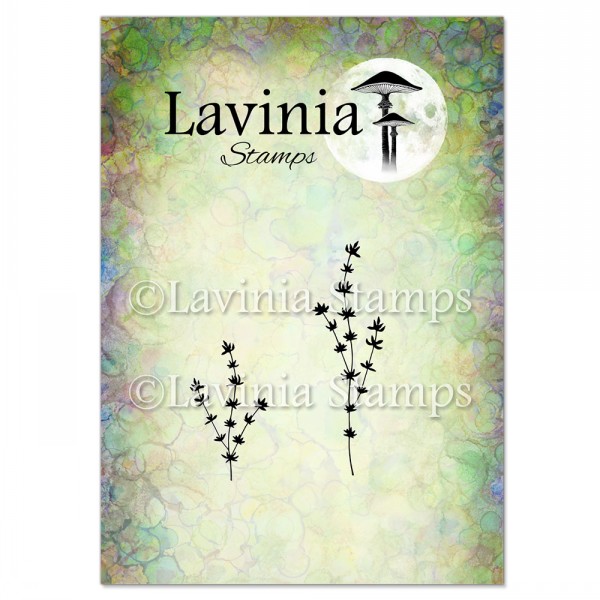
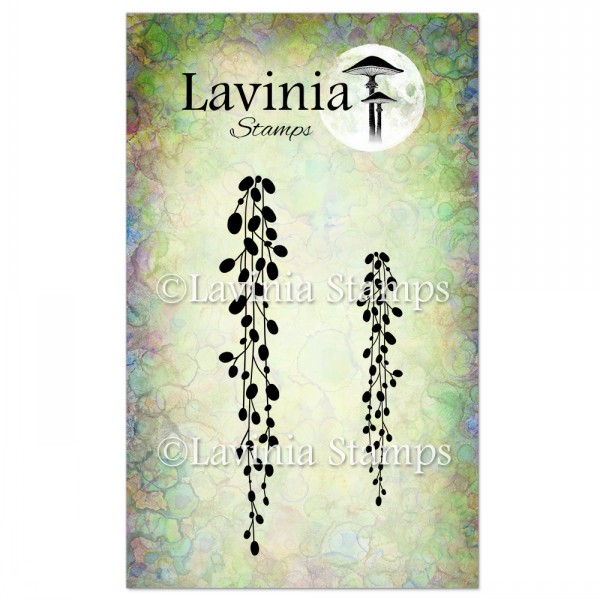
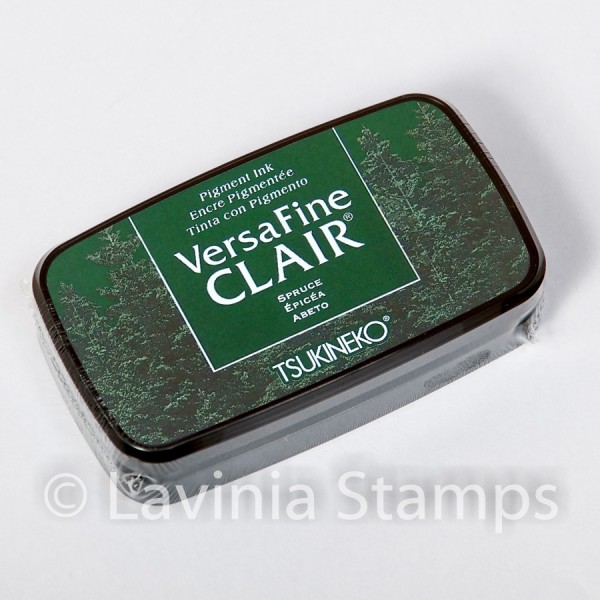
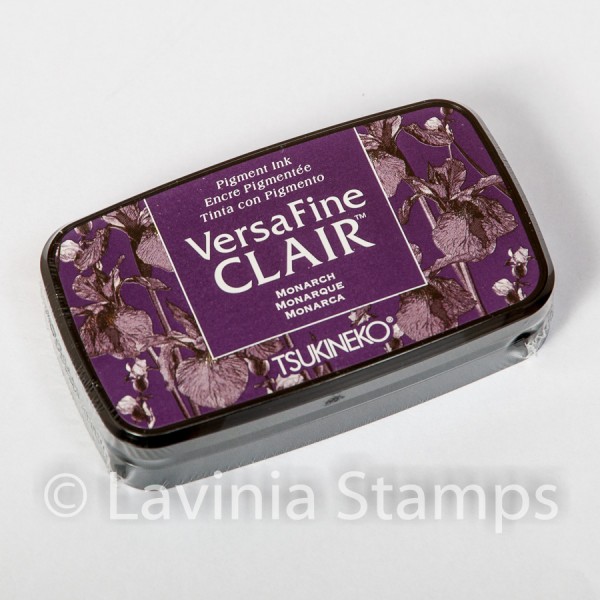
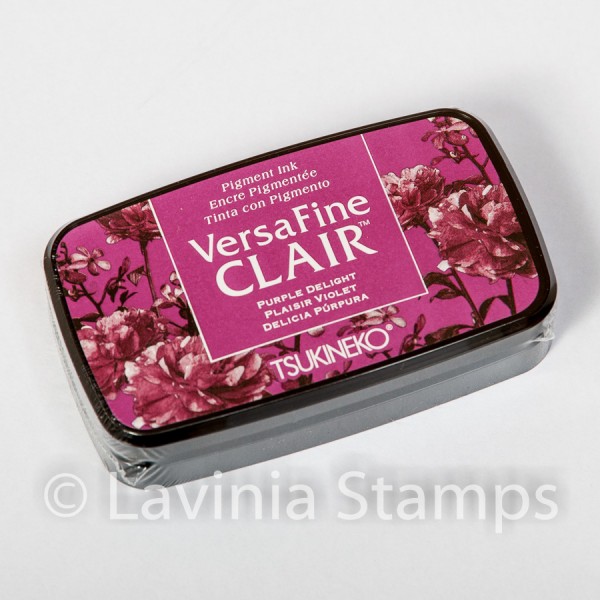
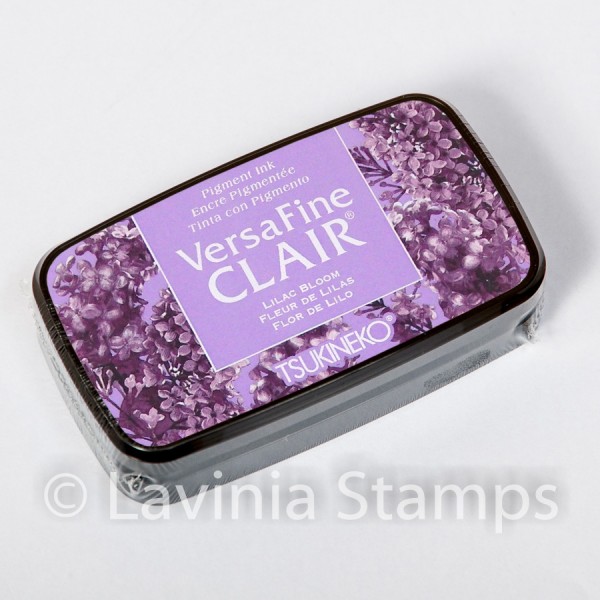
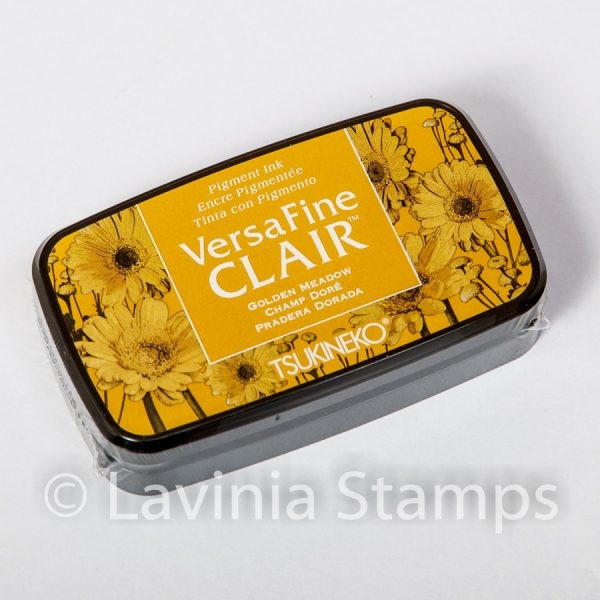
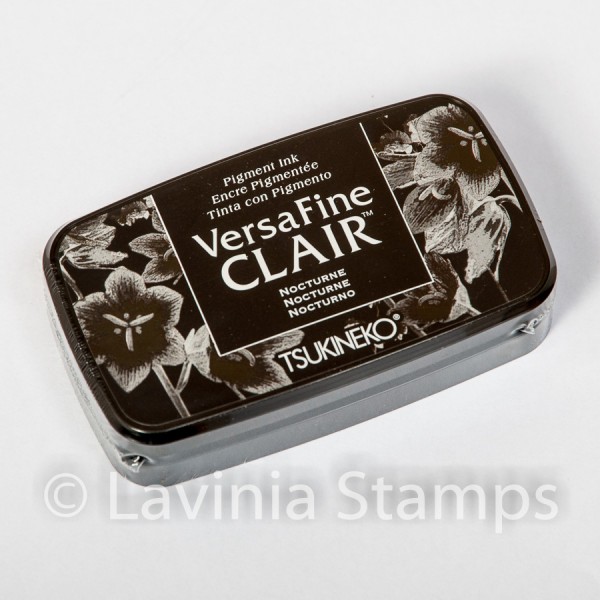
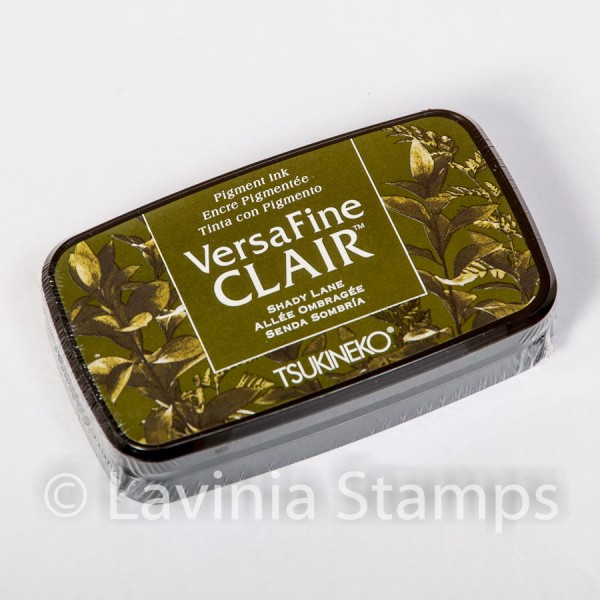
Next, on both ends of the top shelf, stamp Moon Laurel LAV971 in Versafine Clair Shady Lane first and second generation stamping. Underneath the lower shelf, between the two boards, add the smaller of stamps Thyme LAV952 and Dill LAV938 stamping them in Versafine Clair Spruce, the three foliage stamps from Flower Pot LAV826 in Versafine Clair Monarch, Purple Delight and Lilac Bloom. Finally, the smaller of the Leaf Creeper stamp LAV 742 in Versafine Clair Golden Meadow. Beneath this, stamp the Apothecary stamp LAV956 in Versafine Clair Nocturne in second generation stamping. Check the photo for placement.
Step 9.
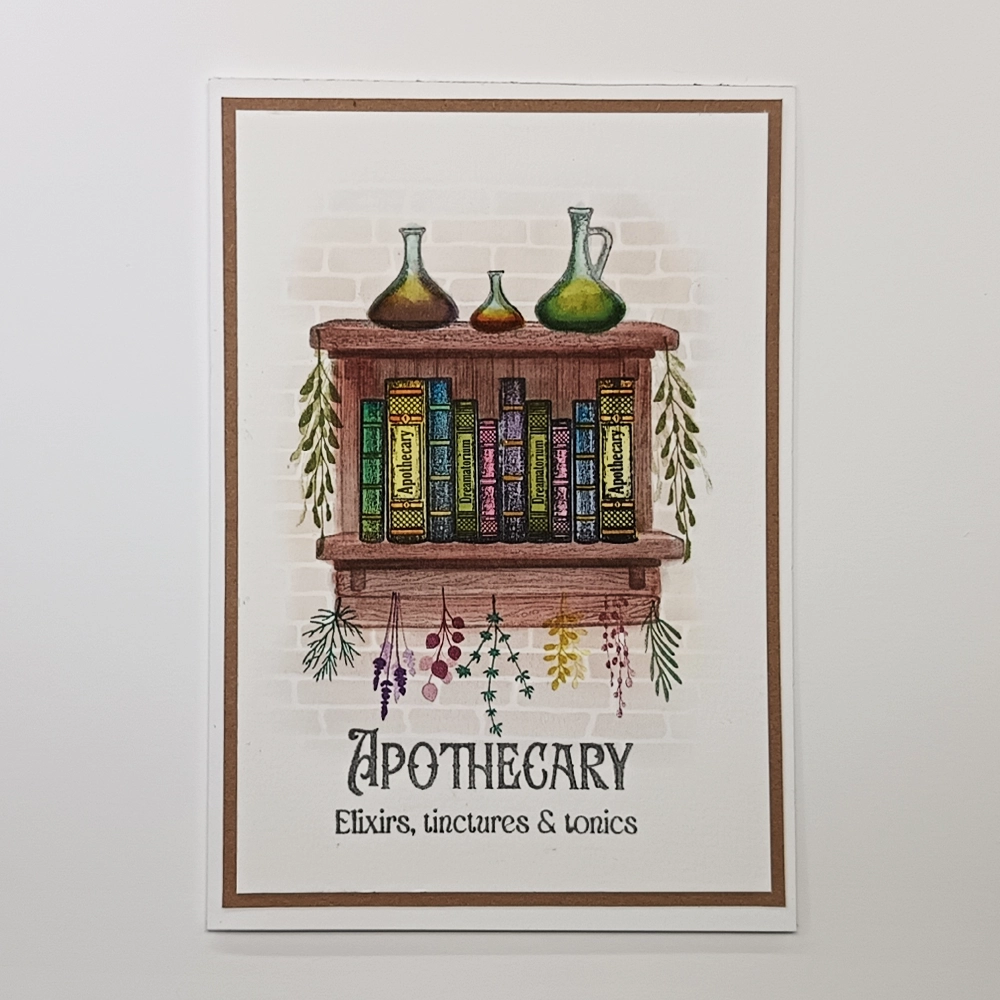
Stick your finished card onto another slightly larger card in a colour of your choice before sticking onto a 12.7 cm x 17.7 cm white card blank. See picture for placement.
Step 10.
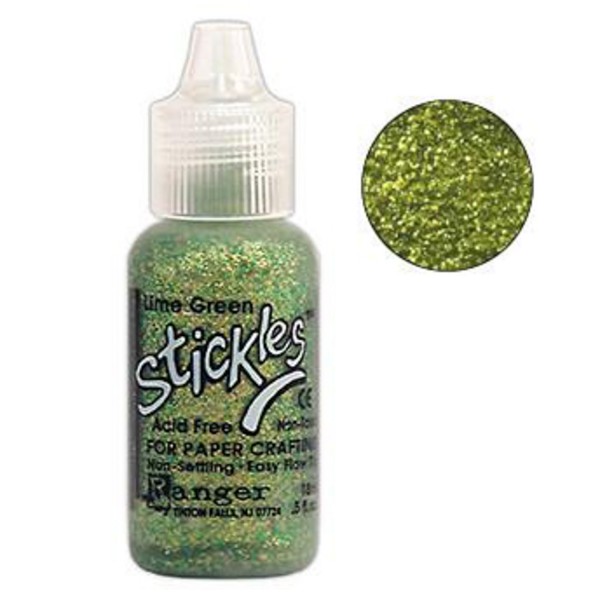
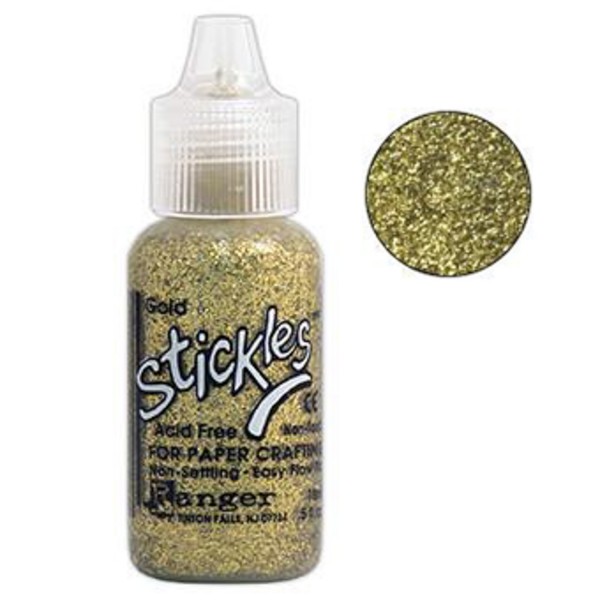
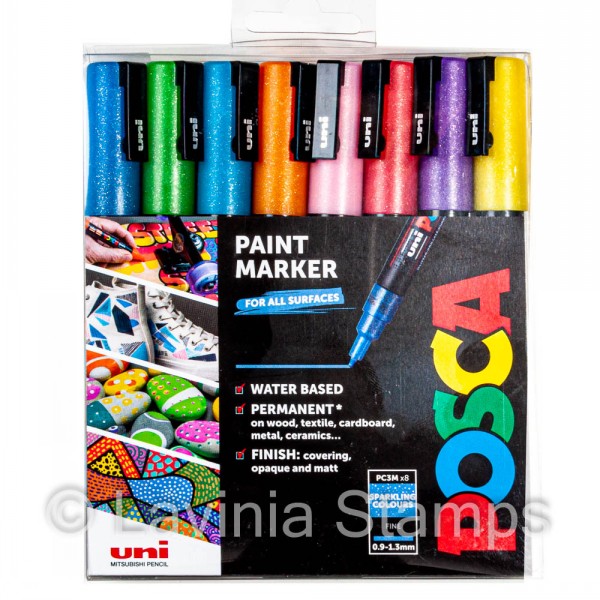
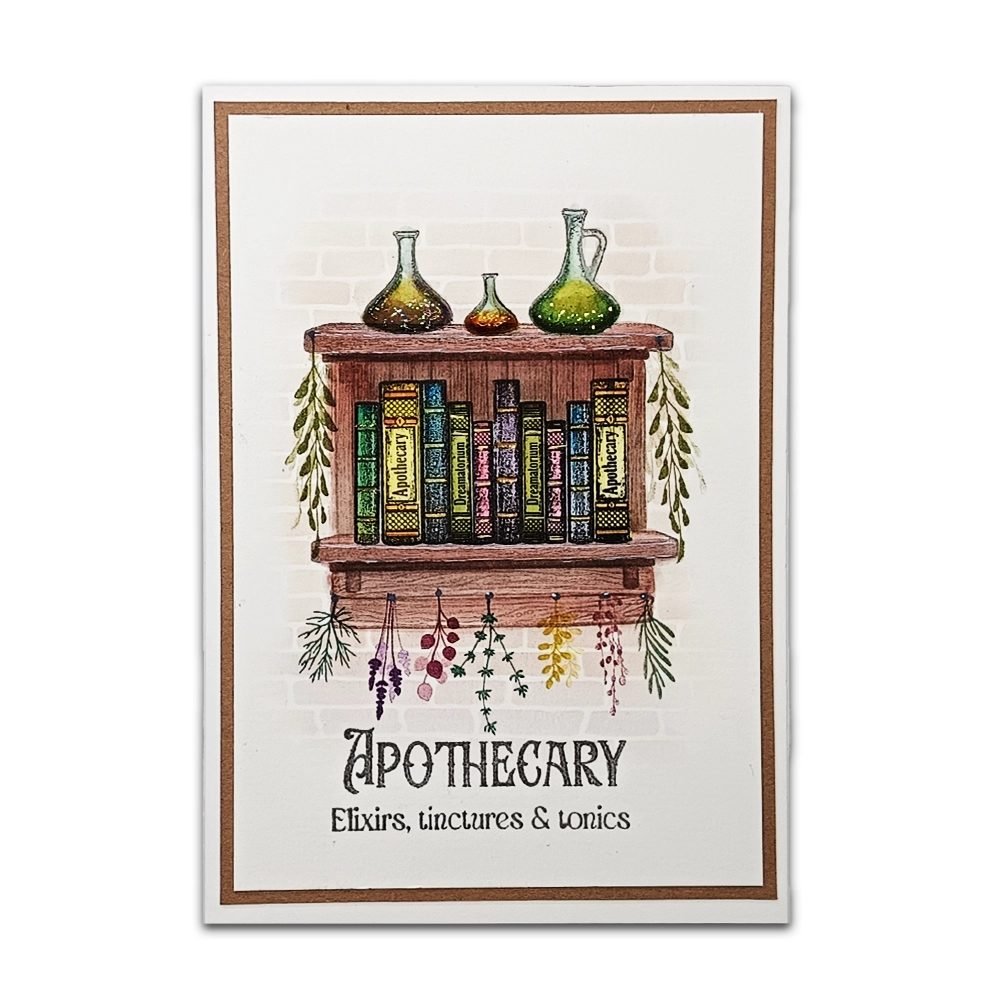
Add some Gold and Lime Green Stickles to the bottles. Add more sparkle to the spines of the books with some Posca Sparkling marker pens. I have used the yellow, orange and green pens.
Thank you for popping by and I hope it gives you some inspiration for these magical stamps. Take care, Ellie xx


