Step by Step by Elaine Langford-Pugh
The theme for this month’s Lavinia Creative Challenge is ‘’Animal Magic’’.
I had a lot of fun making this. I hope you enjoy my Step-by-Step guide.
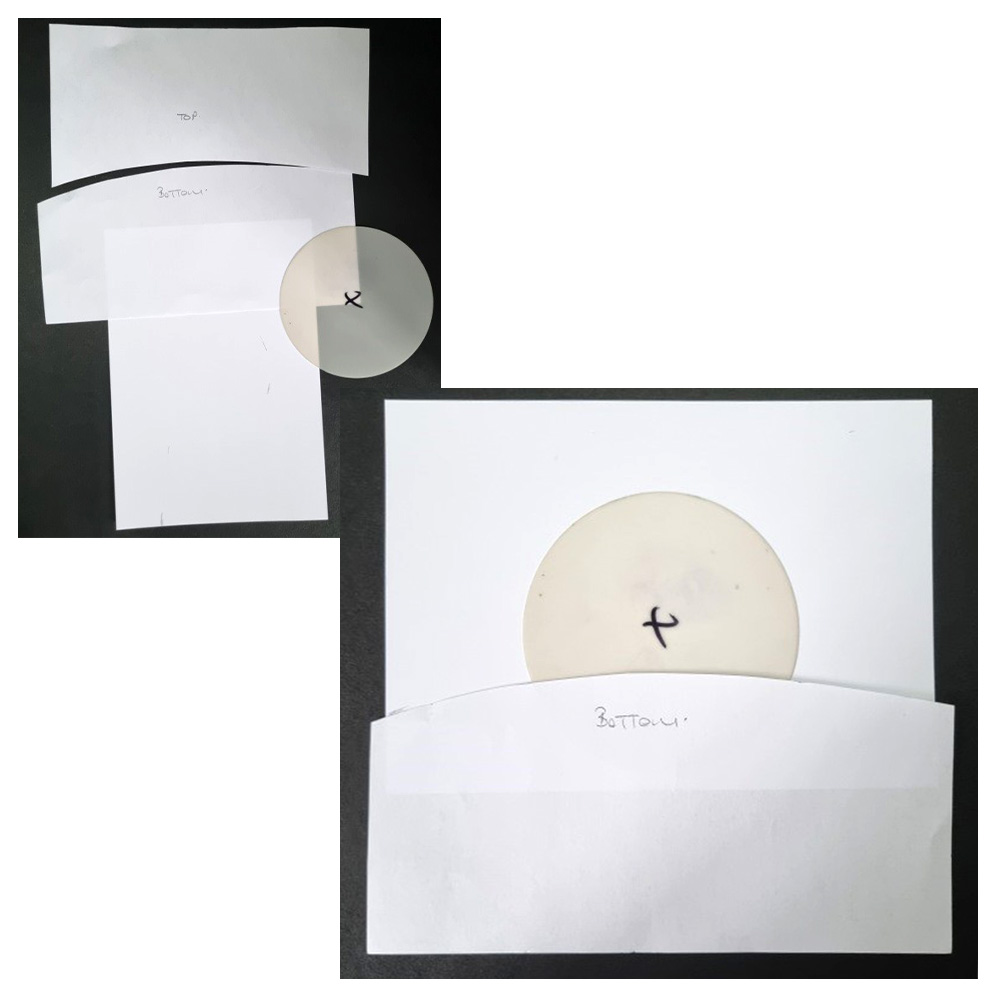
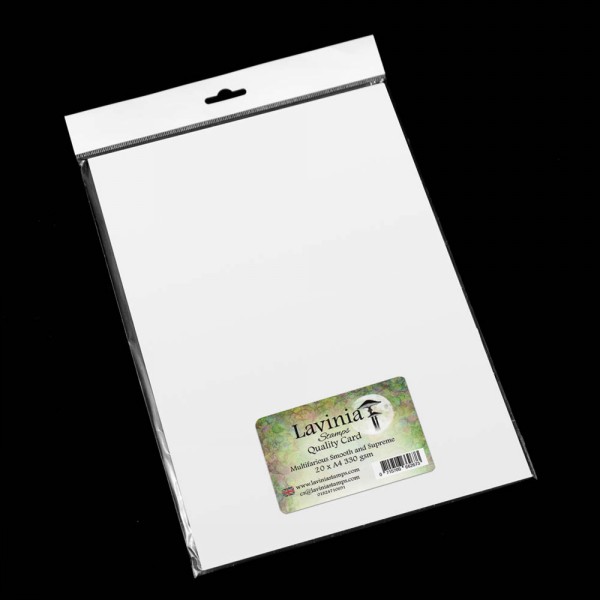
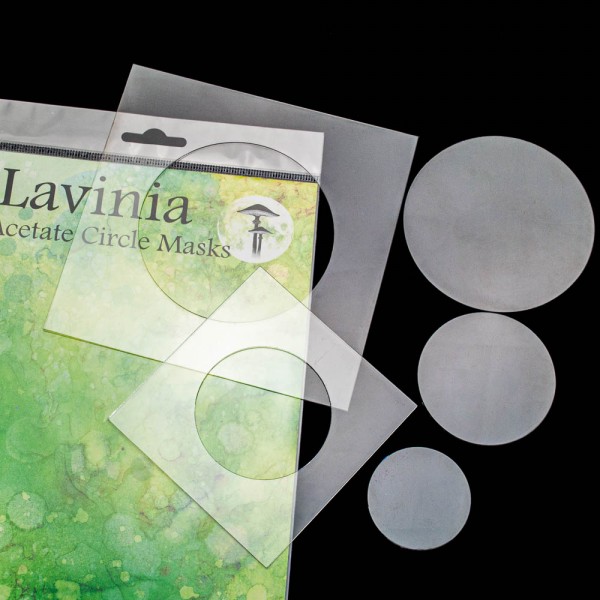
- Cut a piece of Multifarious card to 20x14cm. Then cut a piece of copy paper to have a semi-circular/ rounded shape (keep both halves for masking).Take an acetate circle mask 10cm diameter. Place the circle mask and bottom half of paper to where you want it. I placed mine approx. 3cm from top.
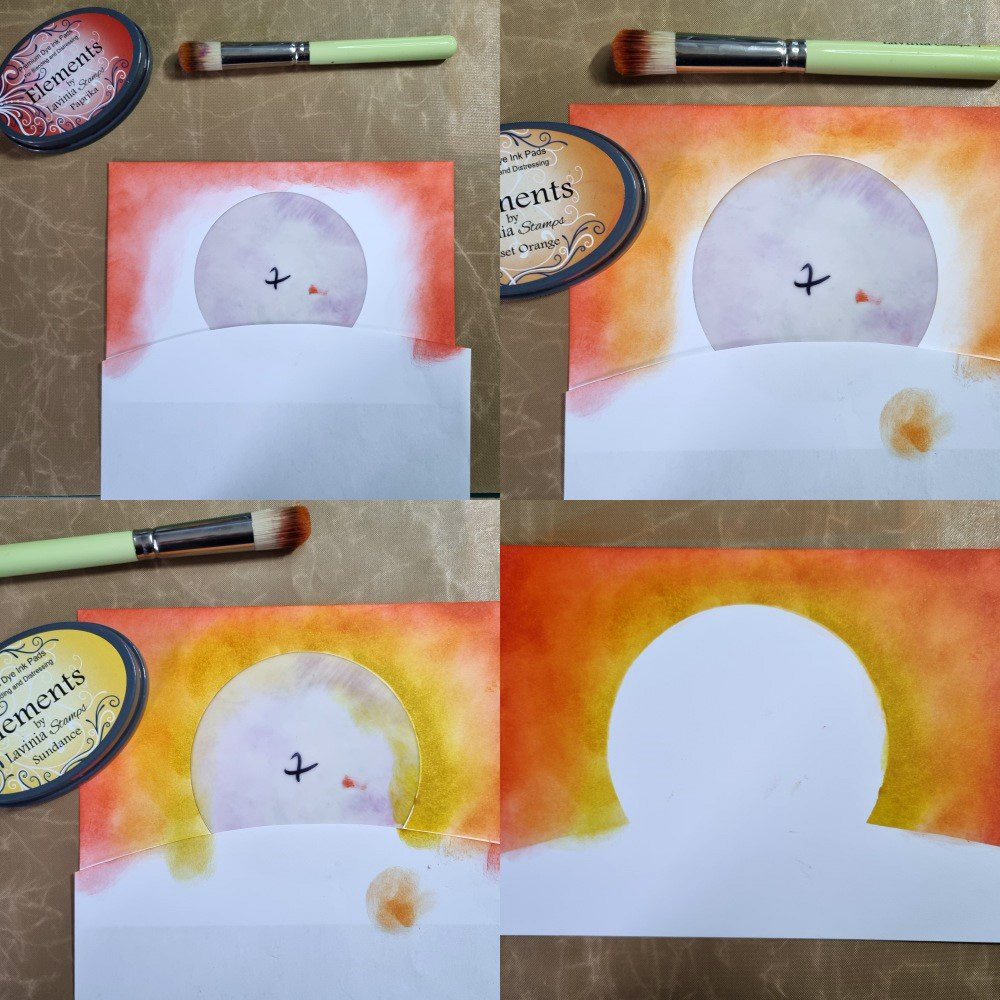
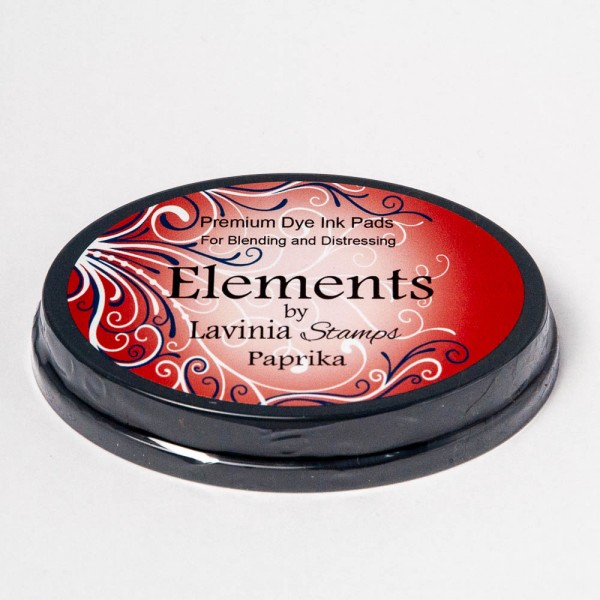
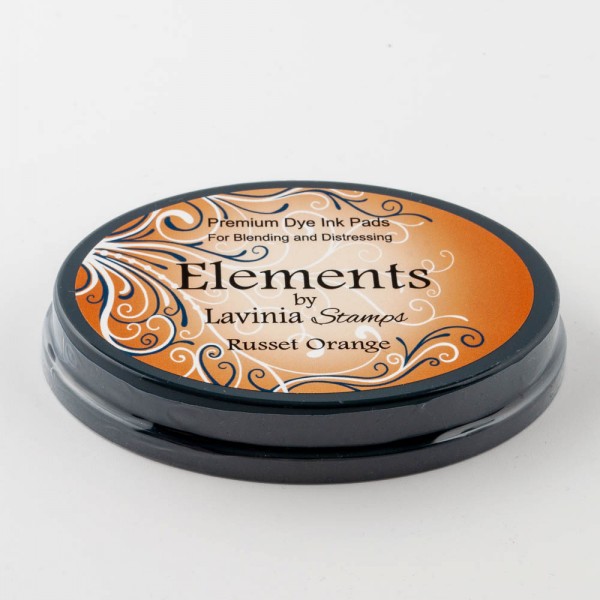
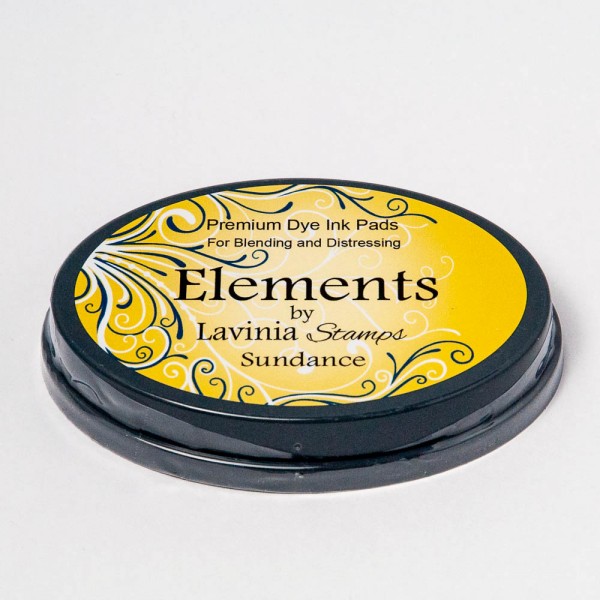
2. Holding down the masks I blended Elements inks Paprika at the outside edge and corners, then Russet Orange and finally ending with Sundance closest to the circle and paper mask. Keep blending until the desired effect is achieved.
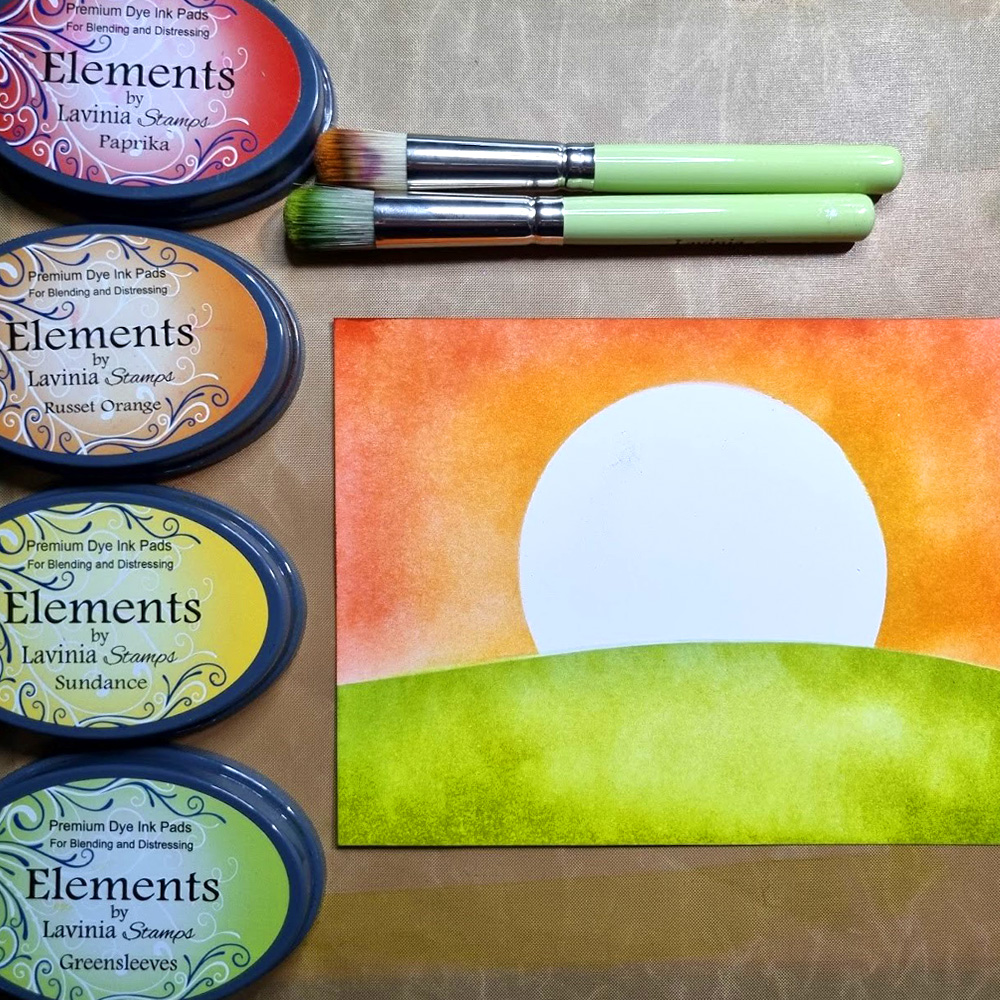
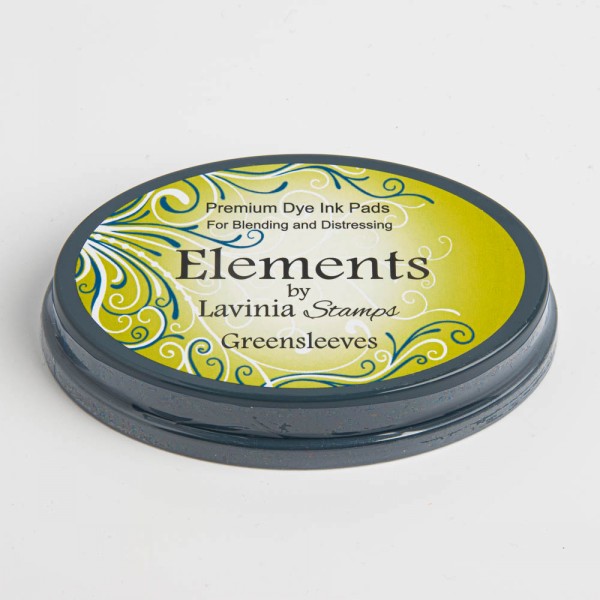
3. Mask off the top half using the other piece of paper. Using Elements ink Greensleeves blend from the top to the bottom.
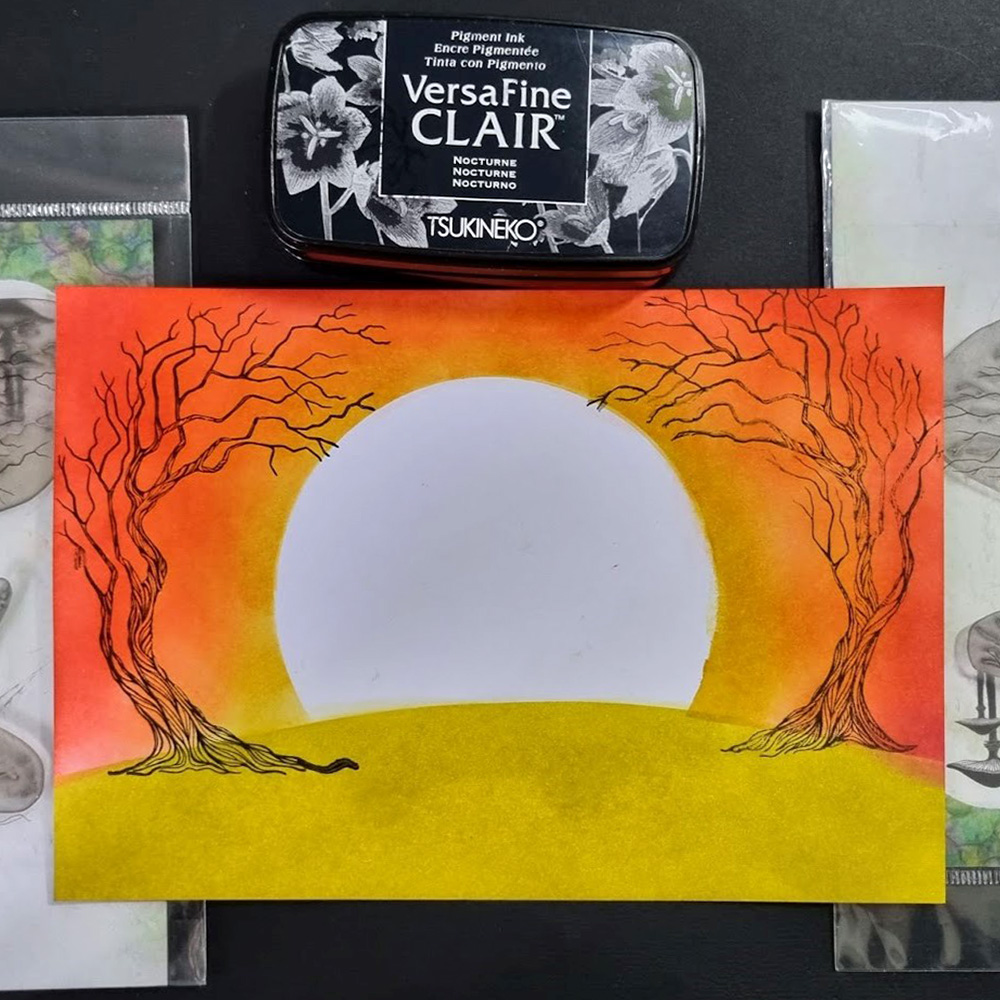
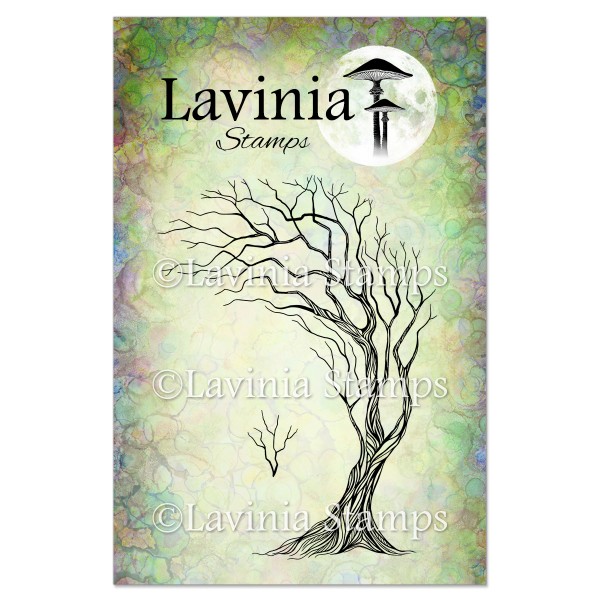
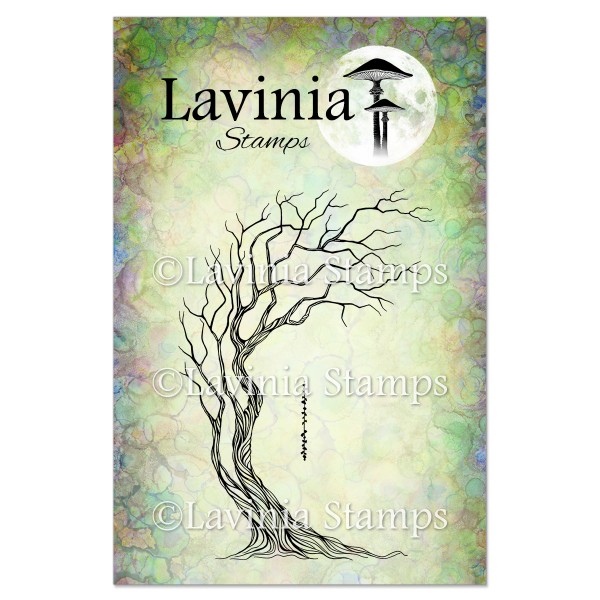
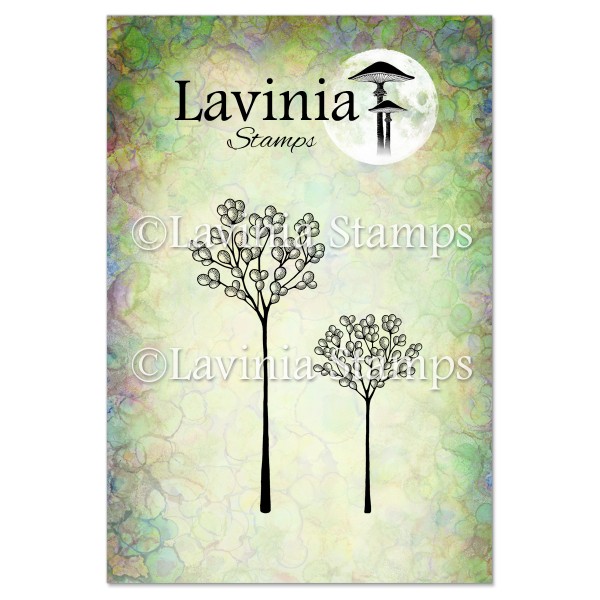
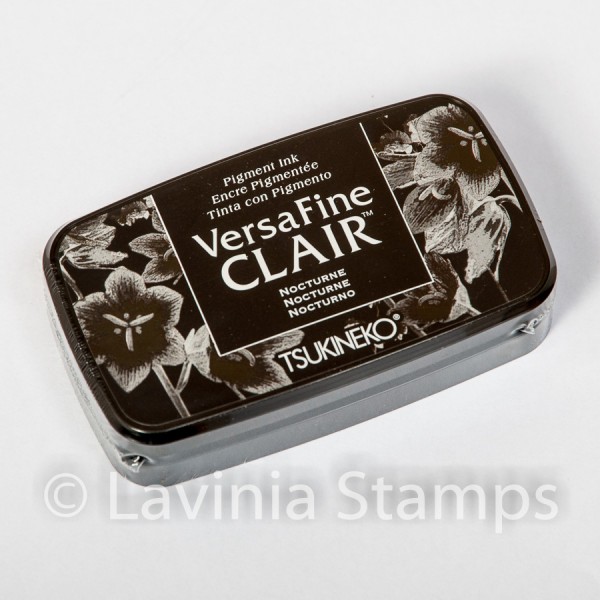
4. Stamp Tree of Hope LAV658 and Tree of Courage LAV657 either side of the sun/moon using Versafine Clair Nocturne.
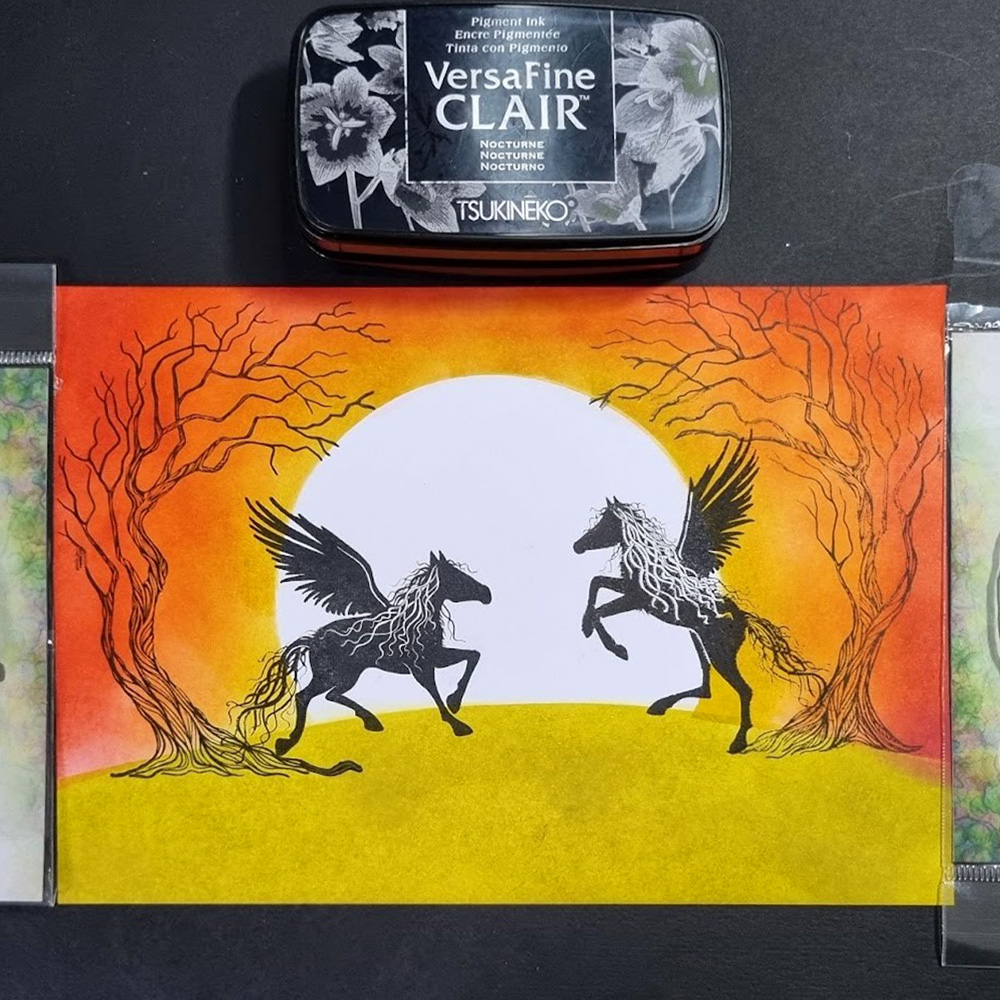
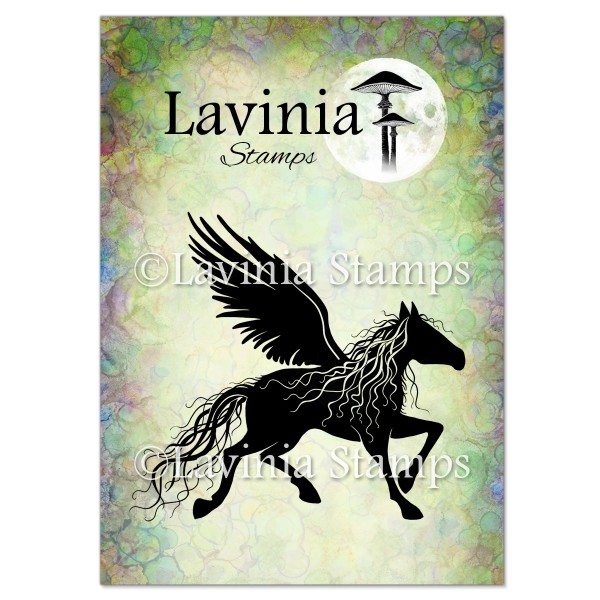
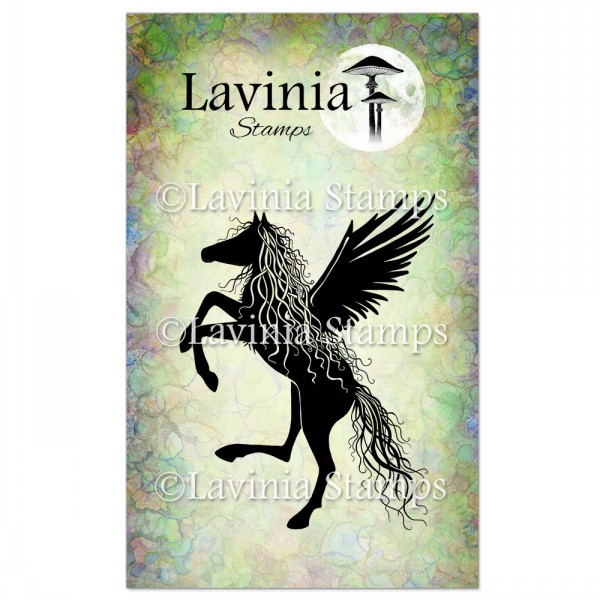
5. Using Versafine Clair Nocturne stamp Sirlus LAV560 and Zanor LAV562 in between the trees.
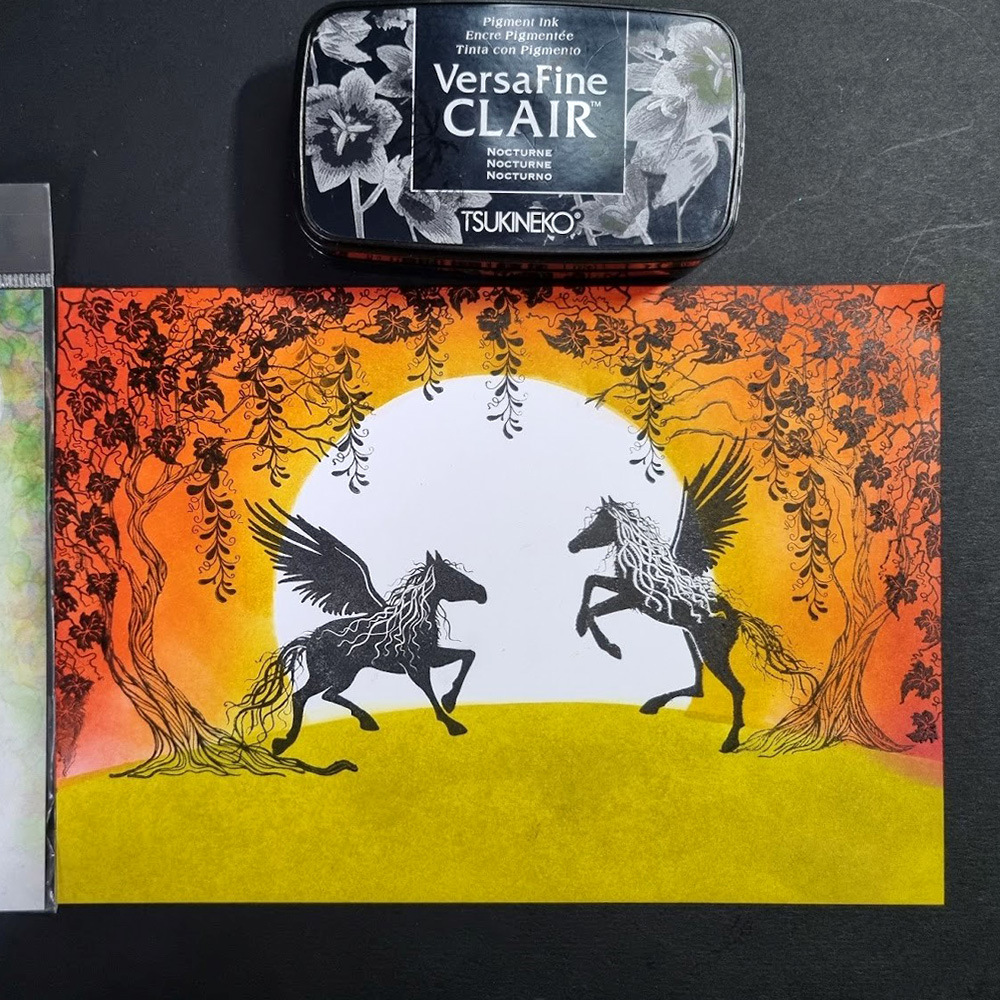
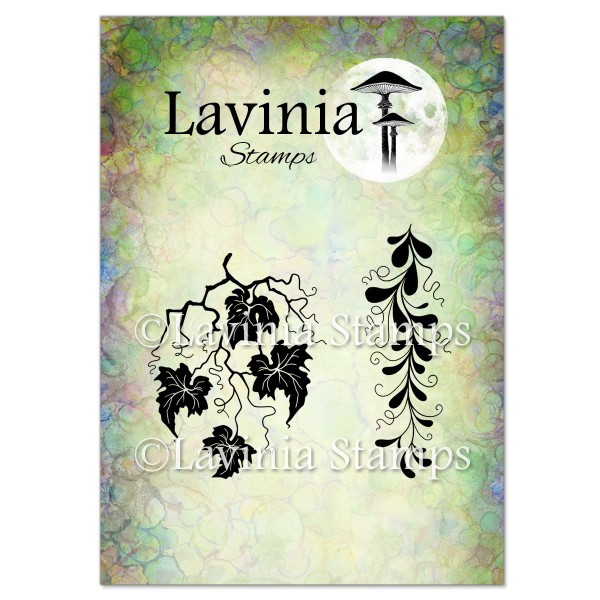
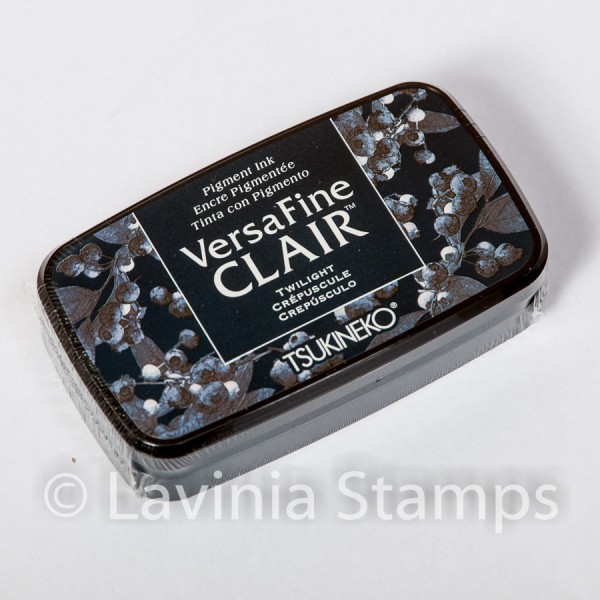
6. Next stamp the Twisted Vine set LAV613 in Versafine Clair Nocturne and Twilight around the top and sides to create a frame.
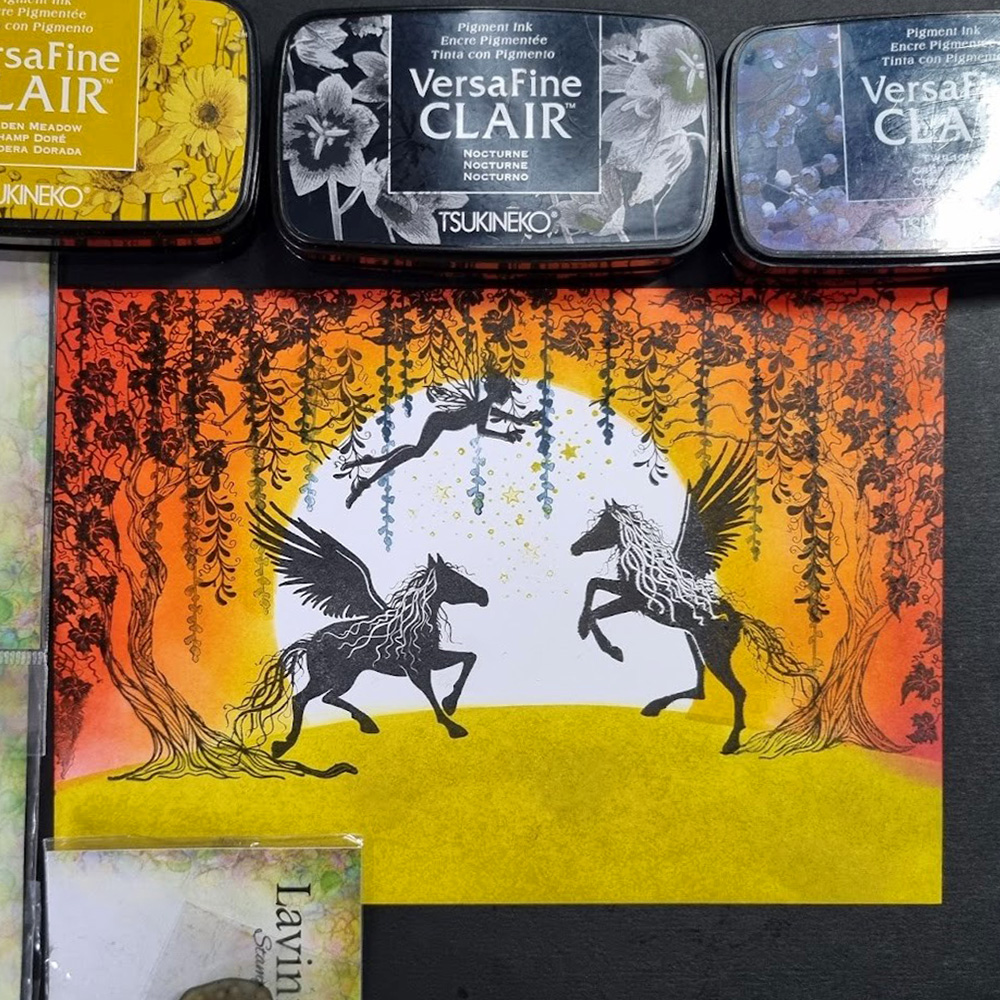
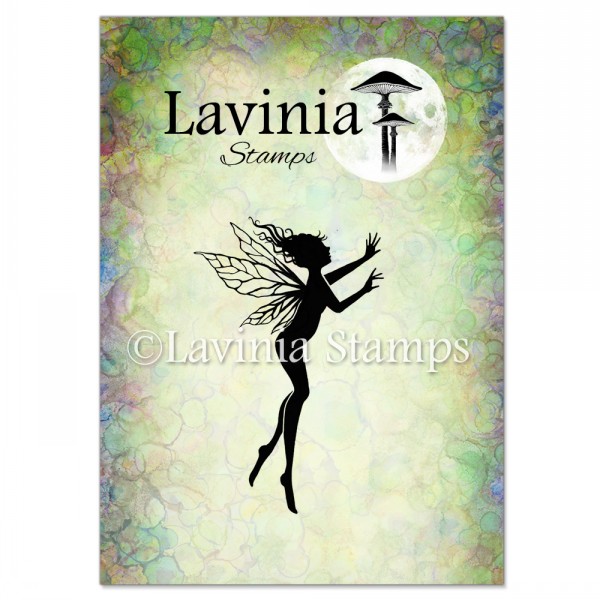
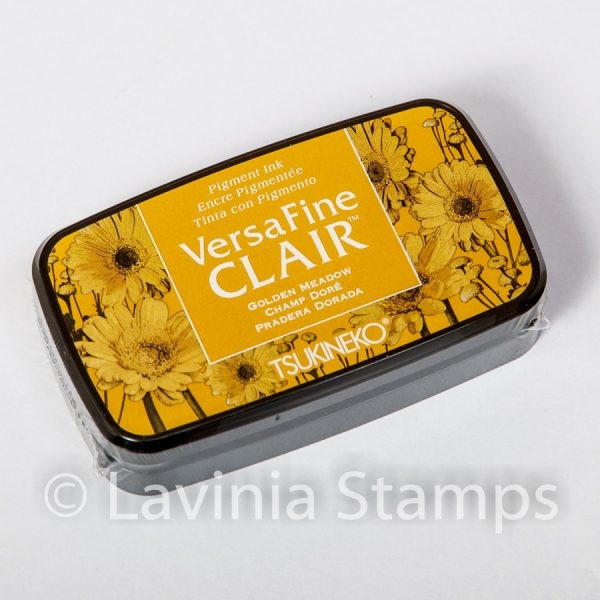
7. Stamp Mia LAV284 in Versafine Clair Nocturne, Stars mini in Versafine Clair Golden Meadow and Foliage set in Versafine Clair Twilight. See the picture for placement.
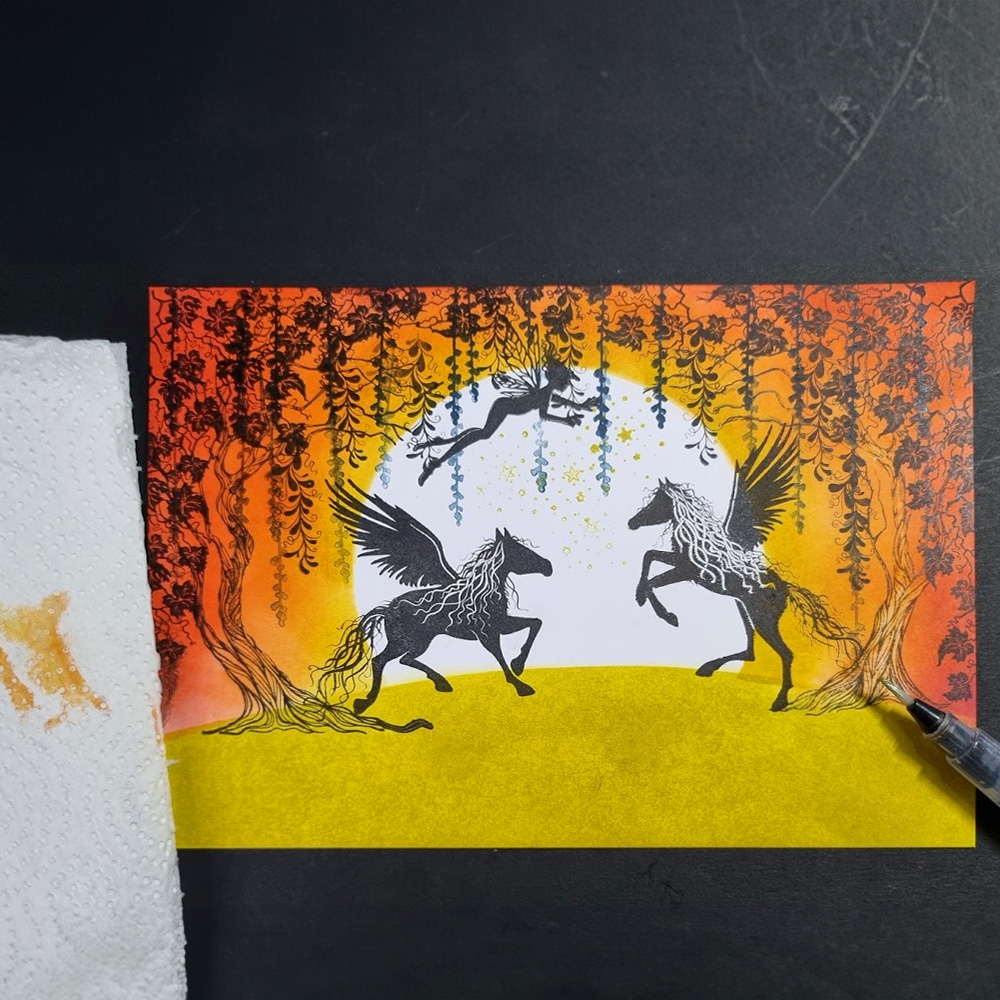
8. Using a water brush and kitchen towel I faux bleached most of the Element’s ink from the trees to prepare for adding colour.
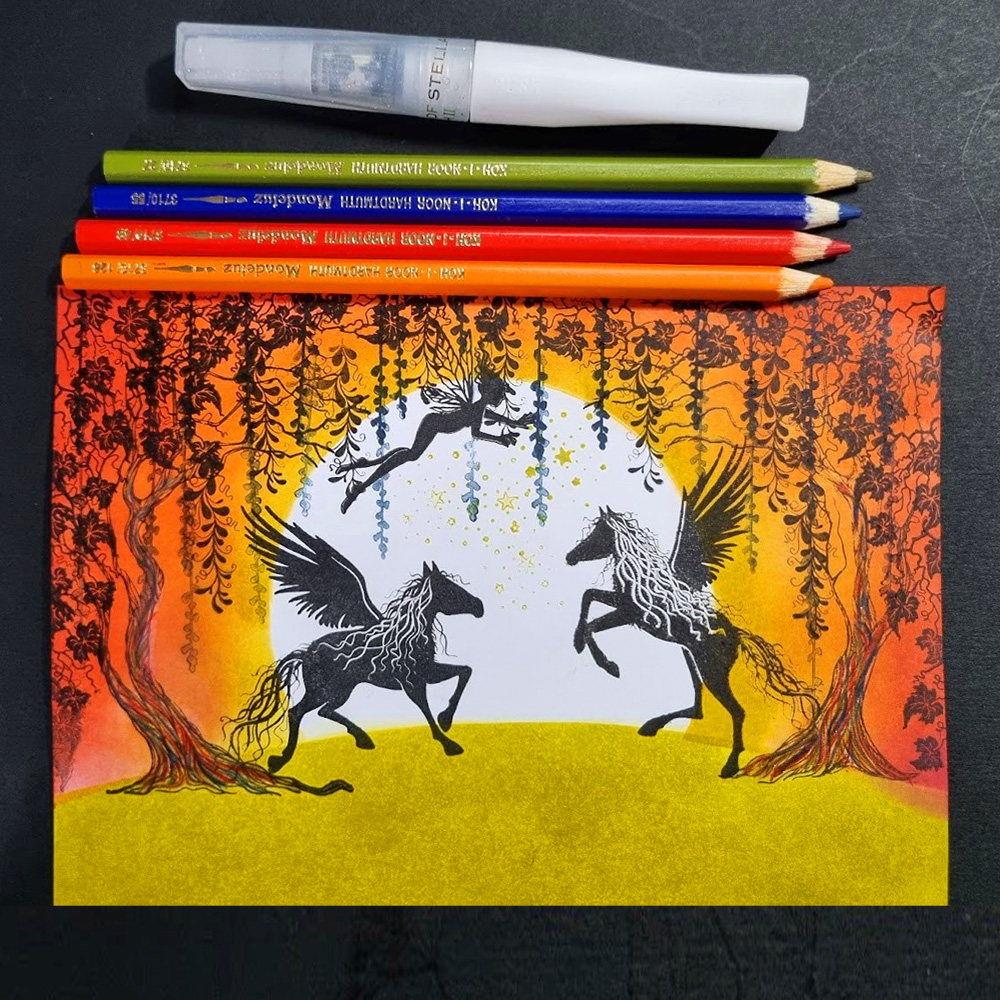
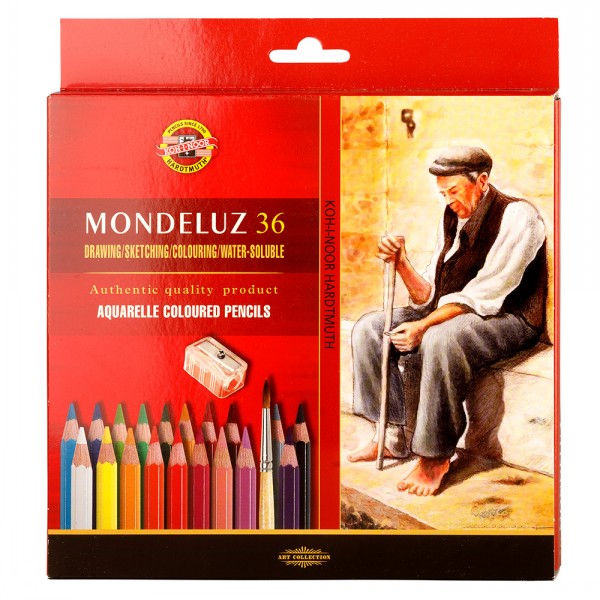
9. Using the Mondeluz watercolour pencils orange 128, red 48, blue 55 and green 27 colour the trees. Blend them using A Wink of Stella.

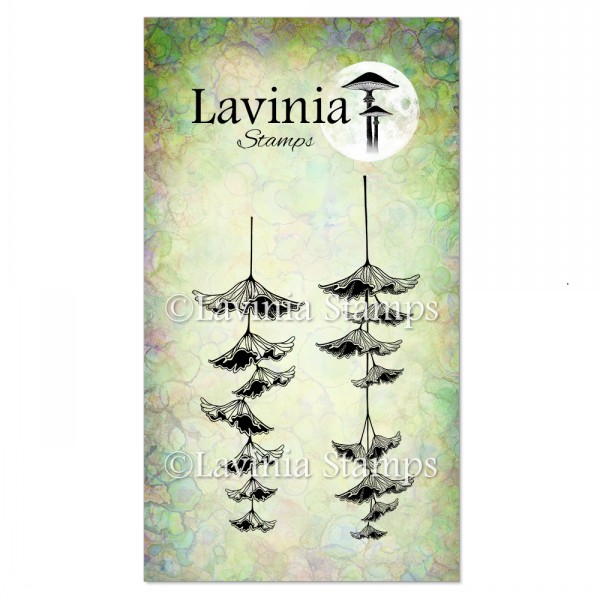
10. Now stamp the Fairy Bonnet set using Versafine Clair Nocturne. See the picture for placement.
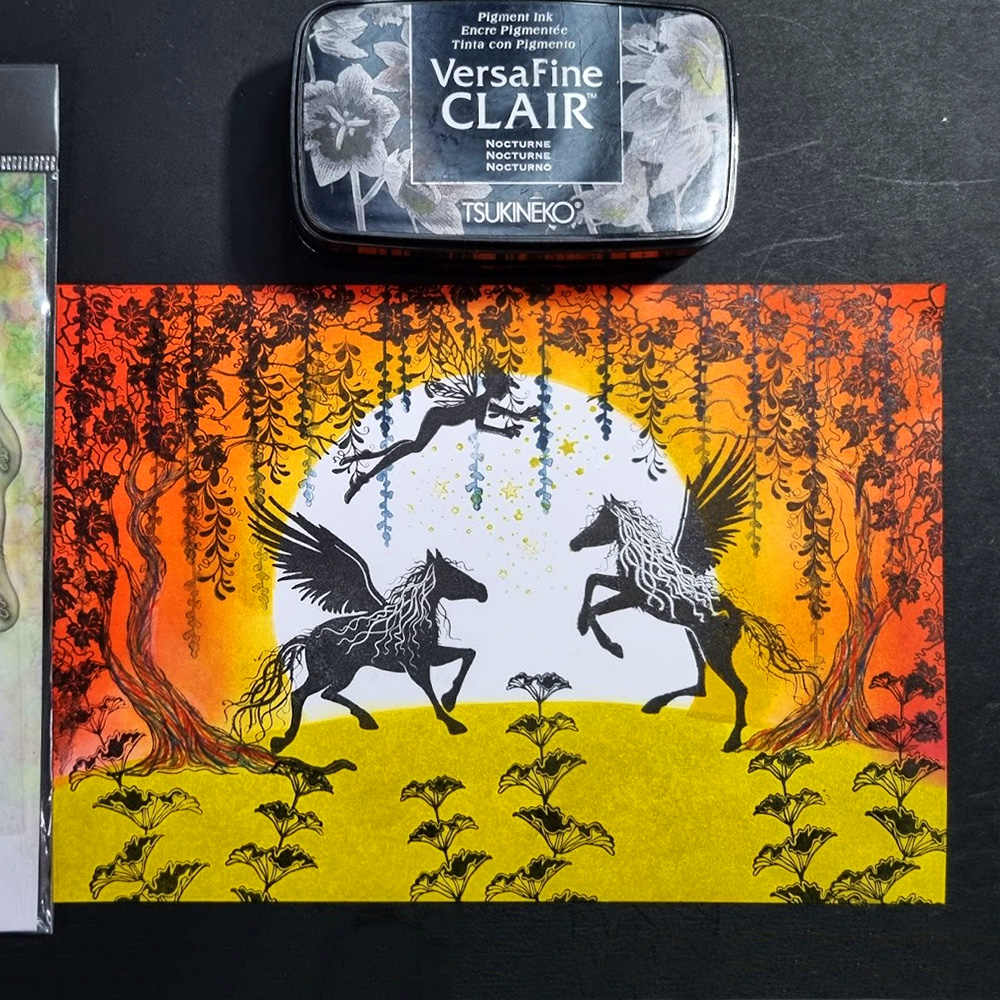
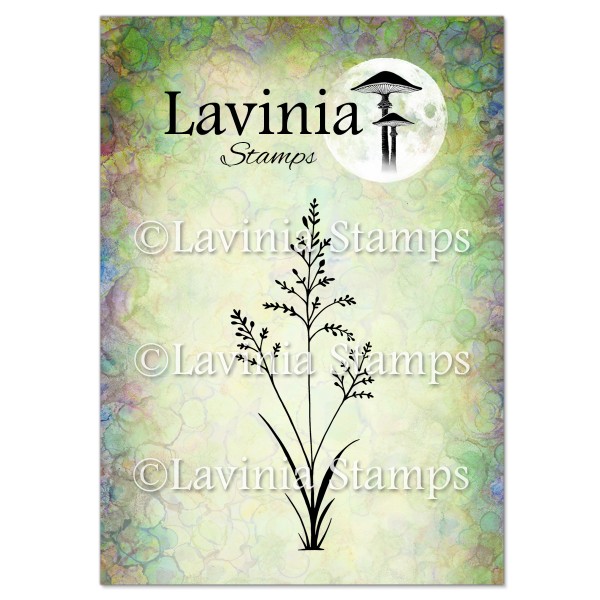
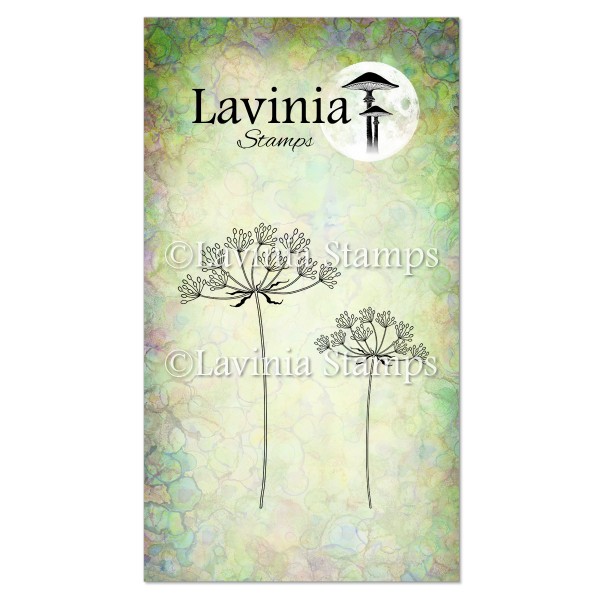
11. Stamp Orchard Grass LAV627 in Versafine Clair Twilight and Wild Summer Flower LAV749 in Versafine Clair Nocturne.
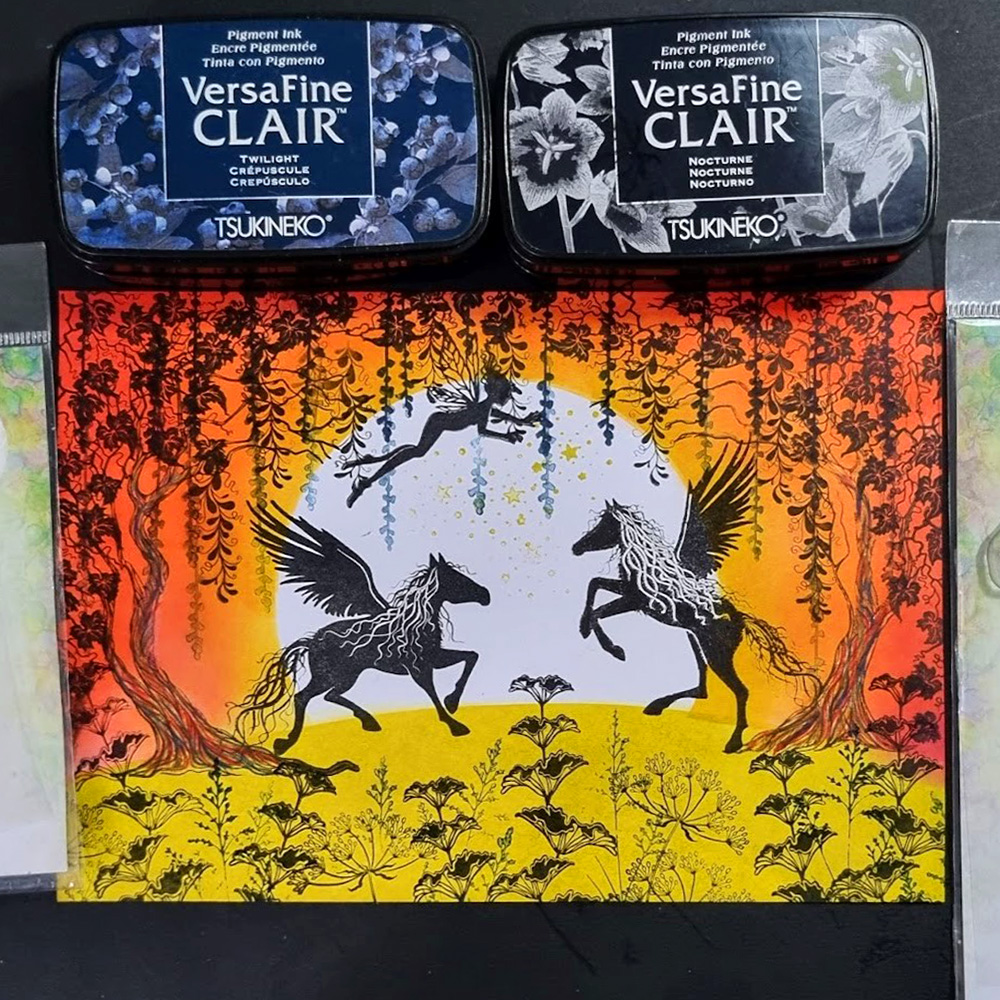
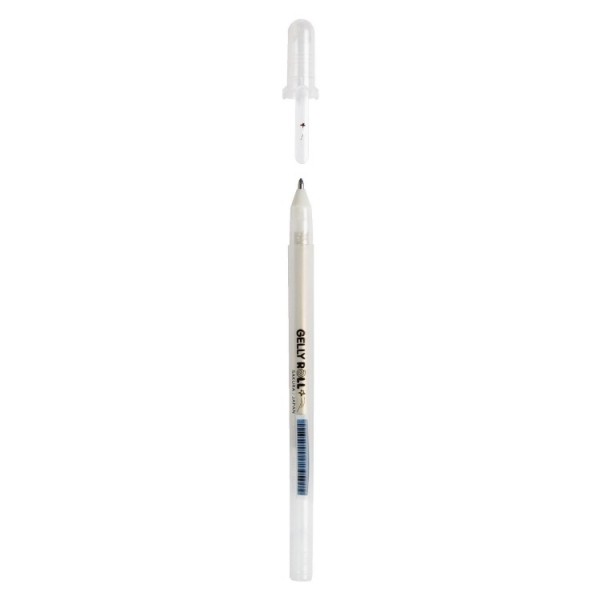
12. Colour the Fairy Bonnets using Mondeluz pencils orange 128 and red 48. Using a white Gelly roll pen on the edges of the Fairy Bonnets.
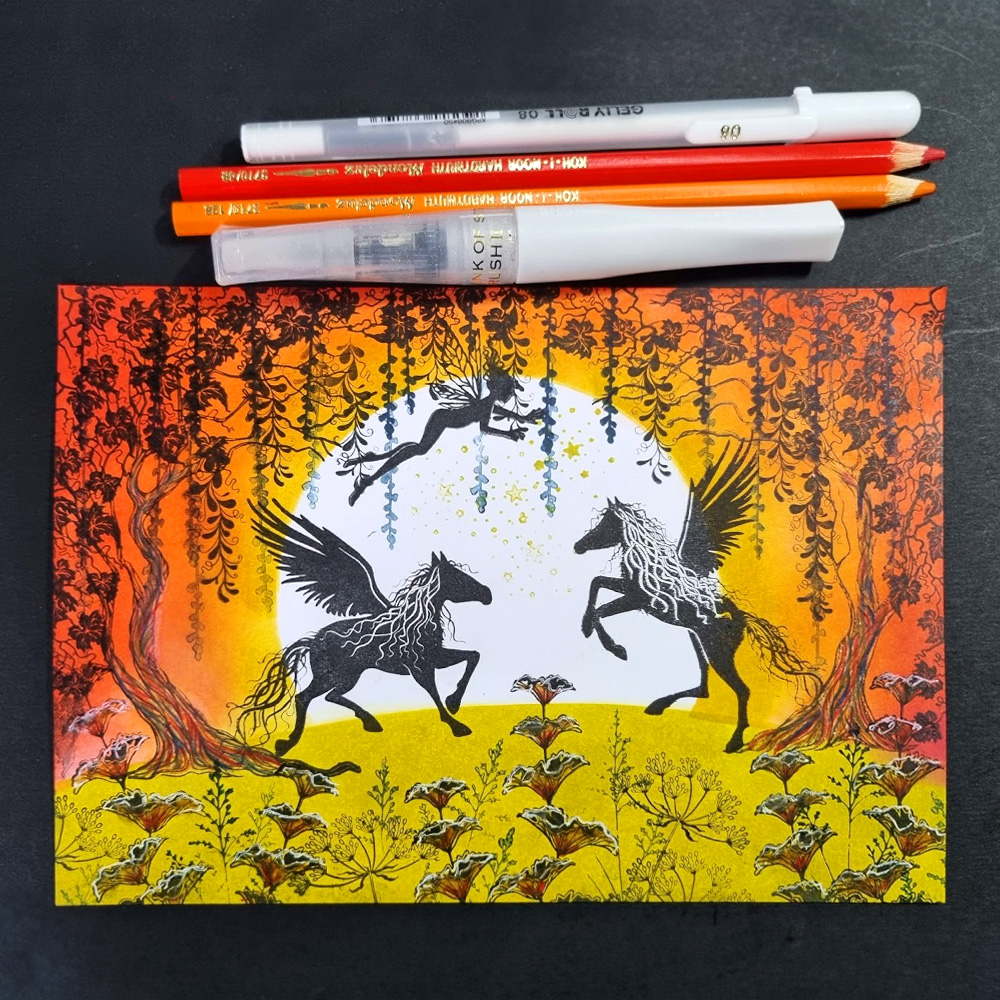
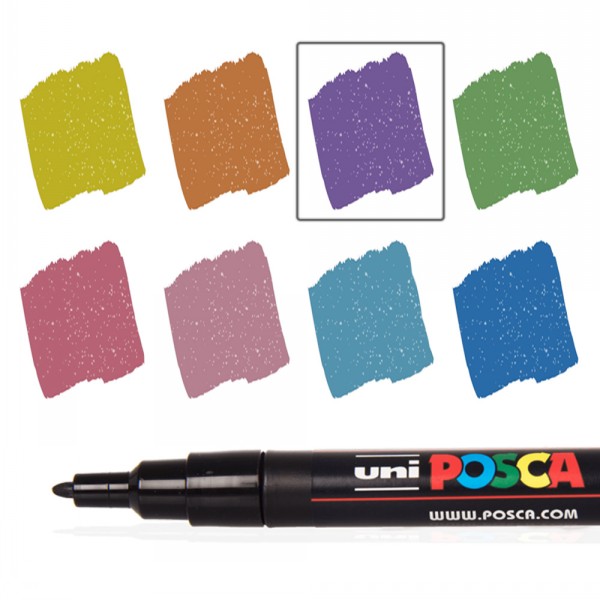
13. Using pastel pencils add shading, grounding, and highlights on Zanor, Sirlus and Mia. Red and Yellow sparkle Posca pens for the Orchard Grass and Wild Summer Flower For their manes and tails I used Sakura Gelly Roll clear stardust pen to give a little sparkle.
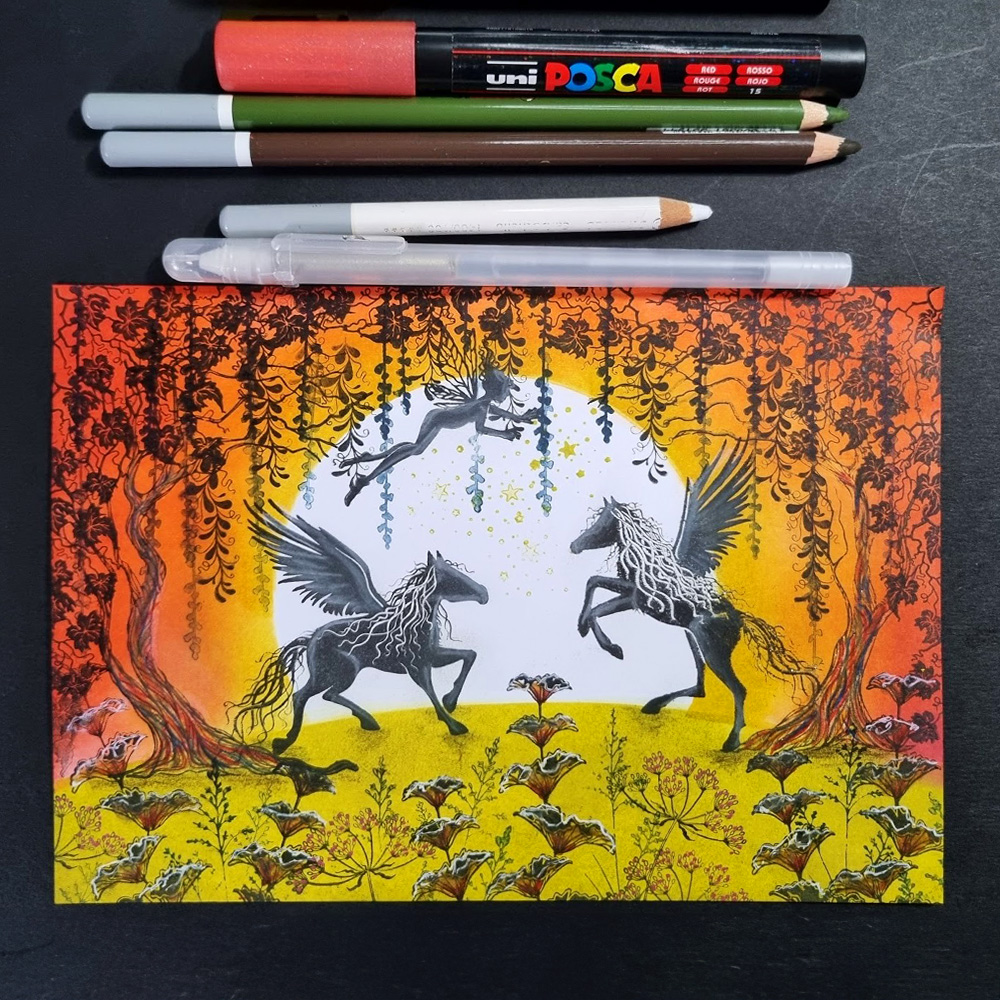
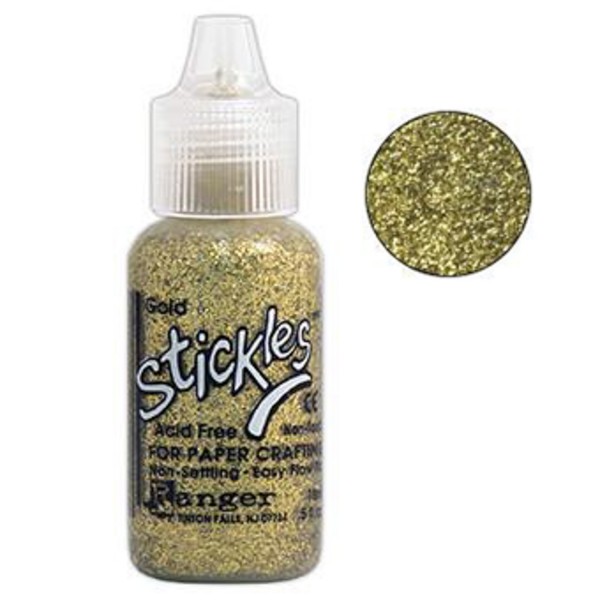
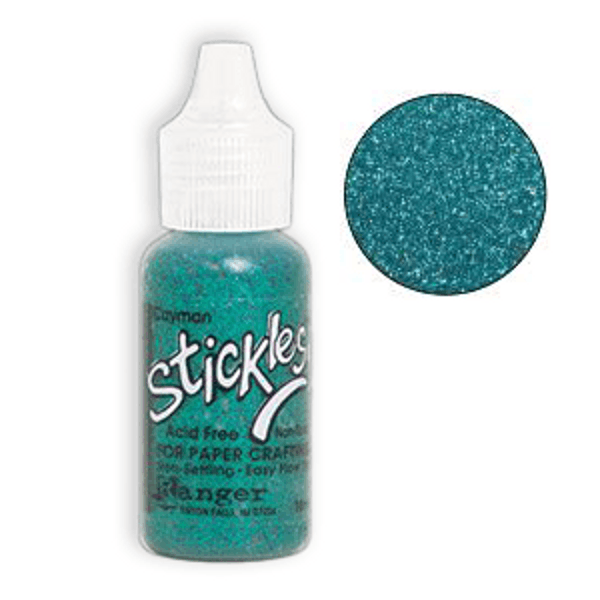
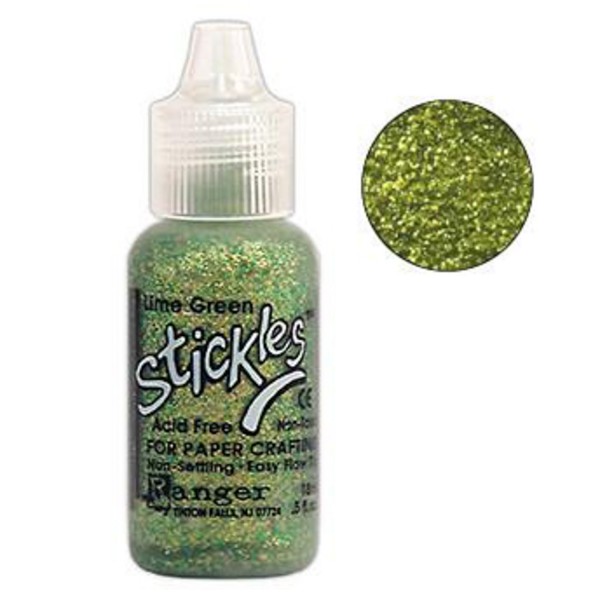
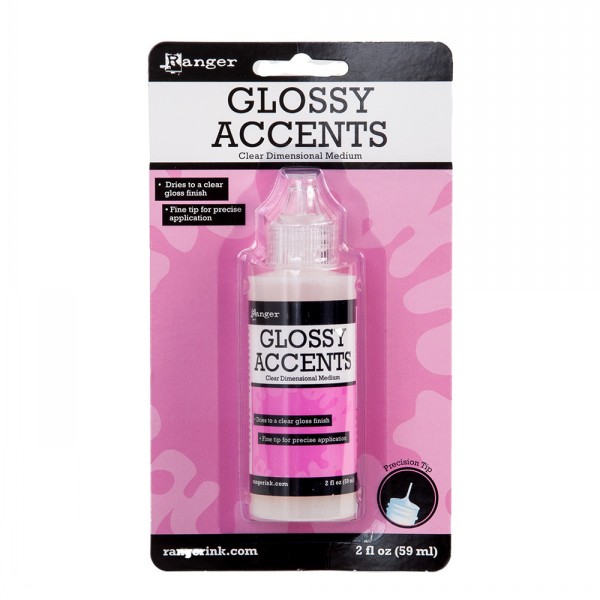
14. Add some Gold stickles for the magic stars being dropped by Mia and her wings, Cayman Stickles for the random lines from the top and Lime Green Stickles for the Orchard Grass. Glossy accents were used over the Fairy Bonnets.
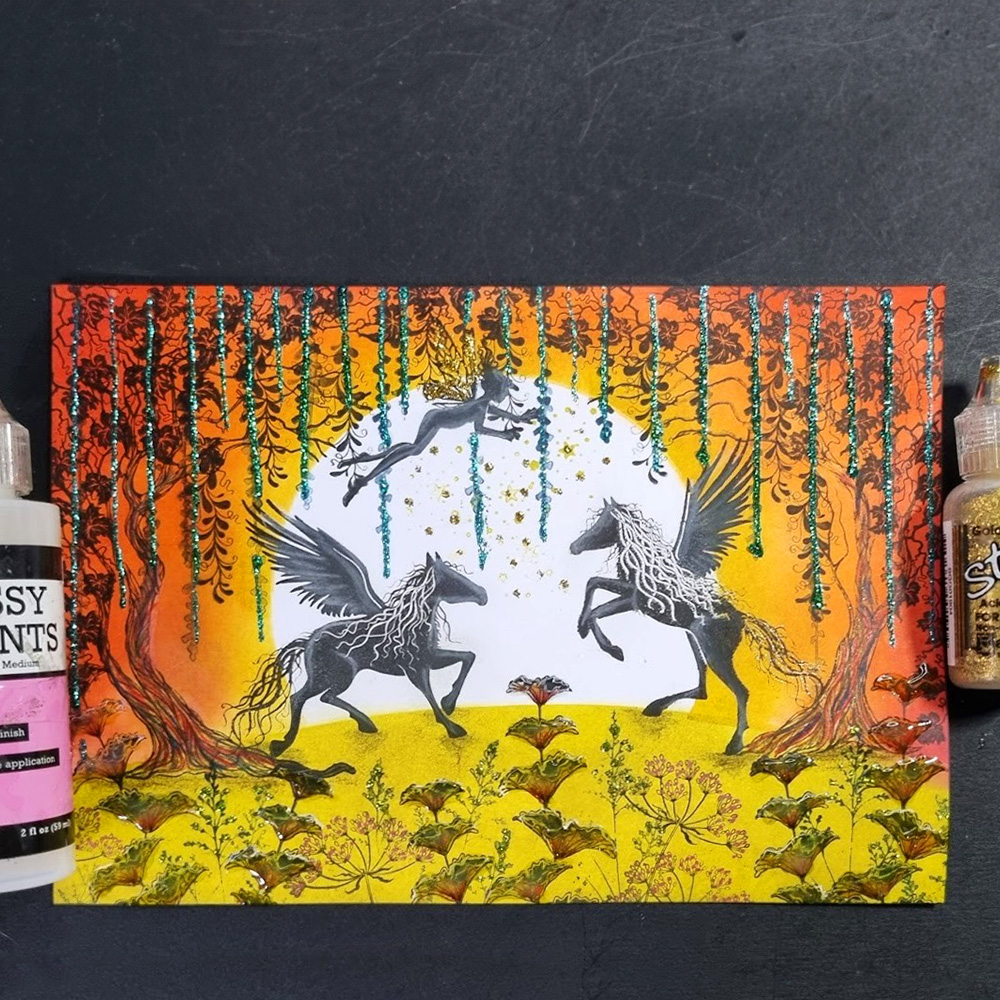
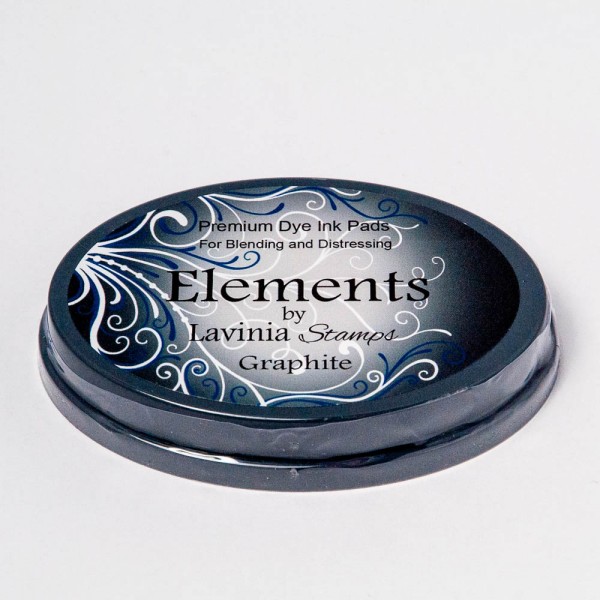
15. Darken the edges using Elements Ink Midnight Blue.
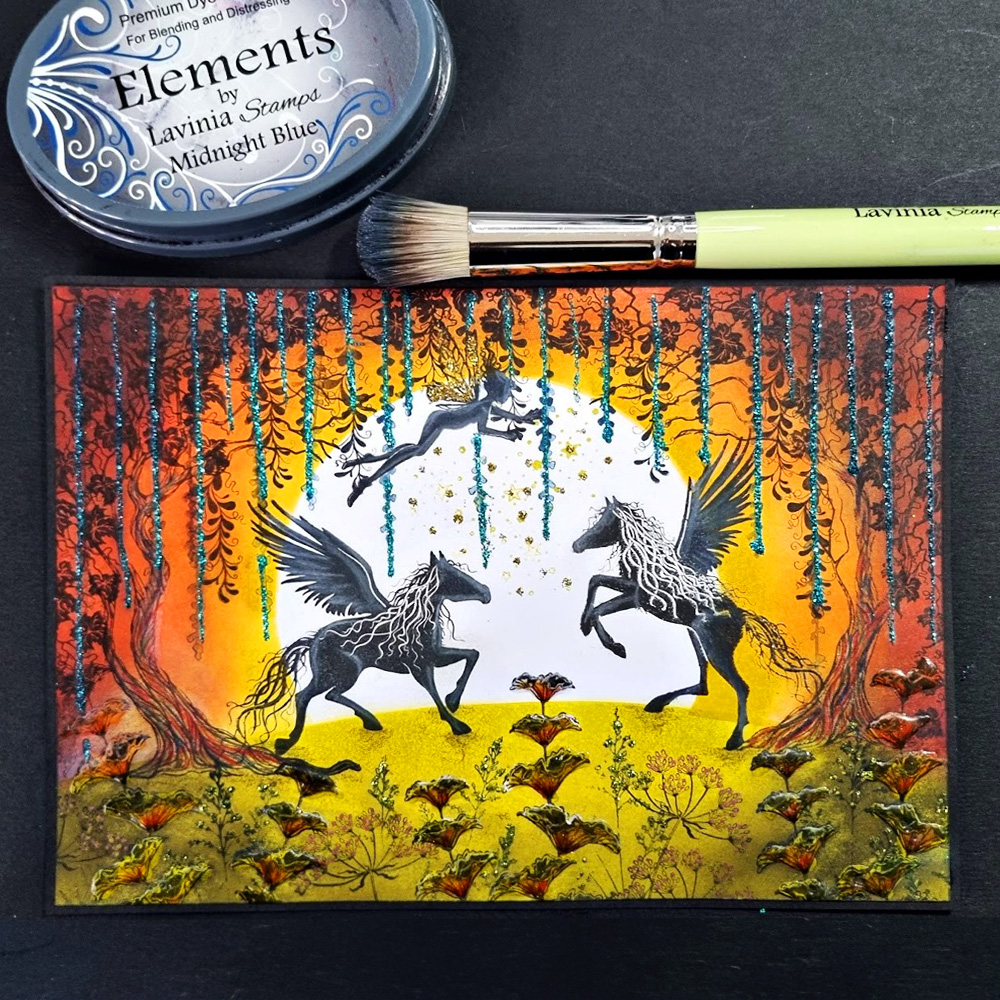
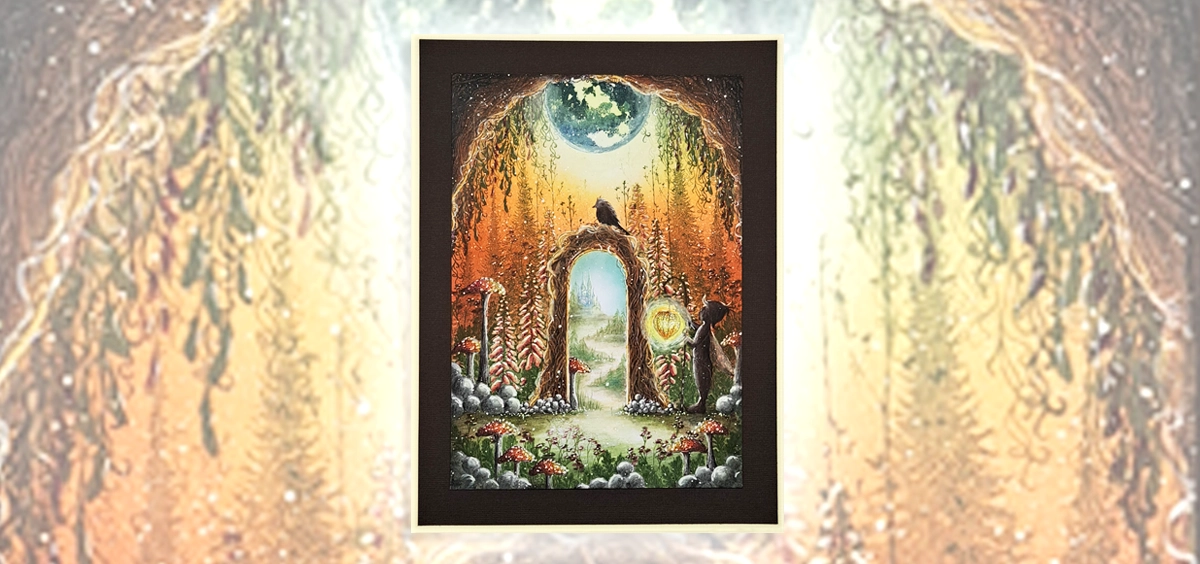
16. Here is my finished inspirational card for this month’s Lavinia Creative Challenge ‘’Animal Magic’’.
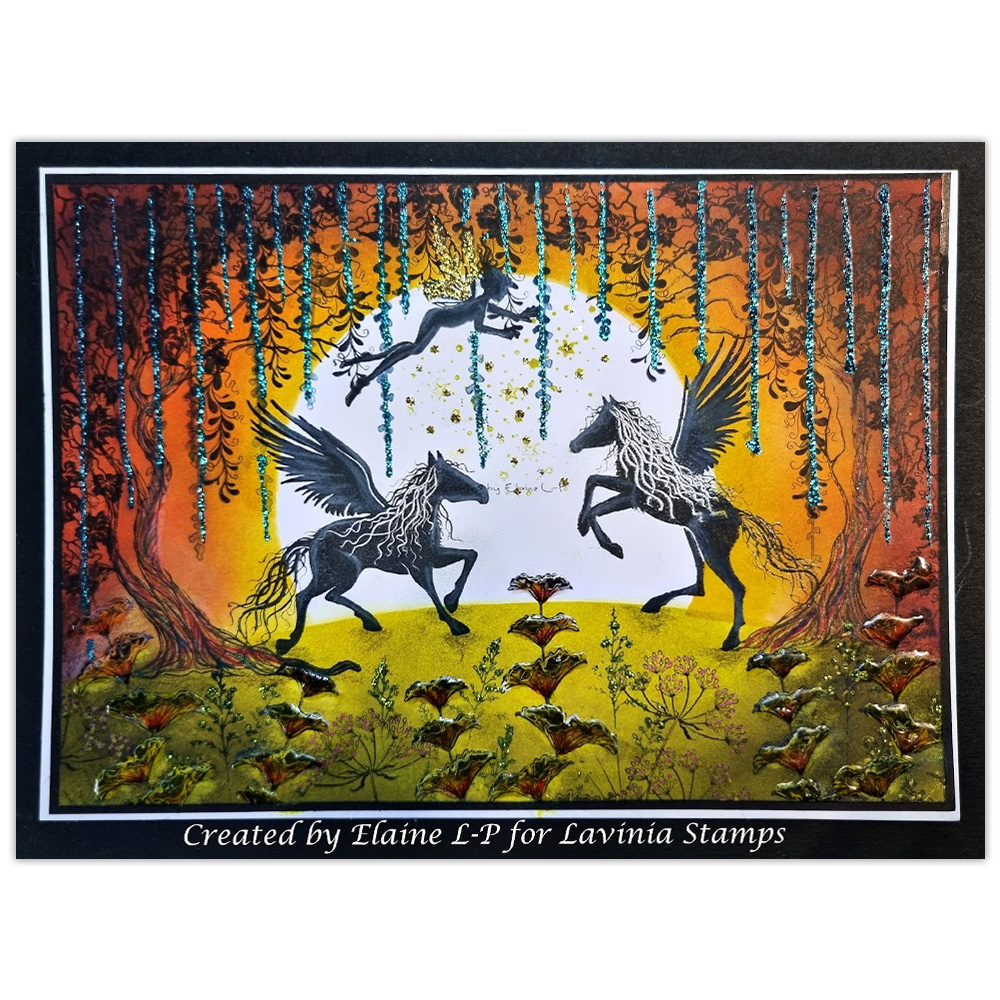
17. Thank you for taking the time to look through my Step-by Step Tutorial. I have really enjoyed making my card and I hope you like it too.


