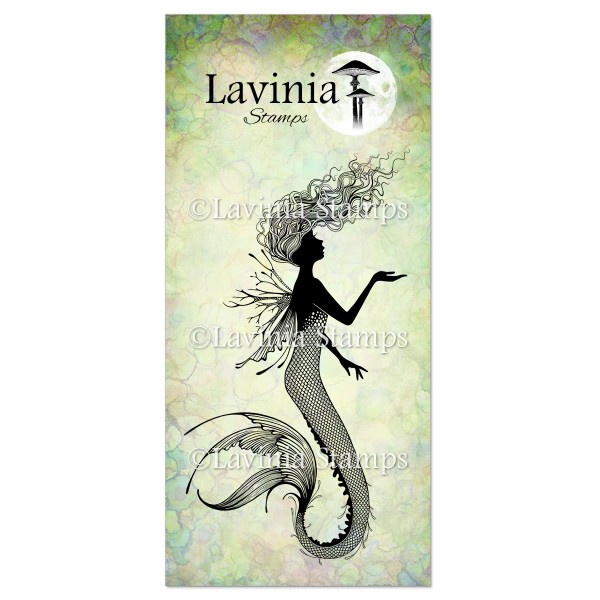
 Althea Stamp
£13.80
Add to basket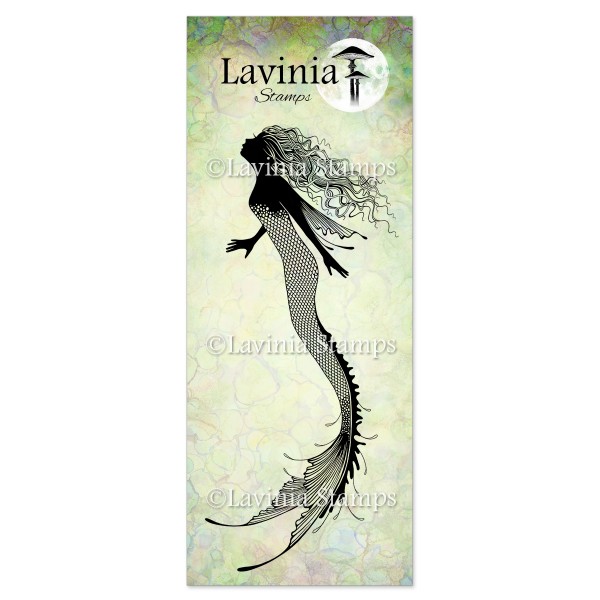 Zelith Stamp
£13.80
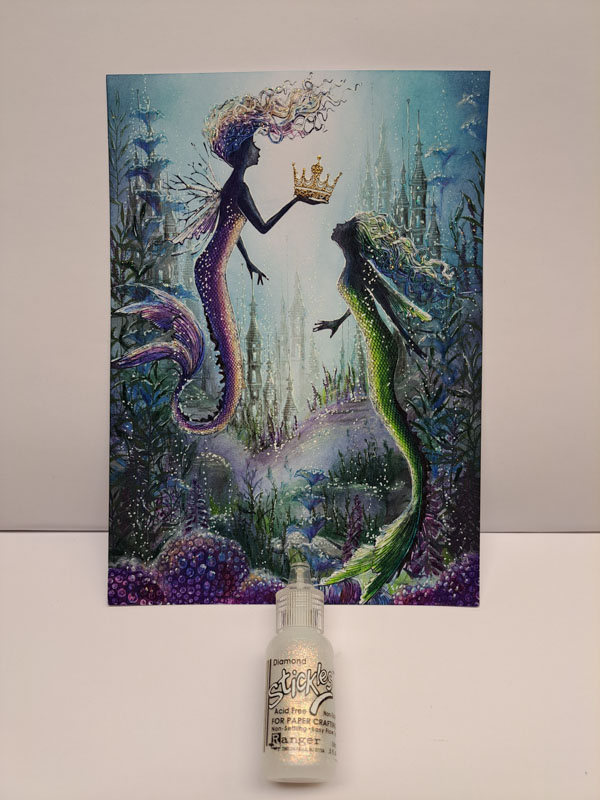
Add to basket Mini Crown Stamp
£1.00
Add to basket Glow Flowers Stamp
£8.00
Add to basket Foxglove Stamp
£7.90
Add to basket Fairy Bonnet Set Stamp
£8.90
Add to basket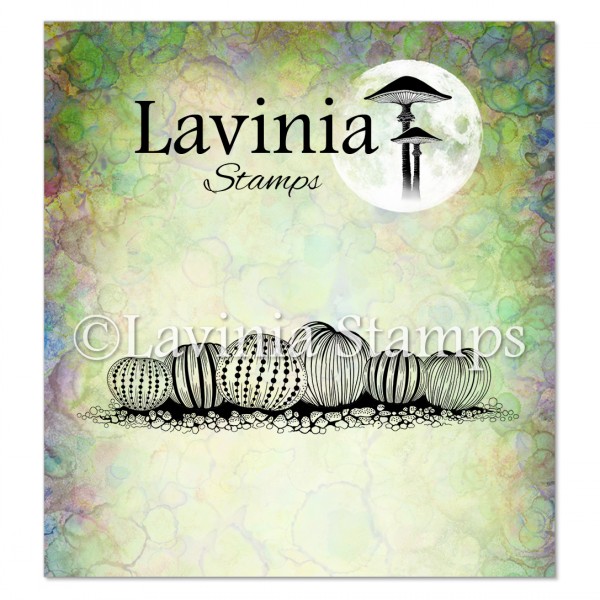 Urchins Stamp
£6.80
Add to basket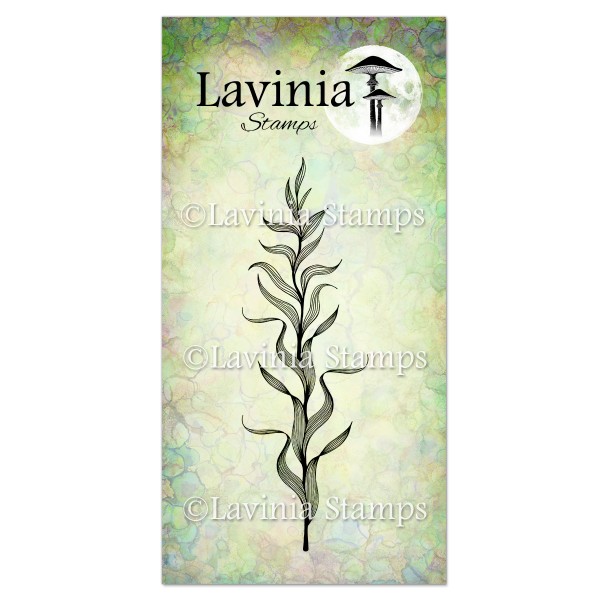 Marine Kelp Stamp
£7.90
Add to basket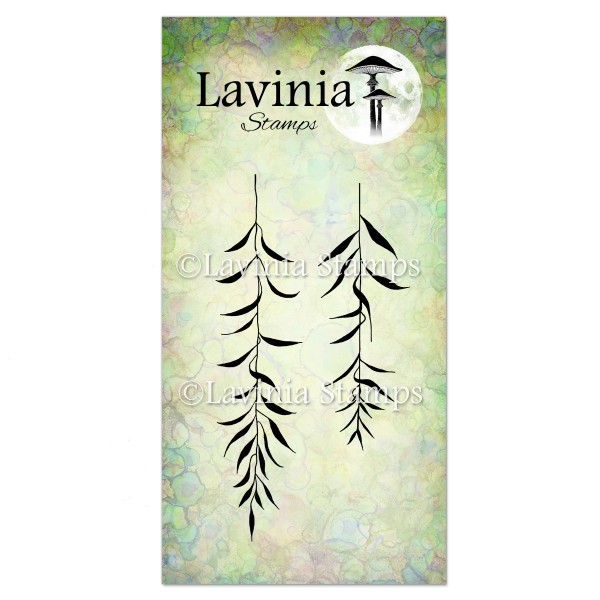 Willow Stamp
£7.80
Add to basket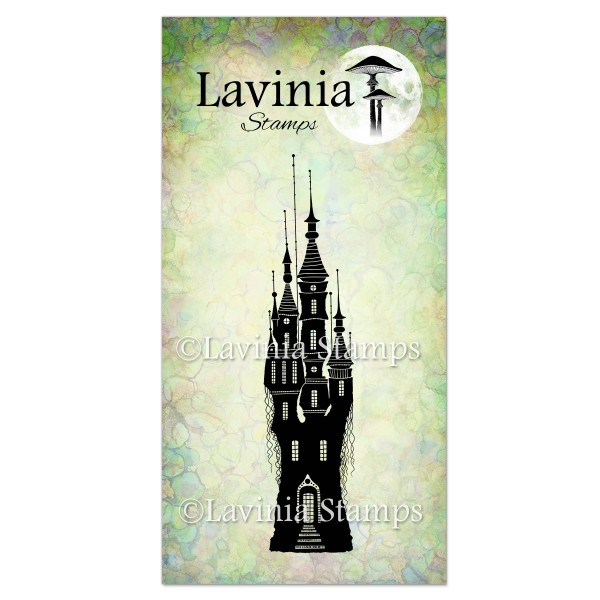 Far World Castle Stamp
£6.90
Add to basket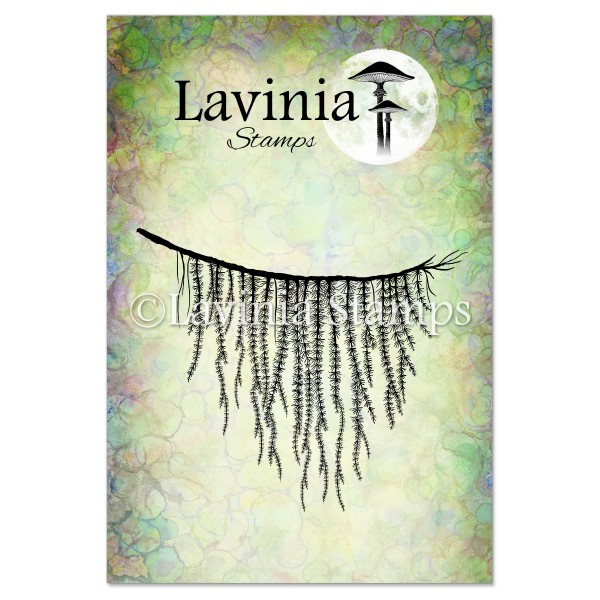 Forest Spruce Stamp
£8.10
Add to basket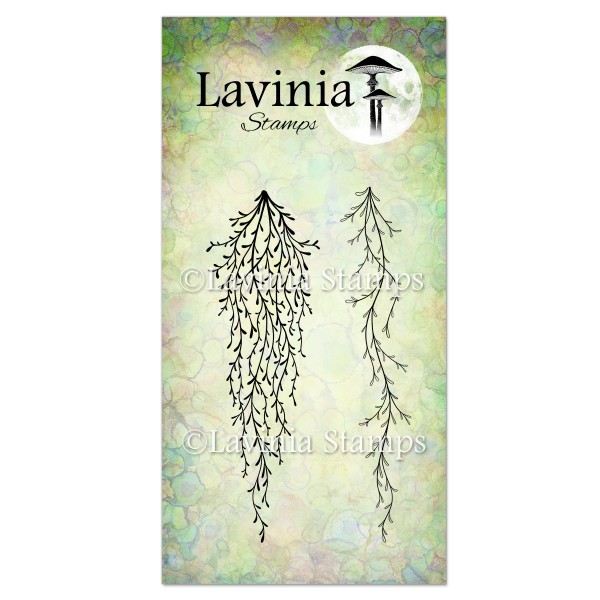 Spanish Moss Stamp
£8.20
Add to basket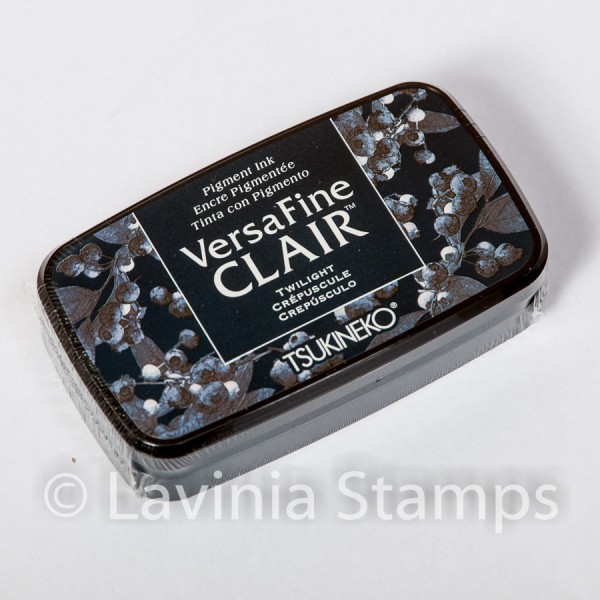 Versafine Clair Ink Pad – Twilight
£5.80
Add to basket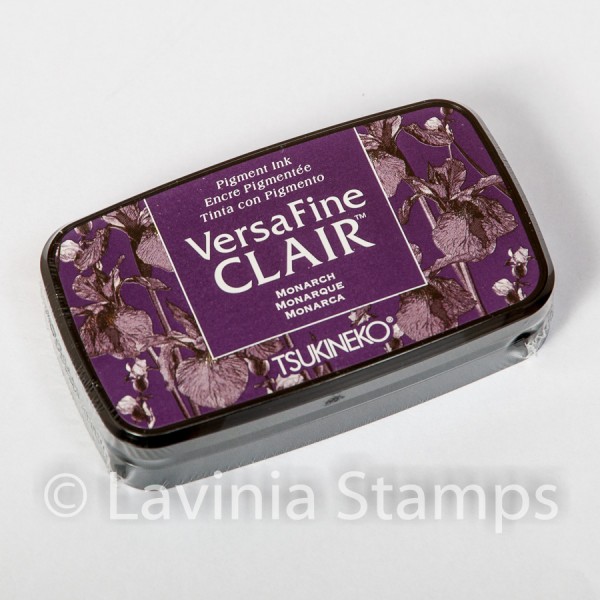 Versafine Clair Ink Pad – Monarch
£5.80
Add to basket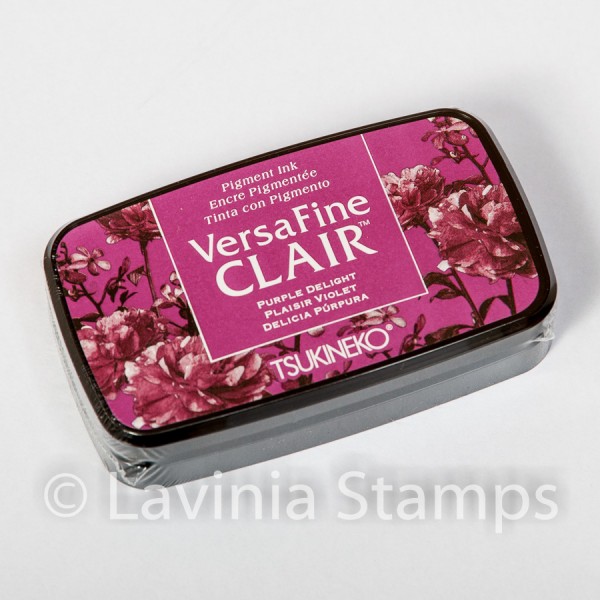 Versafine Clair Ink Pad – Purple Delight
£5.80
Add to basket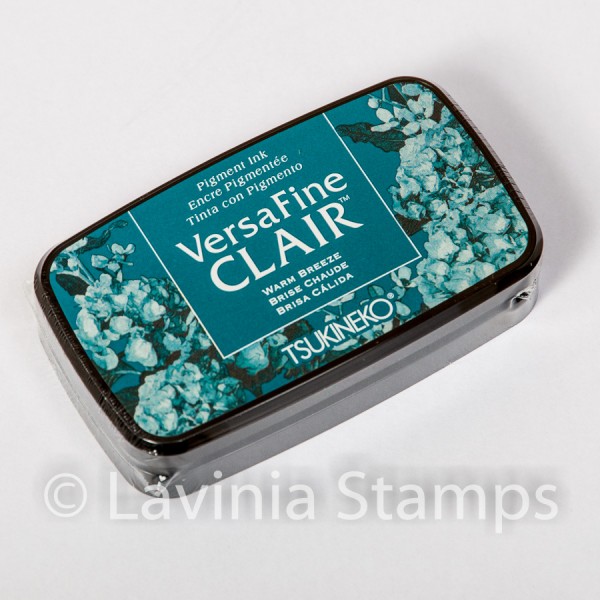 Versafine Clair Ink Pad – Warm Breeze
£5.80
Add to basket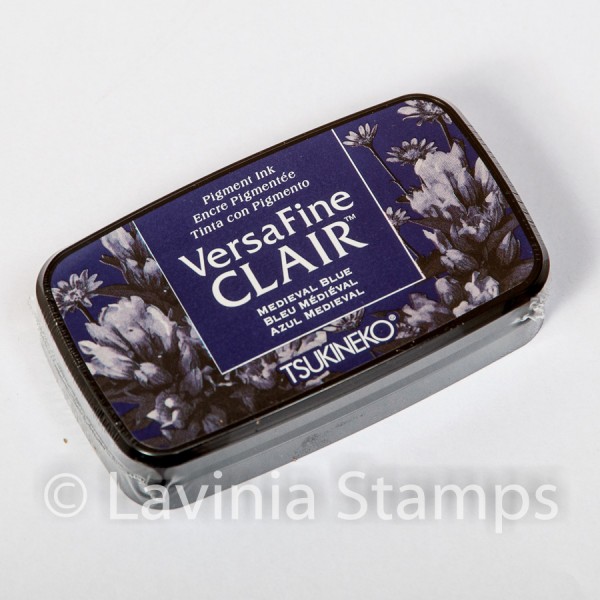 Versafine Clair Ink Pad – Medieval Blue
£5.80
Add to basket Versafine Clair Ink Pad – Rain Forest
£5.80
Add to basket Versafine Clair Ink Pad – Shady Lane
£5.80
Add to basket Versafine Clair Ink Pad – Morning Mist
£5.80
Add to basket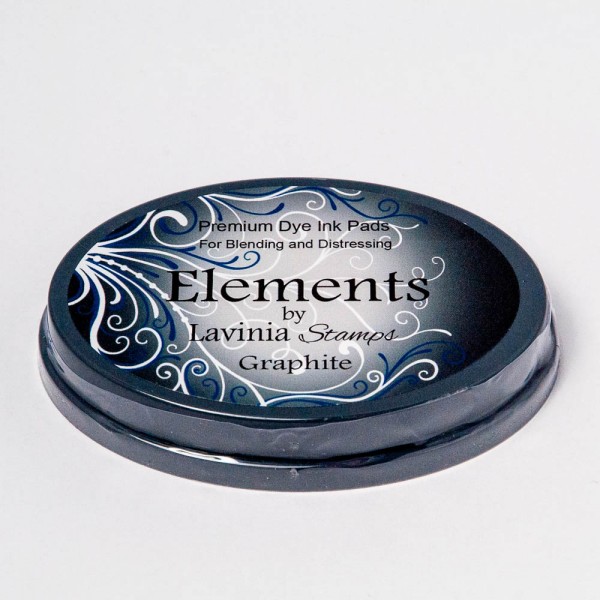 Elements Premium Dye Ink – Graphite
£5.85
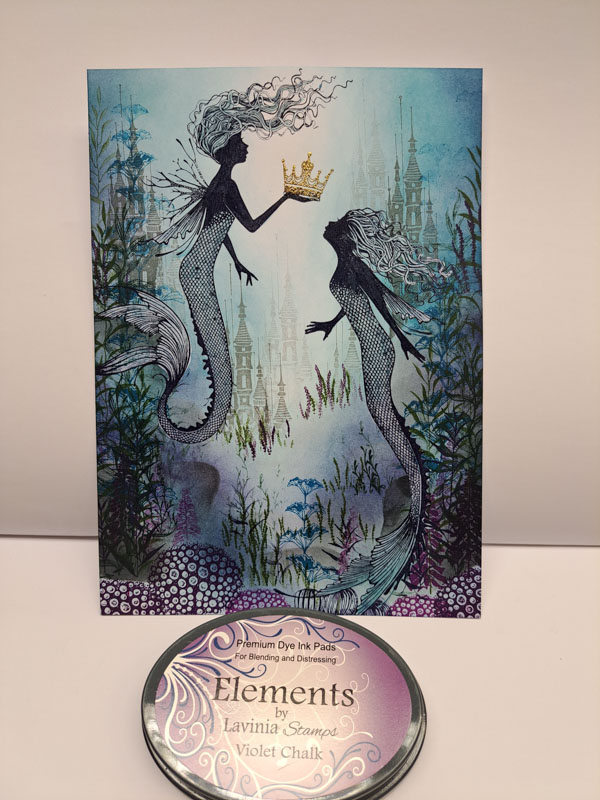
Add to basket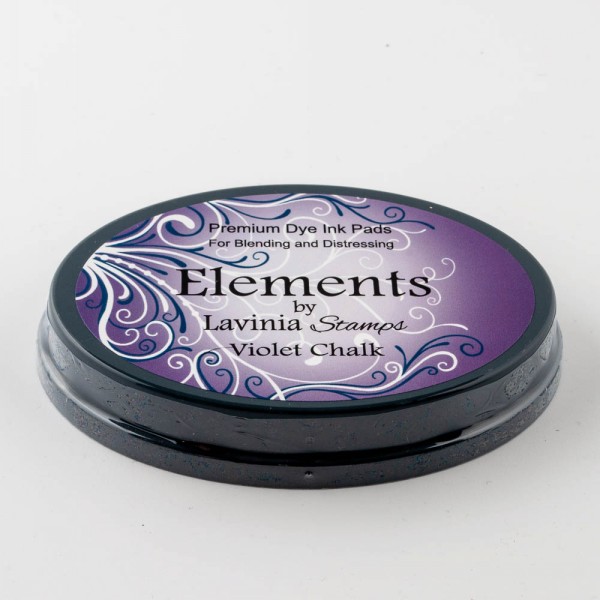 Elements Premium Dye Ink – Violet Chalk
£5.85
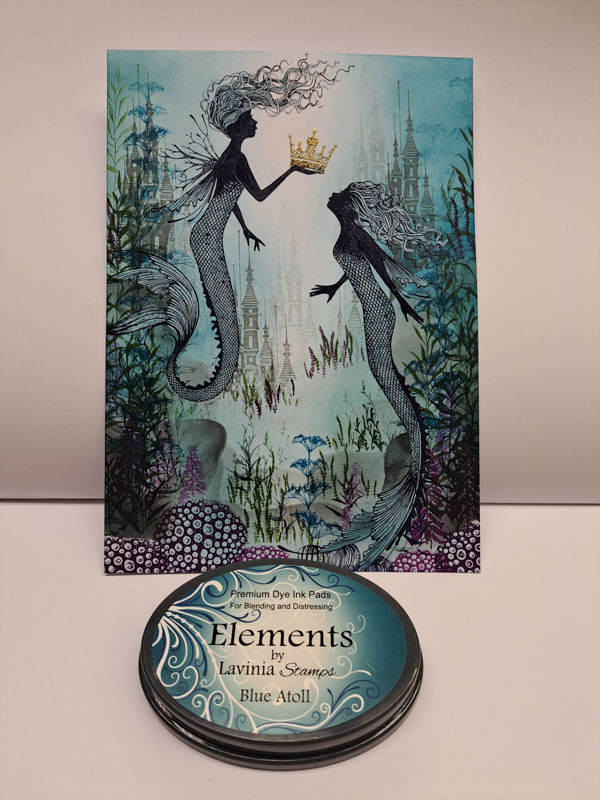
Add to basket Elements Premium Dye Ink – Blue Atoll
£5.85
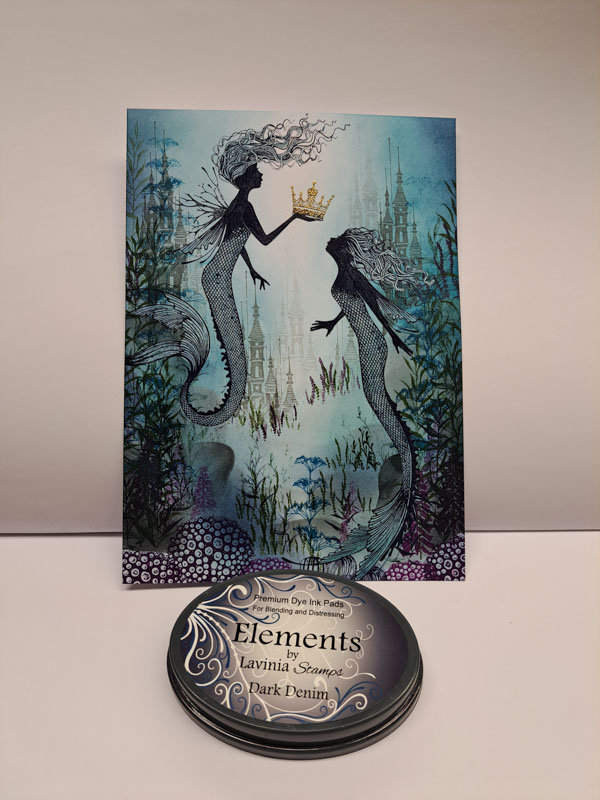
Add to basket Elements Premium Dye Ink – Dark Denim
£5.85
Add to basket