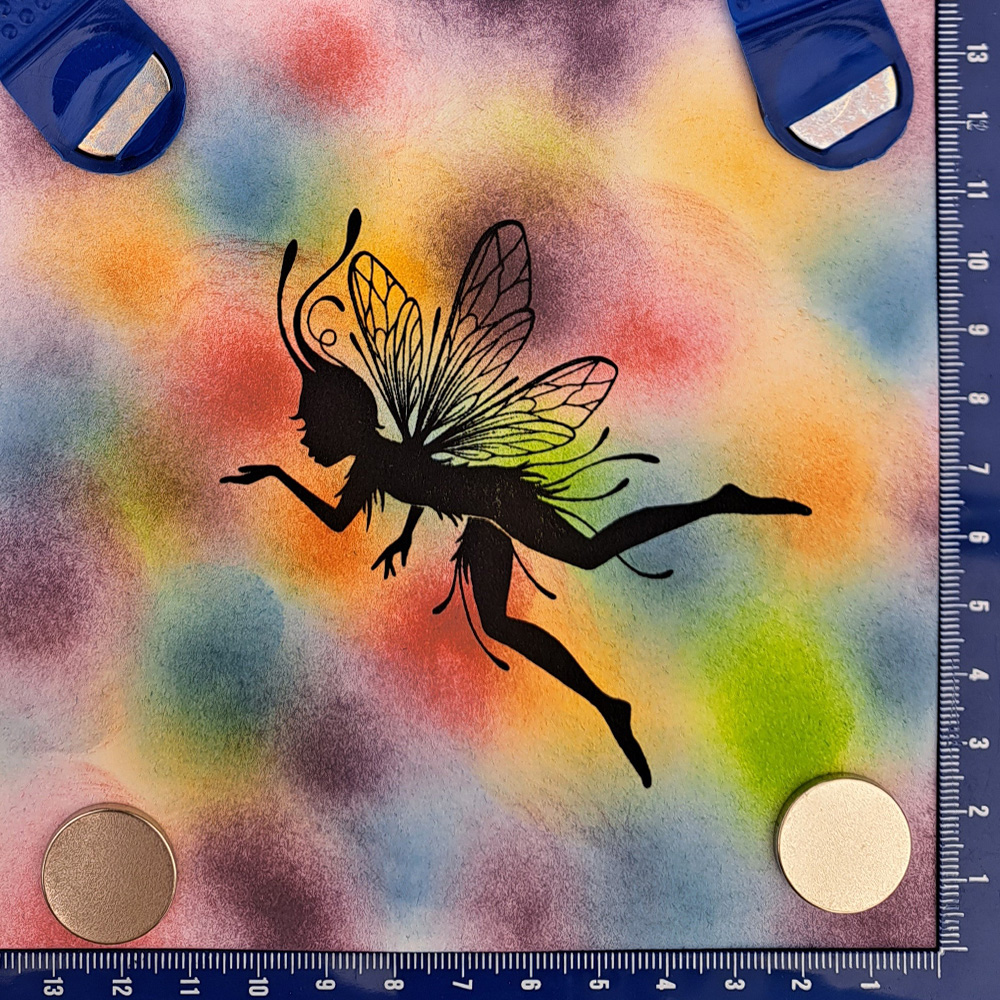


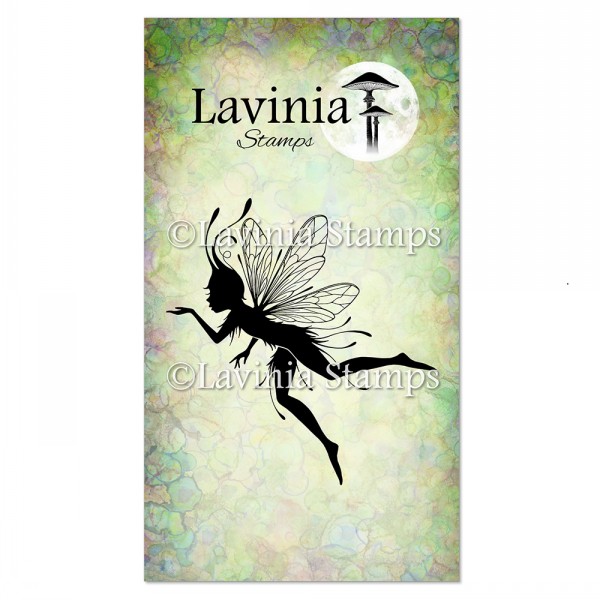
 Lumus Large Stamp
£9.80
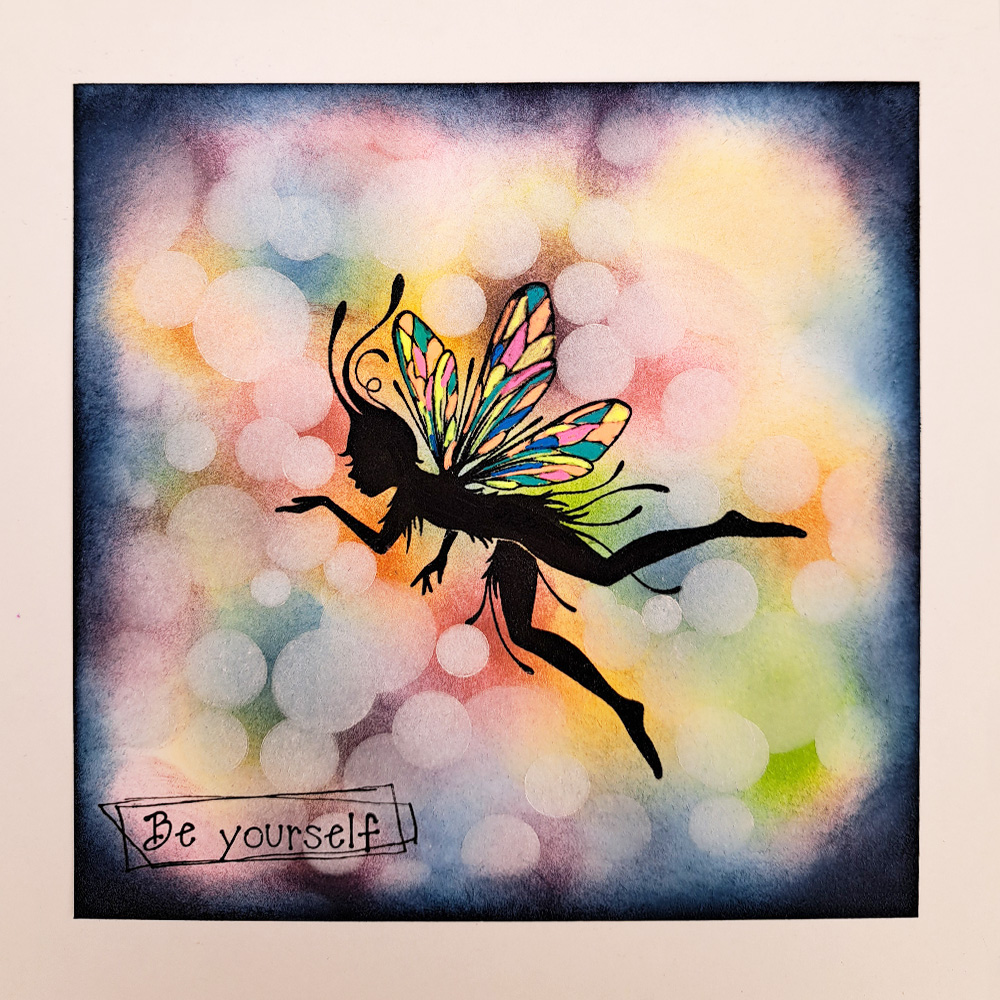
Add to cart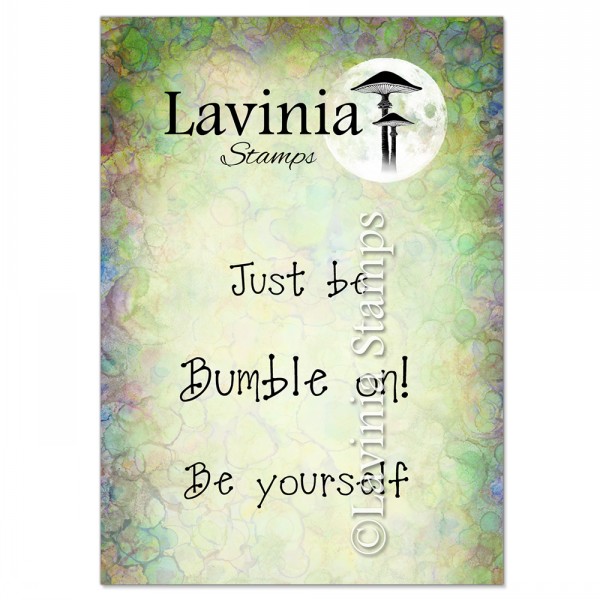 Bumble Words Stamp
£4.40
Add to cart Versafine Clair Ink Pad – Nocturne
£5.80
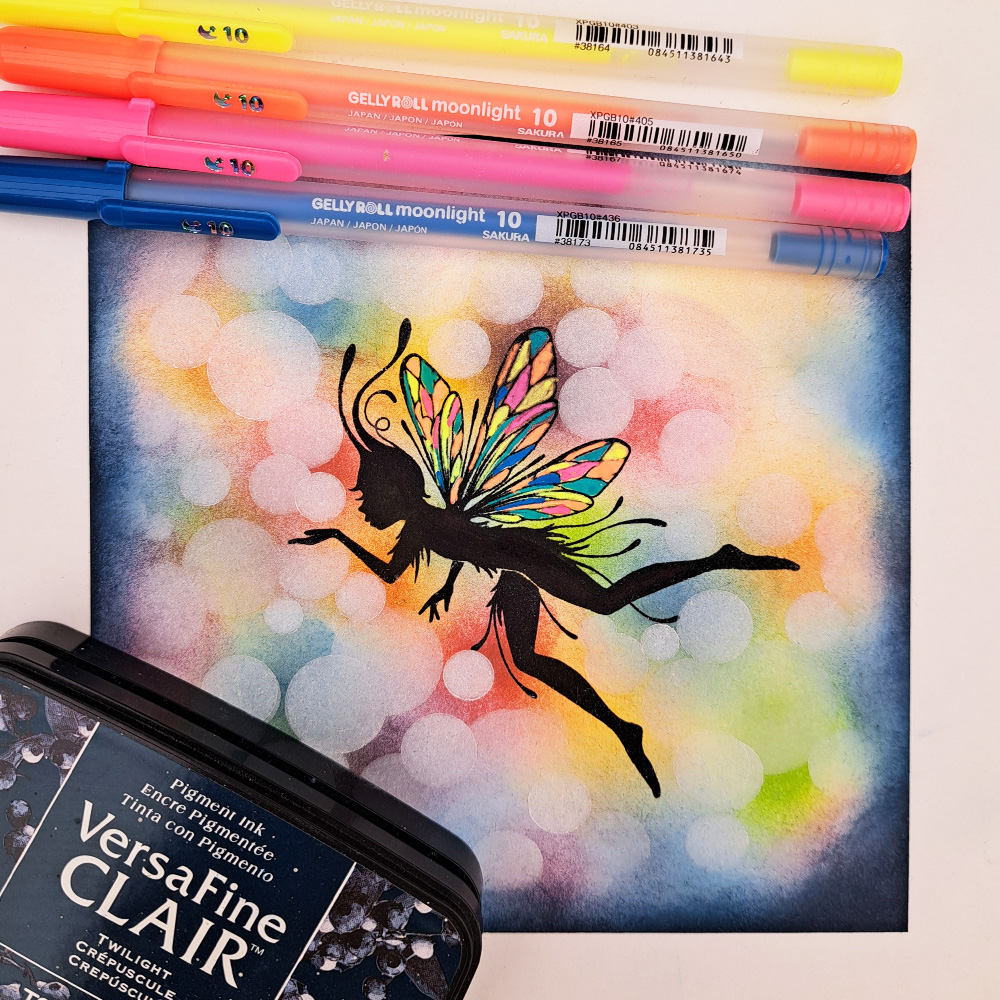
Add to cart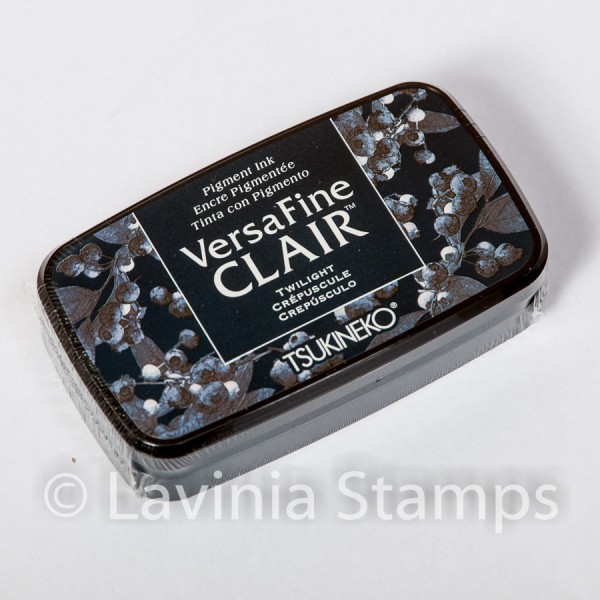 Versafine Clair Ink Pad – Twilight
£5.80
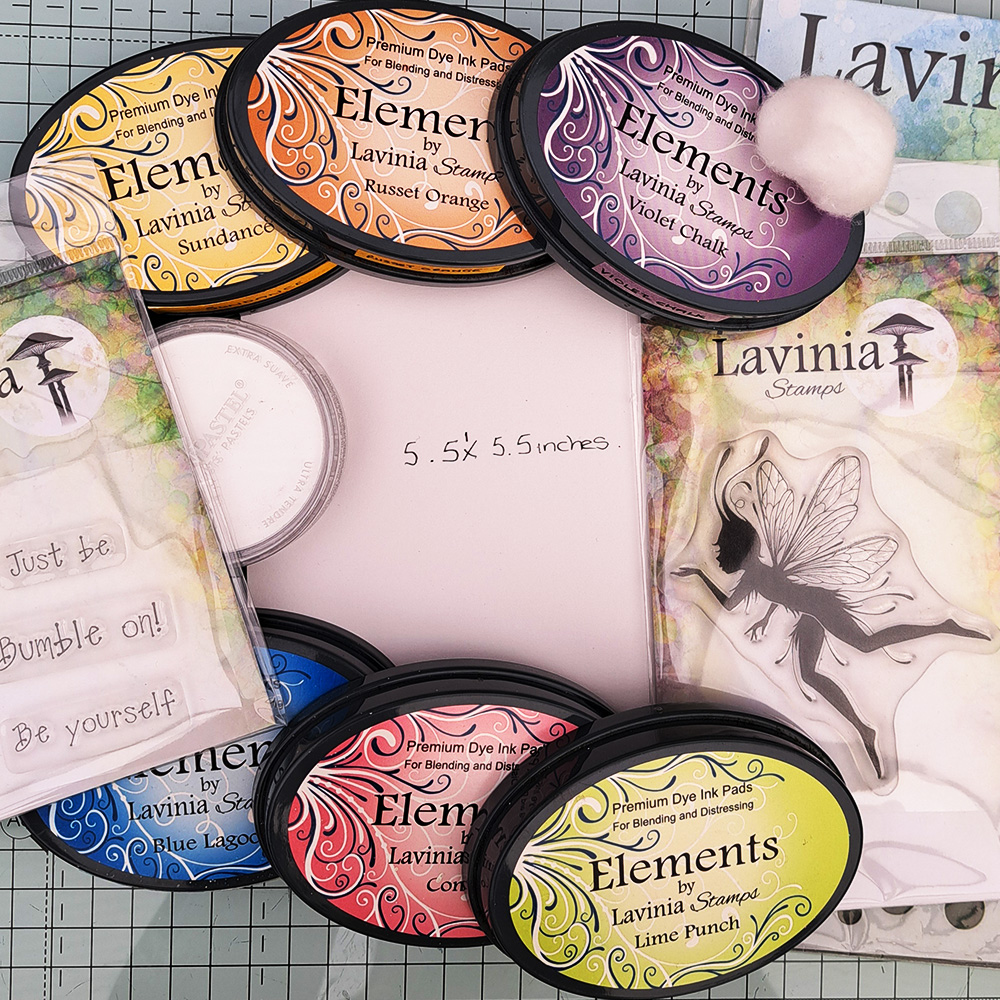
Add to cart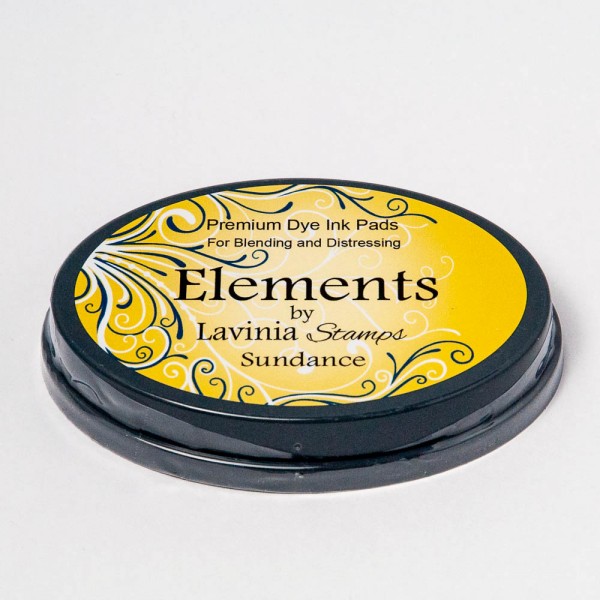 Elements Premium Dye Ink – Sundance
£5.85
Add to cart Elements Premium Dye Ink – Russet Orange
£5.85
Add to cart Elements Premium Dye Ink – Violet Chalk
£5.85
Add to cart Elements Premium Dye Ink – Lime Punch
£5.85
Add to cart Elements Premium Dye Ink – Confetti
£5.85
Add to cart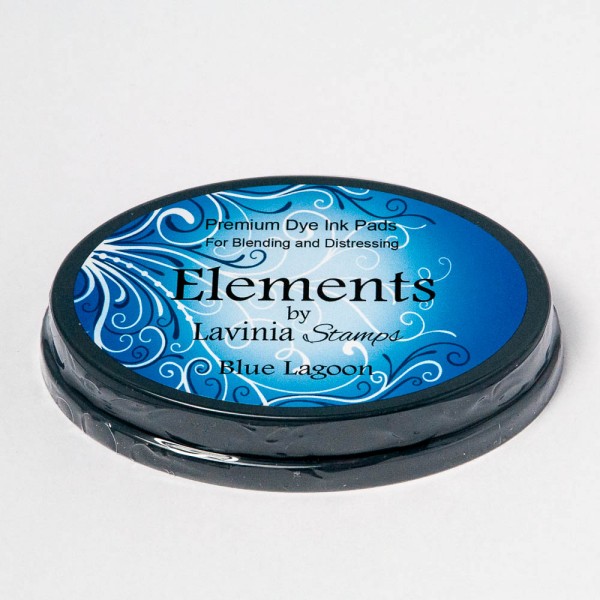 Elements Premium Dye Ink – Blue Lagoon
£5.85
Add to cart