Step by Step by Eleana Evans
Hello Everyone, It’s Eleana here.
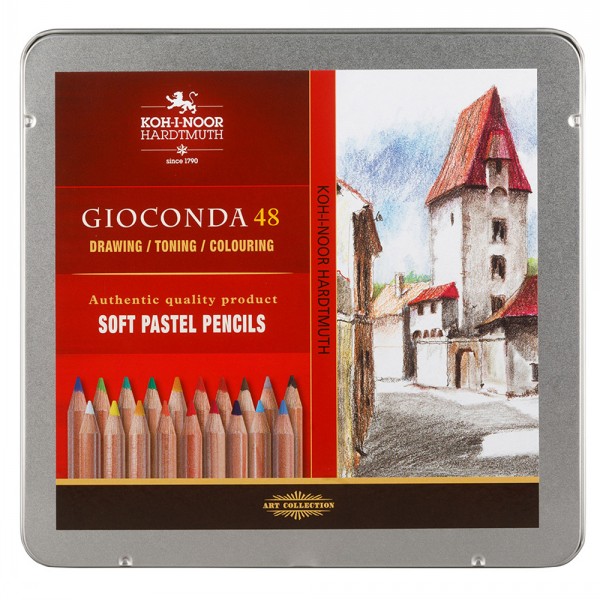
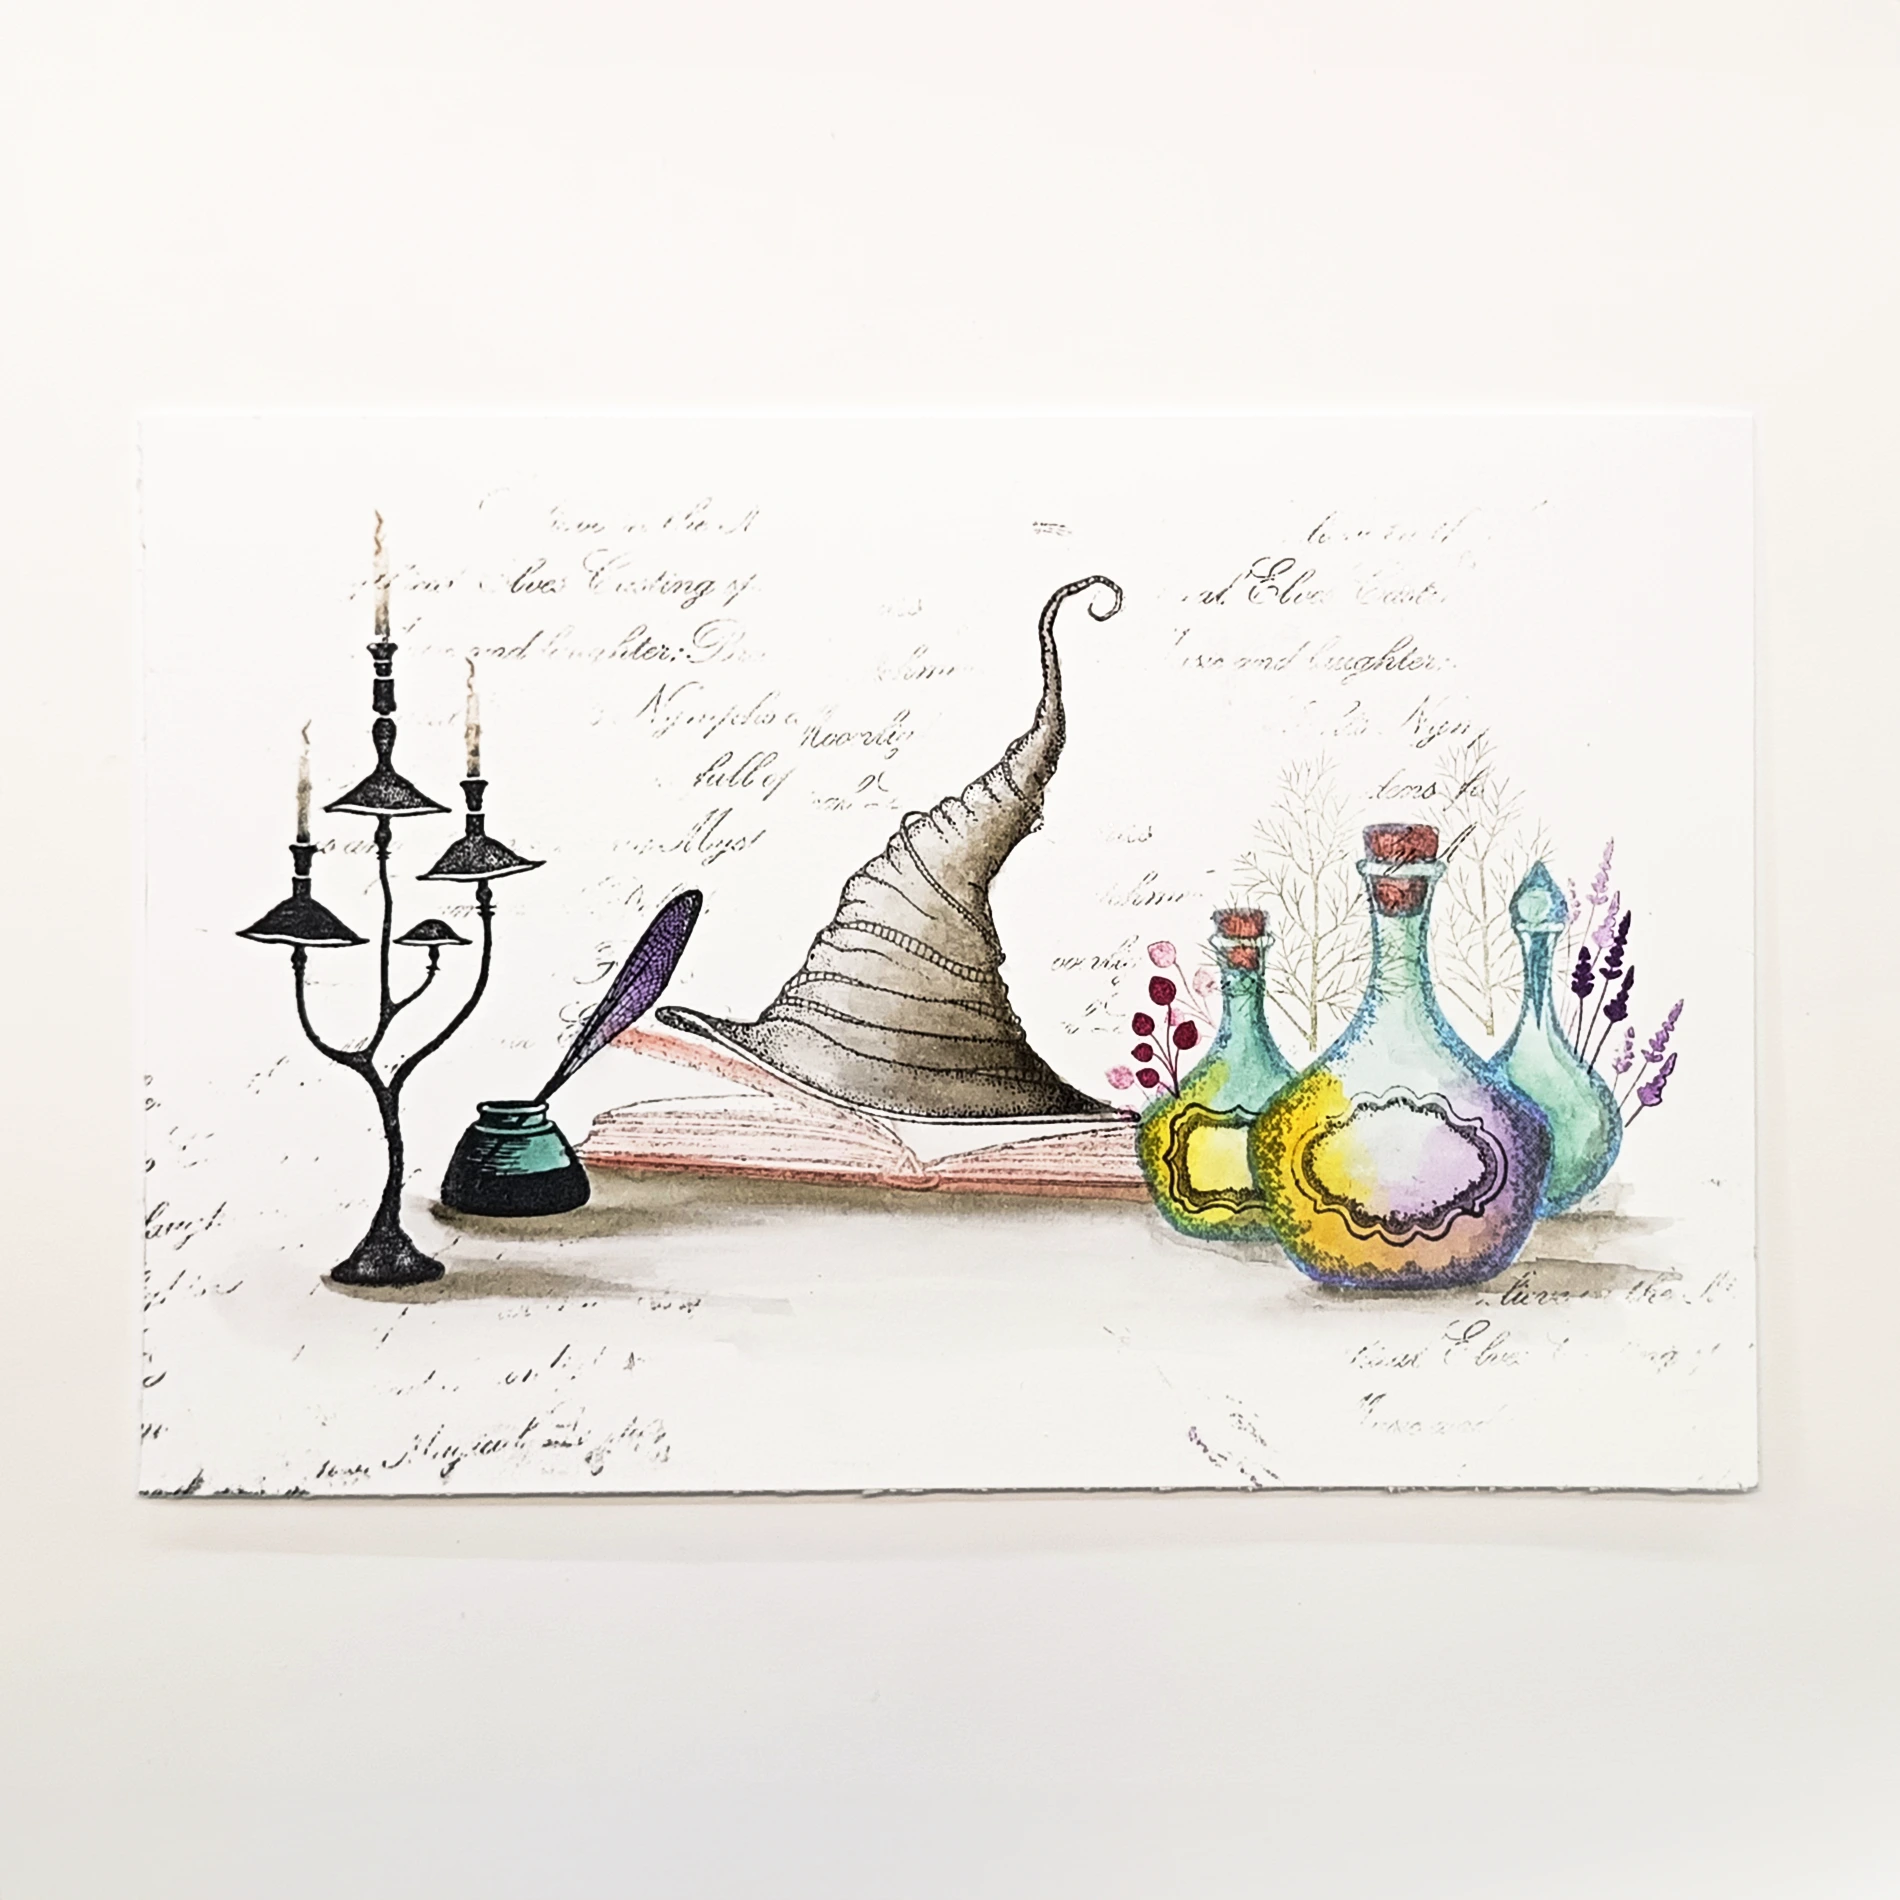
In this tutorial we’re celebrating all things magical including spells and potions! To create this card, we’re using a mixture of mediums including Elements, Versafine Clair and pastel pencils and some beautiful sparkly Mica minerals. I hope you enjoy it!🧚♀️

Step 1.
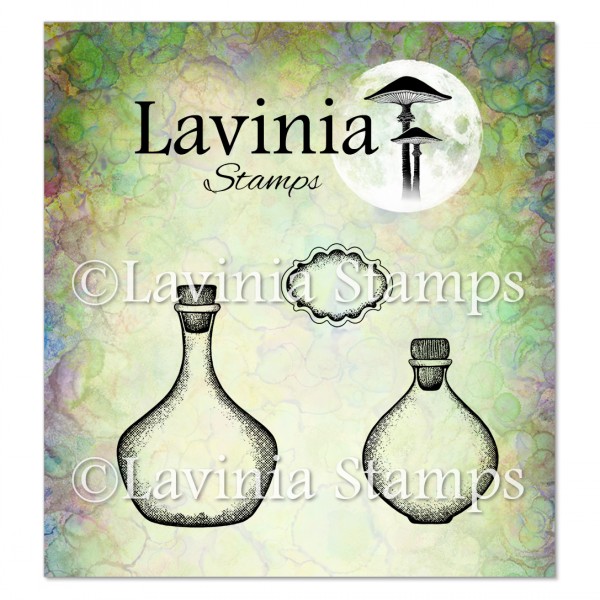
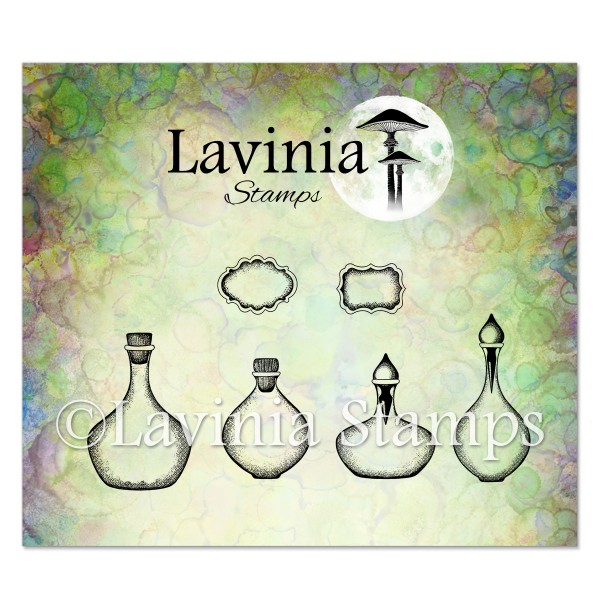
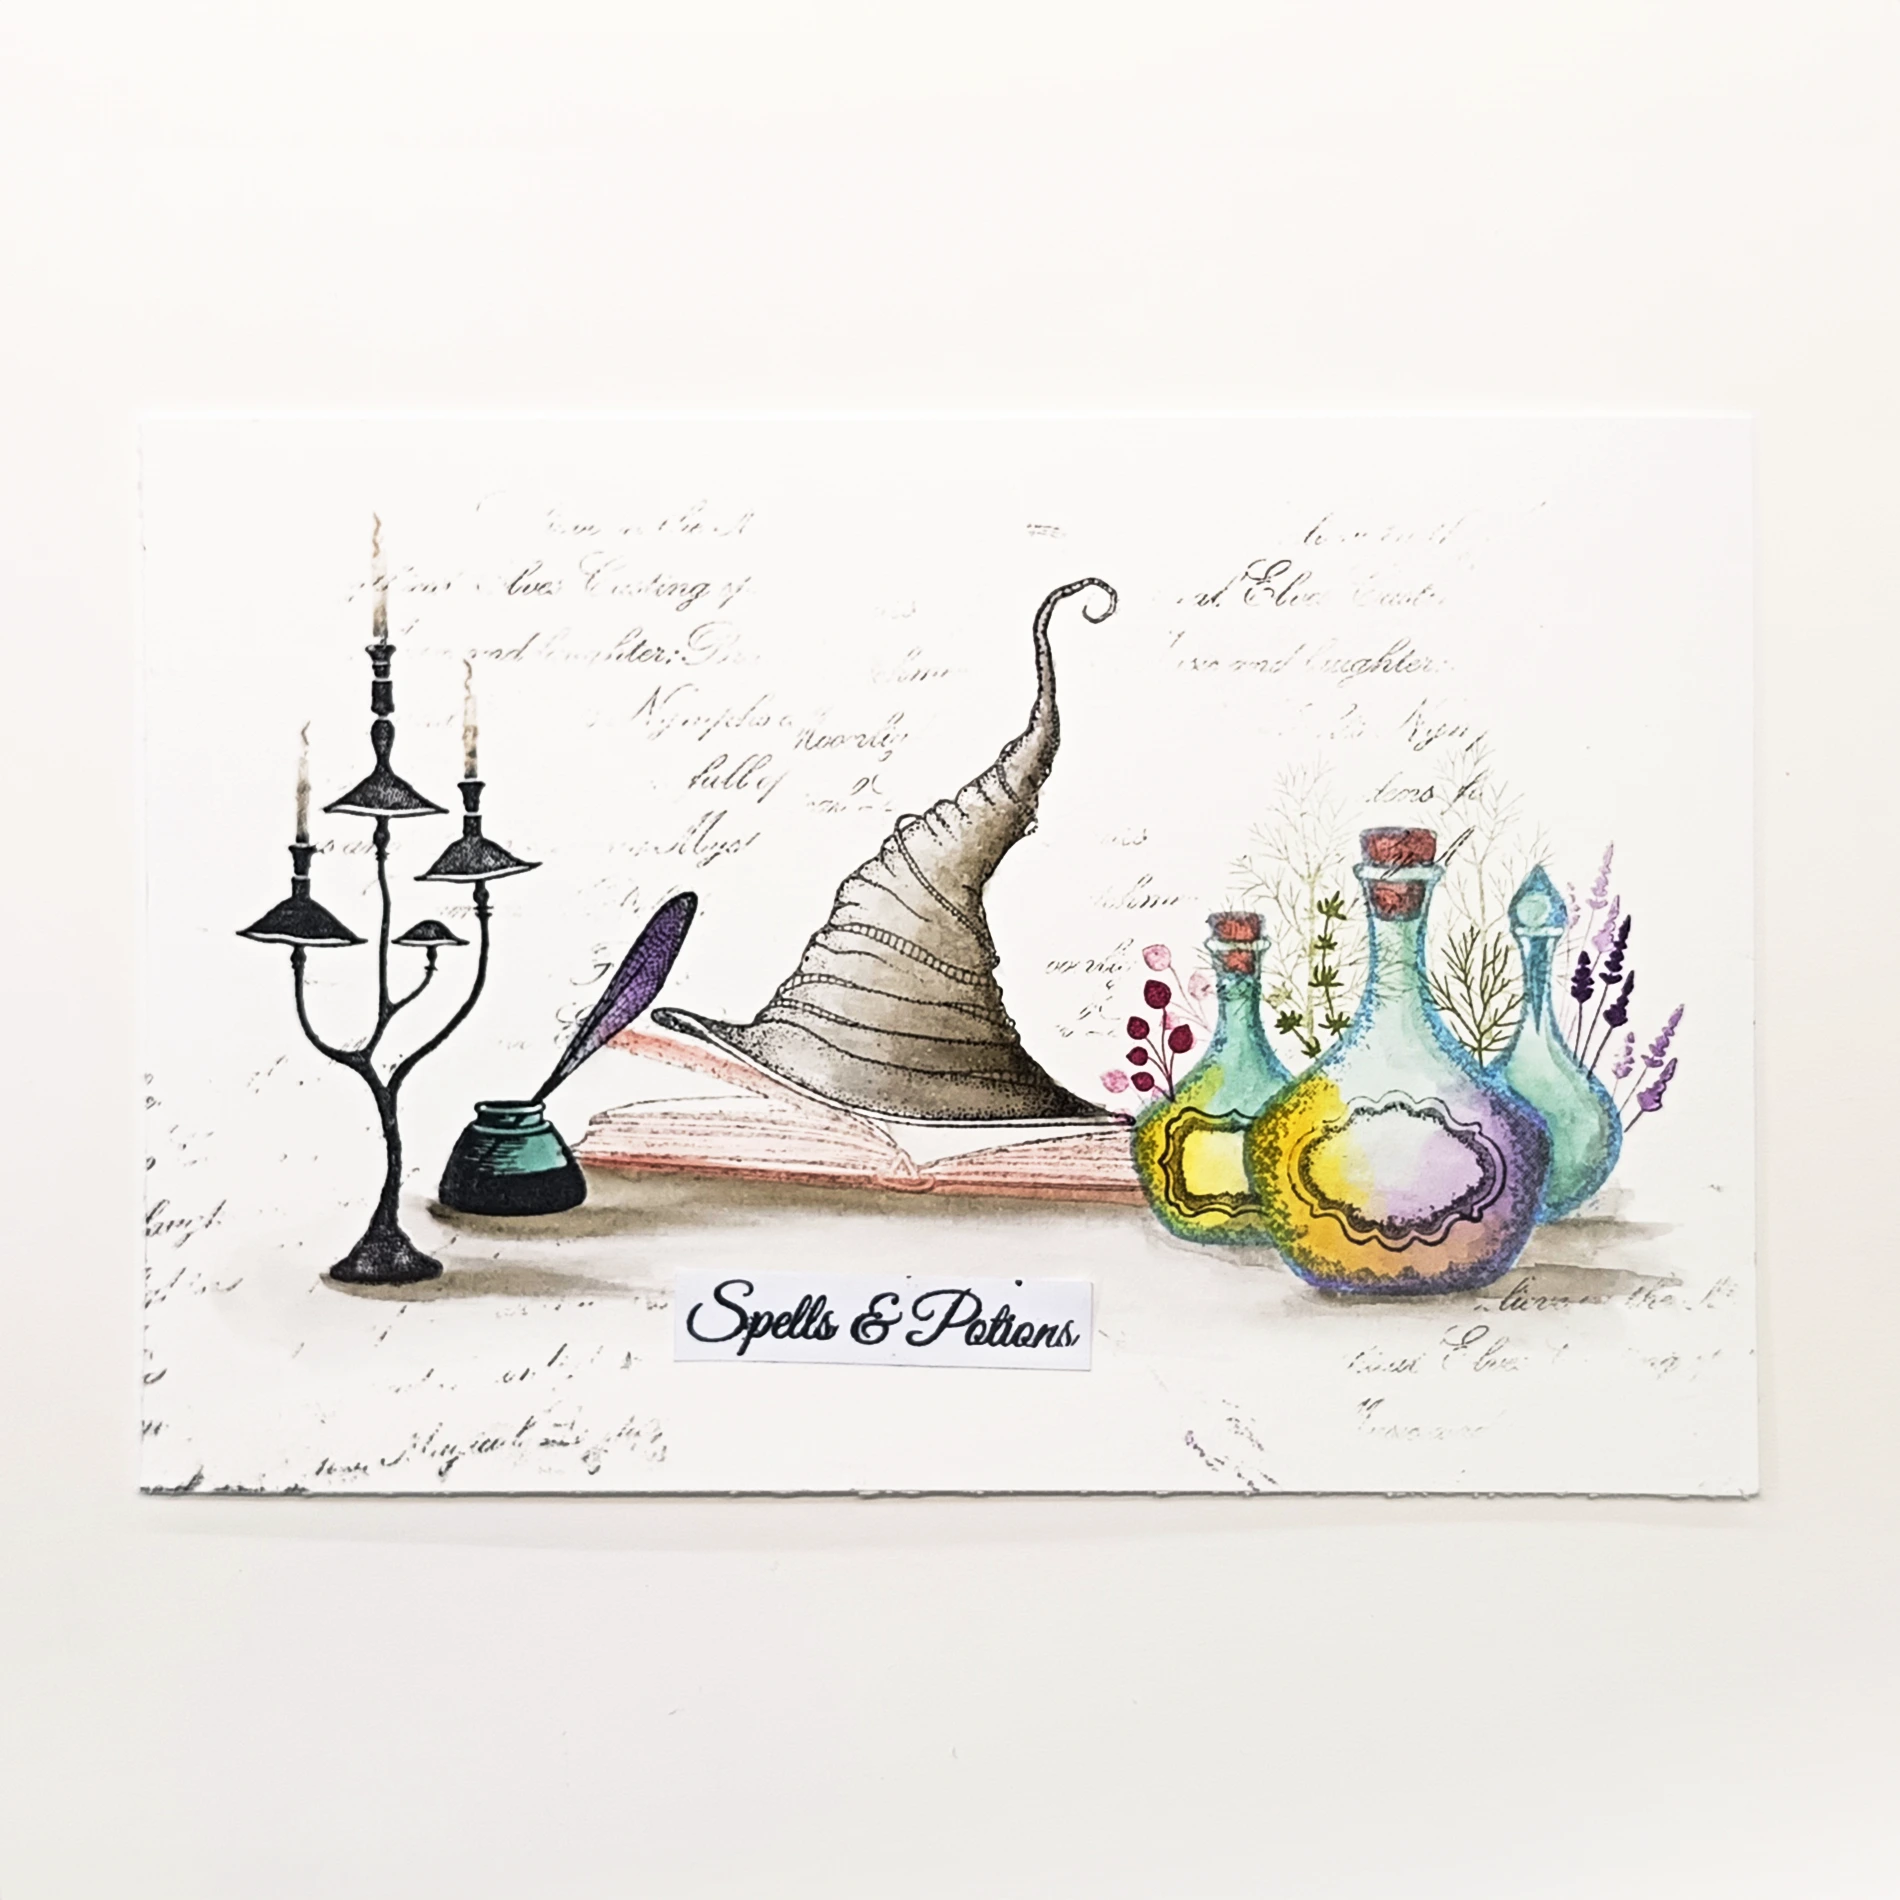
On some white A6 Multifarious card, stamp the bottle from Spellcasting Remedies 1 LAV854 in Versafine Clair Arctic. See the picture for placement.

Step 2.
Stamp the same bottle onto some masking sheets and cut out. Stick the bottle mask over the stamped bottle. Now stamp two bottles from the Spellcasting Remedies LAV847 on either side of the bottle again in Versafine Clair Arctic.

Step 3.
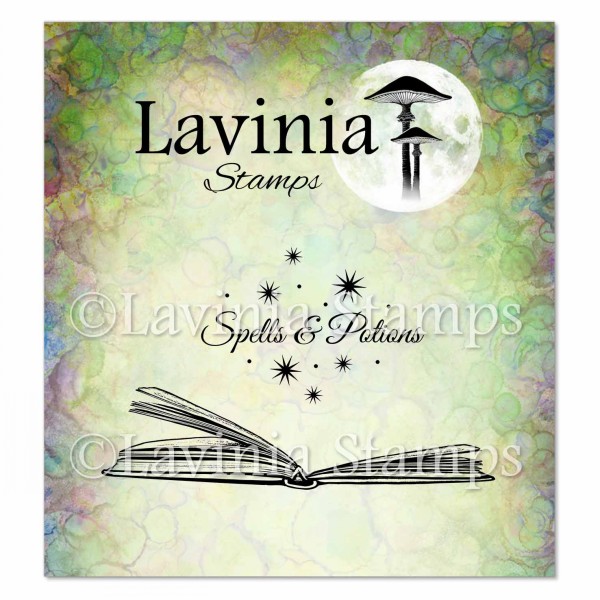
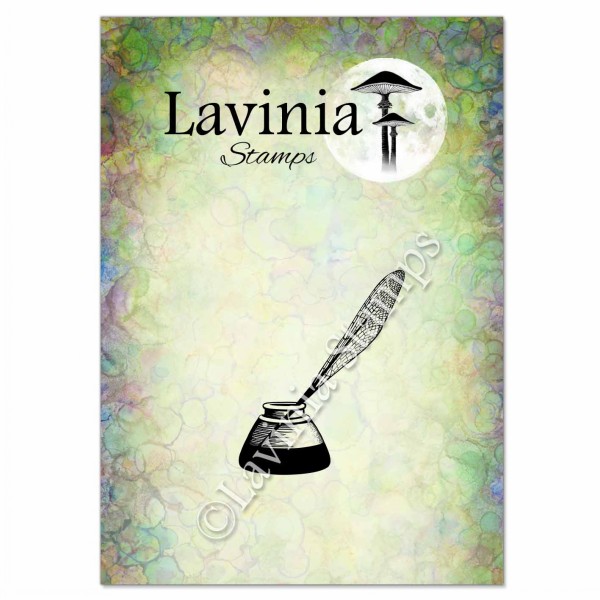
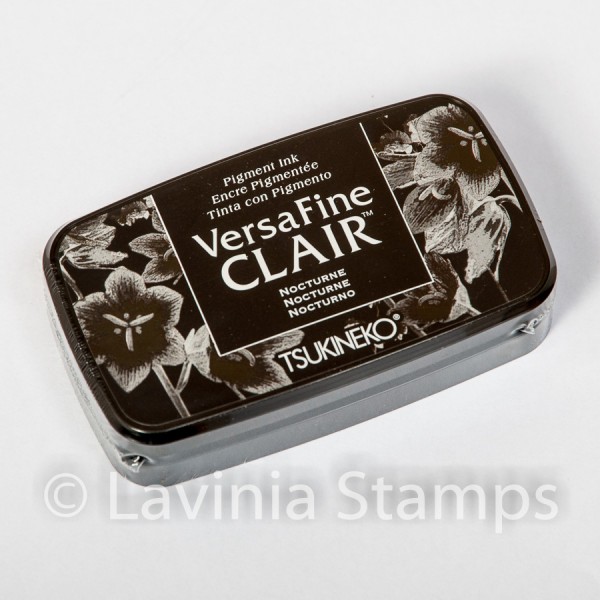
Mask the left bottle with a mask made using masking sheets like we did in Step 2. Now stamp the Book of Spells LAV959 in 2nd generation stamping in Versafine Clair Fallen leaves and stamp the Ink Pot LAV968 in Versafine Clair Nocturne. See the picture for placement.

Step 4.
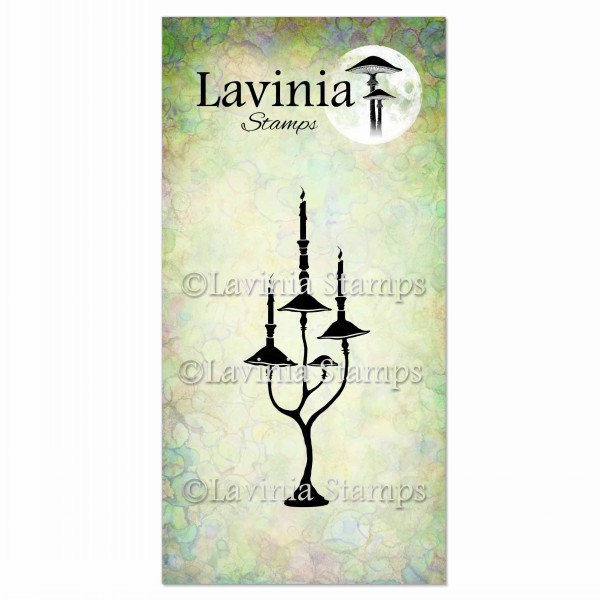
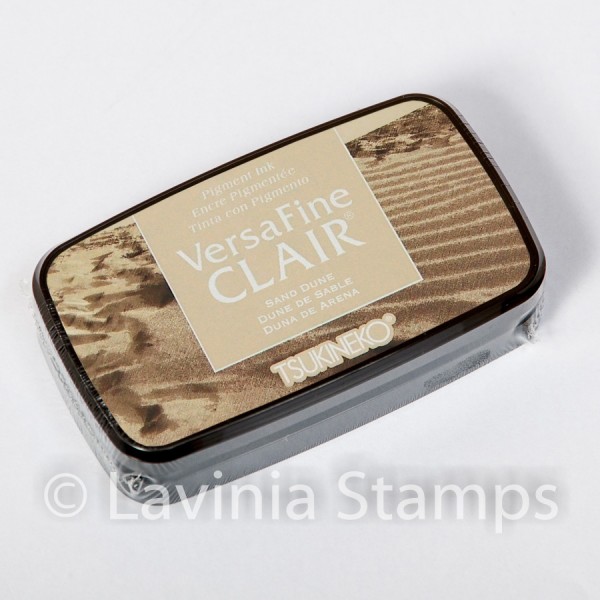
Stamp the Mushroom Candelabra LAV972 in Versafine Clair Nocturne, but before stamping wipe the ink off the candles and stamp in Versafine Clair Sand Dune.

Step 5.
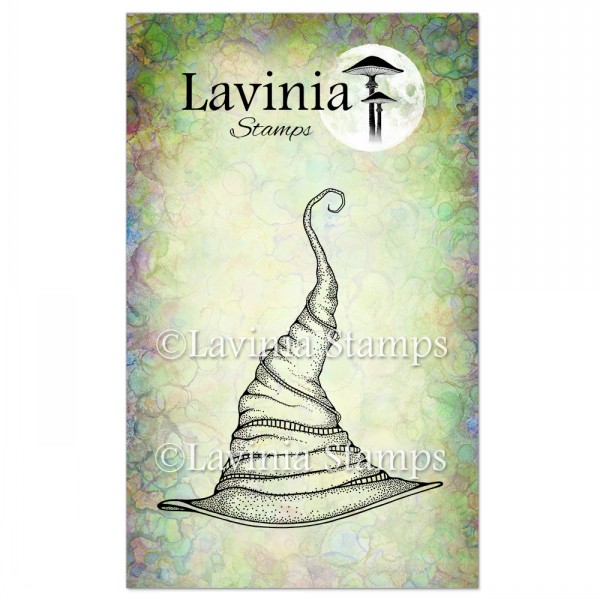
Now stamp the Witch’s Hat LAV733 in 2nd generation stamping using Versafine Clair Nocturne so it looks like it is on top of the Book of Spells.

Step 6.
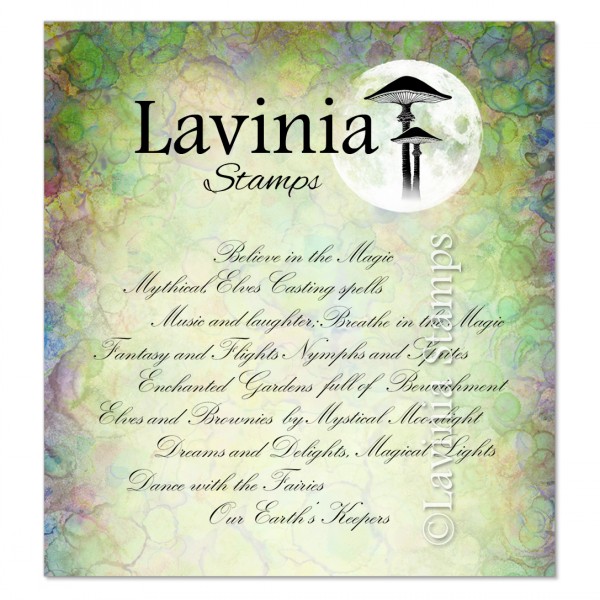
Without putting the Sacred Spells stamp LAV465 onto an acetate board or block, hand stamp parts of the stamp using second generation stamping in Versafine Clair Nocturne. This helps to create a soft interest to the card.

Step 7.
Using Elements ink Graphite and a watercolour brush set 1, add a small bit of water to your brush and add to the Graphite ink in the lid of the ink pad. Lightly colour the Witch’s hat with the grey watercolour and gently ground the items. See the picture for placement.

Step 8.
Time to add colour to the bottles. Using Elements ink Bermuda, add a bit of water and do a colour wash on the bottles.

Step 9.
Add a bit more interest to the bottles by adding some more colour. You can choose what colours to use but I have used Elements ink Violet Chalk and Sahara for the middle bottle. The left bottle I used just Elements ink Sahara. The right bottle I added a bit more of Elements ink Bermuda.

Step 10.
Add a bit more shading to the ground around by the items. A touch of Elements ink Violet Chalk to the top of the quill and Elements ink Bermuda to the ink pot. Then add a touch of Elements ink Truffle to the corks in the bottles and a lighter shade colour to the book of Spells.

Step 11.
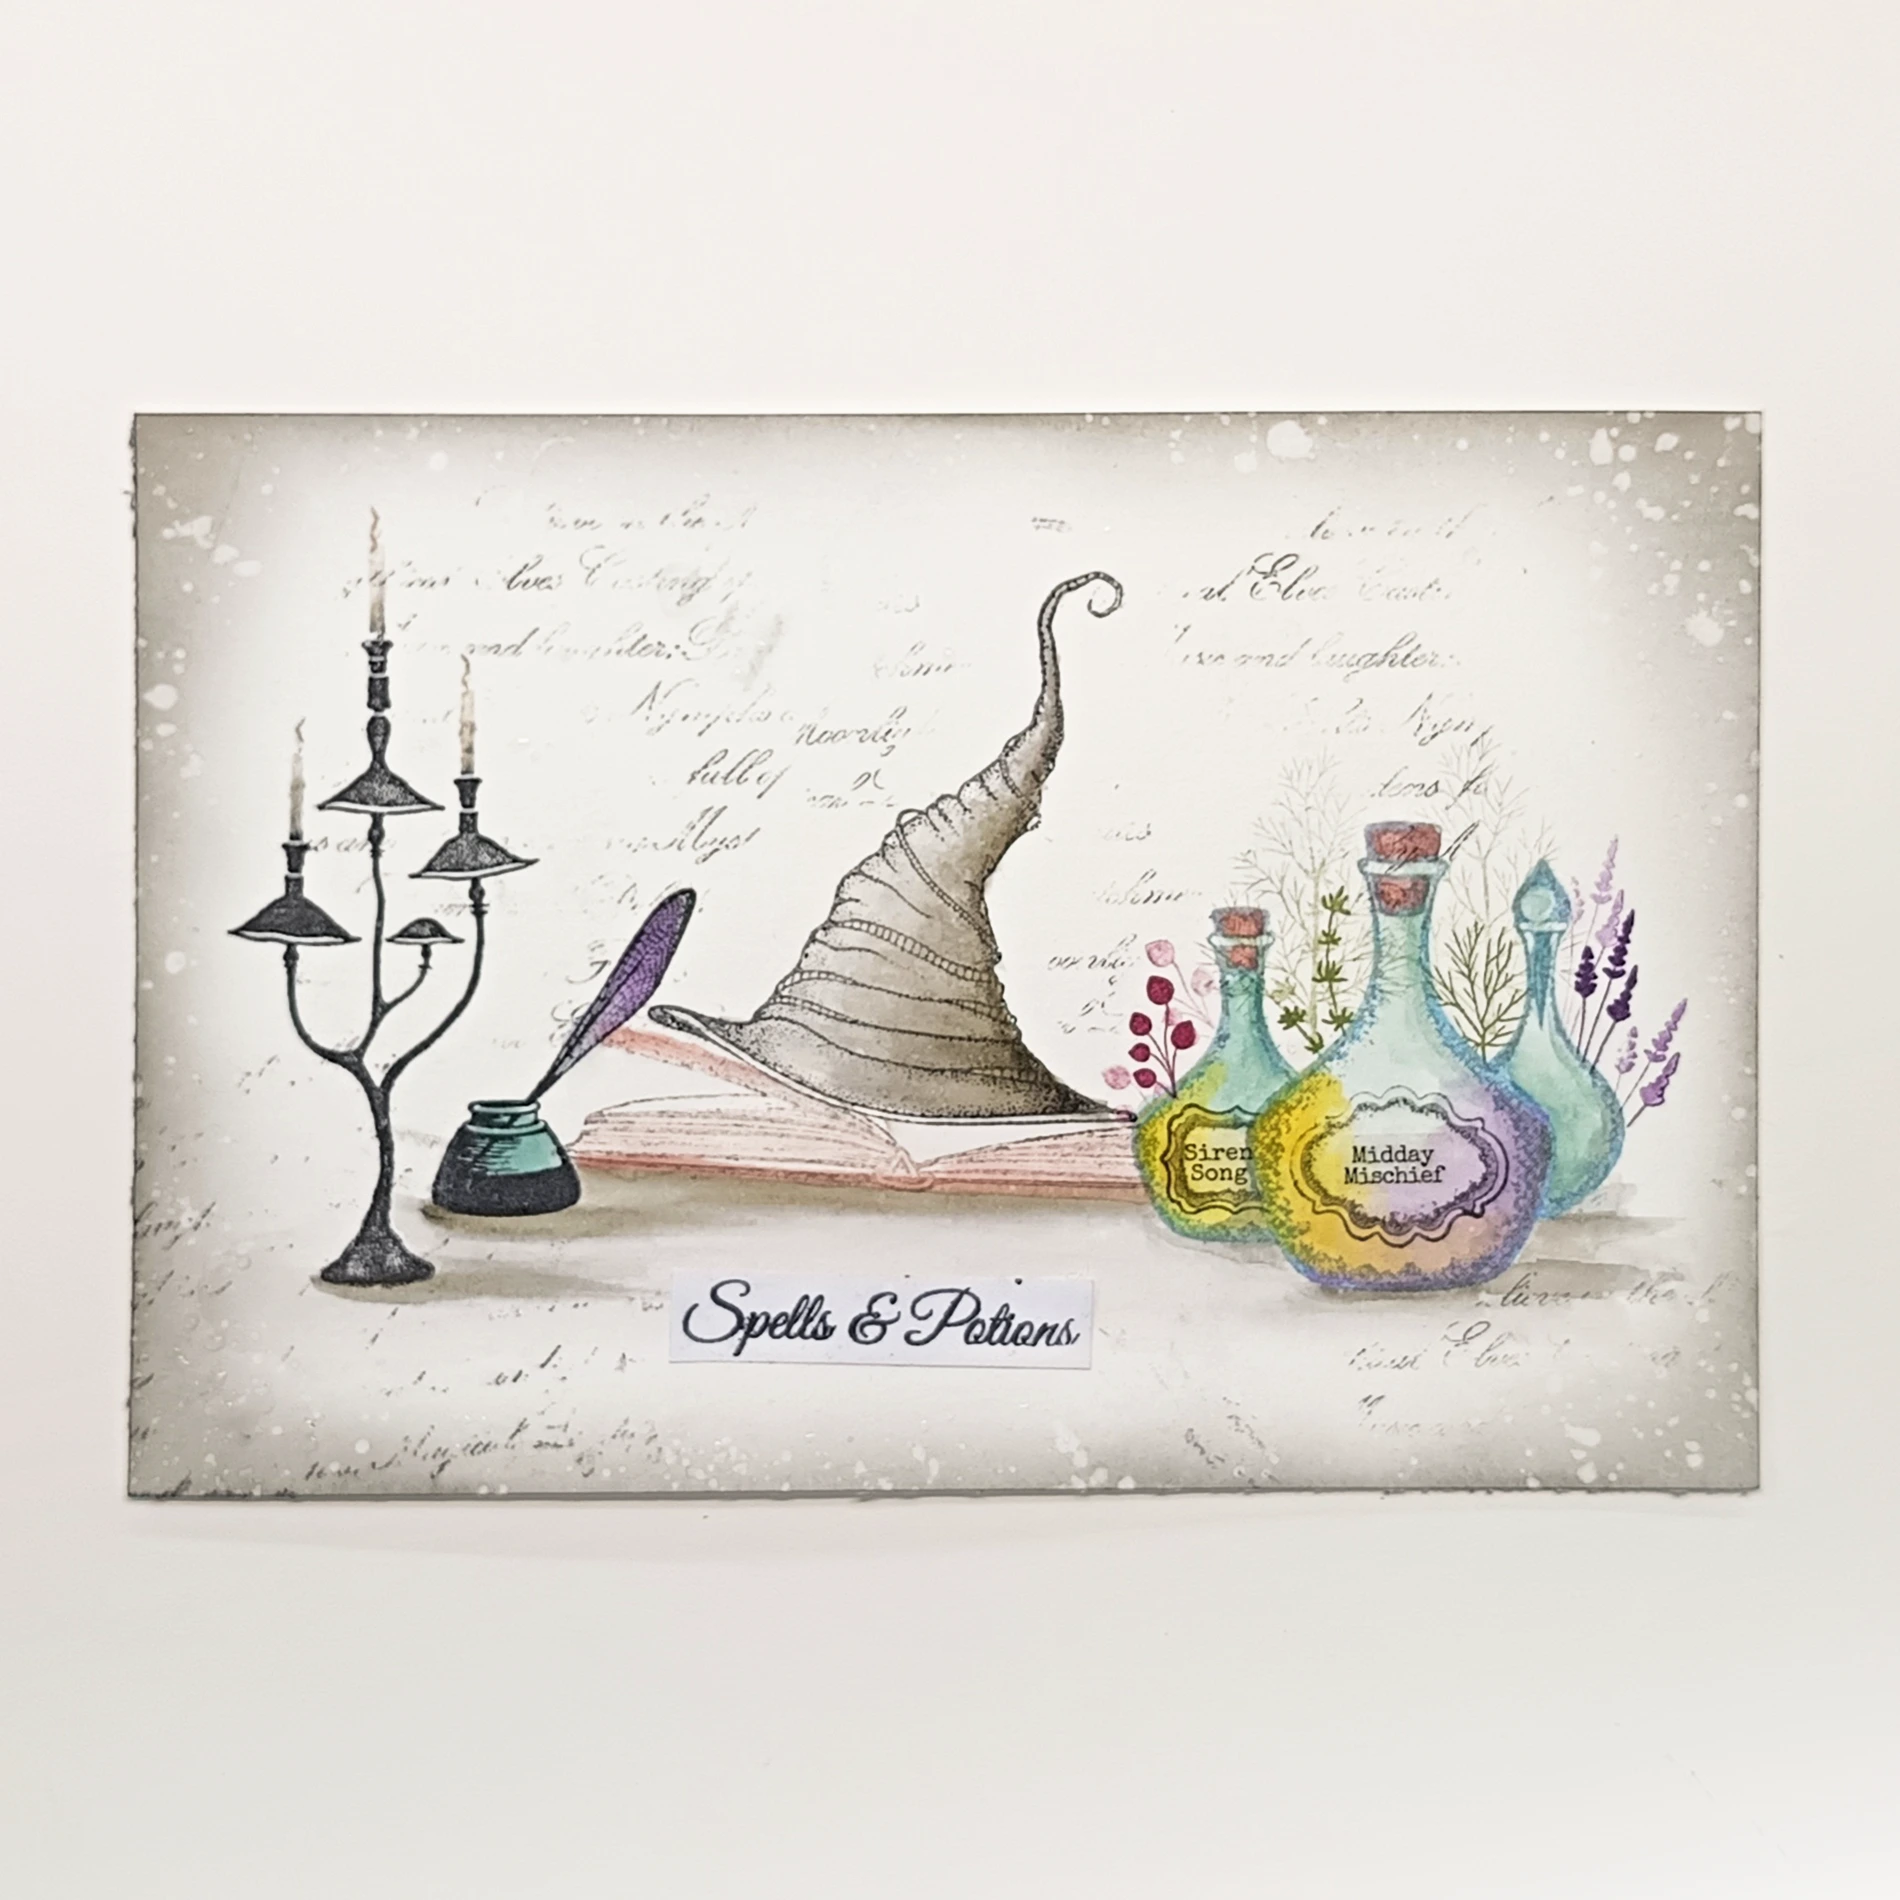
Stamp the labels from Spellcasting Remedies LAV847 and Spellcasting Remedies 1 LAV854 onto the left and centre bottles using Versafine Clair Nocturne. Now add some interest between the bottles by 2nd generation stamping Dill LAV938 in Versafine Clair Shady Lane.
Step 12.
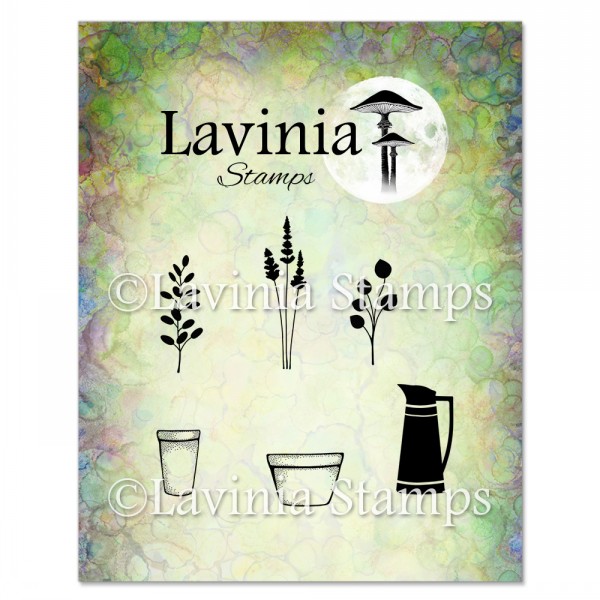
Stamp the Lavender from the Flower pots stamp LAV826 in Versafine Clair Monarch, in a mixture of 1st and 2nd gen of stamping. This will help to create depth. Stamp the round leaf stamp from the Flower pots stamp in Versafine Clair Chianti, again in 1st and 2nd generation stamping.
Step 13.
Now in Versafine Clair Spruce stamp Thyme LAV952 and Dill LAV938 in Spruce, Versafine Clair to the sides of the large bottle. Make sure to mask the bottle to stop any of the herbs going onto it. Stamp the Spells and Potion words onto some copier paper. Before stamping wipe the ink away from the stars that are around the words. Cut out the Words Spells and Potions and stick onto the card. See picture for placement.

Step 14.
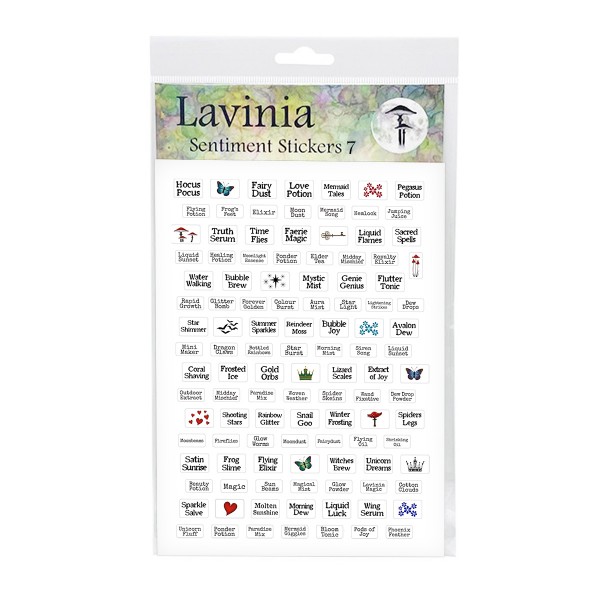
Add the labels to the bottles using Sentiment Sticker sheet 7. You might need to cut the label on the left bottle as you don’t want that to go on the Middle bottle.
Step 15.
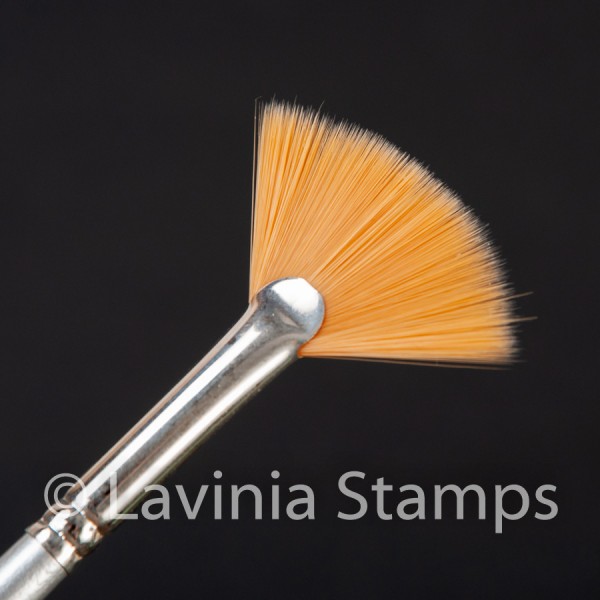
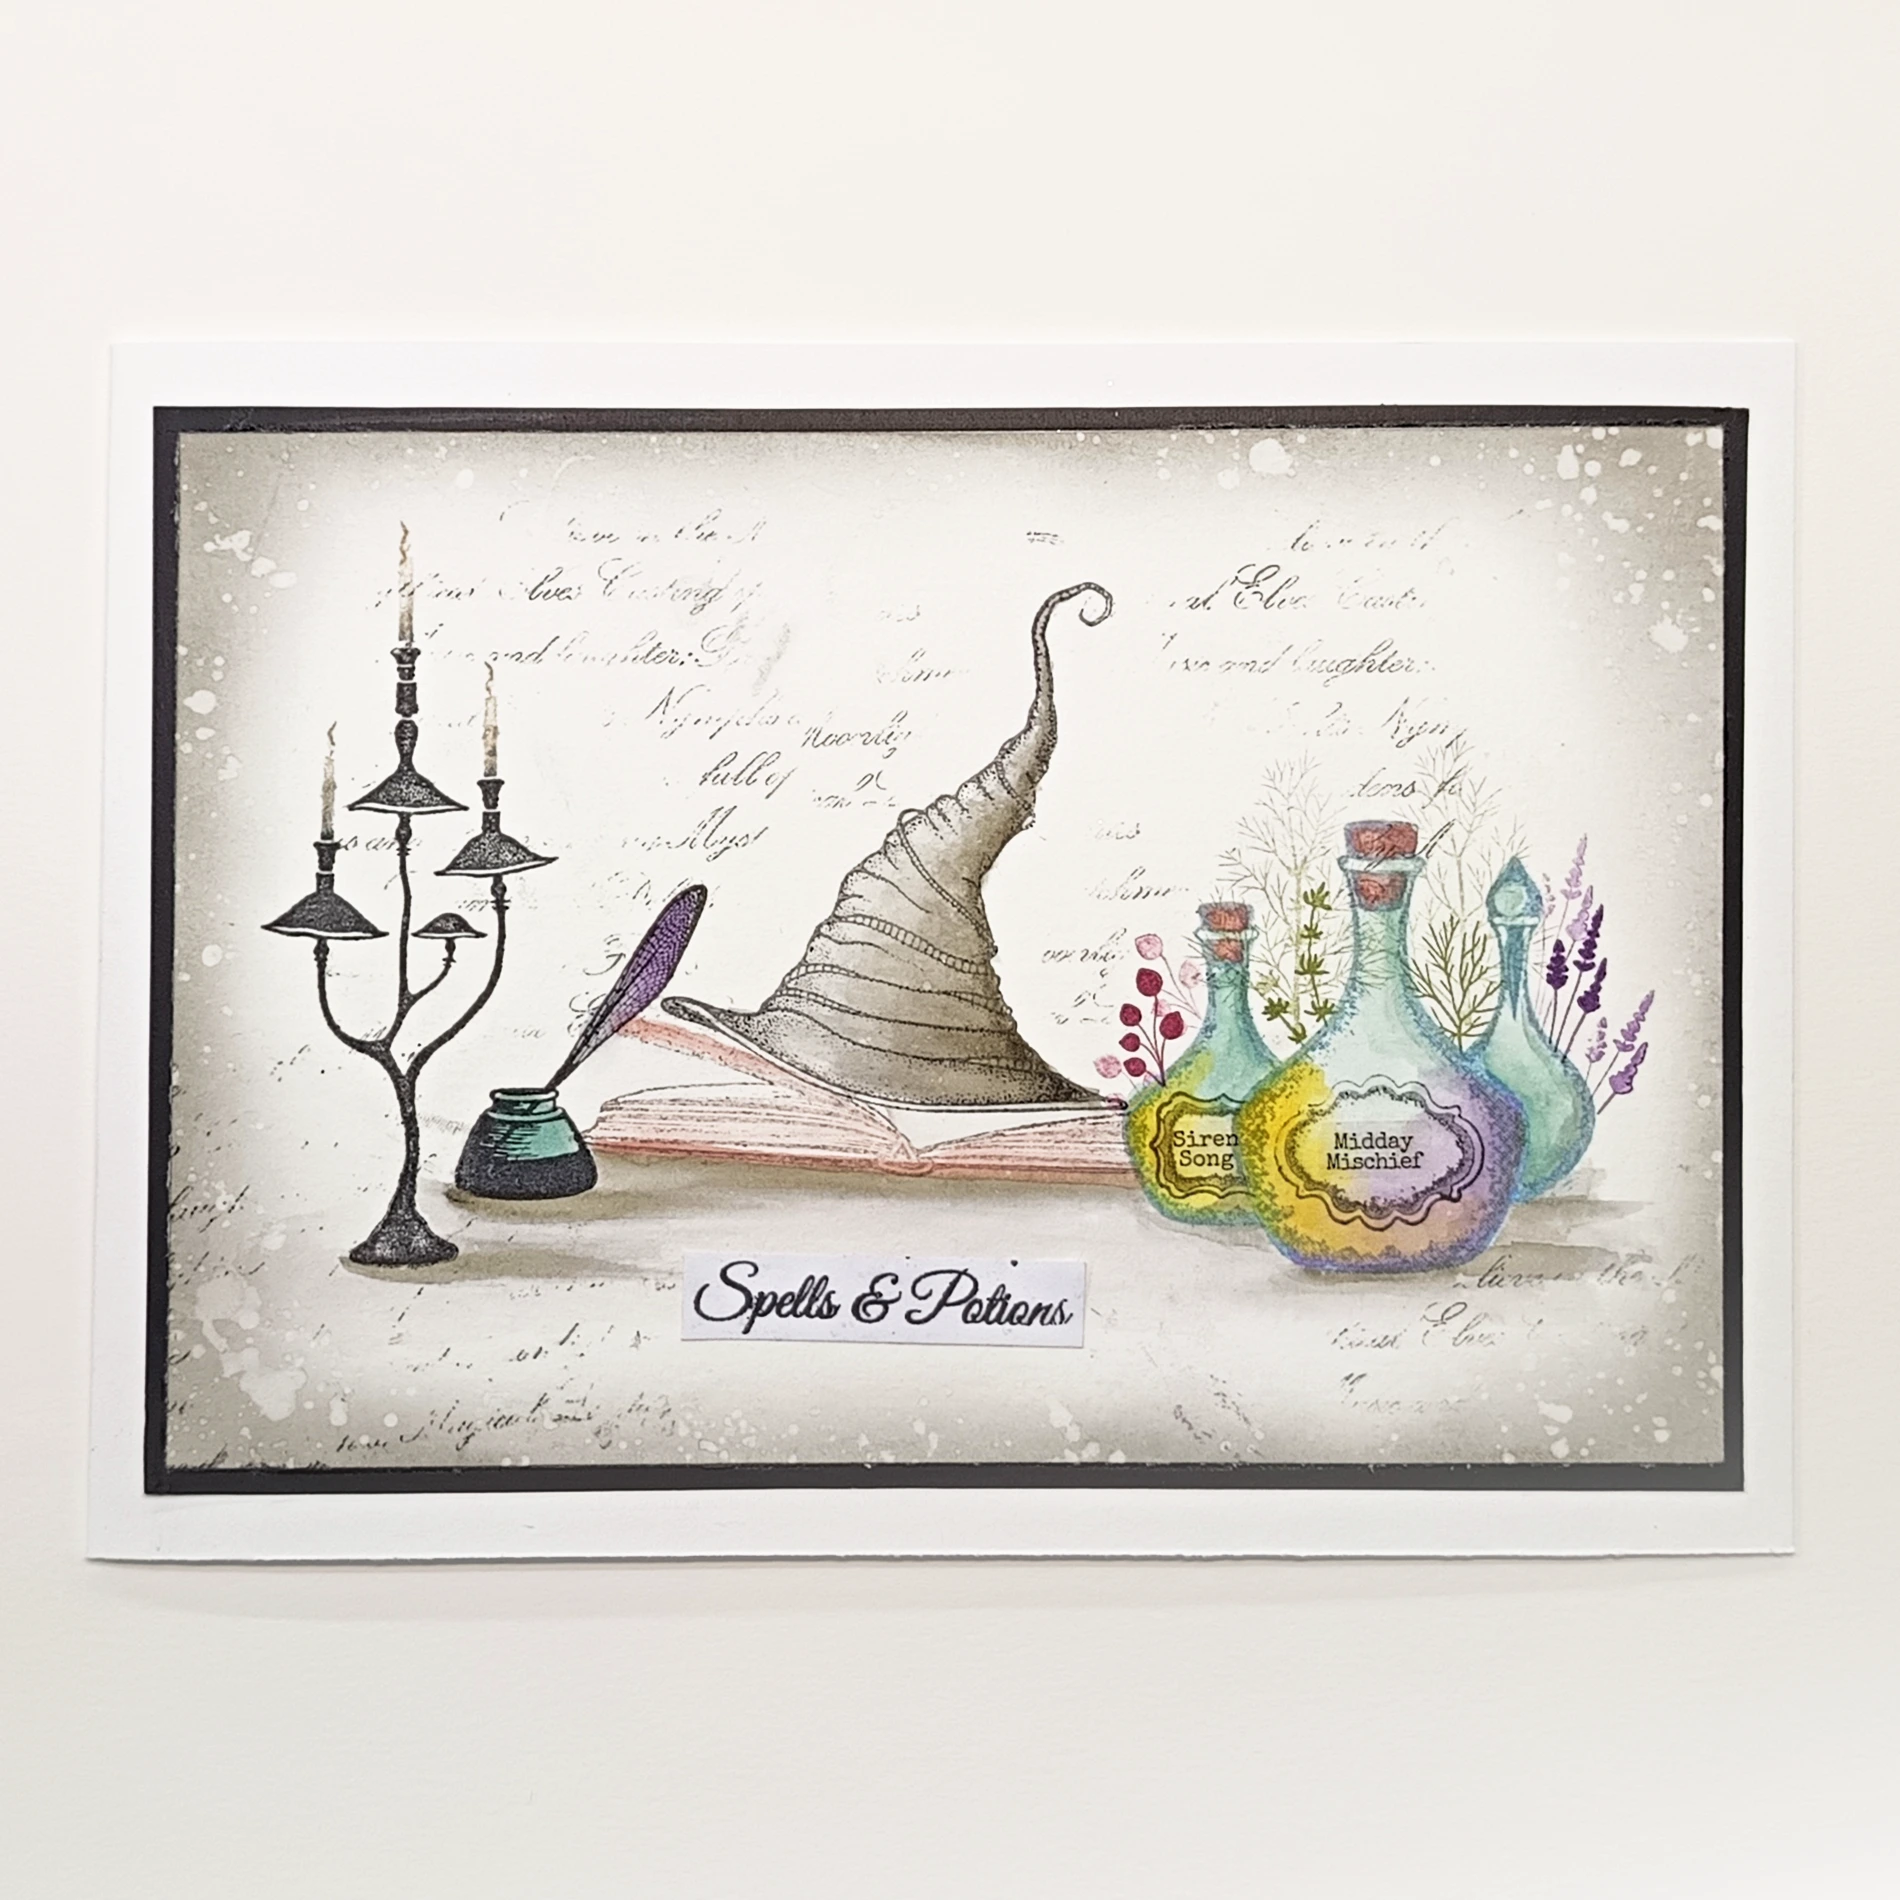
Blend Elements ink Graphite around the edge of the card to make it feel dark and then do some faux bleaching by gently tapping a wet fan brush around the edge and dabbing it off with some paper towel. Again, this is to create some more magical interest to the card.
Step 16.
Matt and layer your card onto a card blank.

Step 17.
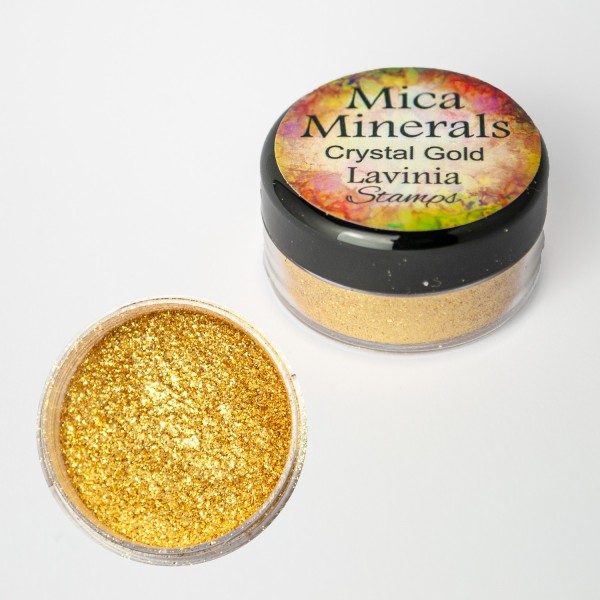
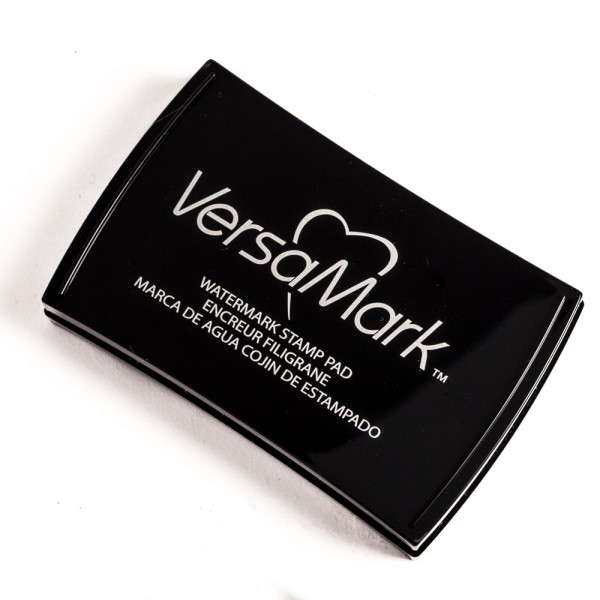
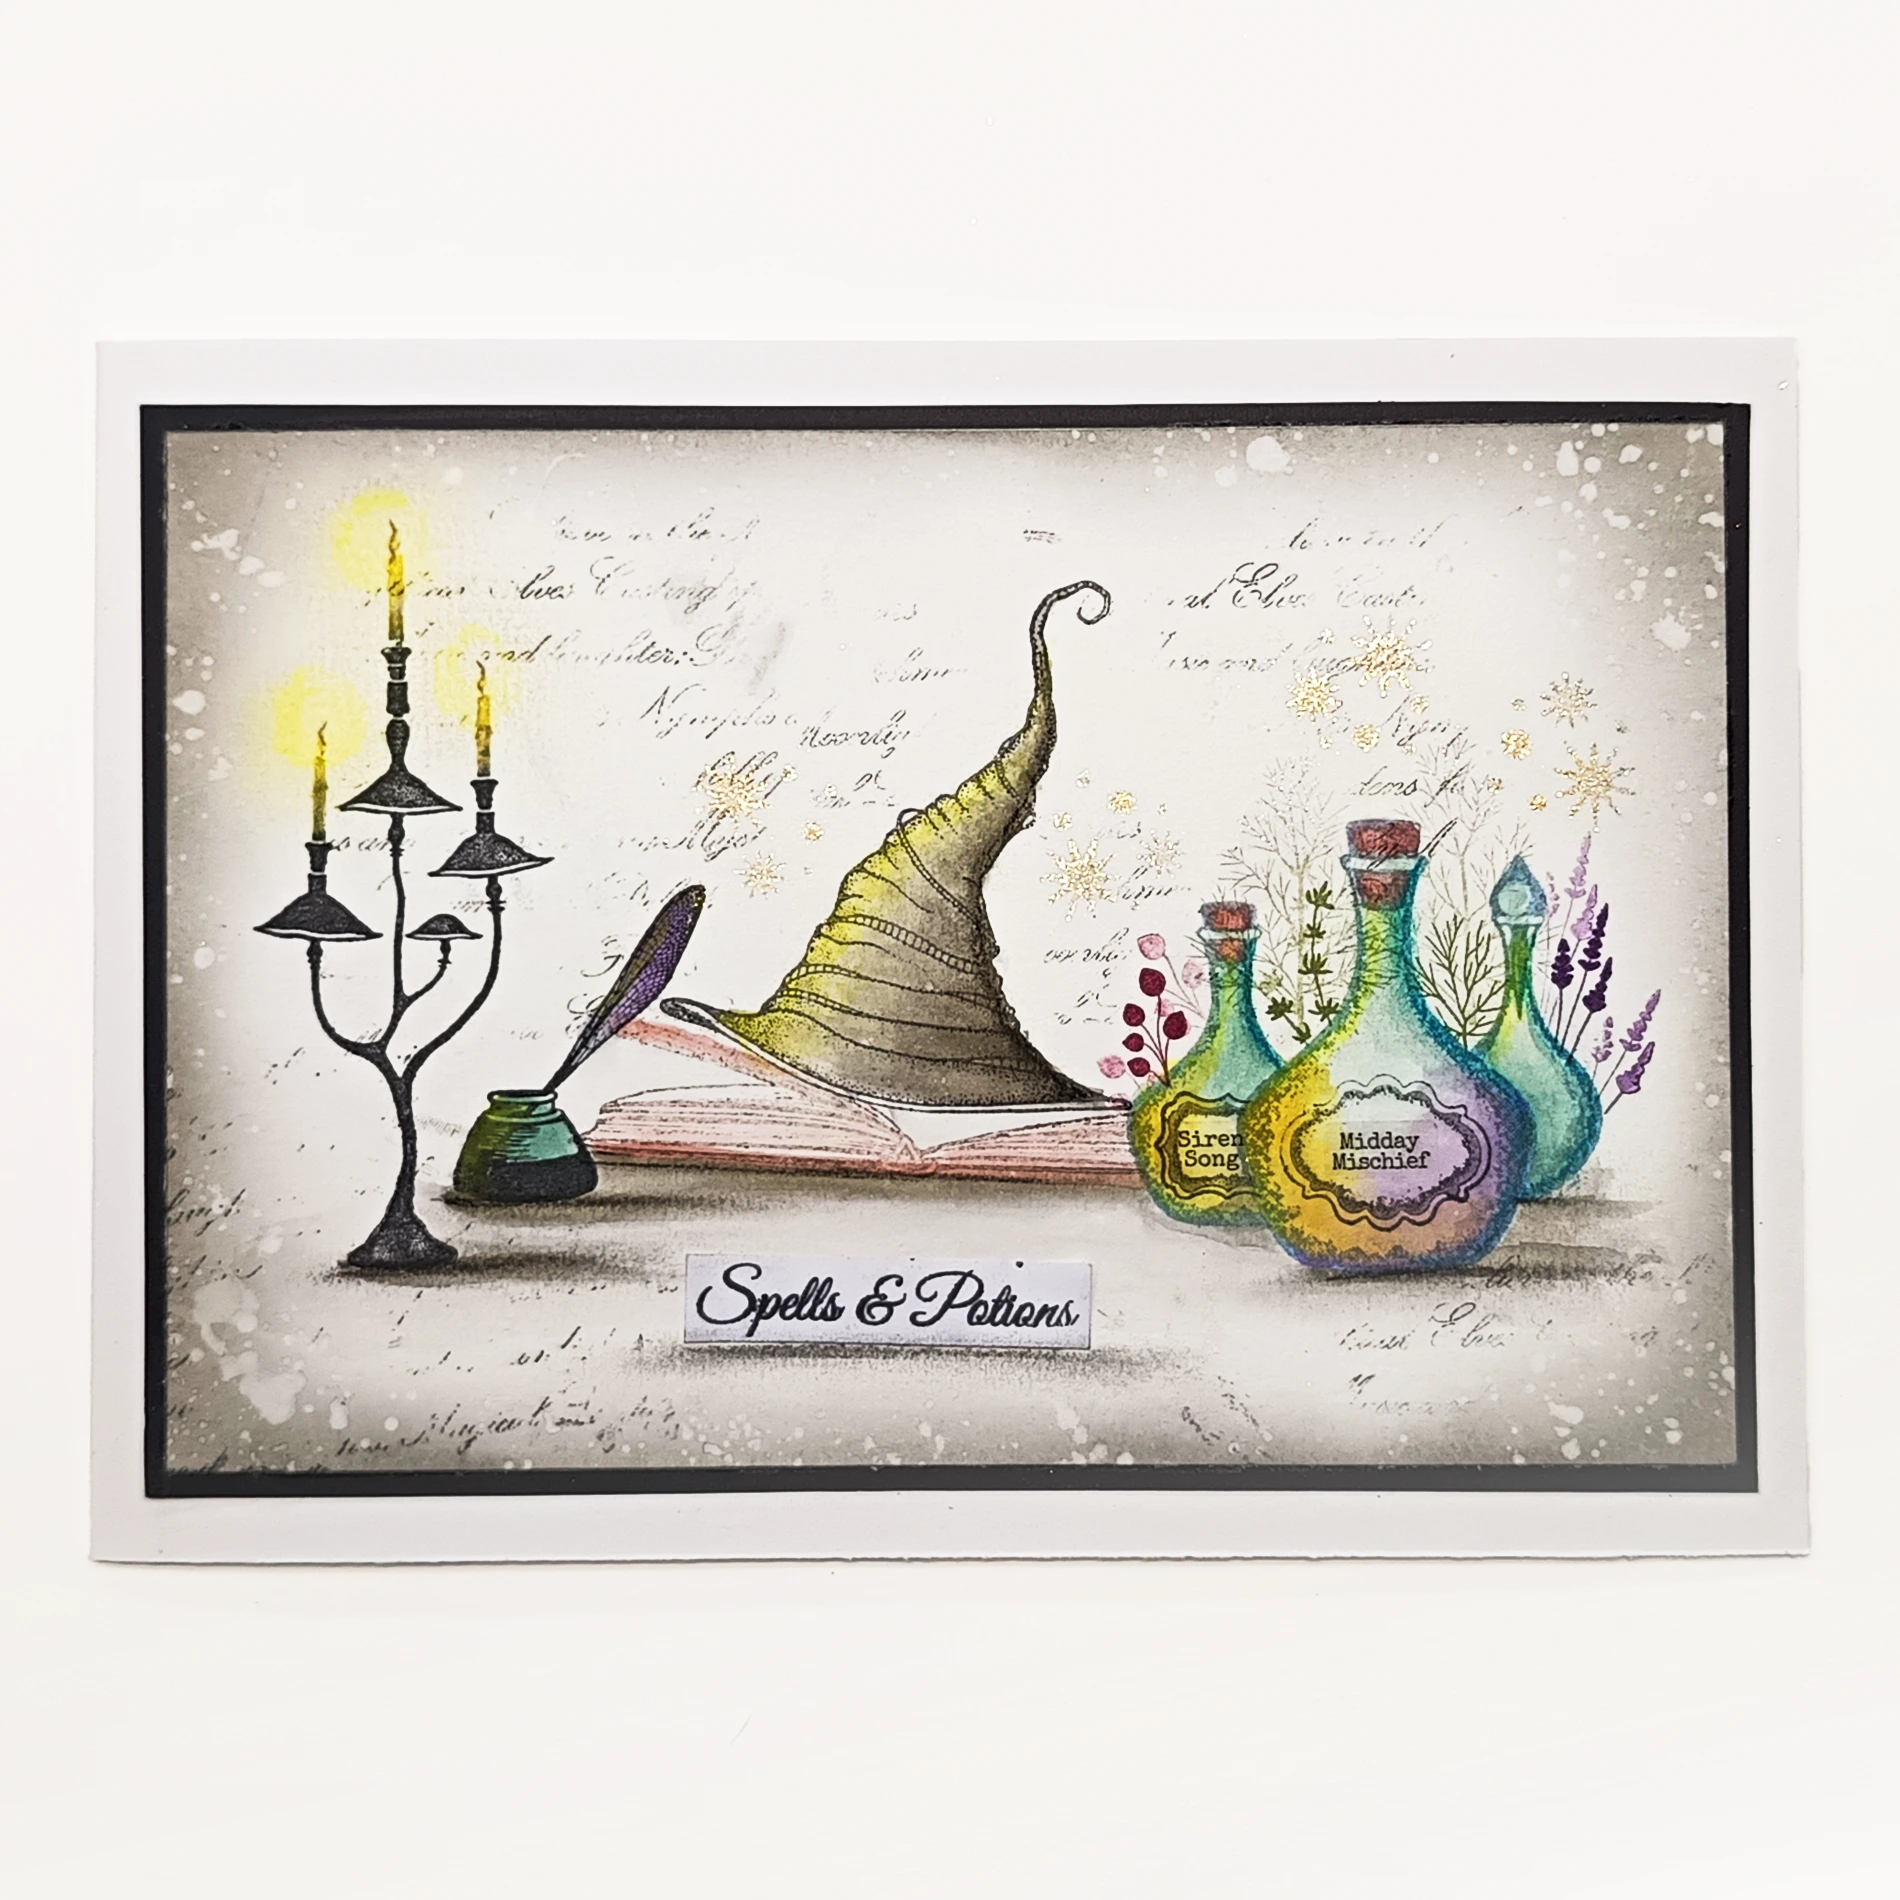
Stamp Mini star 2 using Versamark and then use some Lavinia Stamps Mica Crystal Gold with a brush over the stamped stars.

Step 18.
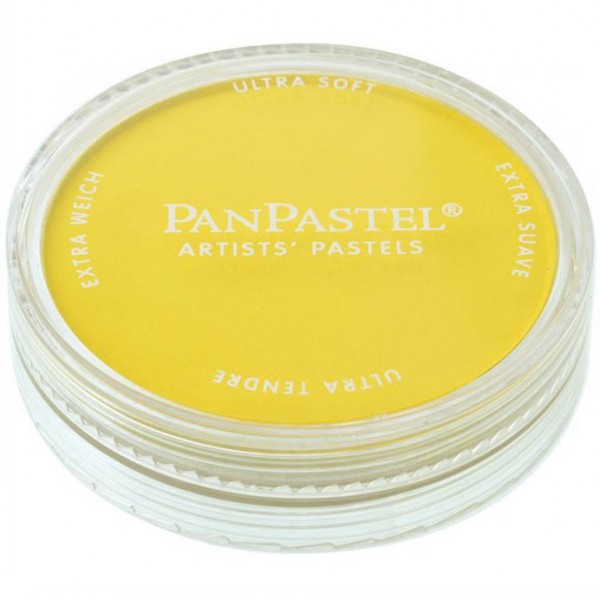
To add some light to the candles, use a yellow pastel pencil or Panpastel Hansa Yellow. Add yellow to the left side of the ink pot, Witch’s hat and the bottles, as the light from the candles will hit them on that side.
Step 19.
Rub the light around the candles with a clean fingertip. This will soften the edge. Pull the yellow on the Witch’s hat from the left to the right. Use a black pastel pencil to add some shadow to the ground and underneath the Spells and Potions.
Now our card is complete! Thank you for dropping by, I hope this gives you some inspiration. Take care and Happy crafting to you all.


