Step by Step by Katarina Eliasson
Hi everyone!
I have made a picture tutorial for you and I hope you like it. Let’s get started!🧚♀️
Step 1.
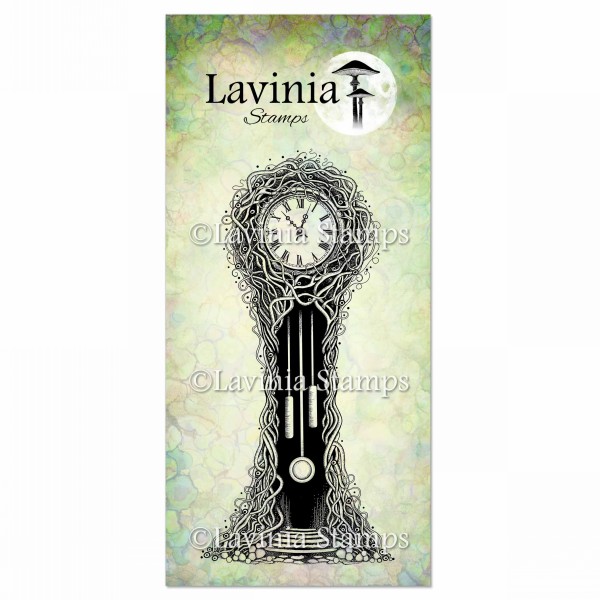
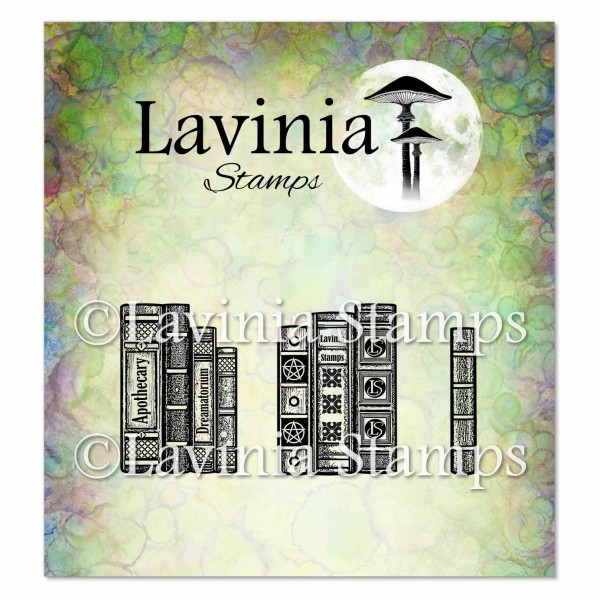
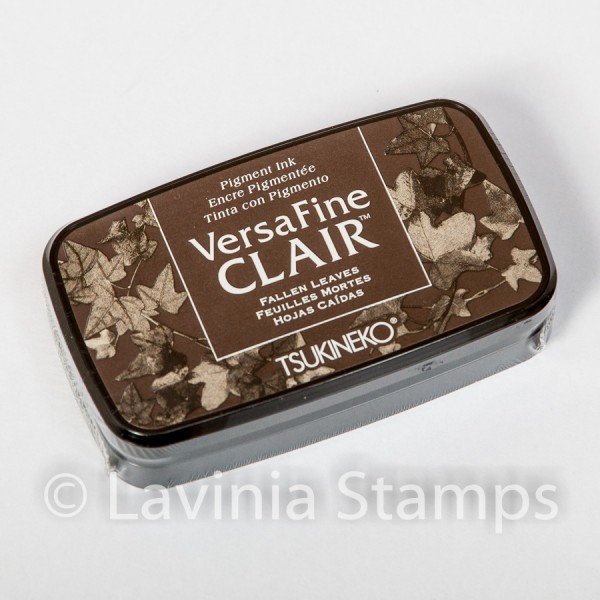
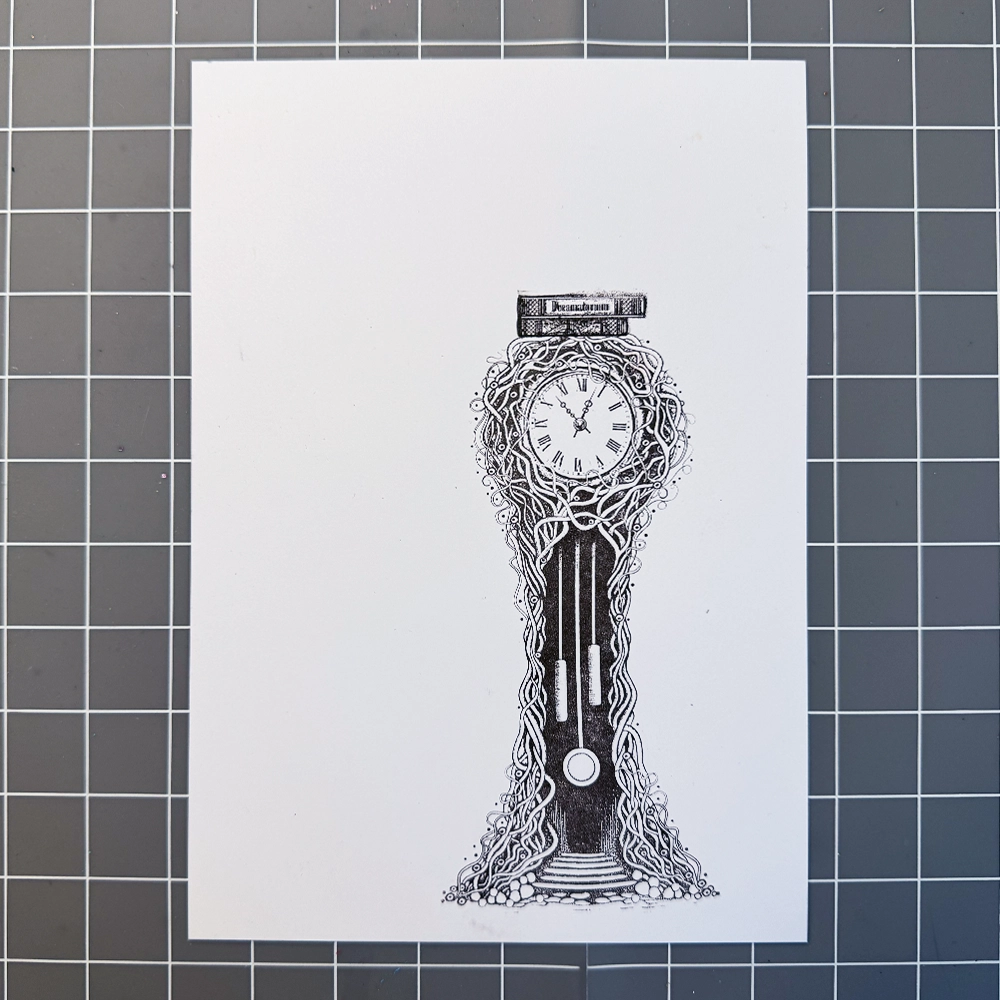
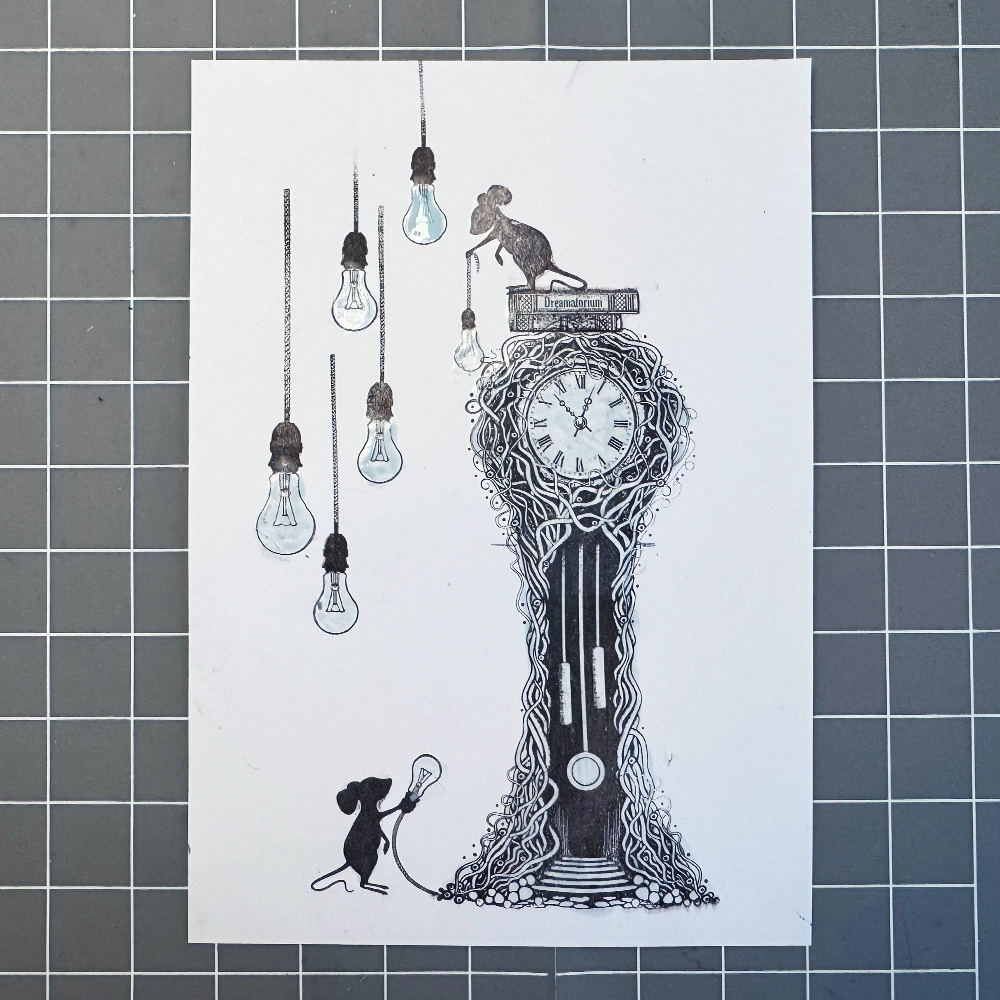
Start with an A5 white Multifarious card. Stamp Grandfairy Clock LAV966 in Versafine Clair Fallen Leaves. Now use Book of Lost Words LAV958. Choose which of the books you want to use. I masked two of the four books so they wouldn’t be too high for the mouse to stand on. Stamp in Versafine Clair Fallen Leaves.
Step 2.
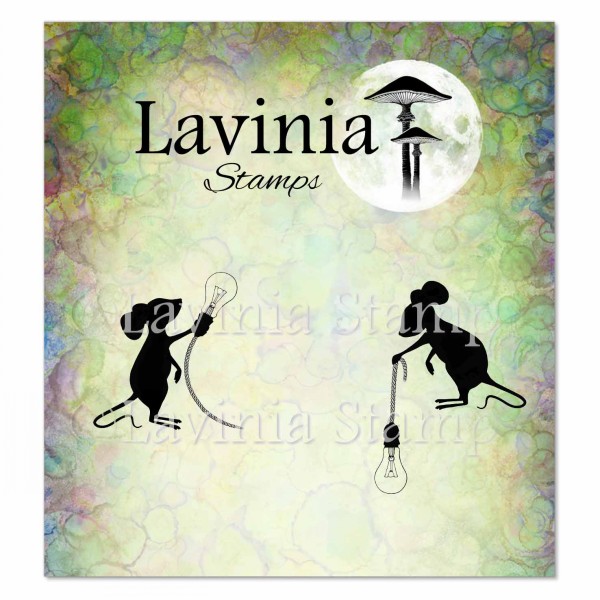
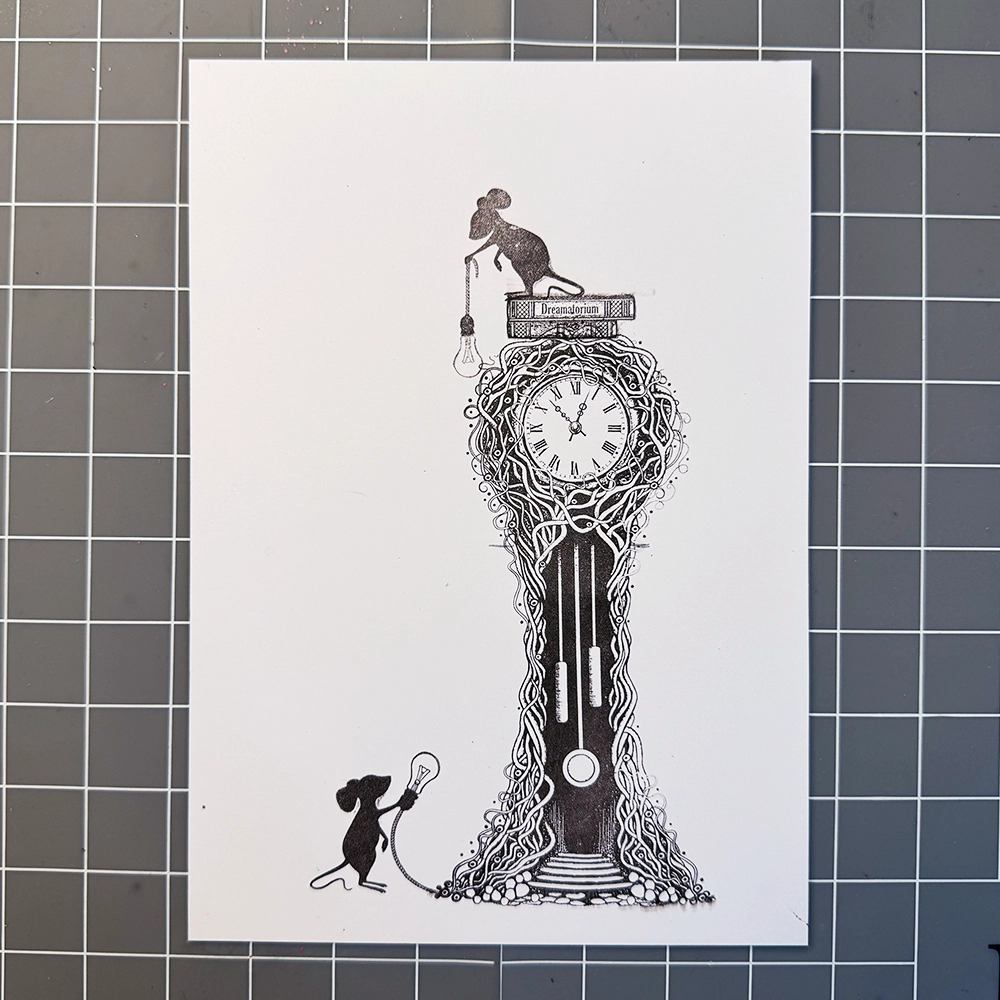
Time for the mice Double Trouble LAV963 to enter the picture. Stamp one mouse standing on the books and the other one beside the clock in Versafine Clair Fallen Leaves. Check the picture for placement.
Step 3.
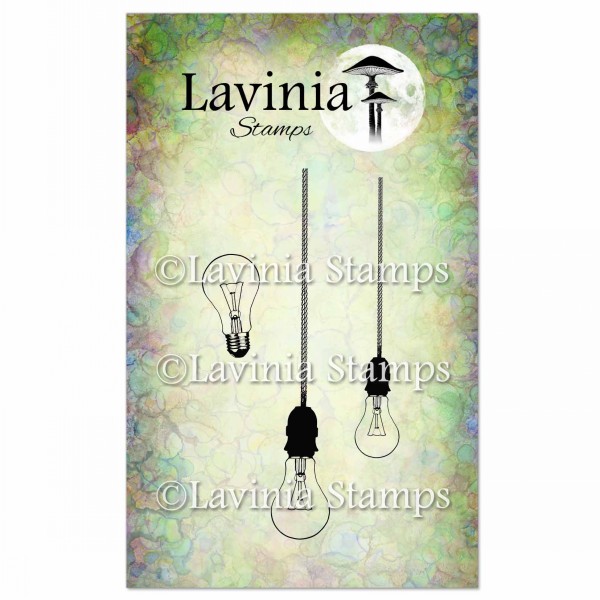
Stamp the Light Bulbs LAV969 as shown, still using Versafine Clair Fallen Leaves. Make sure the ink is absolutely dry and cover the clock, mice, books and light bulbs with Masking Fluid.
Step 4.
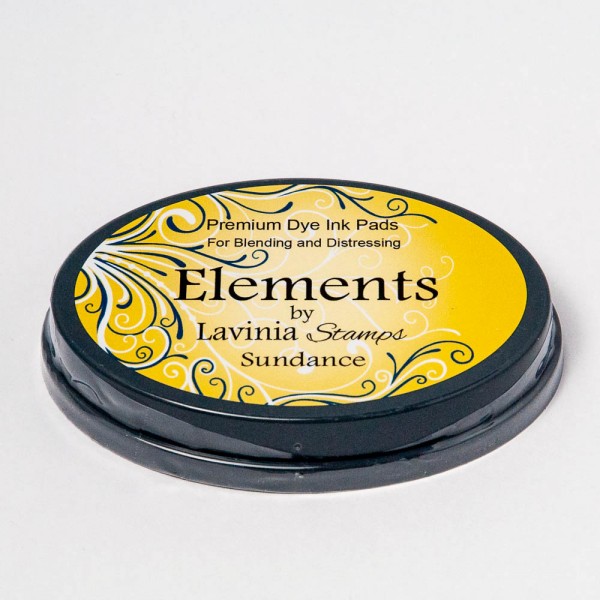
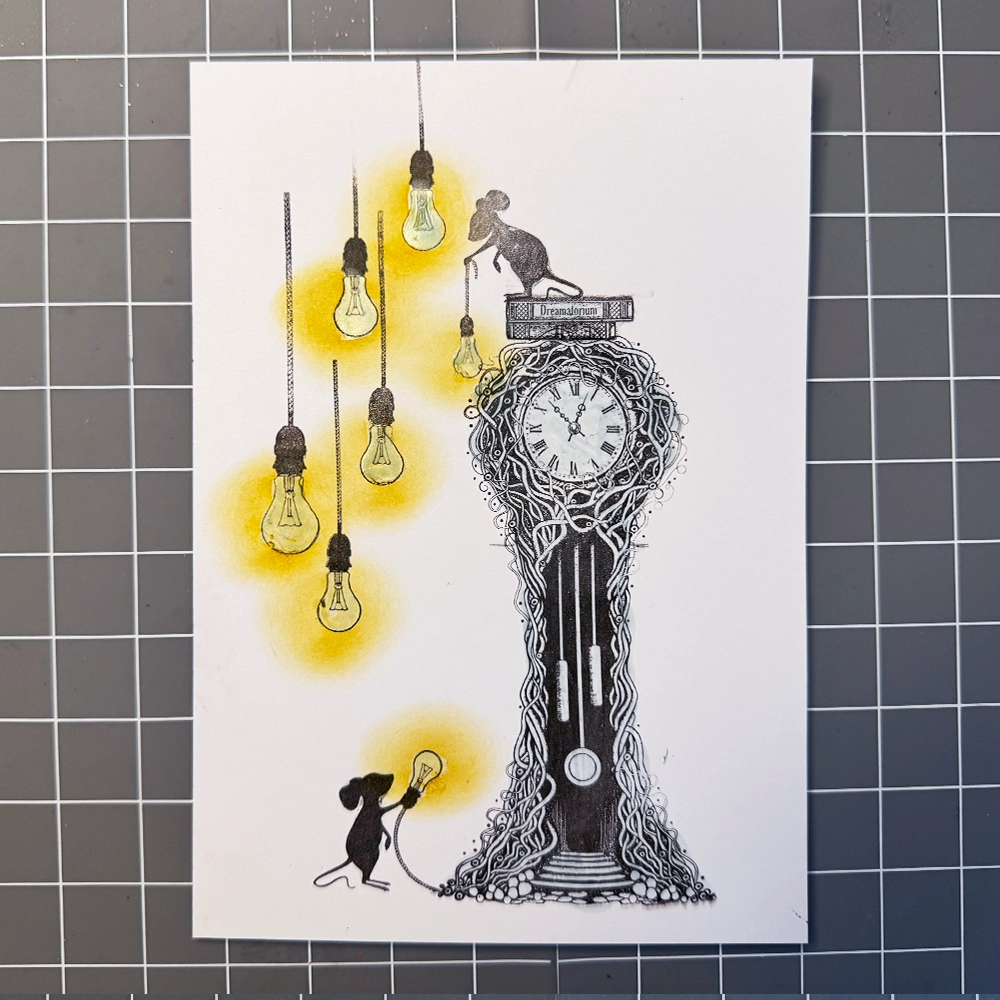
To make the light bulbs glow use a Stencil brush and Elements ink Sundance. Make a circle around every bulb as shown.
Step 5.
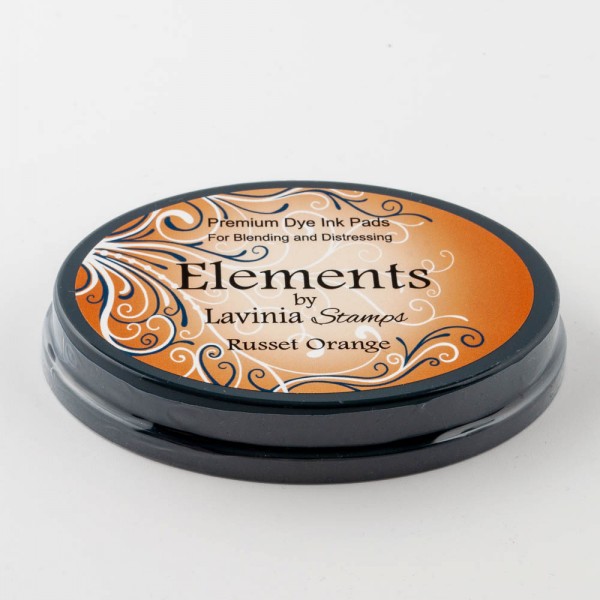
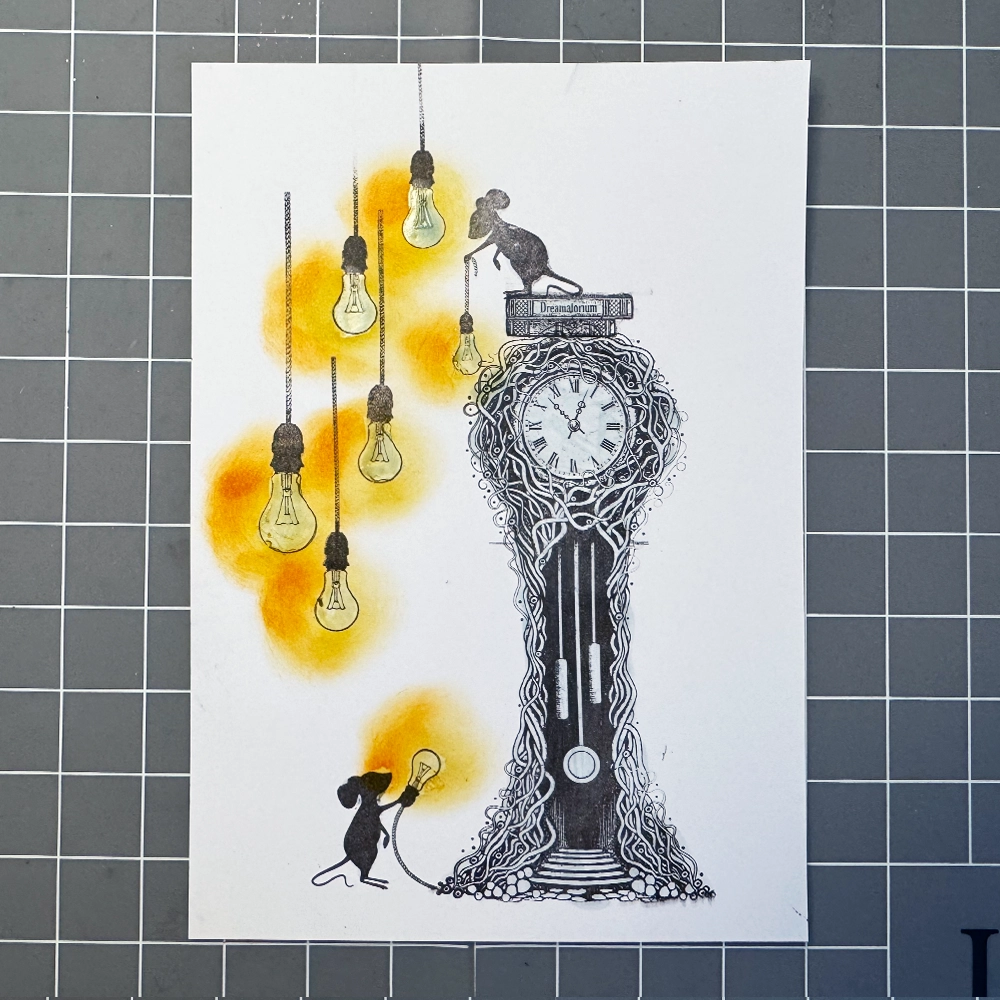
Add some Elements ink Russet Orange to one side of the yellow circles as shown in the picture.
Step 6.
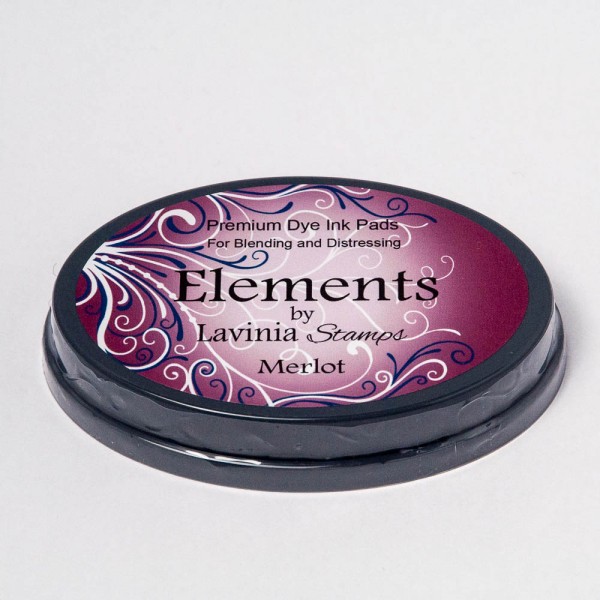
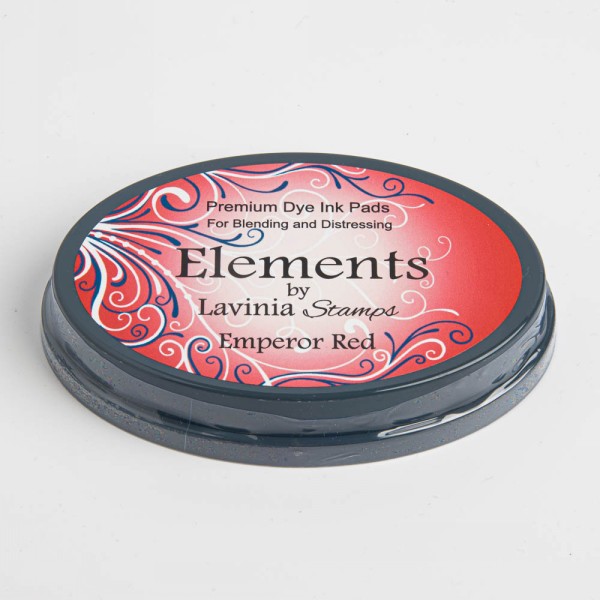
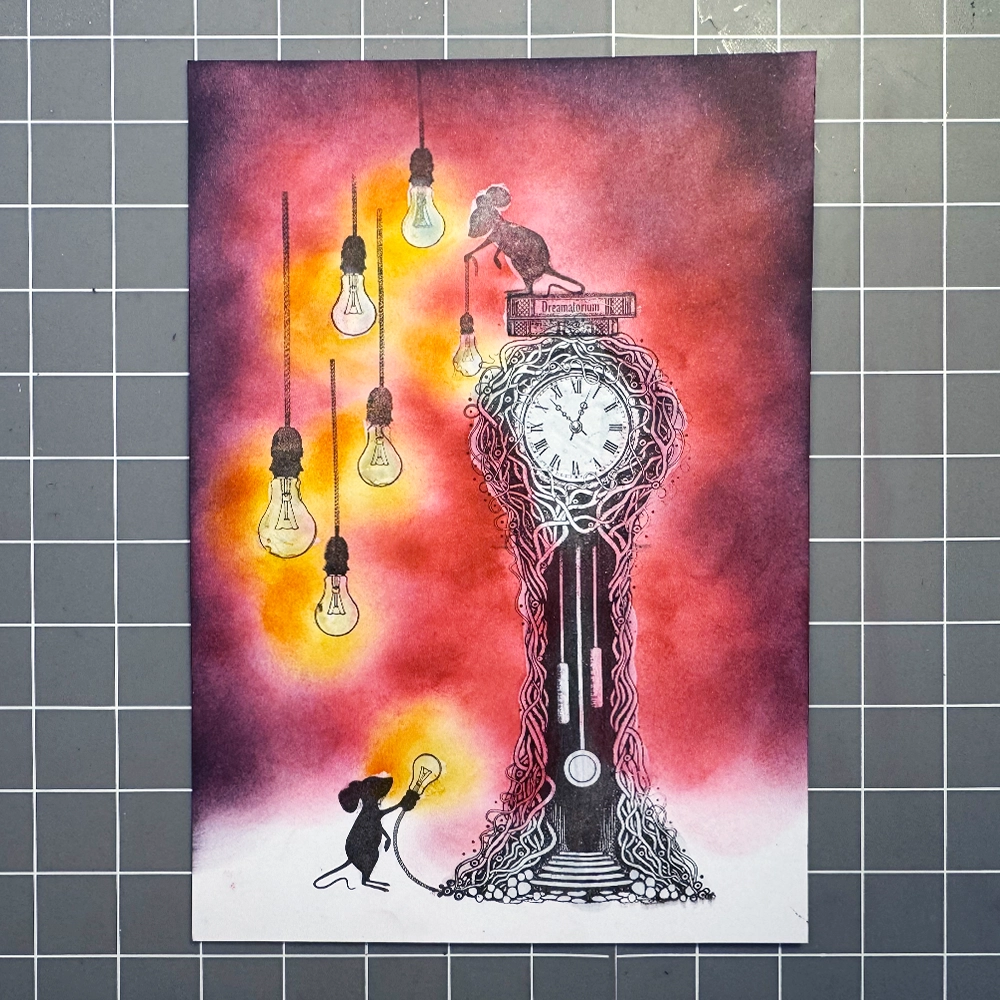
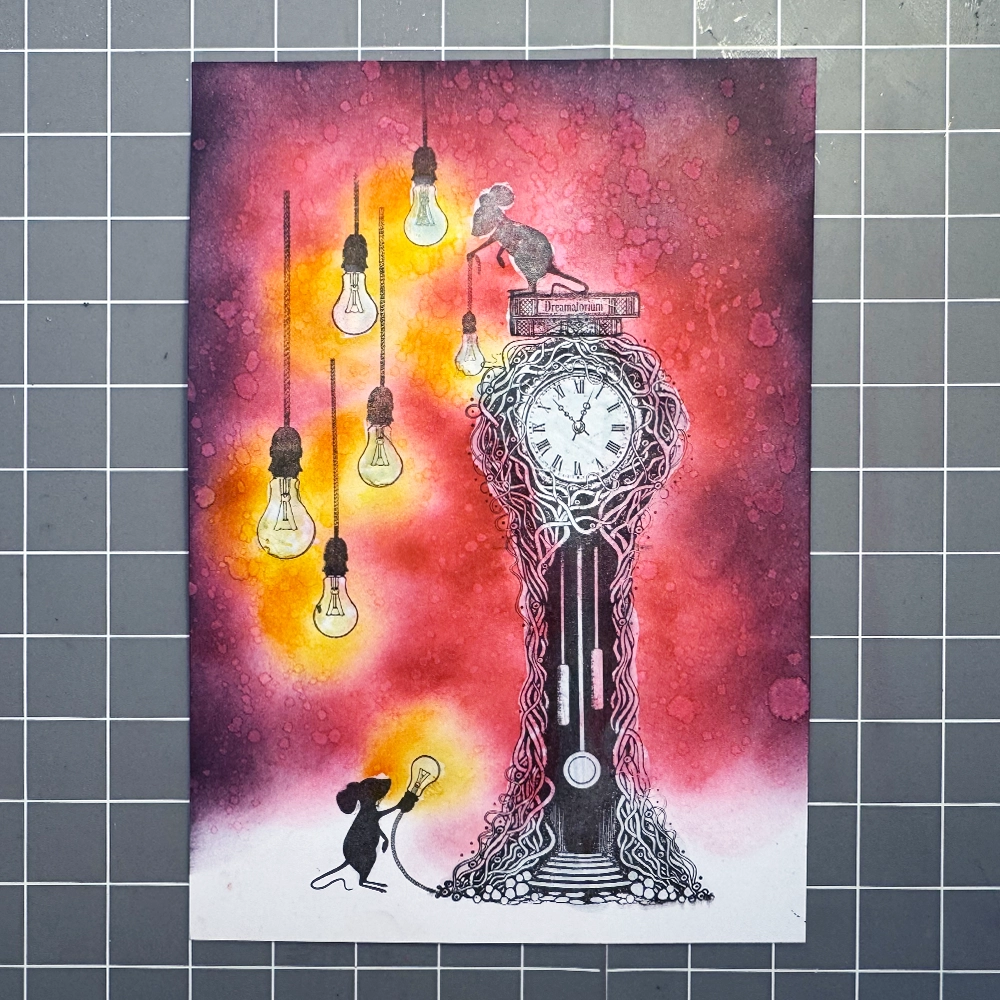
Now it’s time to make the sky. Use a Stencil Brush series 7 and work from the edges in towards the centre. Start with the Elements ink Merlot and switch to Elements ink Emperor Red. Work around the yellow parts. Leave the lower part of the card white for the grass. See picture for placement.
Step 7.
Use a spray bottle or a brush to splash water on the background. Wait a little while until you see the water react with the ink. Use a heat tool to dry or press down with a paper towel.
Step 8.
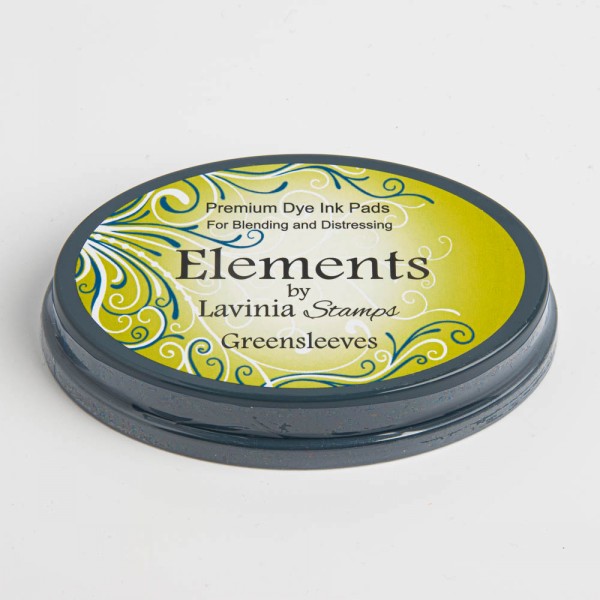
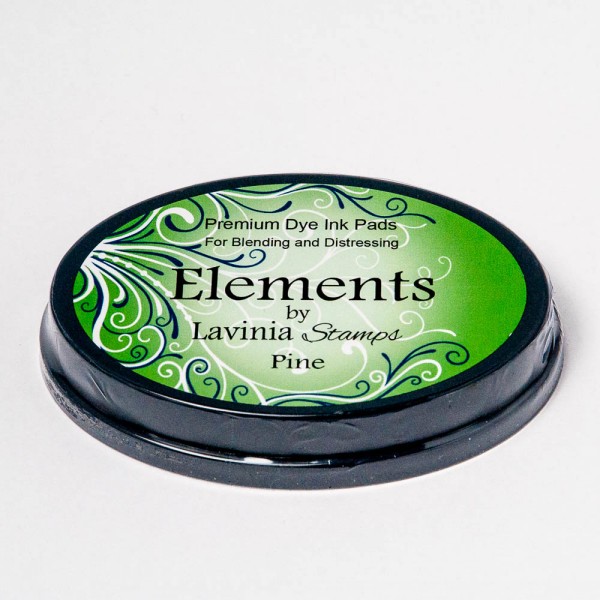
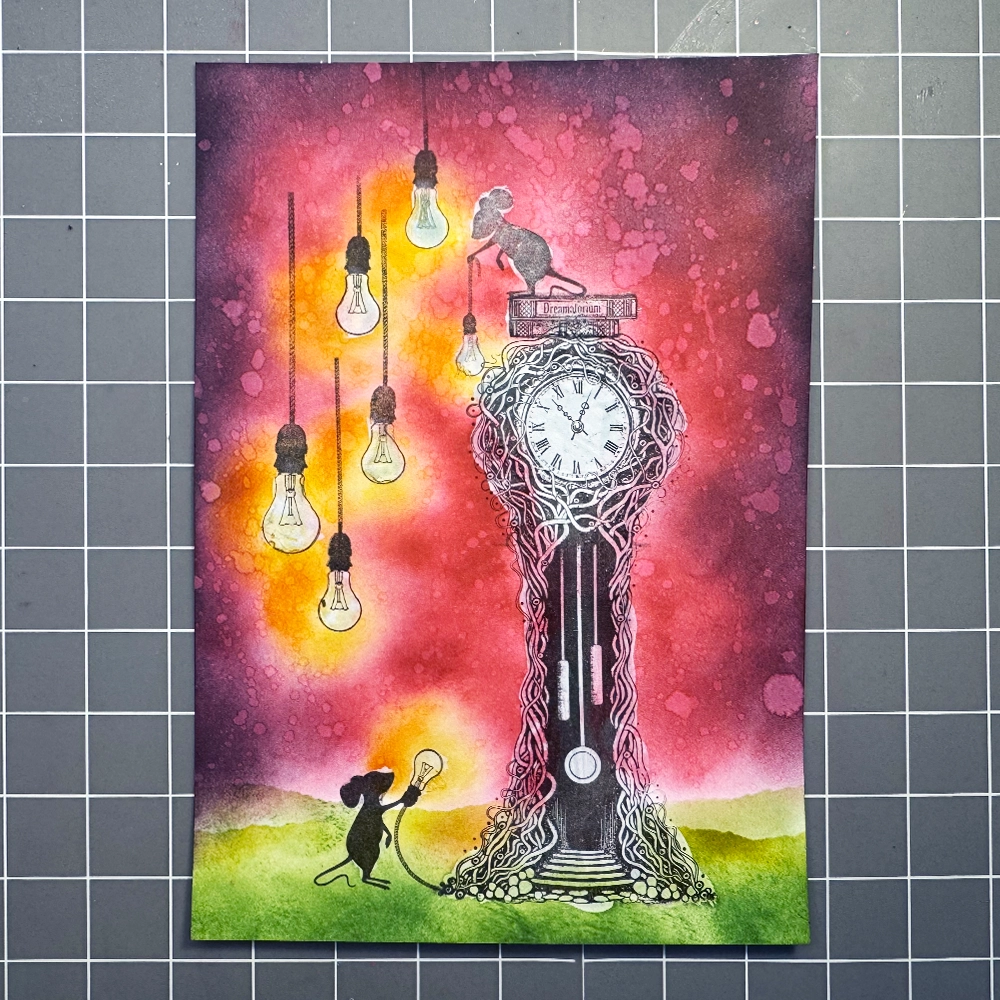
To do the grass use Elements ink Greensleeves, Pine and a little bit of Sundance. It’s easy to do with a piece of torn paper or the Hill Masks.
Step 9.
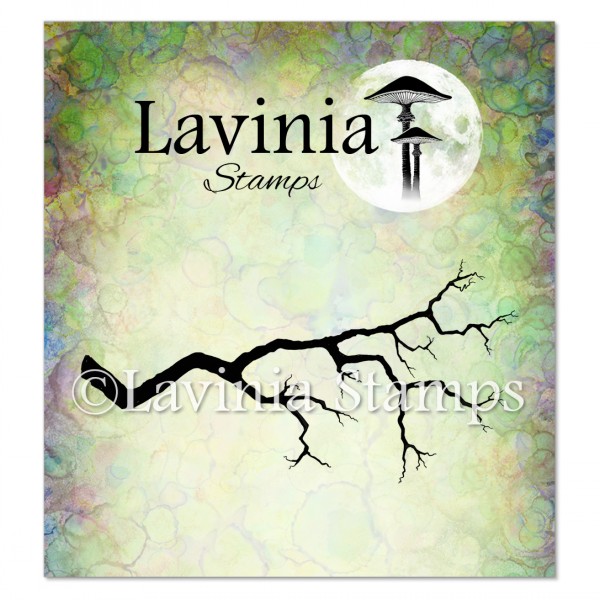
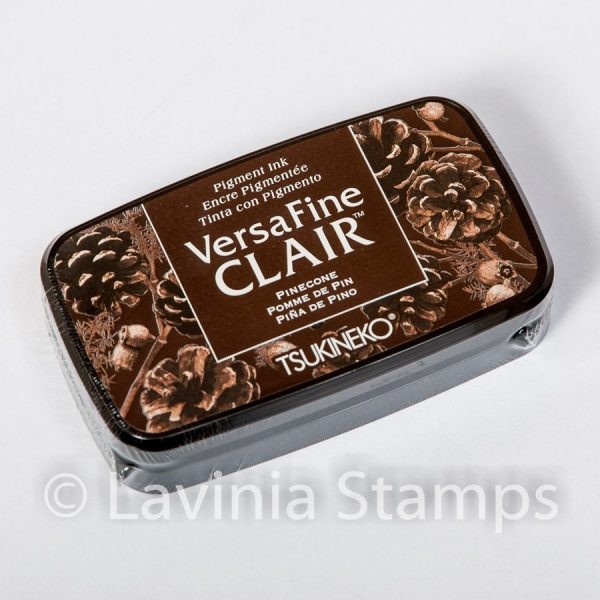
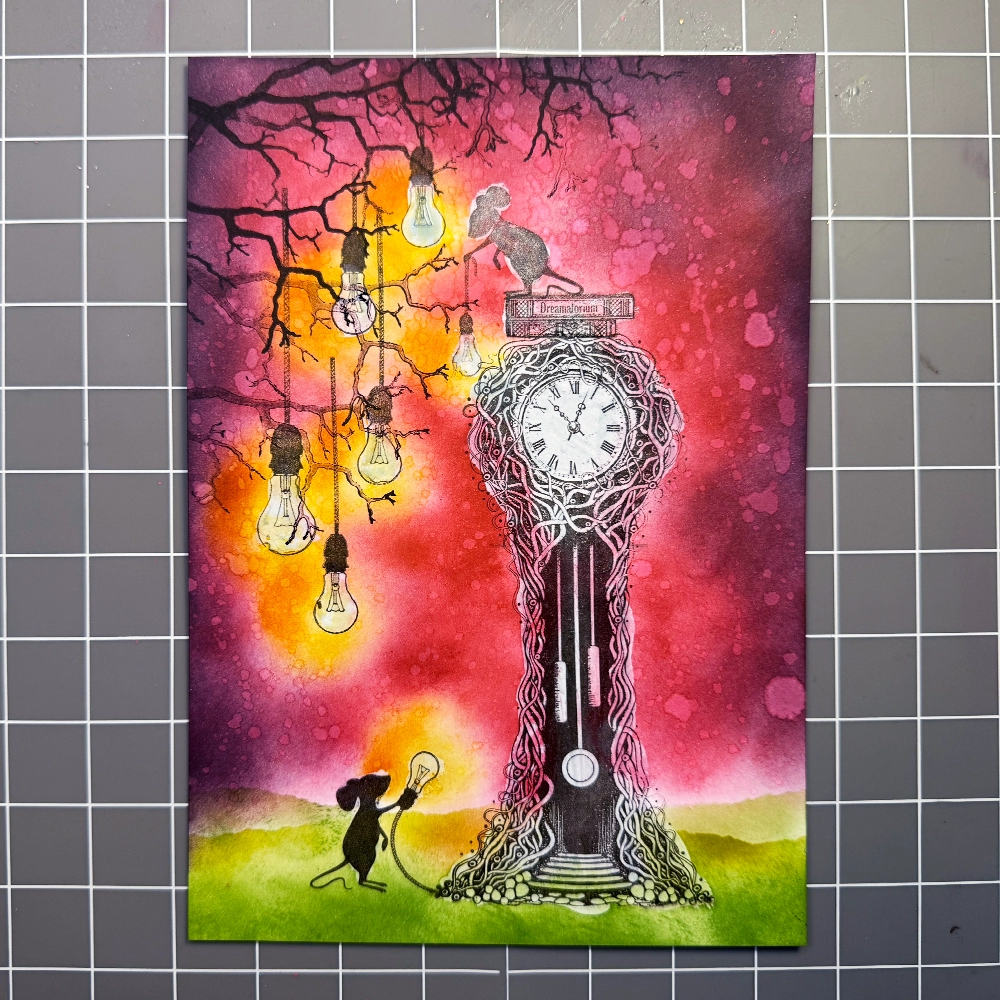
We will need some branches for the light bulbs to hang from. Use Tree Branch LAV506 and Versafine Clair Pinecone. Stamp in first and second generation.
Step 10.
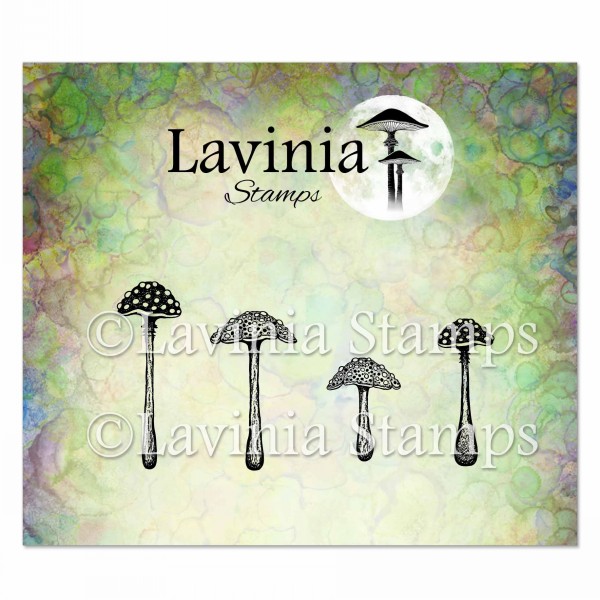
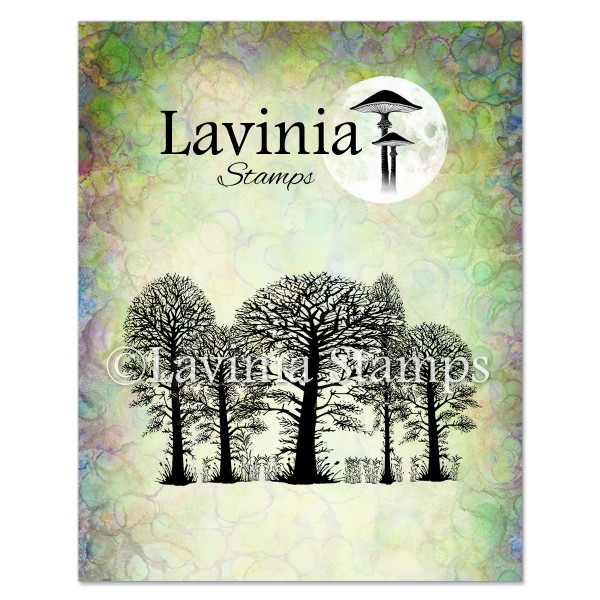
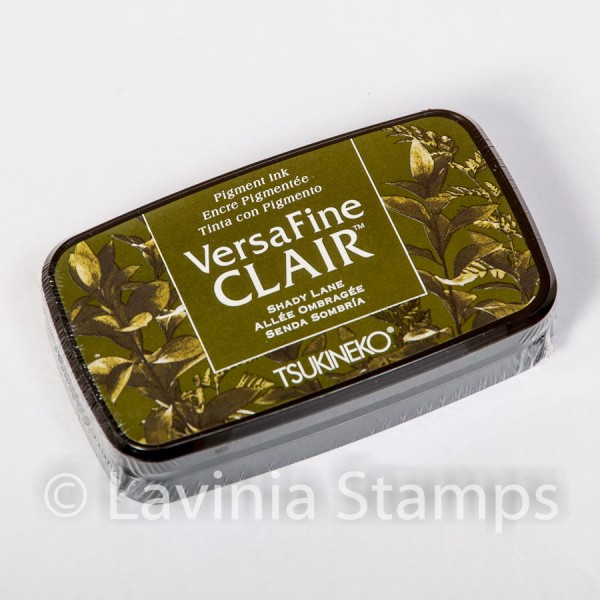
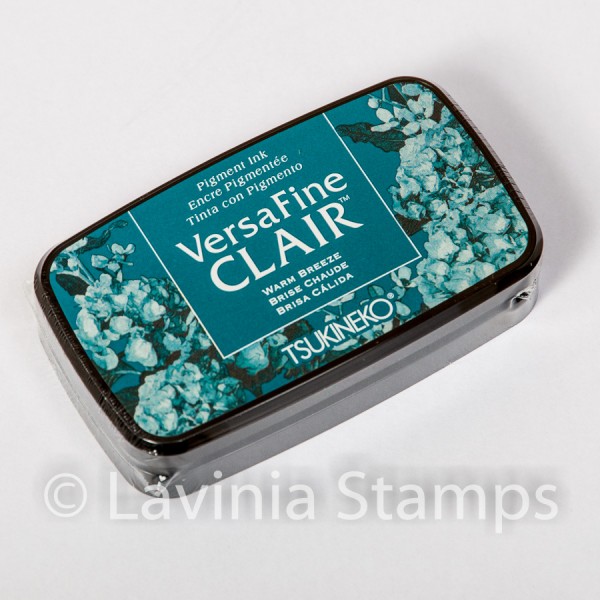
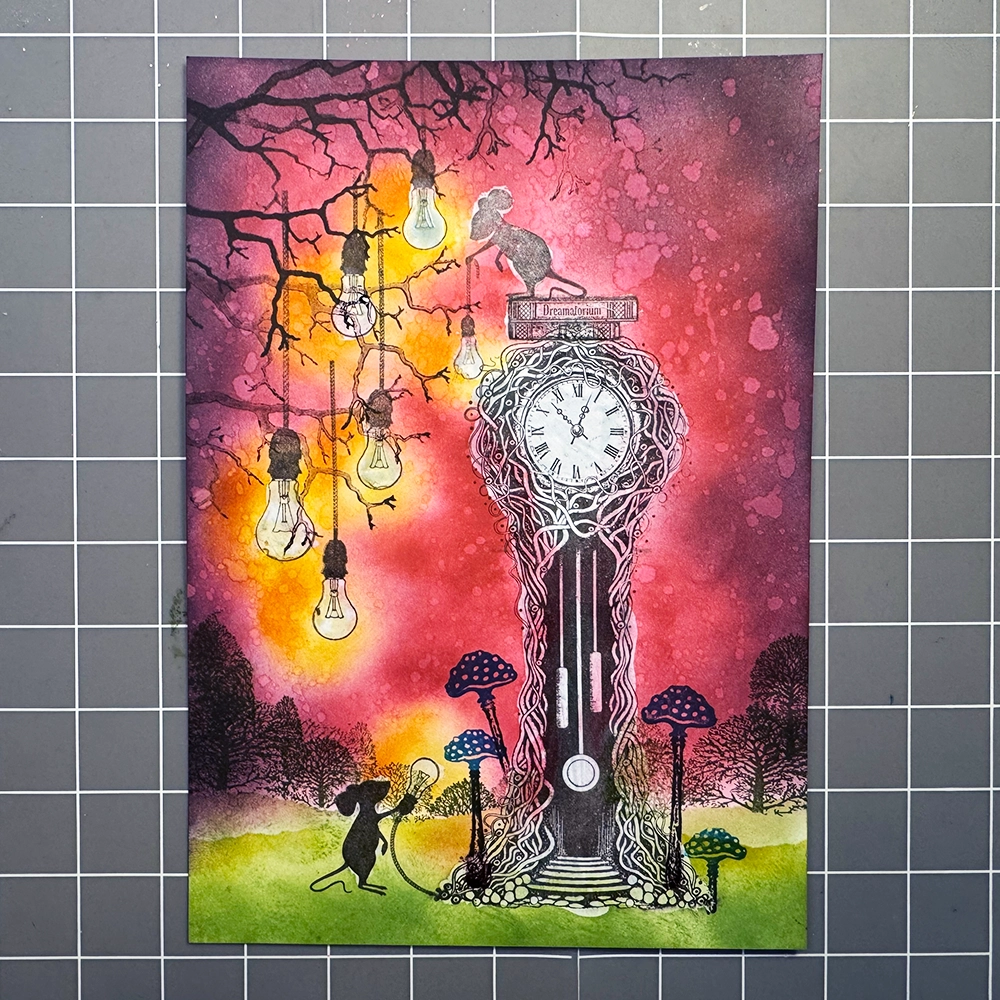
For the trees in the background use the stamp Trees and Versafine Clair Shady Lane, also stamping in first and second generation. Time for the Purple Cap Mushrooms. Use Versafine Clair Warm Breeze on the caps and Versafine Clair Fallen Leaves on the stems. Make sure everything is completely dry before rubbing off all Masking Fluid.
Step 11.
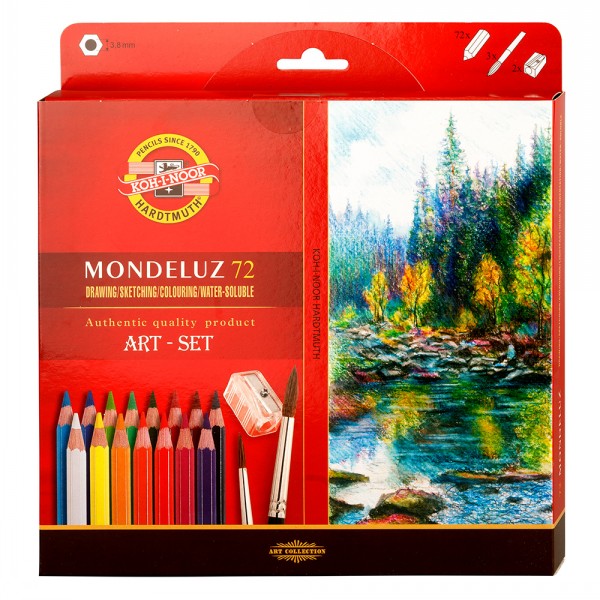
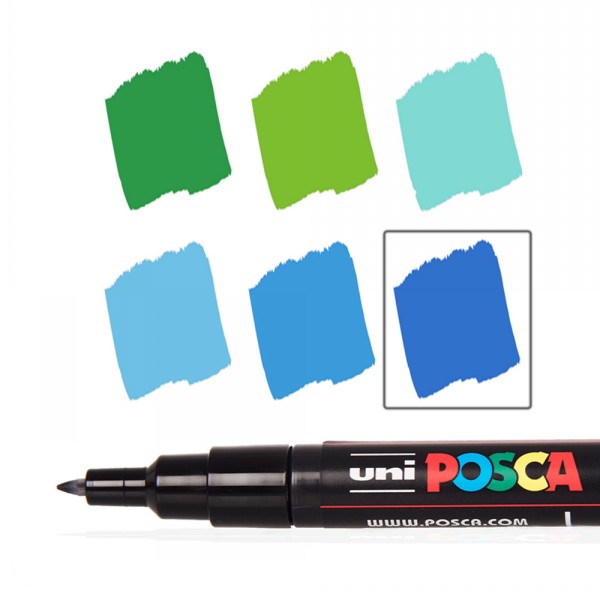
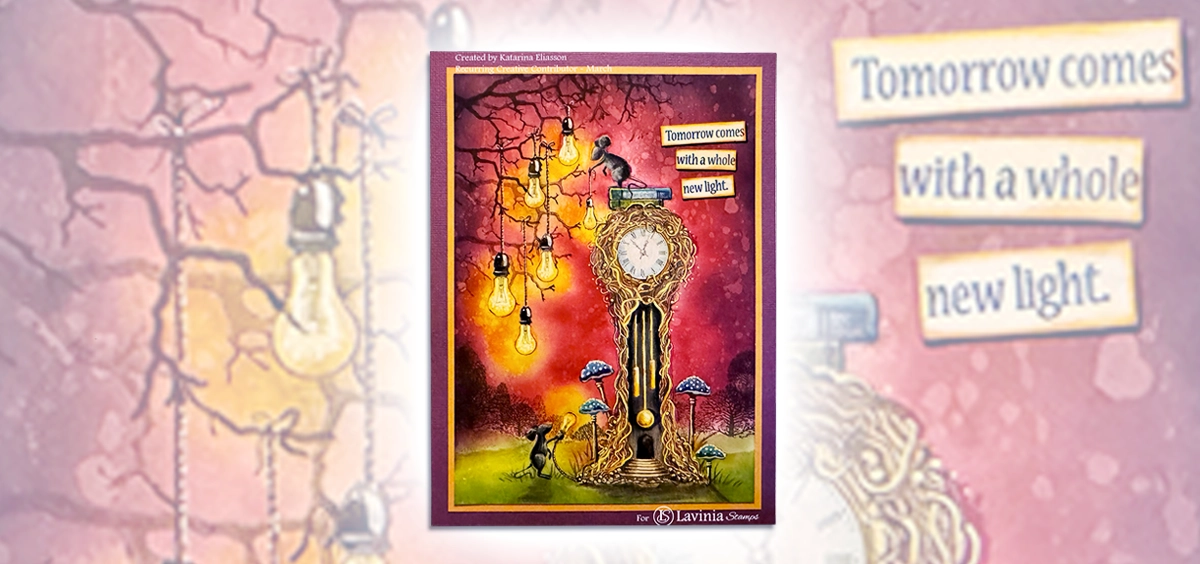
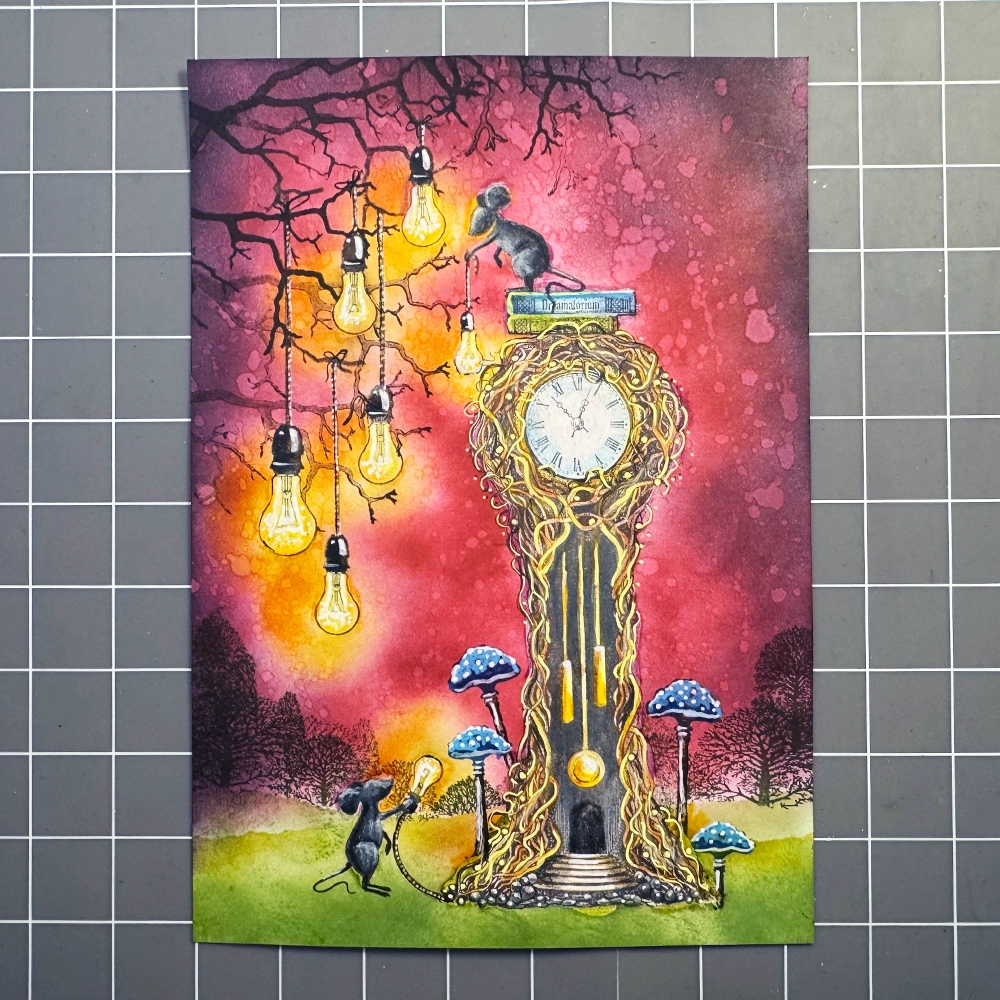
Now for the fun part, the colouring. I have used Mondeluz watercolour pencils in different browns, orange and yellow for the clock. For the mushrooms caps, dark blue watercolour pen, light blue Posca pen and for the dots white Posca pen. On the mice I used black watercolour pen and white Posca. For the bulbs I used Posca pen in yellow, orange and white.
Step 12.
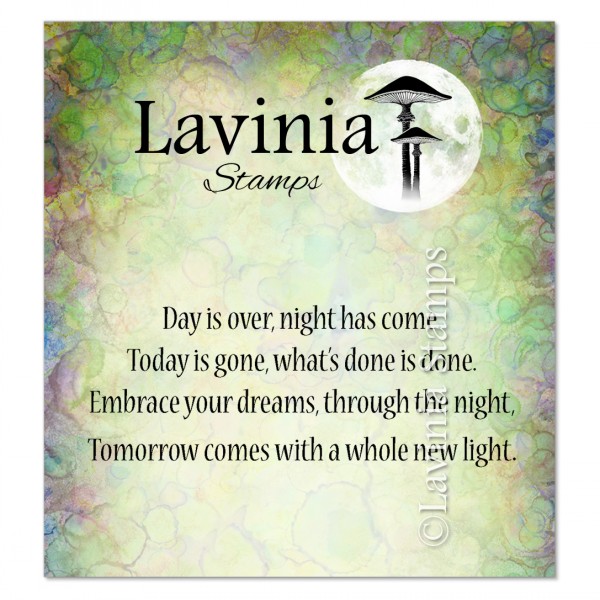
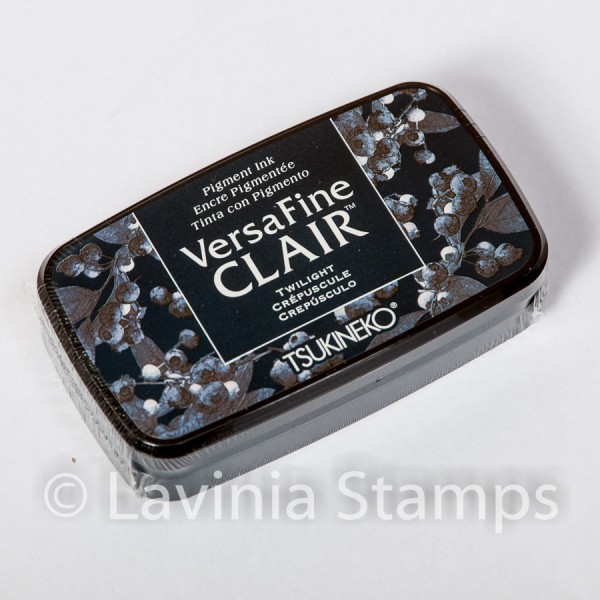
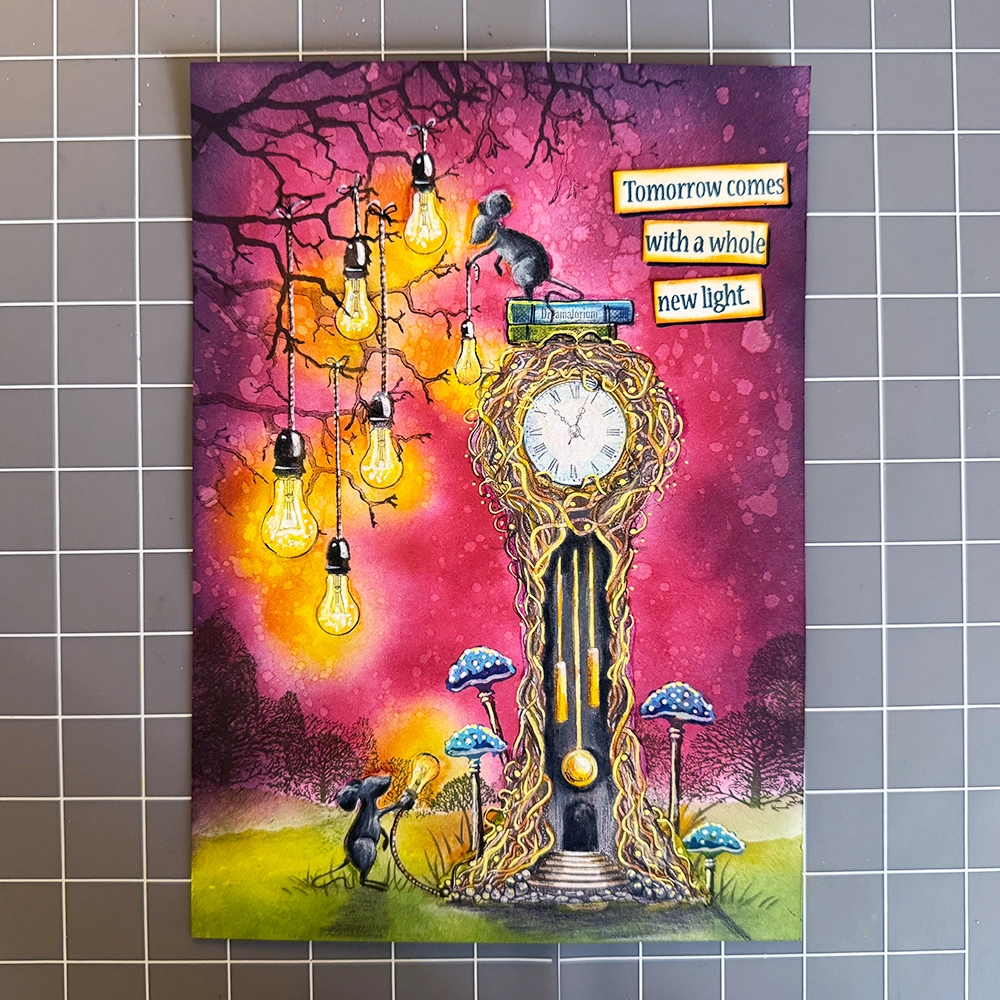
Stamp the last line of the Embrace Your Dreams stamp LAV376, in Versafine Clair Twilight on separate white Multifarious card. Cut it as you like and glue it on the card. Make some blades of grass and shadows with watercolour pencils.
Step 13.
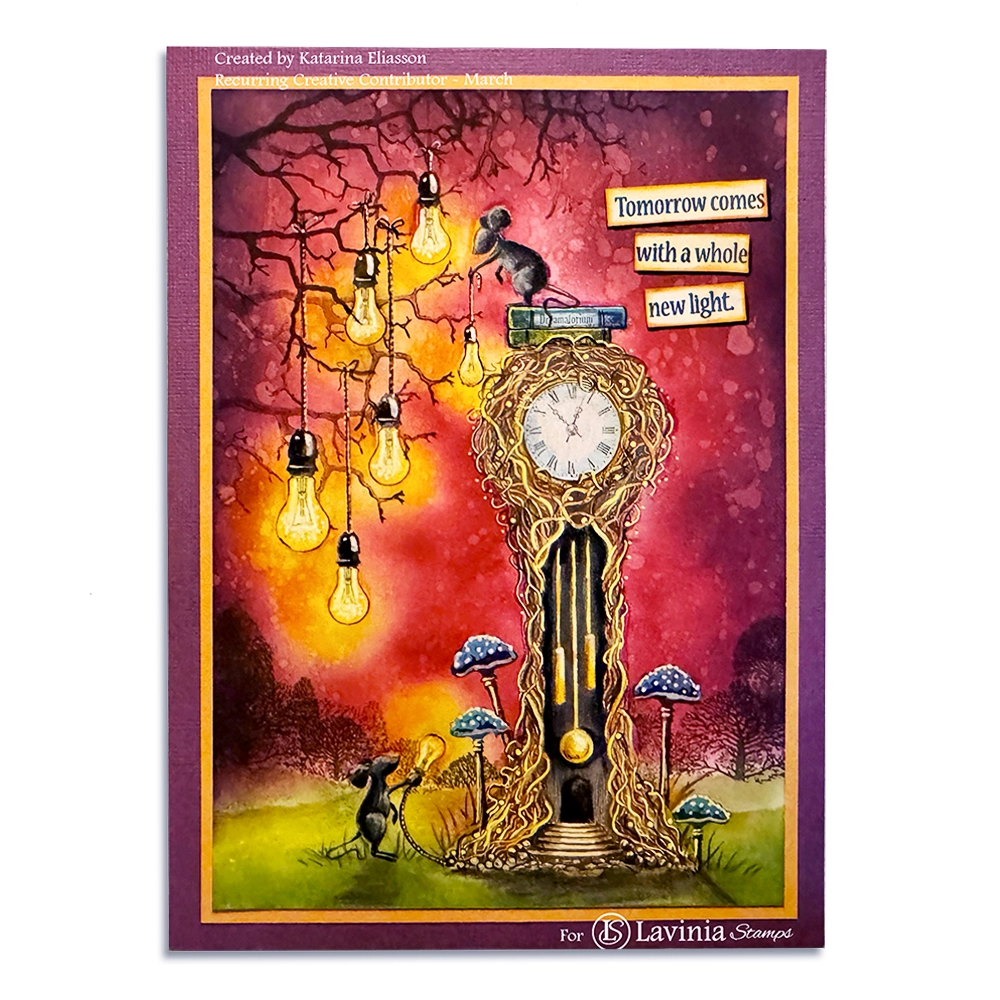
Mount the card on coloured Cardstock of your choice. The card is finally finished. I hope you liked my picture tutorial and will give it a go. Happy crafting! Big hugs from Katarina ❤️


