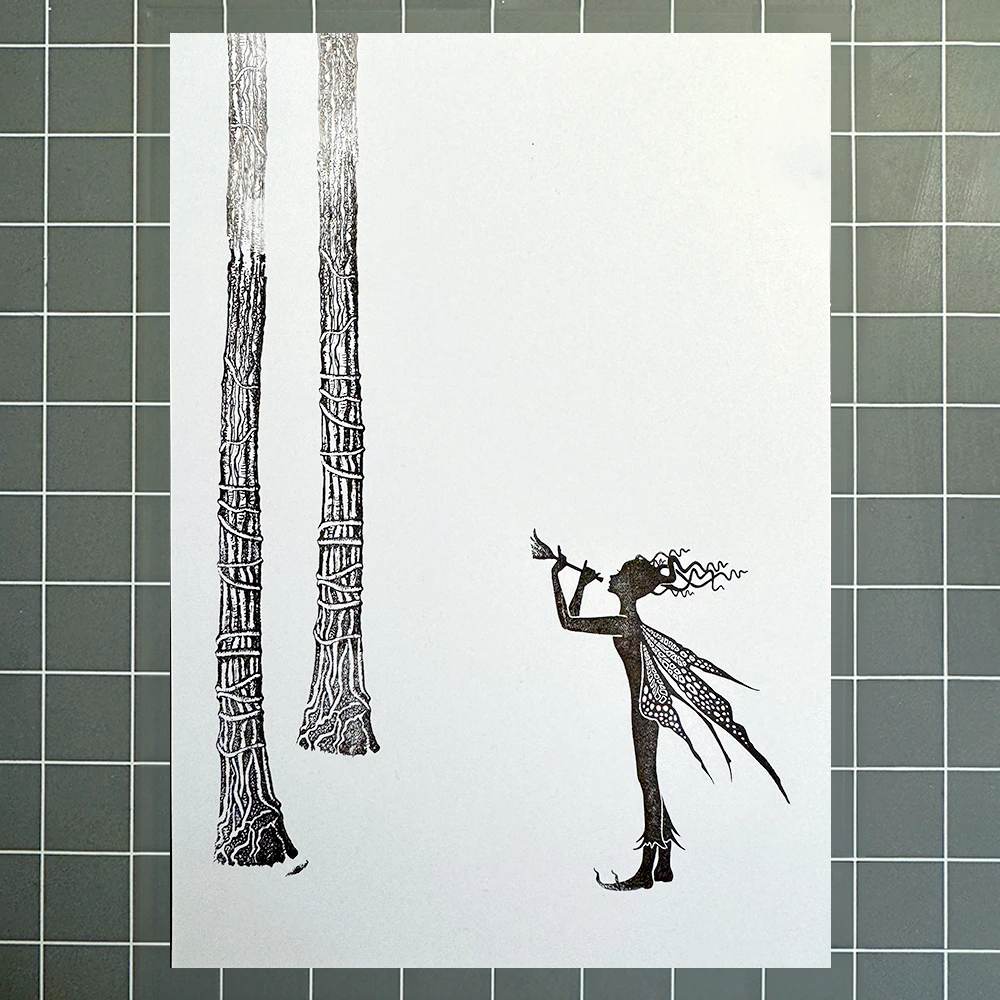


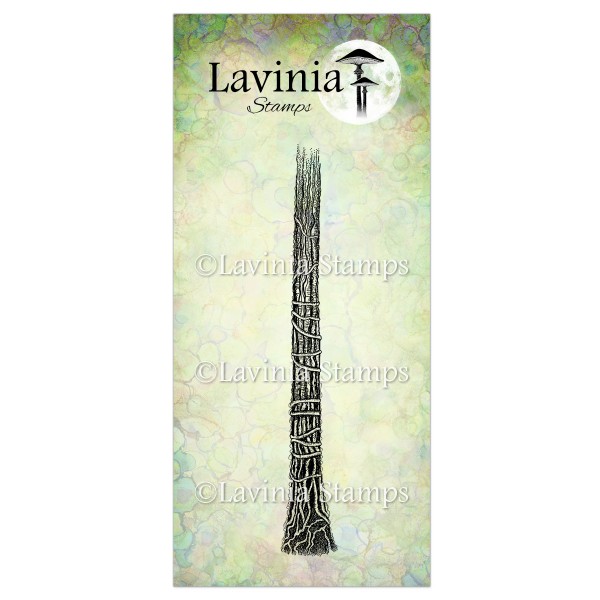
 Tree Stem Stamp
£7.60
Add to cart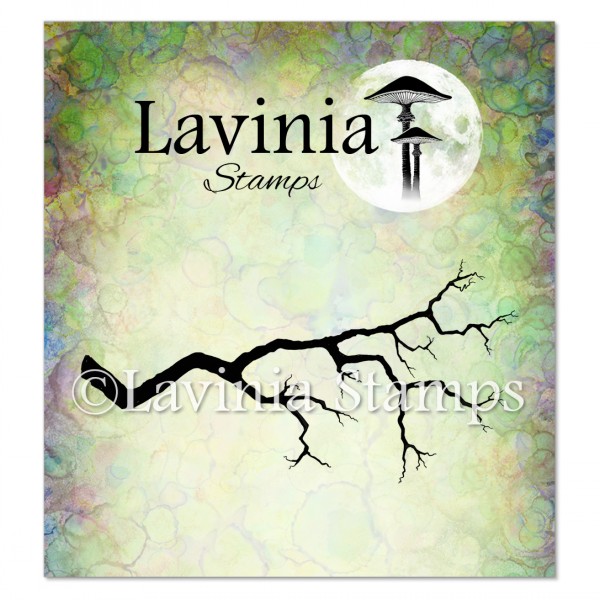 Tree Branch Stamp
£6.90
Add to cart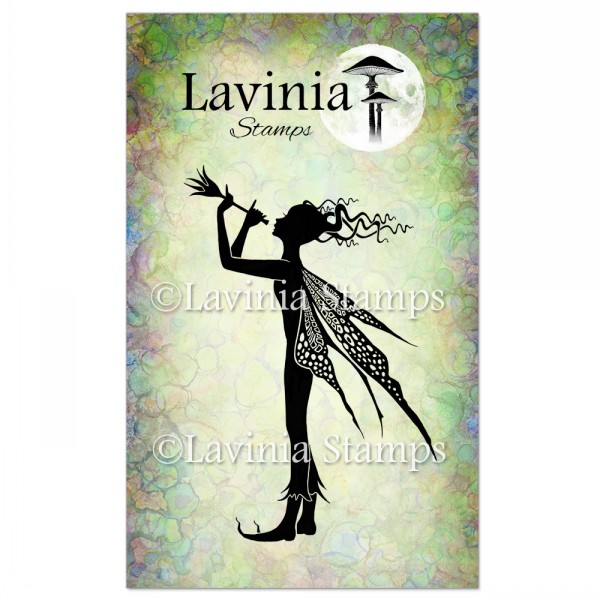 Grace (Small) Stamp
£7.20
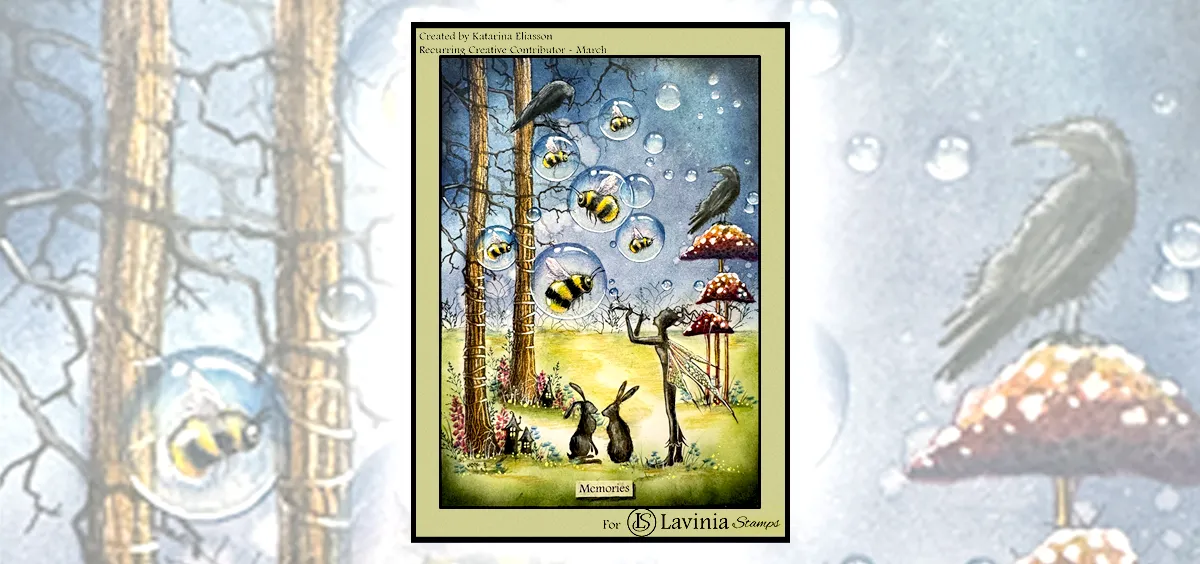
Add to cart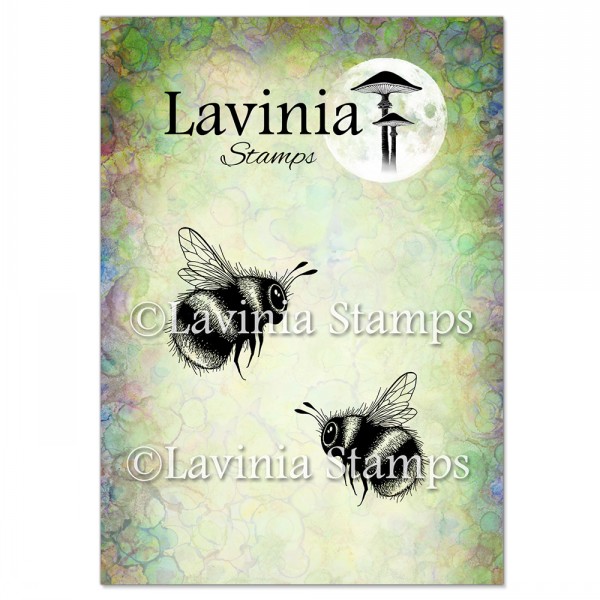 Bumble and Hum Stamp
£6.80
Add to cart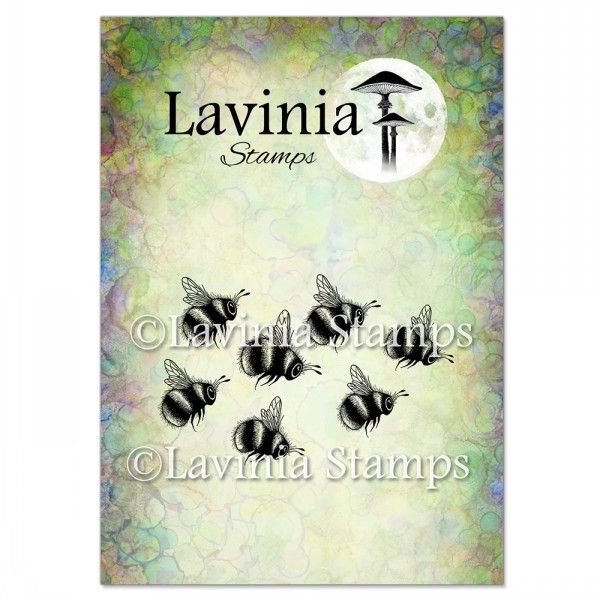 Bumblehums Stamp
£6.80
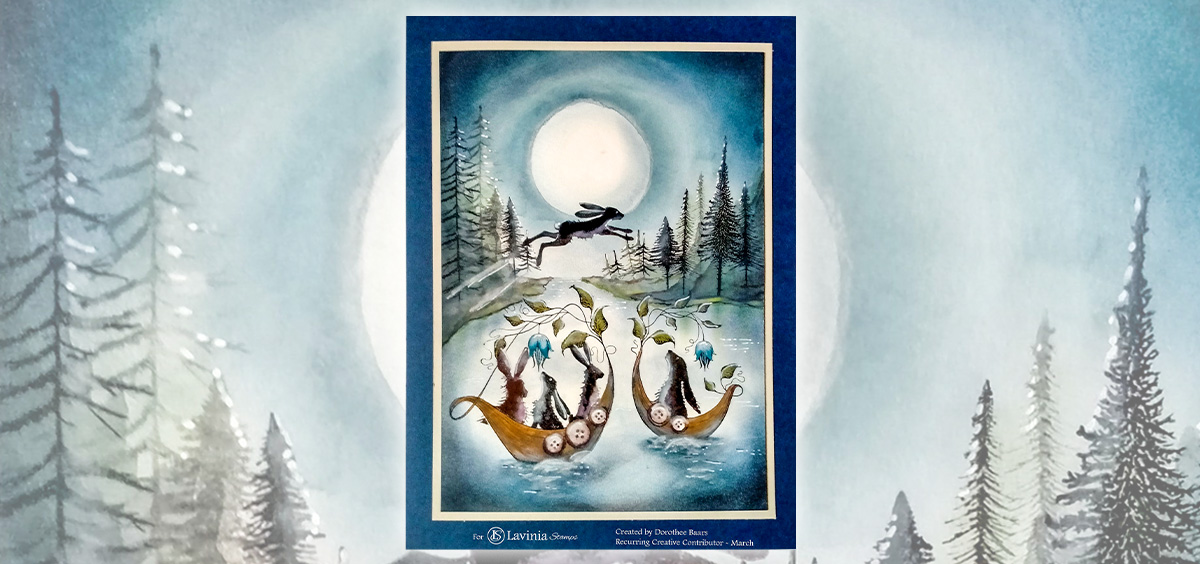
Add to cart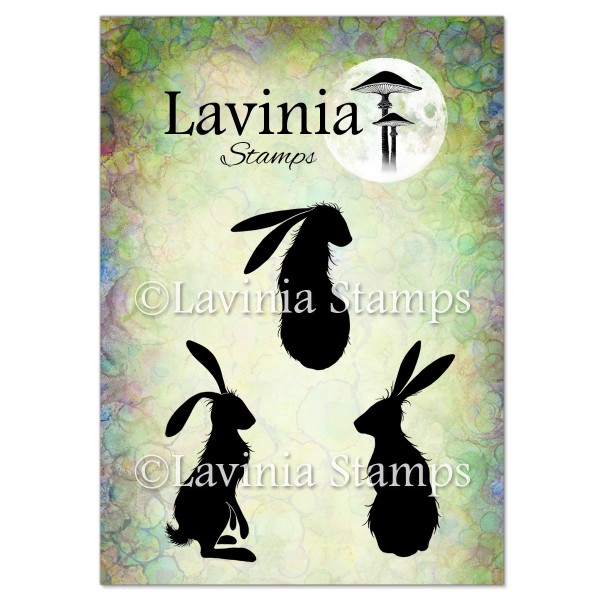 Wild Hares Set (Large) Stamp
£7.80
Add to cart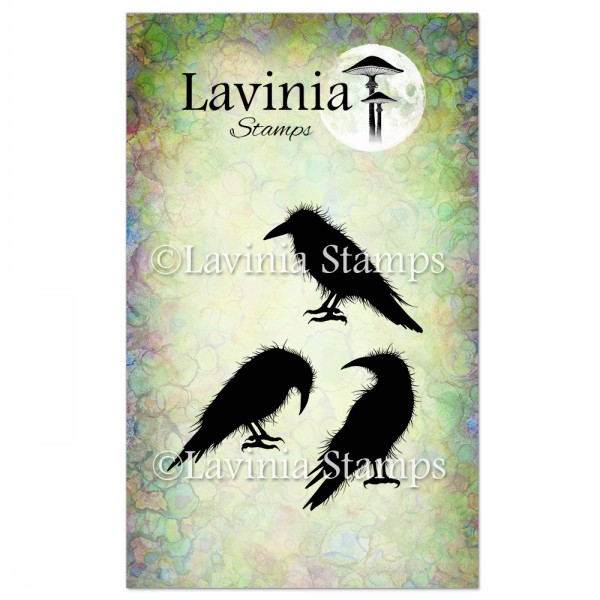 Crow Set Stamp
£7.80
Add to cart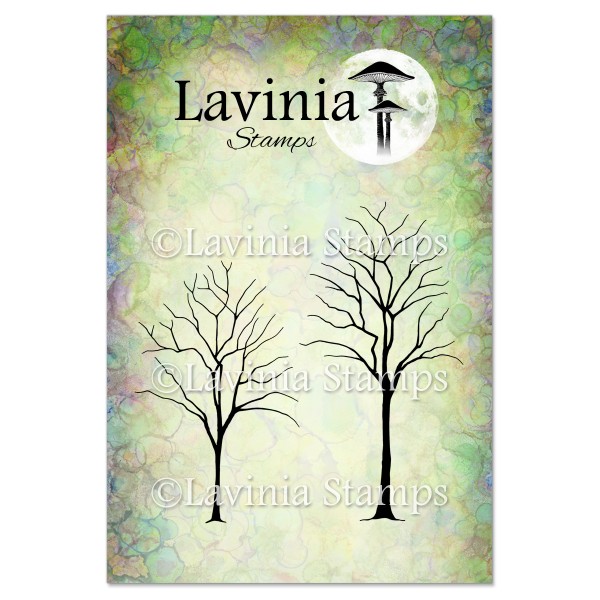 Small Trees Stamp
£7.30
Add to cart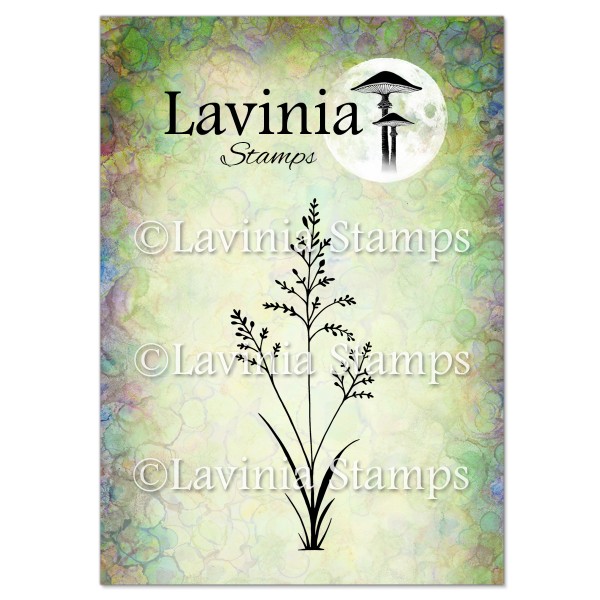 Orchard Grass Stamp
£5.60
Add to cart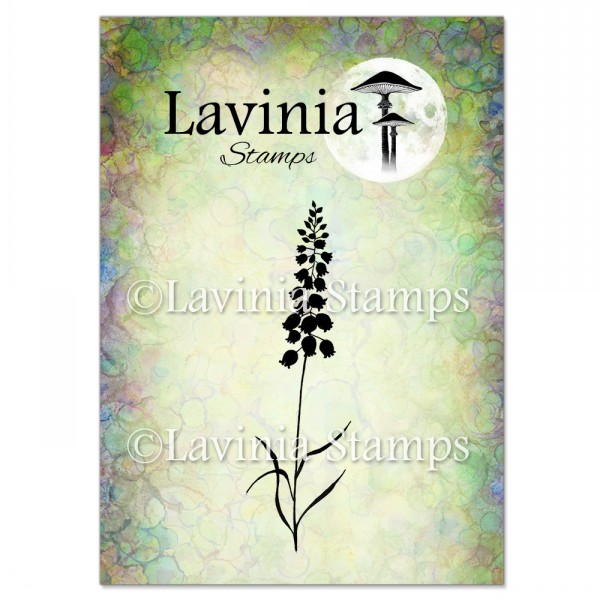 Bluebells Stamp
£5.80
Add to cart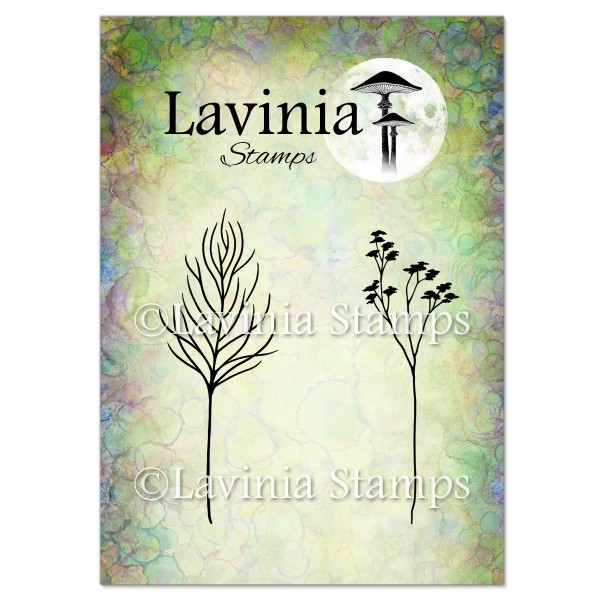 Flora Set Stamp
£7.20
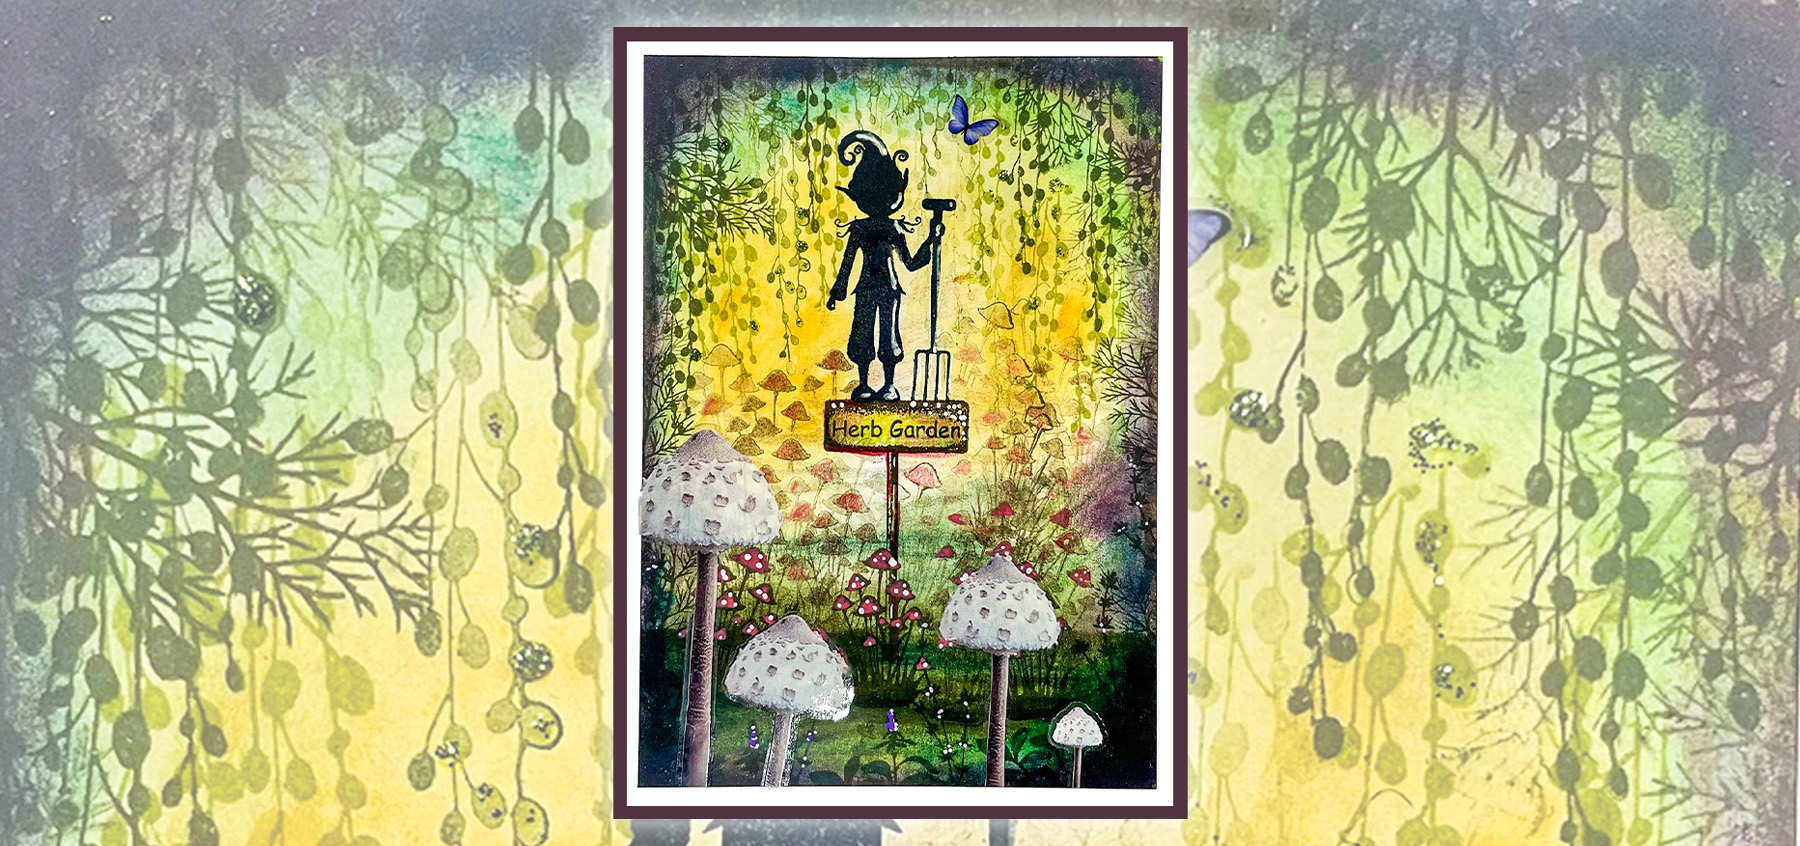
Add to cart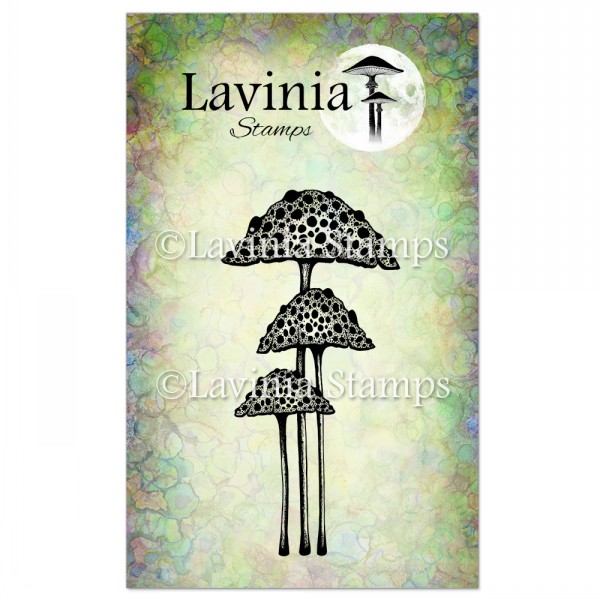 Elfin Cap Cluster Stamp
£7.20
Add to cart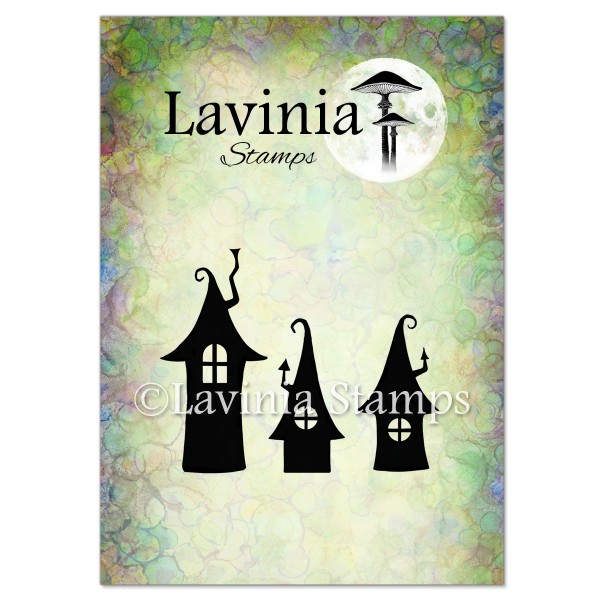 Small Pixy Houses Stamp
£3.90
Add to cart Elements Premium Dye Ink – Dark Denim
£5.85
Add to cart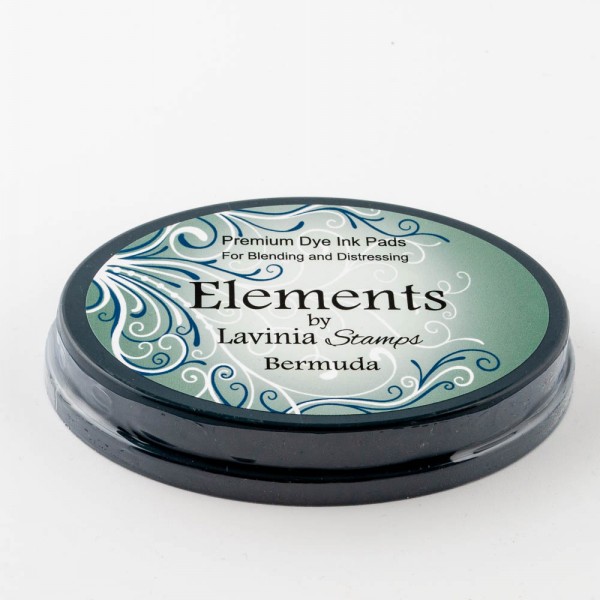 Elements Premium Dye Ink – Bermuda
£5.85
Add to cart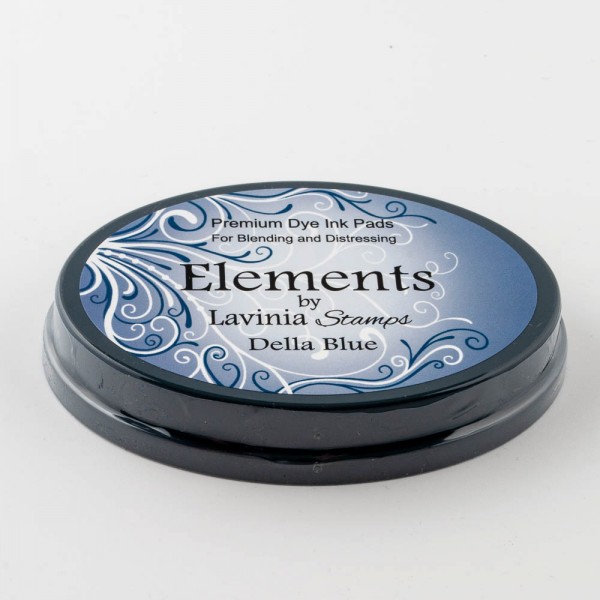 Elements Premium Dye Ink – Della Blue
£5.85
Add to cart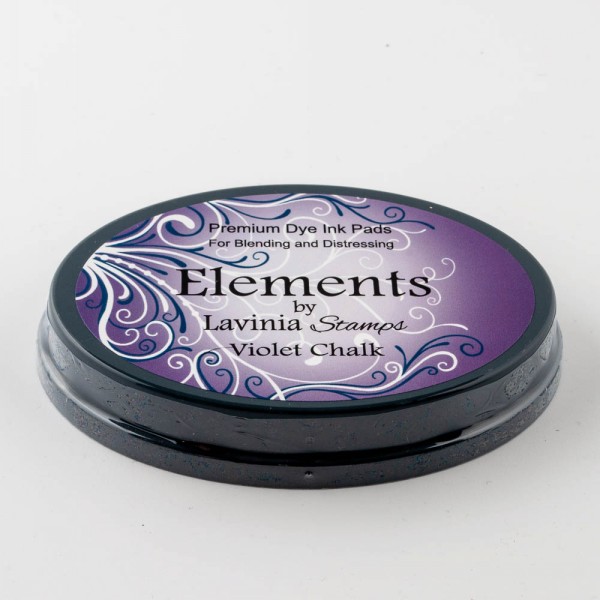 Elements Premium Dye Ink – Violet Chalk
£5.85
Add to cart Elements Premium Dye Ink – Olive
£5.85
Add to cart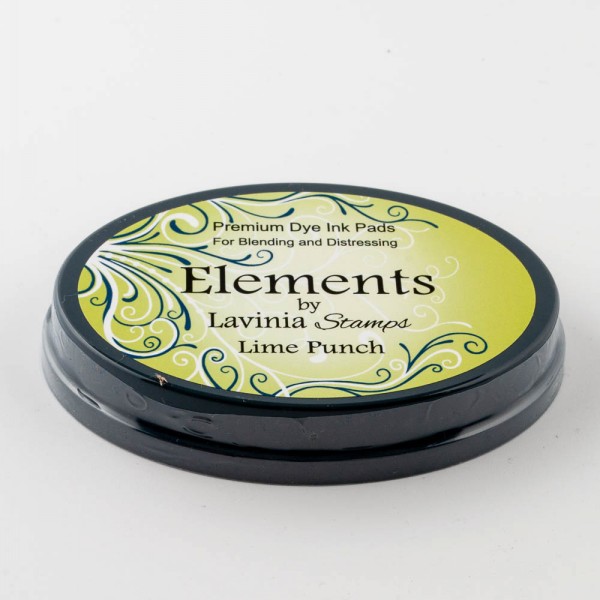 Elements Premium Dye Ink – Lime Punch
£5.85
Add to cart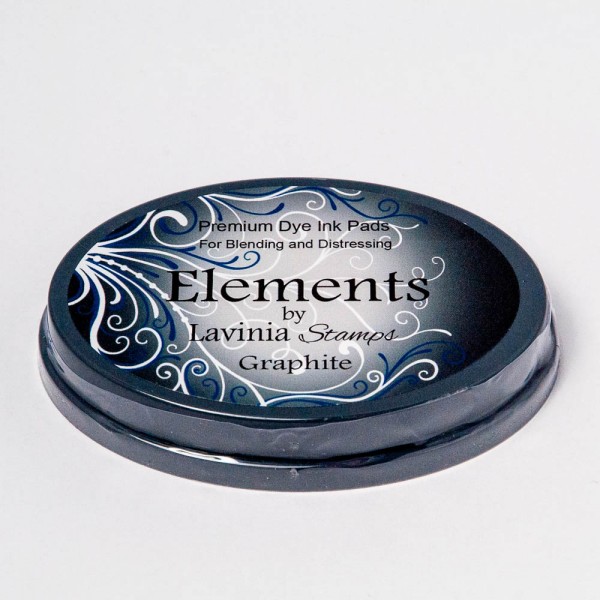 Elements Premium Dye Ink – Graphite
£5.85
Add to cart Versafine Clair Ink Pad – Fallen Leaves
£5.80
Add to cart Versafine Clair Ink Pad – Rain Forest
£5.80
Add to cart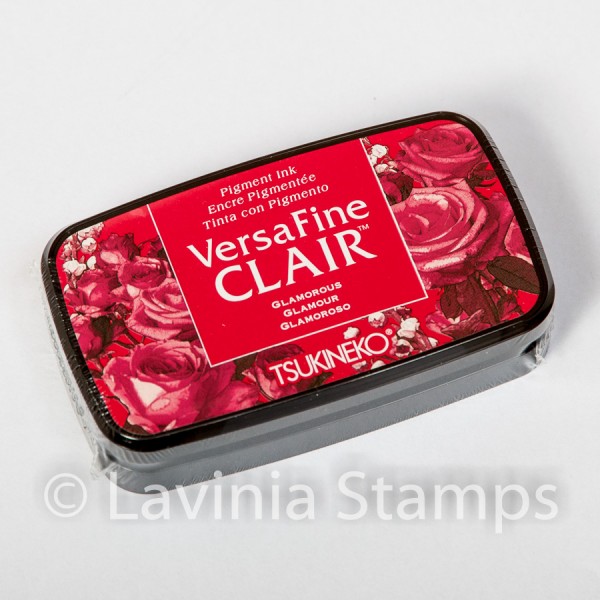 Versafine Clair Ink Pad – Glamorous
£5.80
Add to cart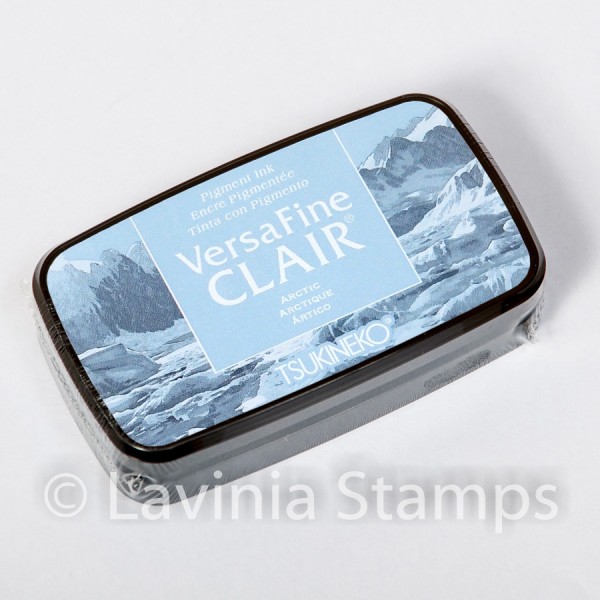 Versafine Clair Ink Pad – Arctic
£5.80
Add to cart Mondeluz Watercolour Pencils 72 Set
£59.95
Add to cart Posca Fine Tip Pens Summer Collection
£3.15
Select options Multifarious Card – A5 White
£5.80
Add to cart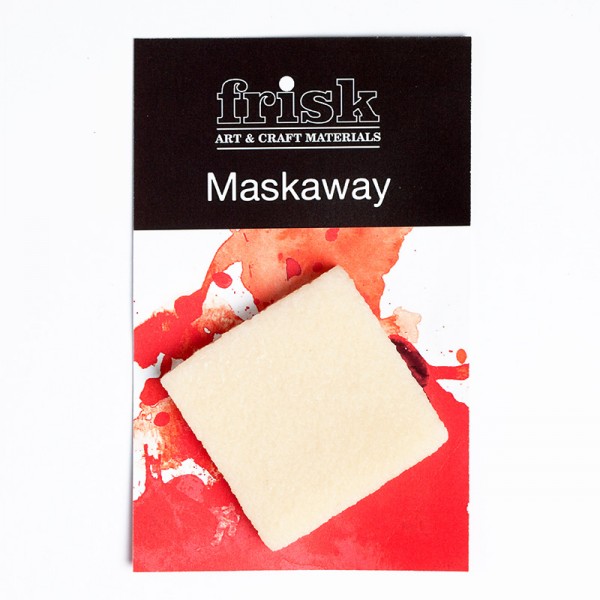 Frisk Maskaway Block
£4.95
Add to cart Lavinia Stencil Brush (Series 9)
£5.25
Add to cart Masking Fluid
£4.25
Add to cart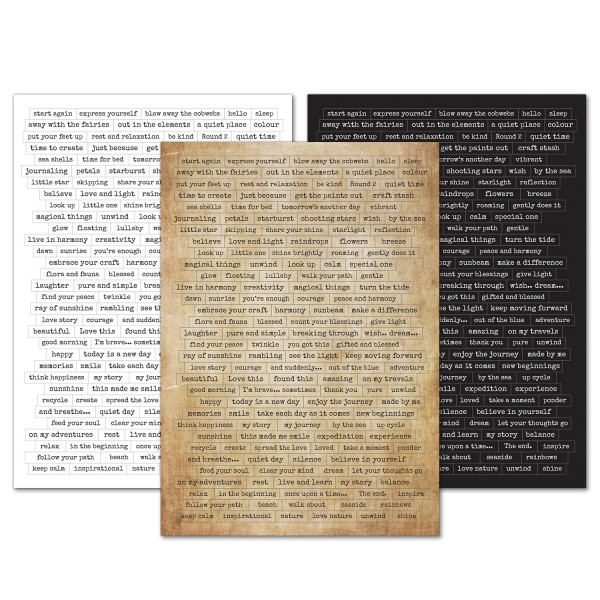 Sentiment Stickers 6
£5.80
Add to cart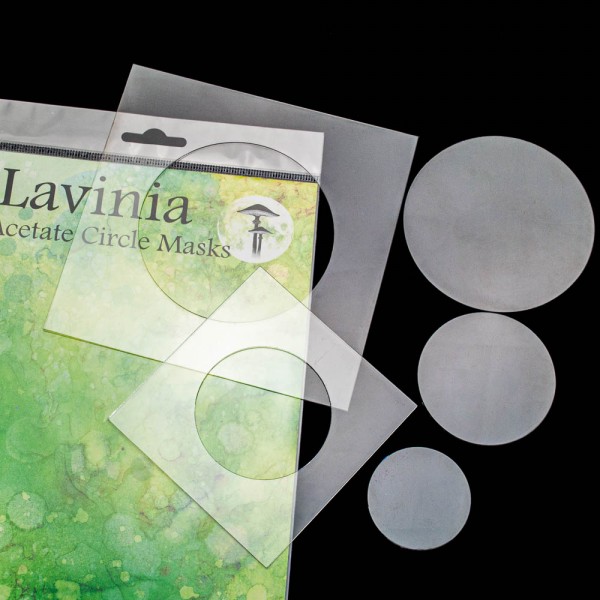 Acetate Circle Masks
£4.35
Add to cart