Step by Step by Emma-Jo
Hello everyone, it’s Emma-Jo here. Today I’m sharing with you a make called “Turn the Twinkle on!”. I love idea of there being a master light switch to turn on the stars at night! It’s perfect for any season with a night sky. I hope you enjoy it.

Picture 1
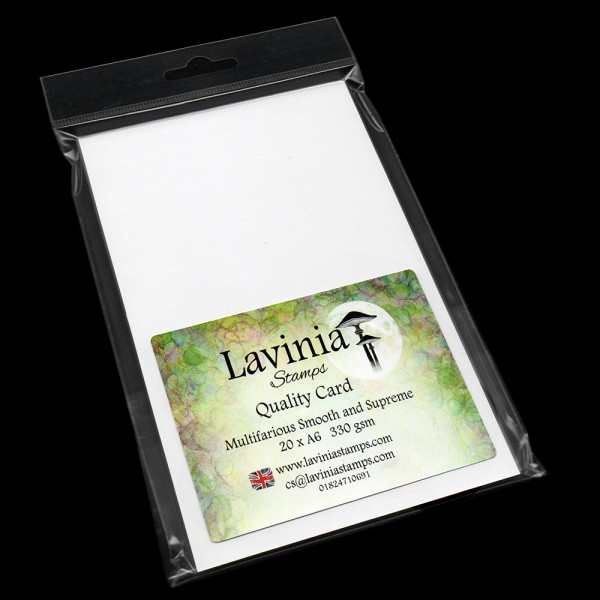
Start with a piece of white A6 multifarious card and keep it portrait way up.

Picture 2
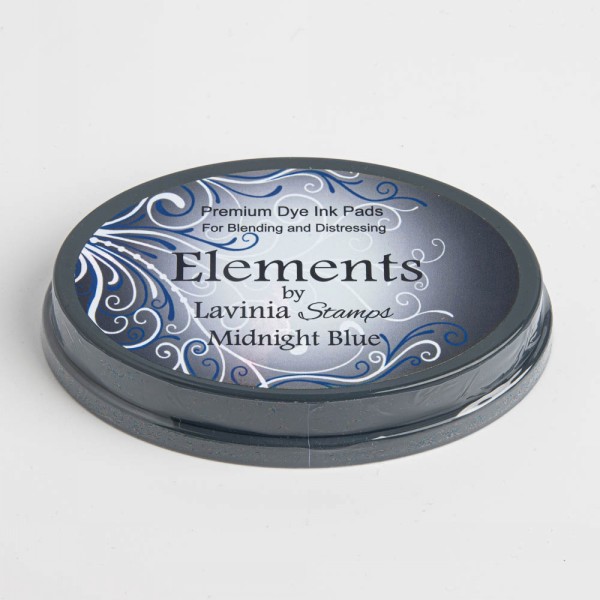
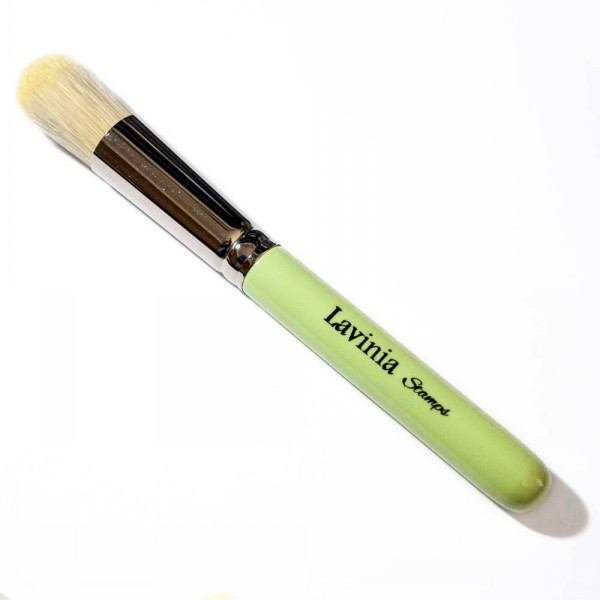
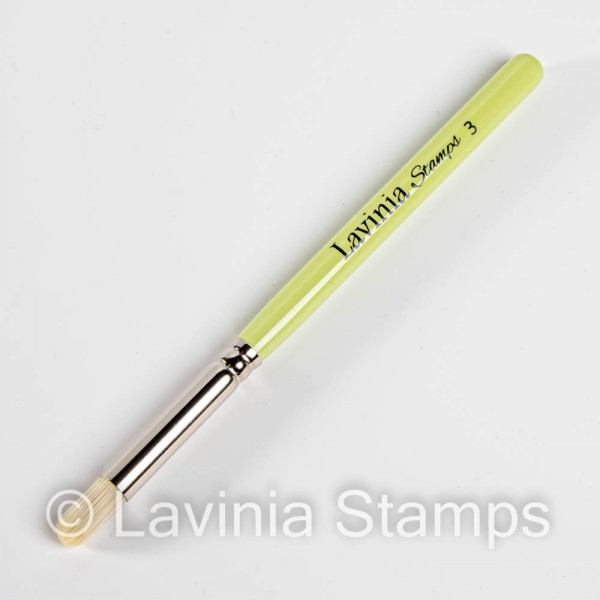
With a series 9 stencil brush lightly blend some Elements ink Midnight Blue to the top of the card. See the picture for placement.

Picture 3
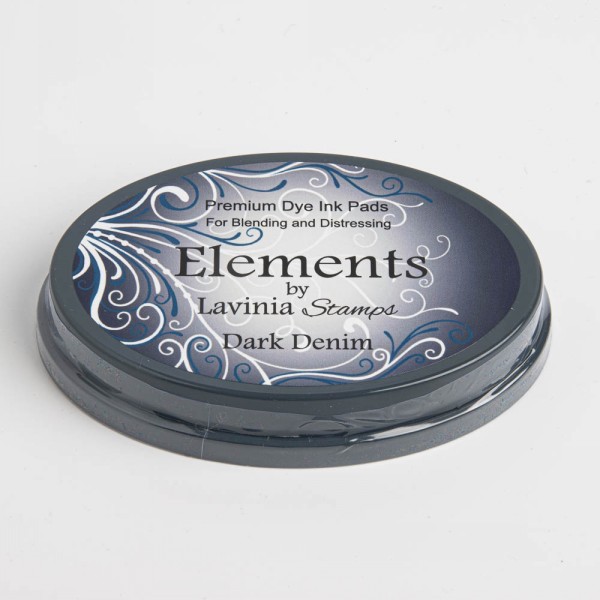
Add some Elements ink Dark Denim by blending with a series 9 stencil brush. If you start blending already where the Midnight Blue is and overlap it with the Dark Denim this helps to create a gentle flow as the colours mix.

Picture 4
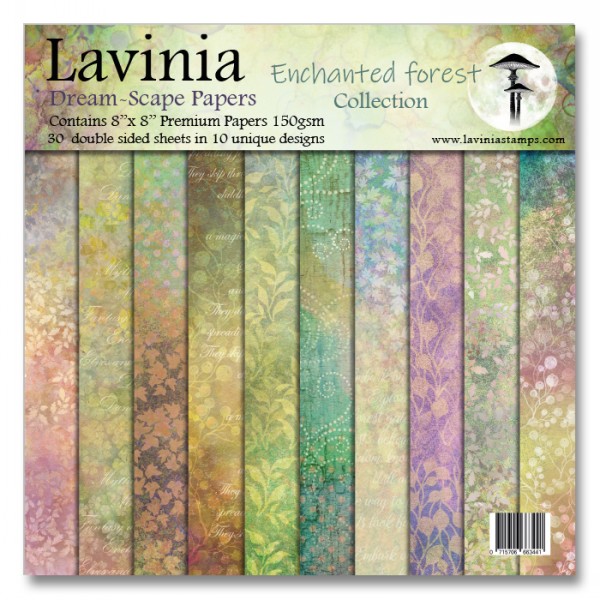
Next using the Enchanted Forest Pad of Dream-Scapes, find a page with a berry pattern on both sides. One side will have purple tones and the other side will have green tones. Rip two pieces. One will be a purple triangle 6 cm x 5.5 cm with only one ripped edge – so look for the purple in the corners! The other piece is 8 cm long x 5.5 cm tall with two ripped edges.

Picture 5
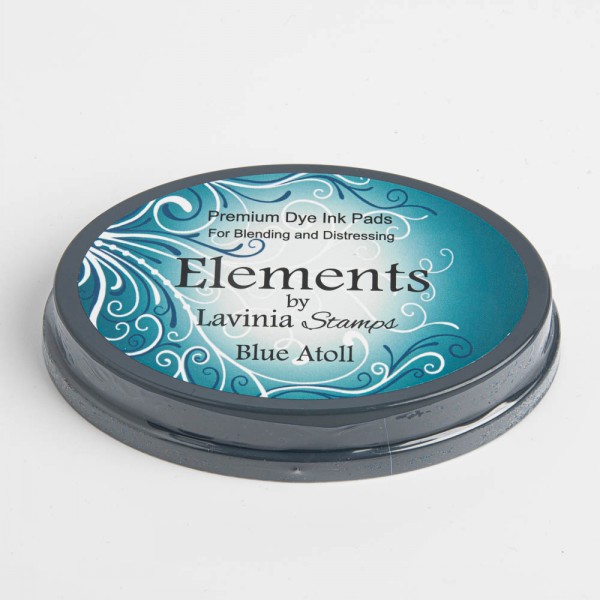
Using a series 9 stencil brush and some Elements Ink Blue Atoll add a touch of colour to the bottom edges of the two ripped shapes.

Picture 6
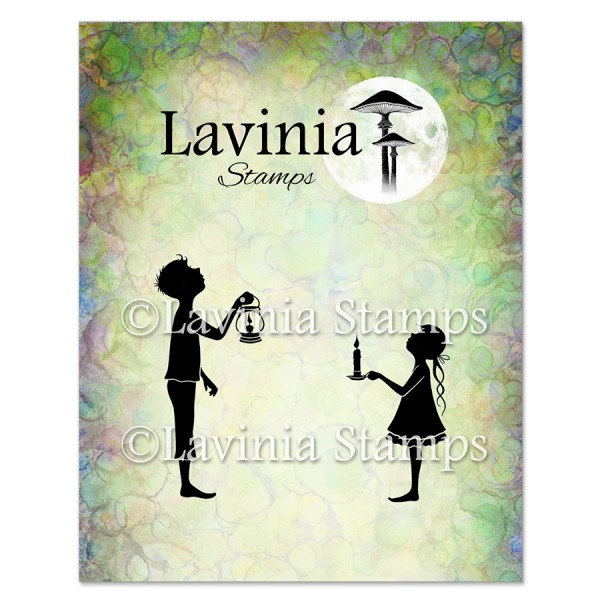
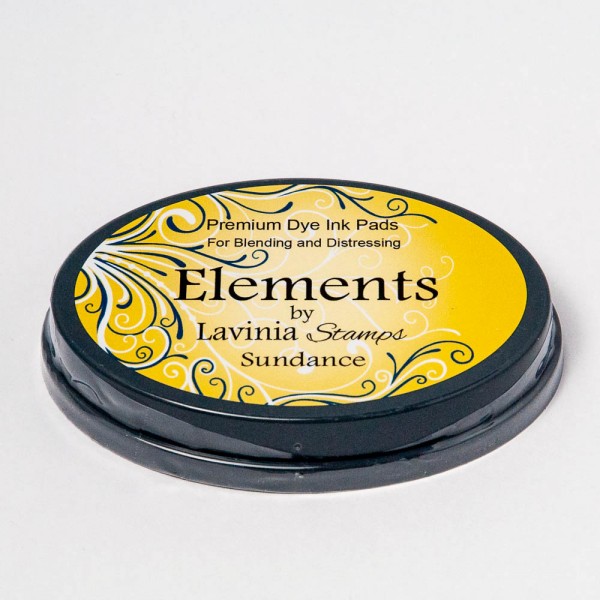
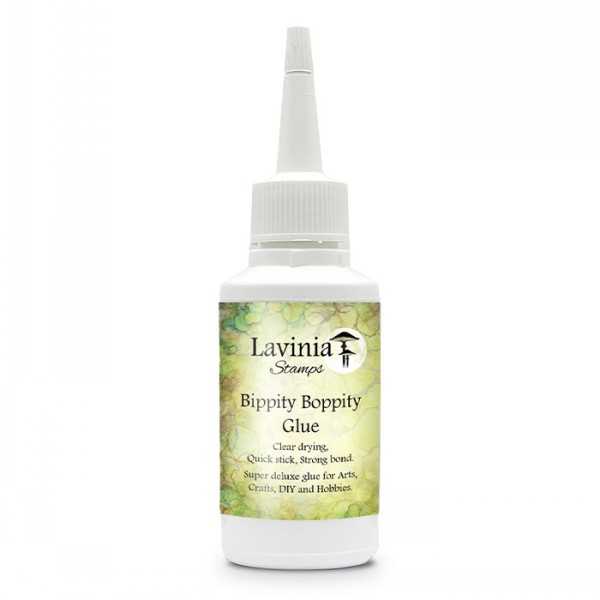
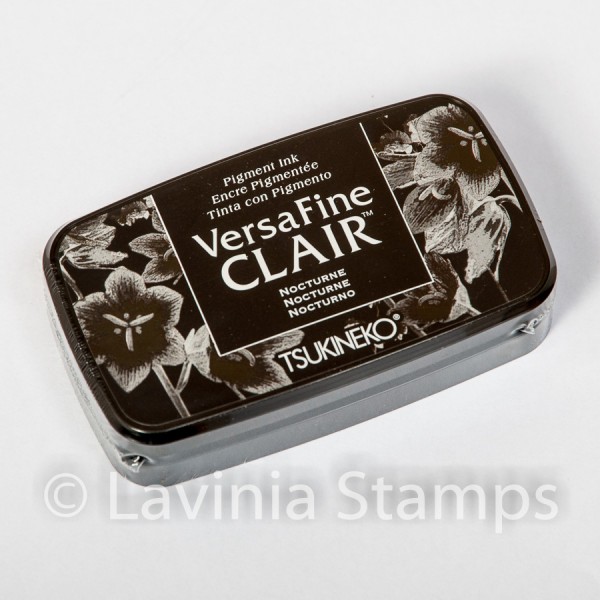
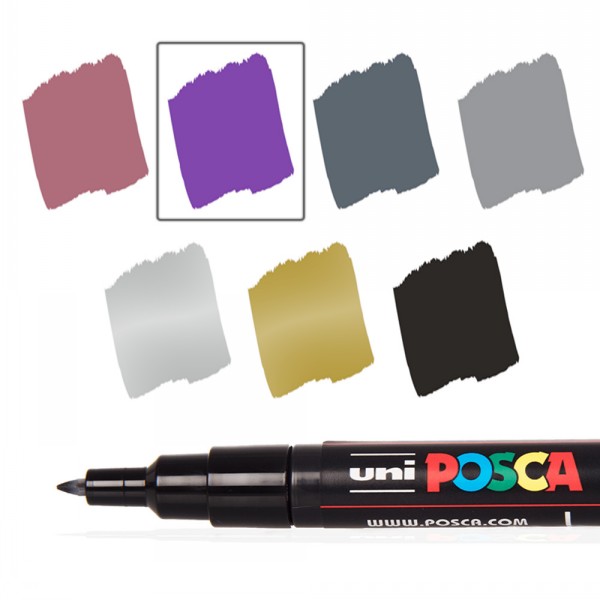
With a series 9 stencil brush and Elements ink Sundance blend a circle just under half way down on the right hand side. This will be the light behind Annie. Now using some Bippity Boppity Glue stick the longer piece of ripped paper on first to the right hand side of the picture. Now glue the corner piece to the left hand side. Using Versafine Clair Nocturne stamp Annie so her feet are on the hill and the yellow blended circle sits mostly behind Annie. See the picture for placement. Add a small line of Black Posca pen behind Annies feet.

Picture 7
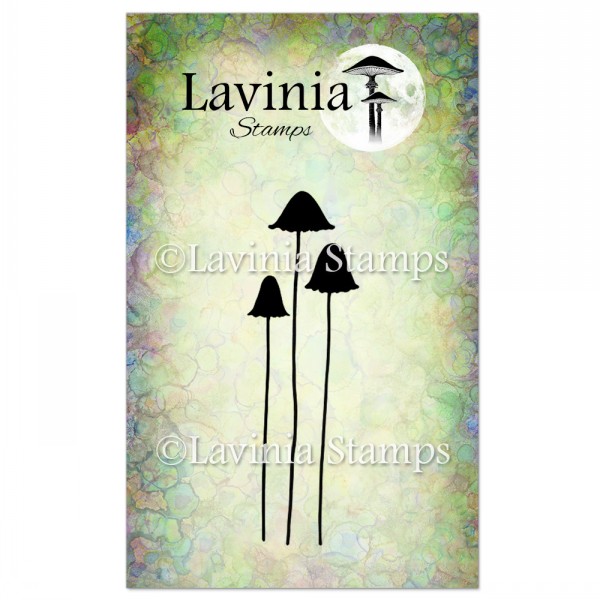
Stamp the Quirky Mushrooms LAV413 in Versafine Clair Nocturne to sit in both bottom corners. See the picture for placement.

Picture 8
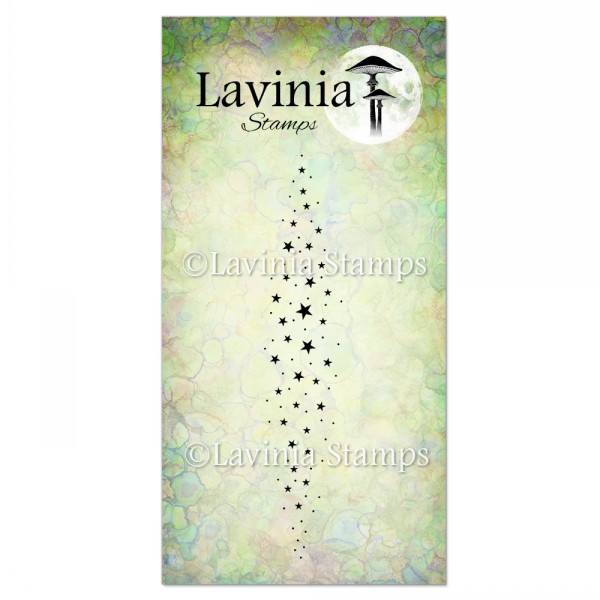
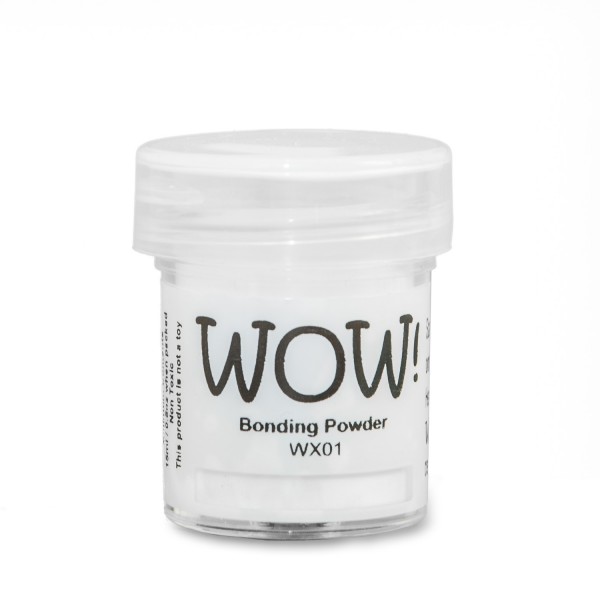
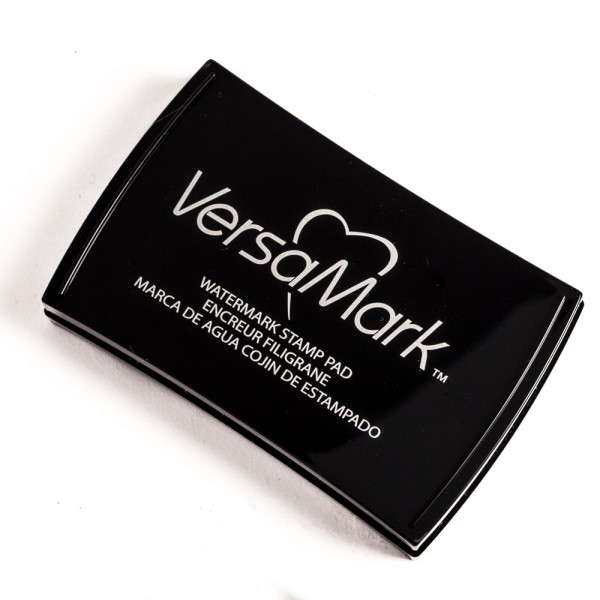
Rub the Magic Anti Static pad over your picture. This will make sure that the embossing powder sticks only where the Versamark is. Now using Versamark watermark ink, stamp the Burst of Stars LAV822 twice, so that they overlap slightly. Then cover with Wow embossing powder. Shake off the excess powder and heat with a heat tool.

Picture 9
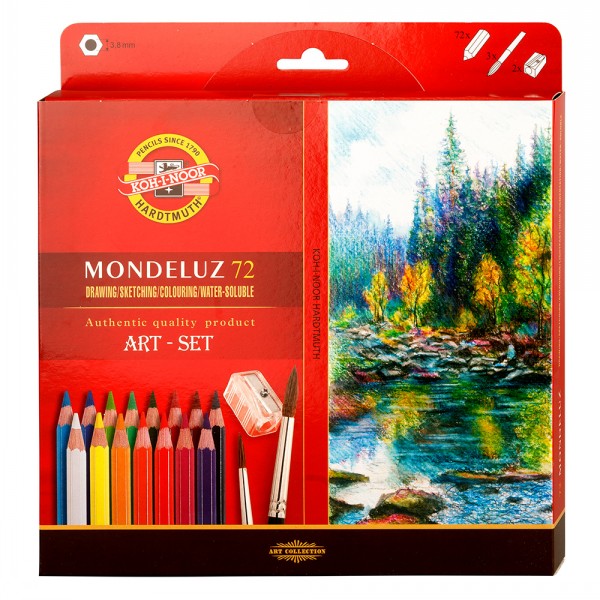
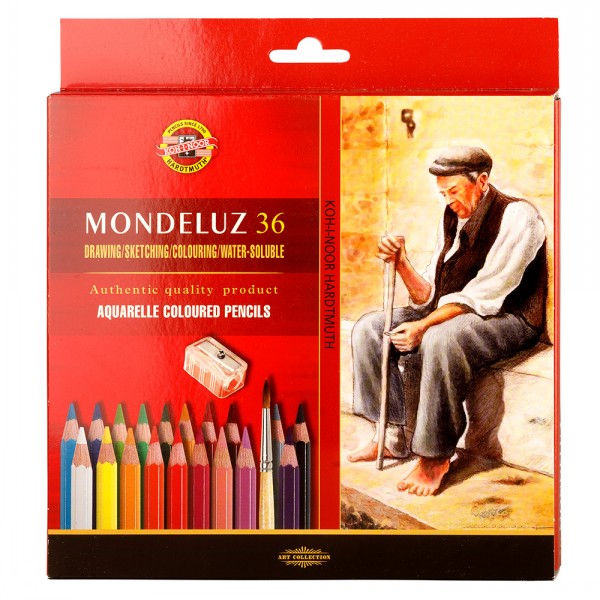
Using Mondeluz watercolour pencils add some white to the circles of the berries on the patterned papers and to add highlights to the mushroom caps. With a yellow pencil add a highlight to Annie’s cheek. Using an orange pencil draw a circle around the flame of the candle. Add some darker blue pencil around Annies feet and then dots of white Posca pen in below it. See the picture for placement.

Picture 10
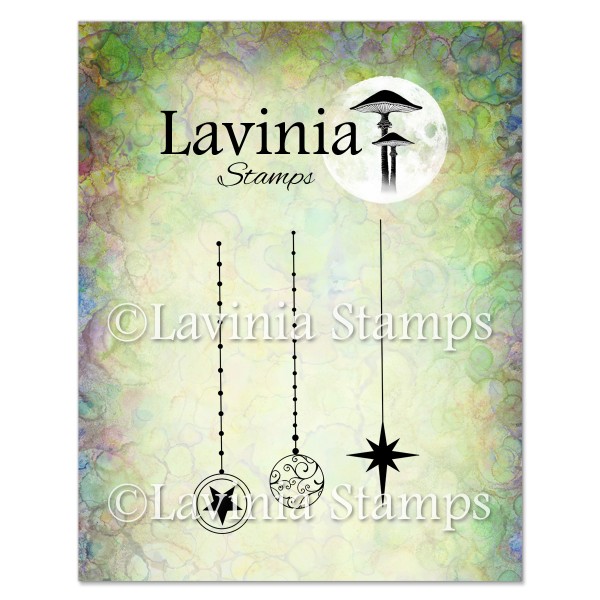
Stamp in Versafine Clair Nocturne the North Star charm from the Christmas Charms LAV 696, so that it hangs from the middle of the burst of stars. If you try and aim to stamp it so that it looks like the charm could be falling from a star.

Picture 11
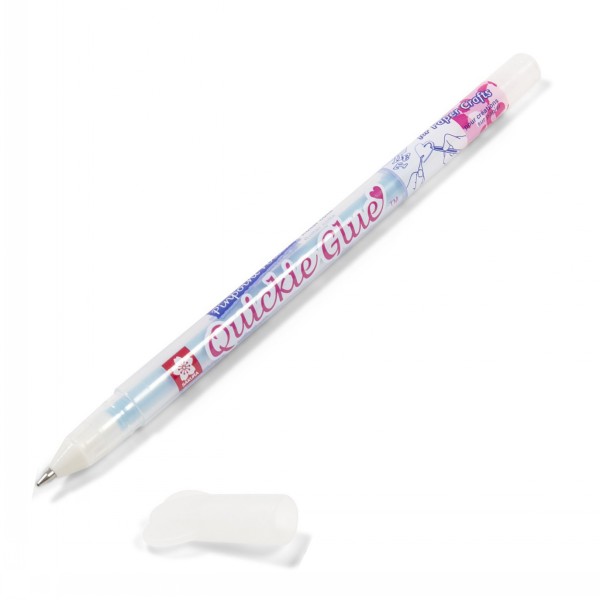
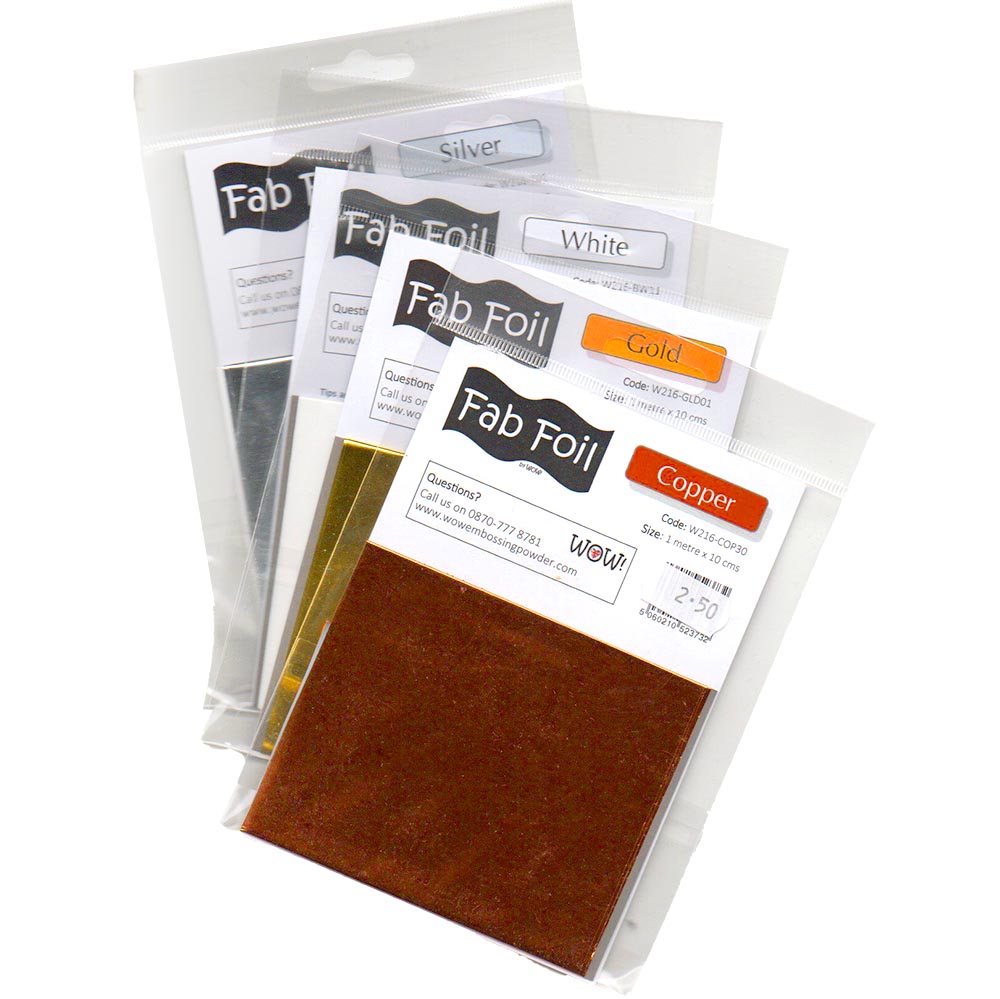
Using a quickie glue pen apply glue to within the shape of the star charm. Add a couple of dots around the star and in the stamped burst of stars too. Add some dots along the line of the string of the charm star. Circle around some of the dots within the stamped image. Give the glued areas a quick blast of the heat tool and then apply some Wow! Fab Foils in Gold for a super shiny effect.

Picture 12
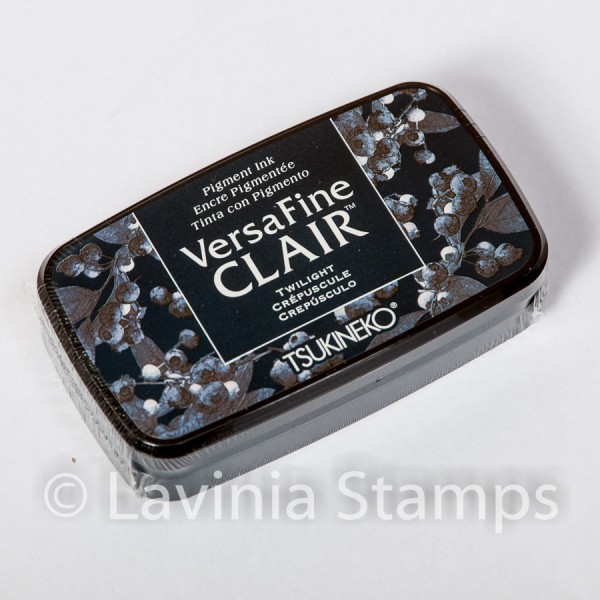
Take the leafy sprig from the Vine Set of stamps LAV804 and stamp along the bottom of the card in Versafine Clair Twilight.

Picture 13
Using a yellow Mondeluz watercolour pencil circle some of the foiled dots. With a pale blue pencil add colour to the mushroom caps.

Picture 14
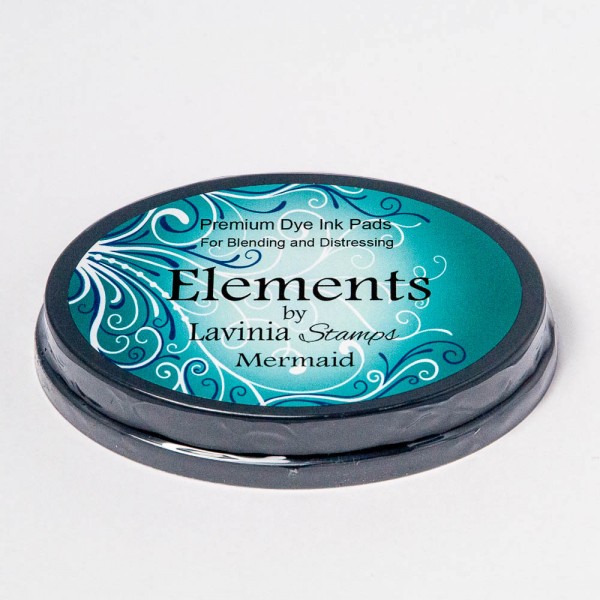
Using a Series 3 stencil brush blend some Elements ink Mermaid to the edges of the card.

Picture 15
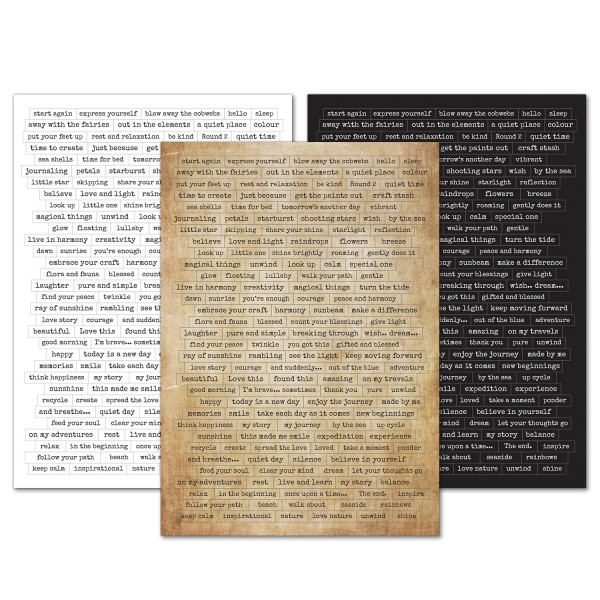
On Sentiment Stickers 6 find the words “turn”, “the” , “twinkle” and “on” and cut them out so that they are single words. Stick them on the patterned paper at the bottom of the card. Aim for sticking the words at a jaunty angle. With a Micron Pigma black 0.5 add three dots at the start and end of the sentence and in between the words. With a Kuretake Clean Colour Real Brush pen in pale grey add a shadow to the word stickers.

Picture 16
With a Kuretake Clean Colour Real Brush pen in light brown add a shadow to the word stickers and some colour on the sticker itself. With a white Posca Pen add more dots to the tops of the hillside and some highlights to the mushroom caps. See the picture for placement. Add some extra dots of white Posca Pen to the starry sky.

Picture 17
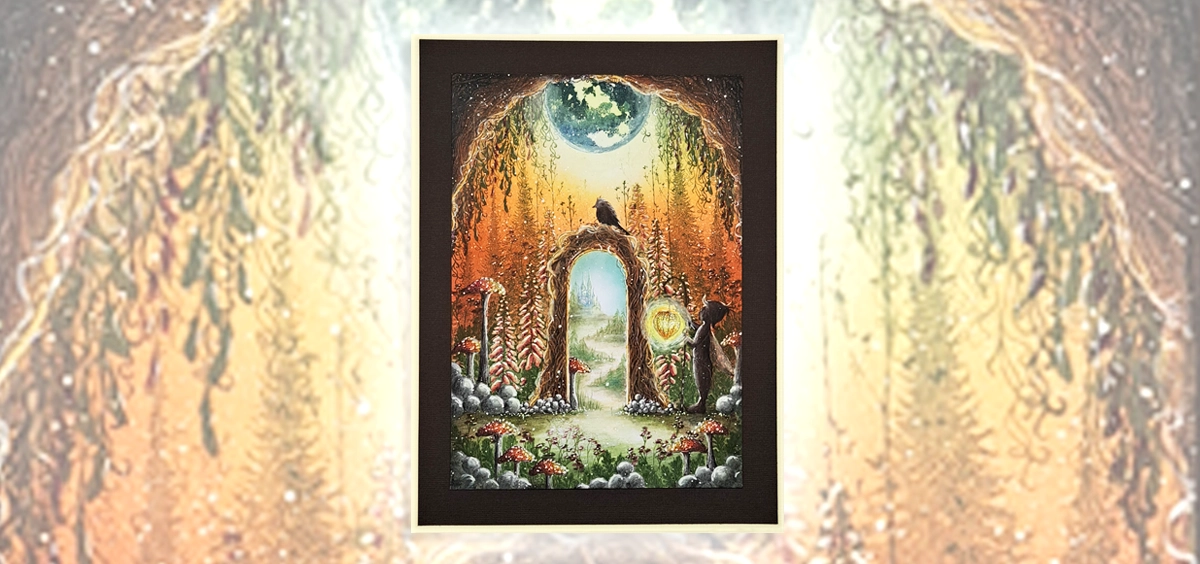
There we go! Your card is finished! I hope you have enjoyed creating this card. If you have any questions please leave a message and I will get back to you as soon as I can. Until next time – Have fun!
Emma-Jo 🧚♀️💙👓X


