Step by Step by Leesa Magical Maker
Hello everyone, Leesa here again. I hope your ready to create a card with a difference! This card is classed as a tri fold Z card, but I’m sure it will be called something else in different parts of the crafting community. I have added measurements to help along the way. I hope you can give this a go, especially if you like fussy cutting. You can personalise this with a sentiment of your choice and add lots of sparkle too!

Picture 1
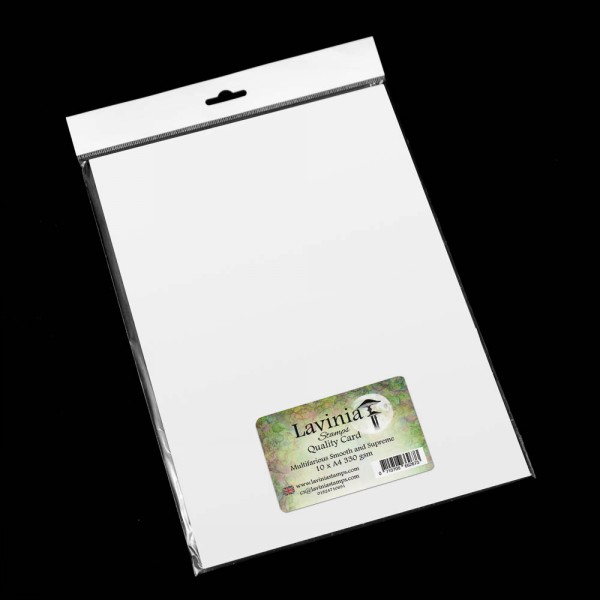
Measurements, these are in inches to give you an idea. Use white A4 multifarious card and cut this to 8 and a half by 10 and a half inches. On the longer side that is 10 and a half inches, you will score at 3 and a half inches from one end, flip over and score again at 3 and a half inches from the opposite end. To get yourself 2 cards that you can use you will then make on the left side from the top of the card mark 6 and a quarter inch on the right-side maker from the top down 2 and a half inches. These two marks draw a line to connect and cut. You will then have 2 cards to use 🙂

Picture 2
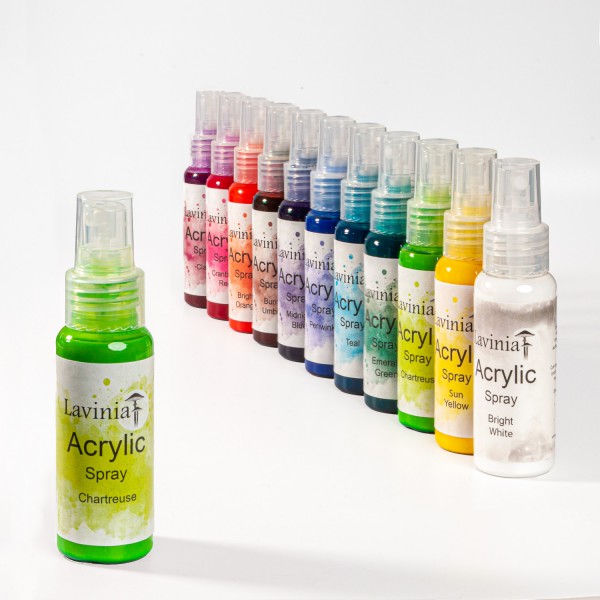
To get the background ready for this card I sprayed Lavinia Acrylic spray in Chartreuse, added a bit of water to cover the card and used a brush if needed.

Picture 3
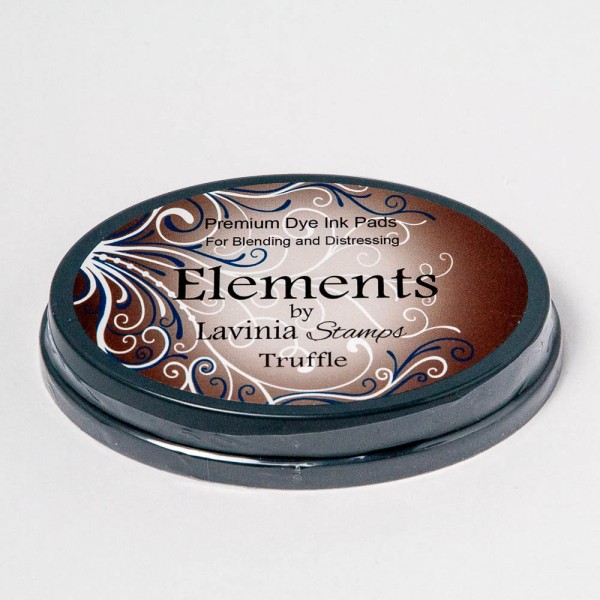
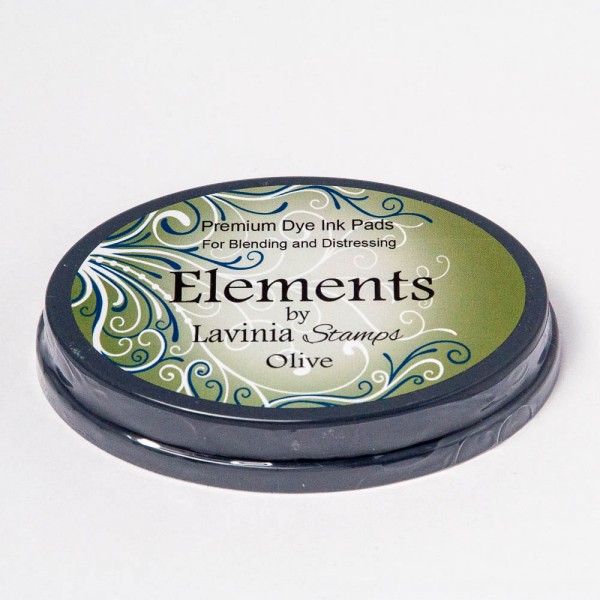
Once dry I used Elements inks Truffle and Olive for the background. I used these colours and put them where I would be adding trees or foliage.

Picture 4
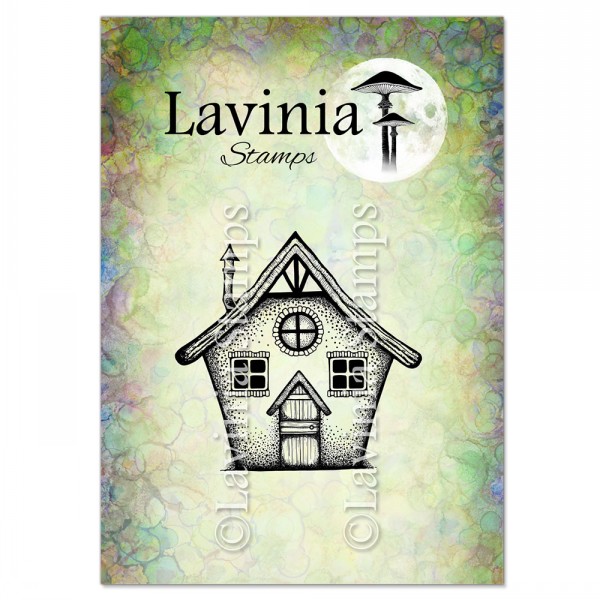
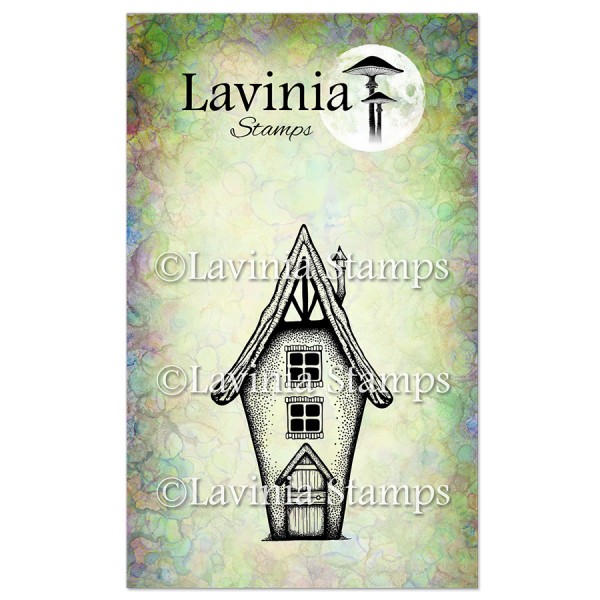
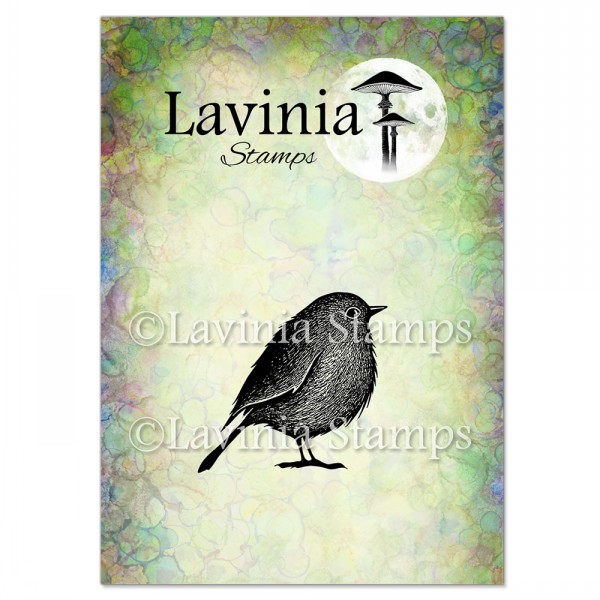
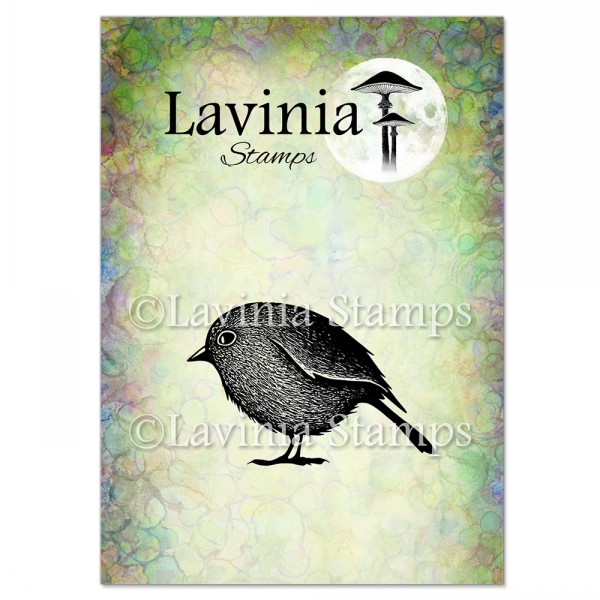
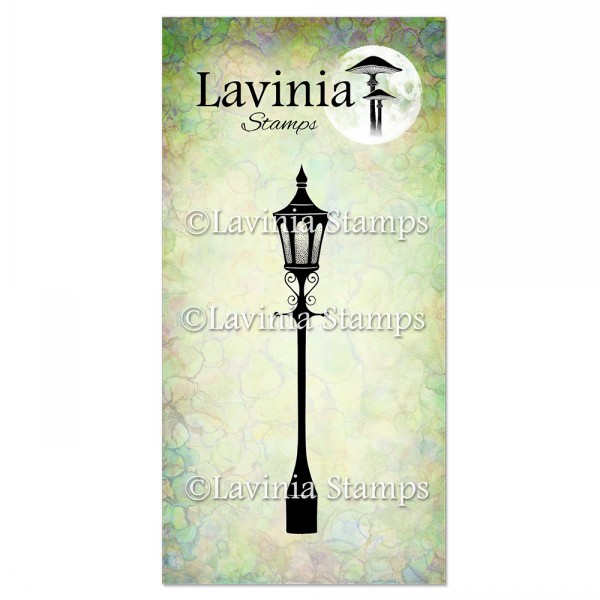
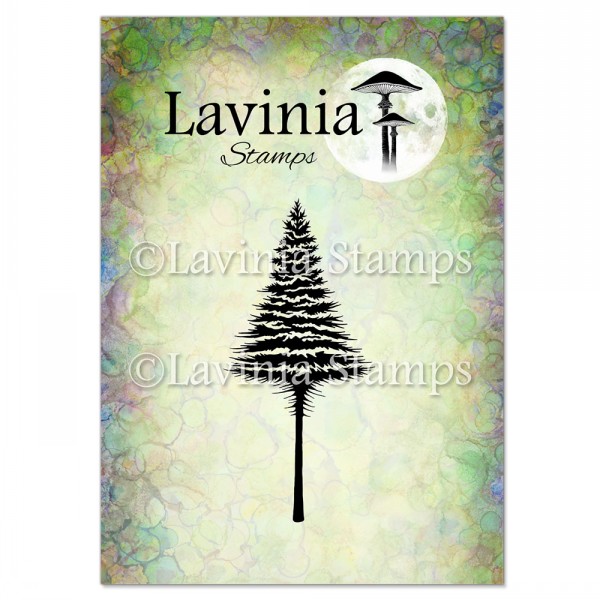
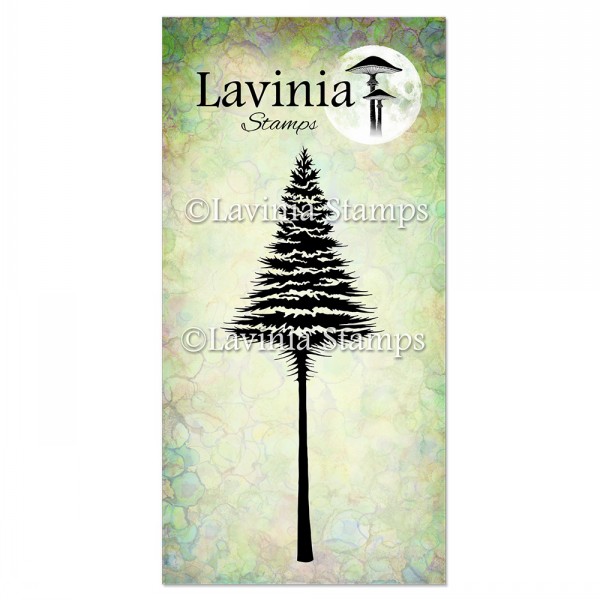
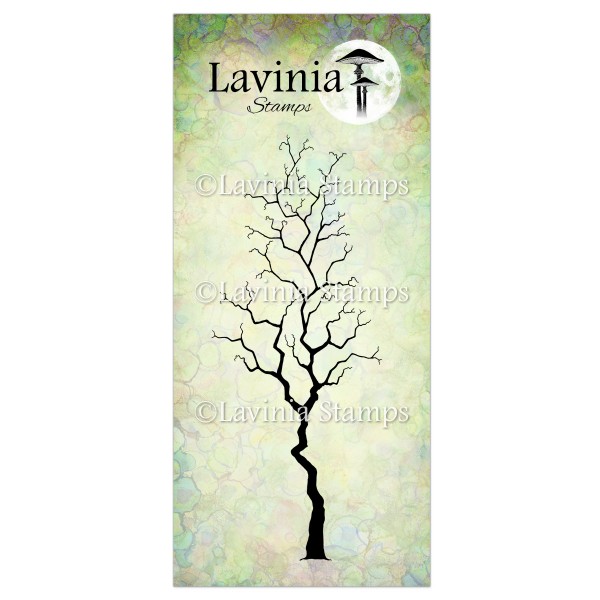
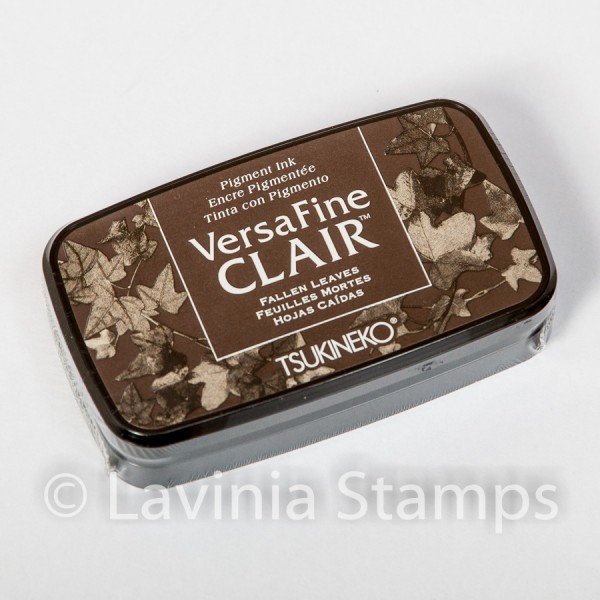
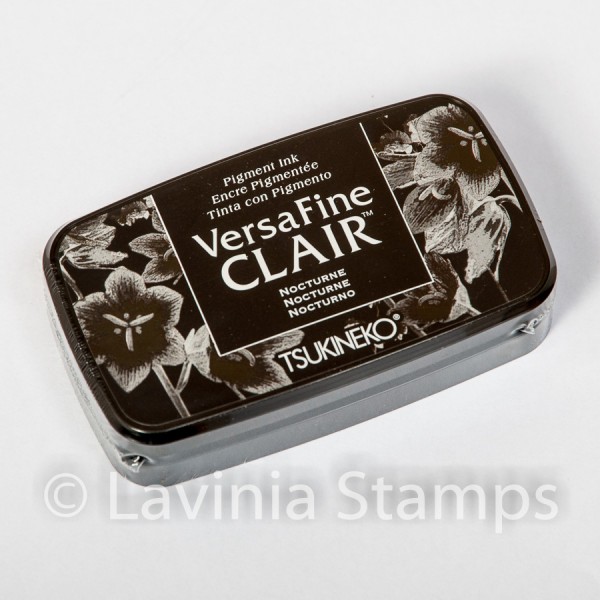
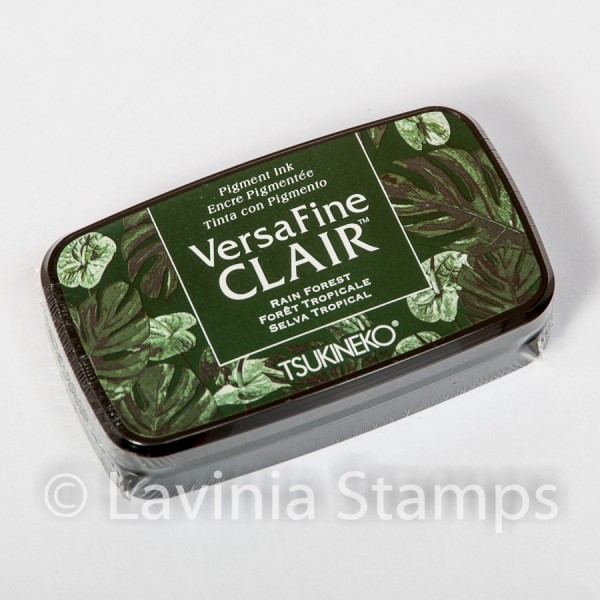
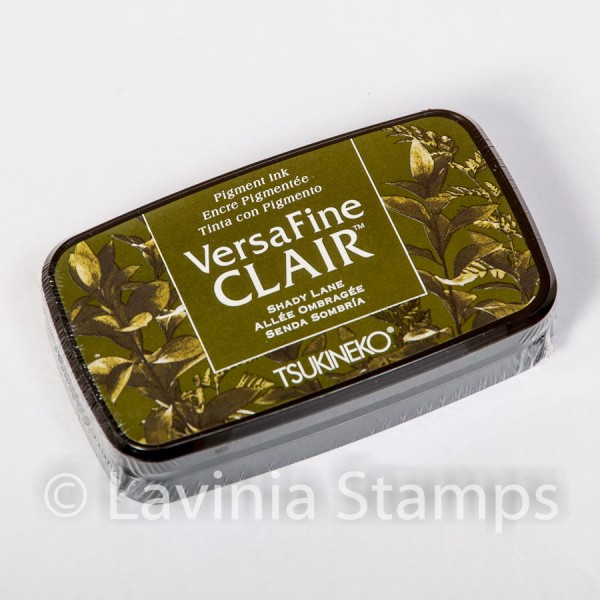
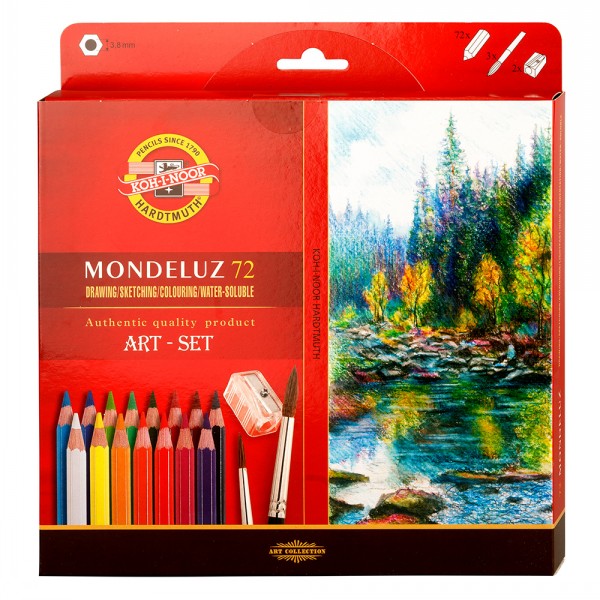
Time to colour and cut out. I stamped in Versafine Clair Fallen Leaves two Meadow Cottage LAV934, two Woodside View LAV932, one Bobby LAV922 and one Jemima LAV925. In Versafine Clair Nocturne Street Light LAV931, in Versafine Clair Rain Forest four Snowy Fir Tree small LAV929 and in Versafine Clair Shady Lane four Snowy Fir tree LAV930. I coloured these using Mondeluz watercolour pencils and added a light water to blend the colours.

Picture 5
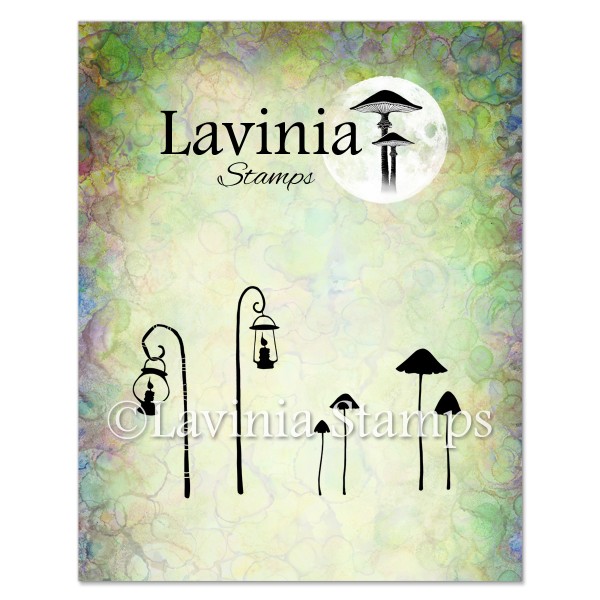
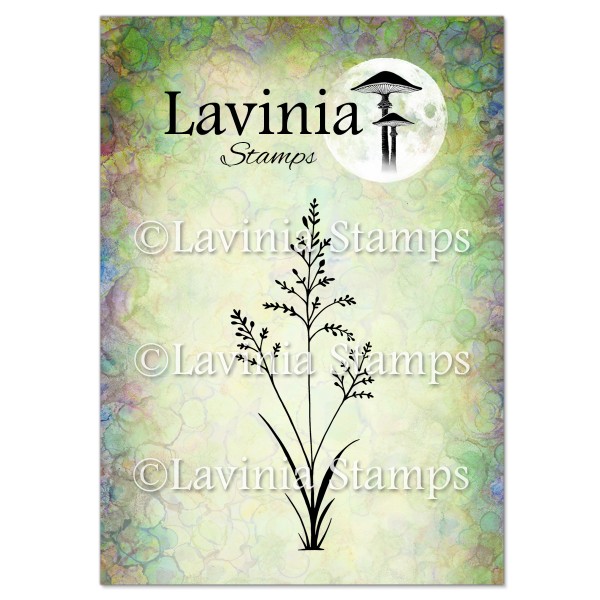
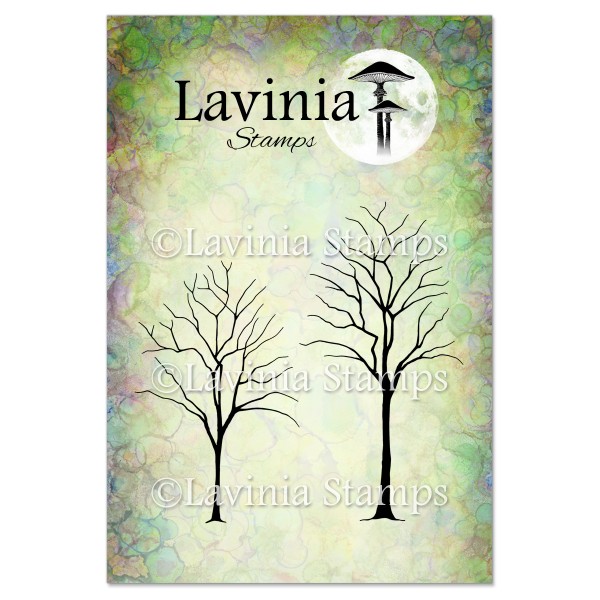
So I now wanted to add some tree and foliage to give a little more depth to this card, so using Versafine Clair Fallen Leaves I stamped the following stamps in random places to give the feeling of a forest setting; Lamp Set (mushrooms) LAV758, Orchard Grass, LAV672 Small Trees, LAV663 and Hazel LAV660.

Picture 6
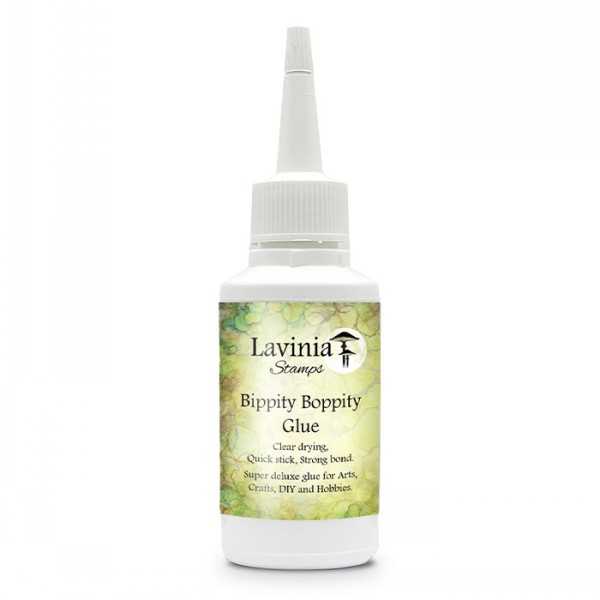
Now to construct the card, this can be fun as to where you want to place your houses and trees! I wanted the card to look full when it was closed as when it’s displayed that will be the maximum effect you will see. I used Bippity Boppity glue and some dimensional foam stickers to allow the trees to look lifted. This also let me overlap and add further dimension to the card.

Picture 7
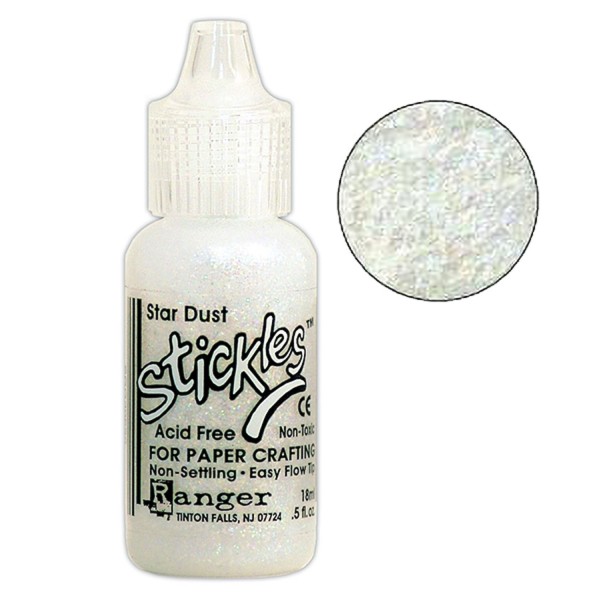
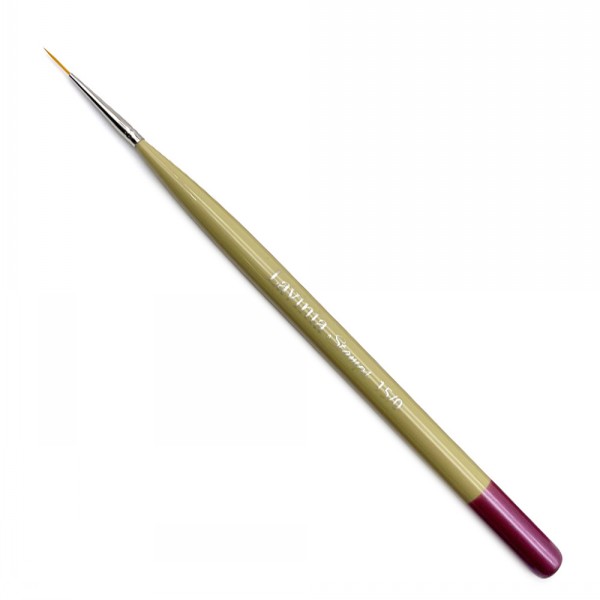
I wanted lots of snow and glitter to give a festive feel. I added Sizzix expanding paste to create snow on the trees and the houses and around where the Bobby LAV922 and Jemima LAV925 were sitting. As the snow will also gather on the lamppost, I added some there too. Well, may as well go full on festive! 🙂I used Stickles Star Dust for the glitter and white acrylic for the Icicles I used a Watercolour detailing brush 5/0 as this gives fabulous lines.

Picture 8
Its difficult to really show you how this looks standing, so I hope I have captured this for you in this picture. Alternatively have a go! Once you get the card cut the rest is up to you, use your creative licence to play!

Picture 9
The final picture in all its glory. I love how the Robins look when you use the Mondeluz pencils they really add so much richness to this card. I’m still trying to not cut bits off I should keep, so I hope you have enjoyed making this card. I can’t wait to see your version of this one.
Big hugs
Leesa Magical Maker


