Step by Step by Mona Hauge
Hello everyone
Hope you are all keeping well. Here is my new Step By Step Tutorial called “Time To Sparkle”. I really hope you like it.
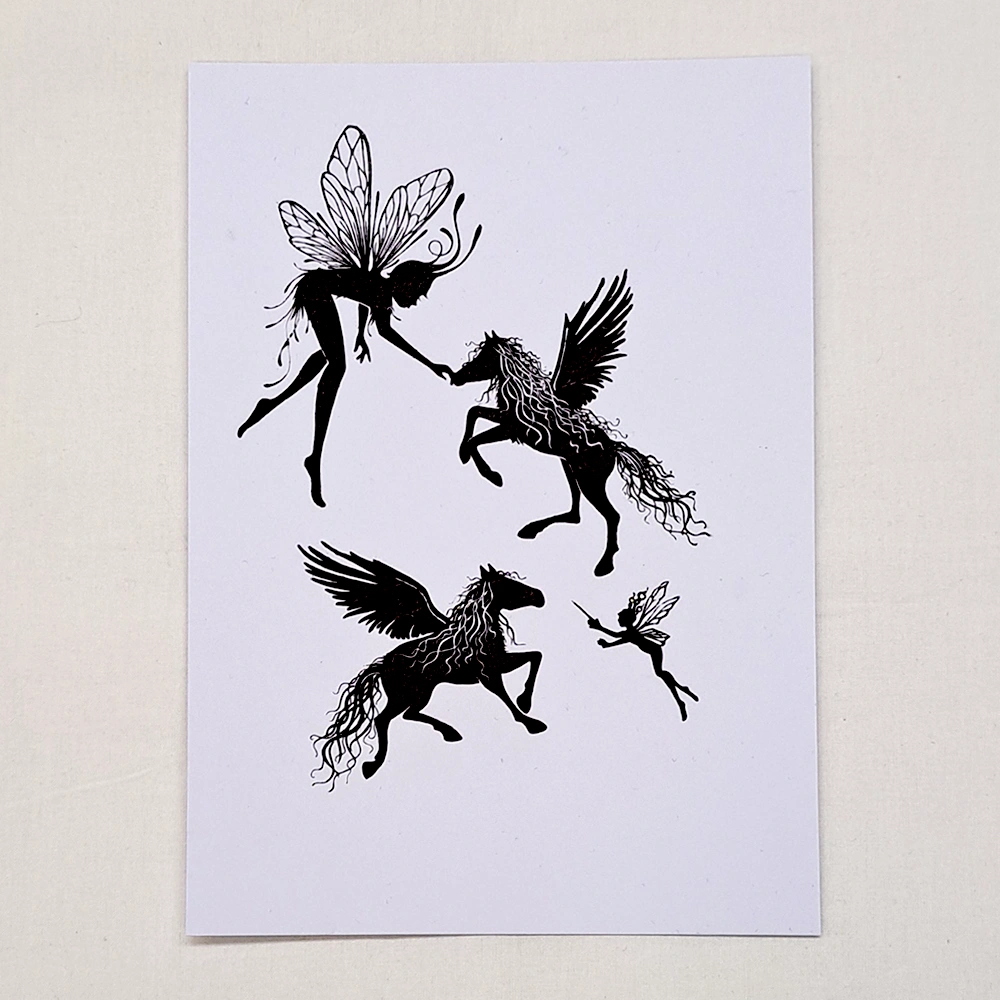
Picture 1
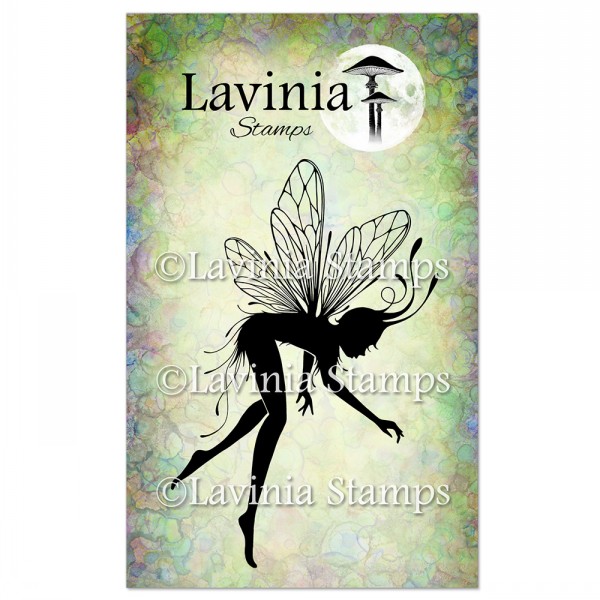
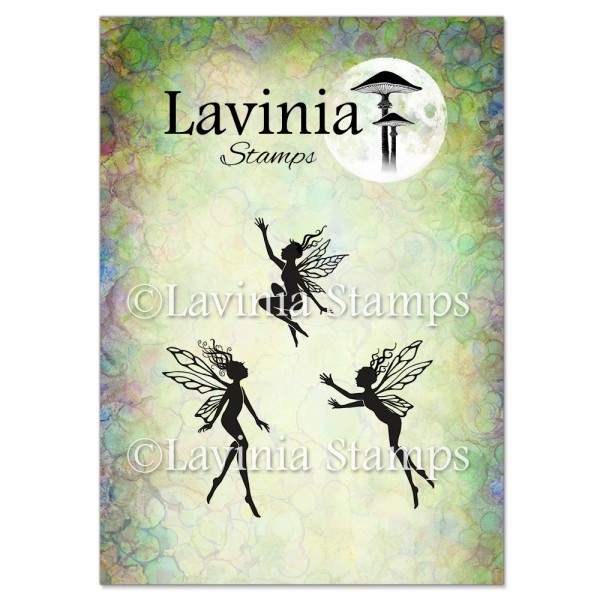
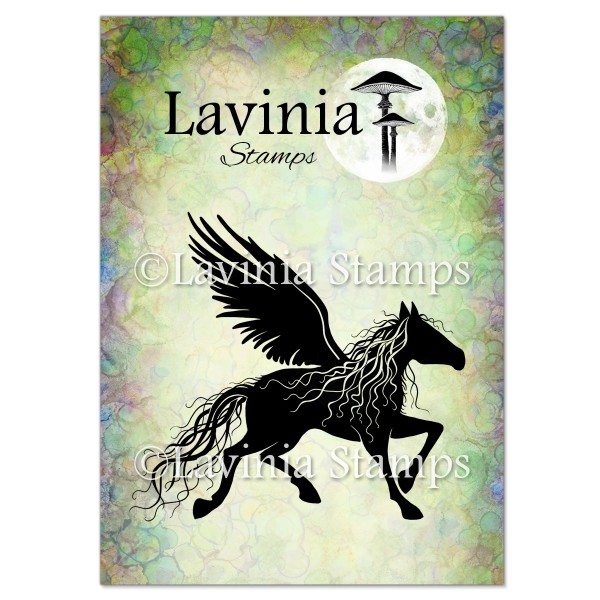
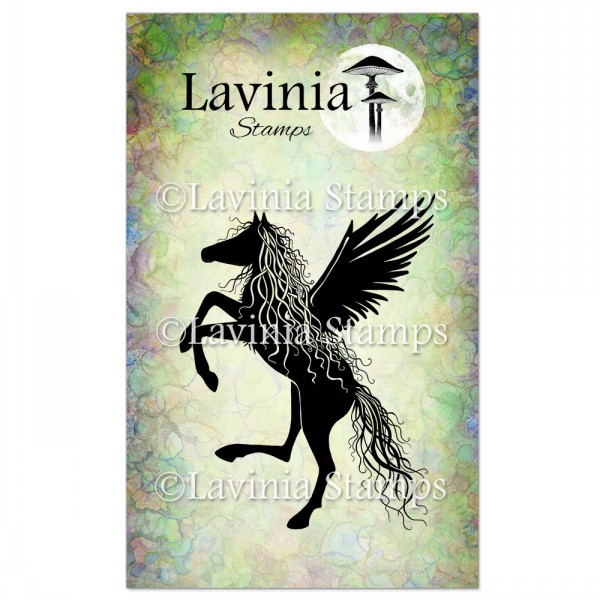
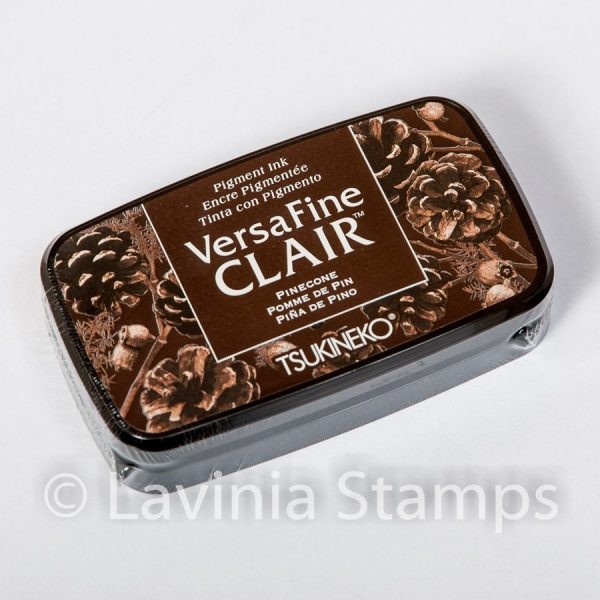
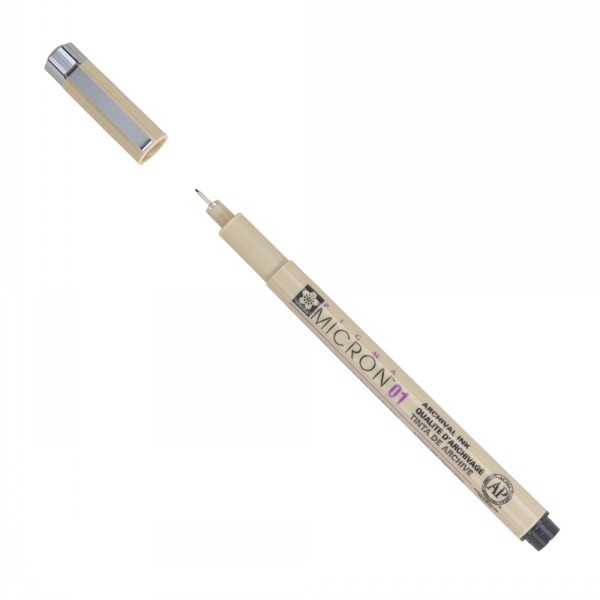
Take some A5 white Multifarious card and stamp the fabulous Twila LAV899, Three Dancing Fairies LAV136, the gorgeous Sirlus LAV560 and the beautiful Zanor LAV562 all in Versafine Clair Pinecone. Draw a little wand in the Three Dancing Fairies hand. Use a Dark brown Micron pen. Then cover everything with Liquid Masking Fluid.
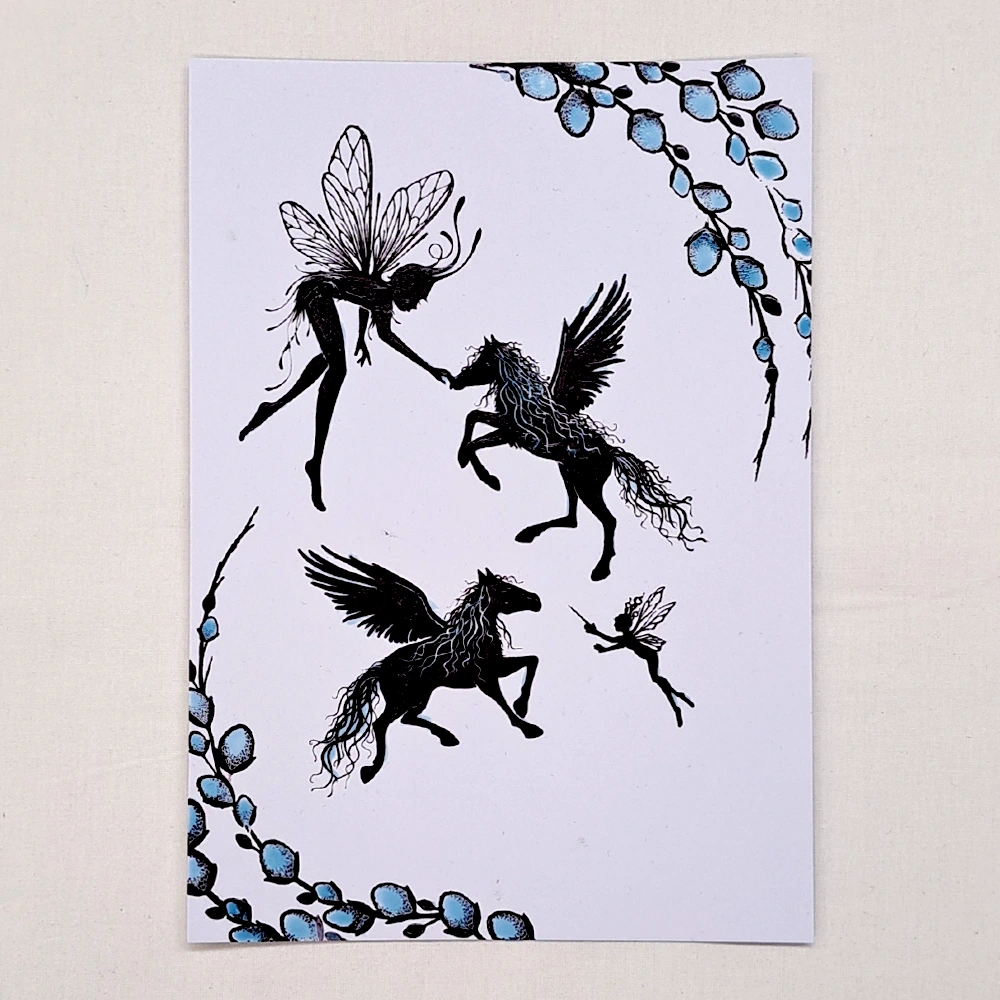
Picture 2
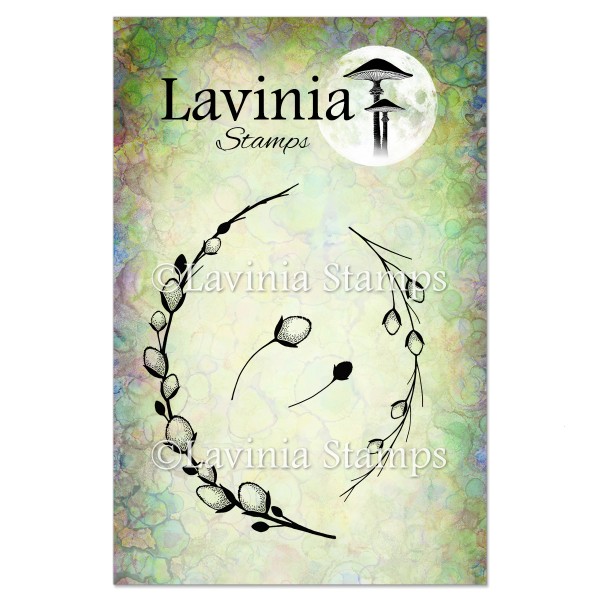
Stamp the lovely Fairy Catkins LAV835 also in Versafine Clair Pinecone. Cover everything in Liquid Masking Fluid.
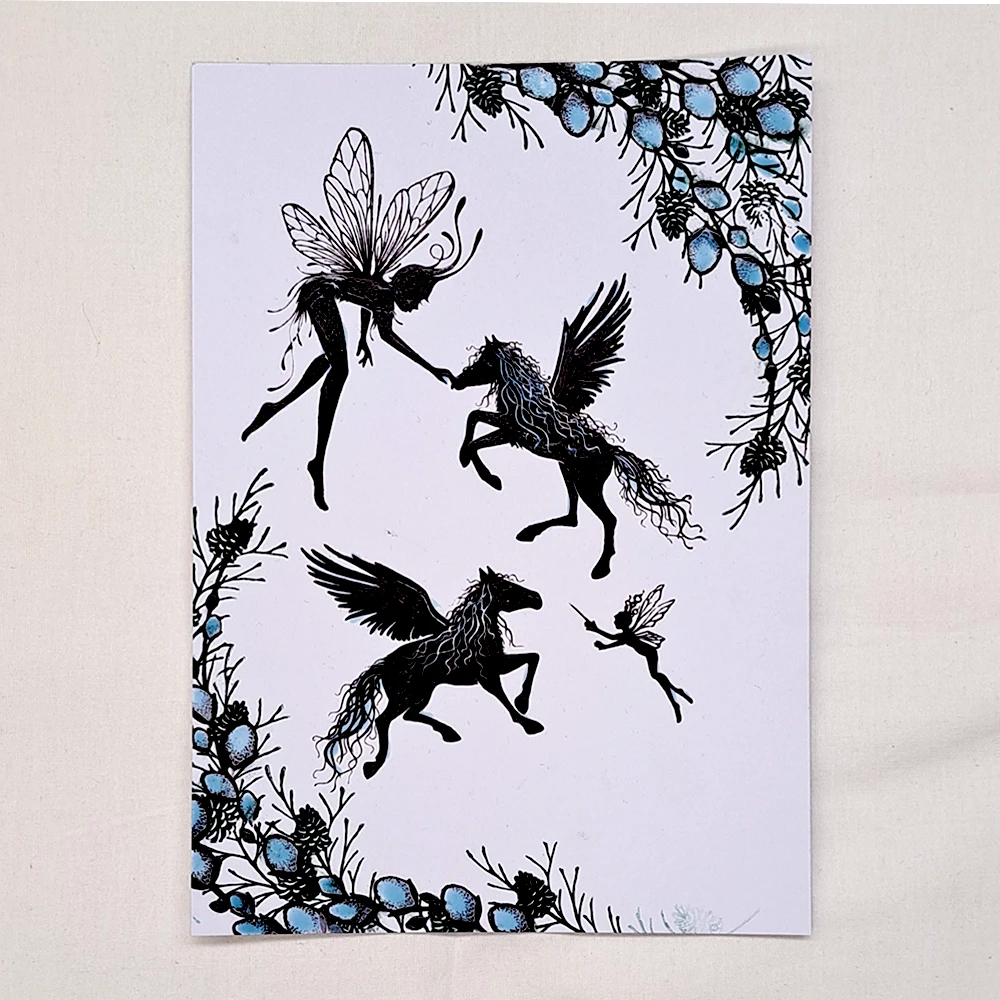
Picture 3
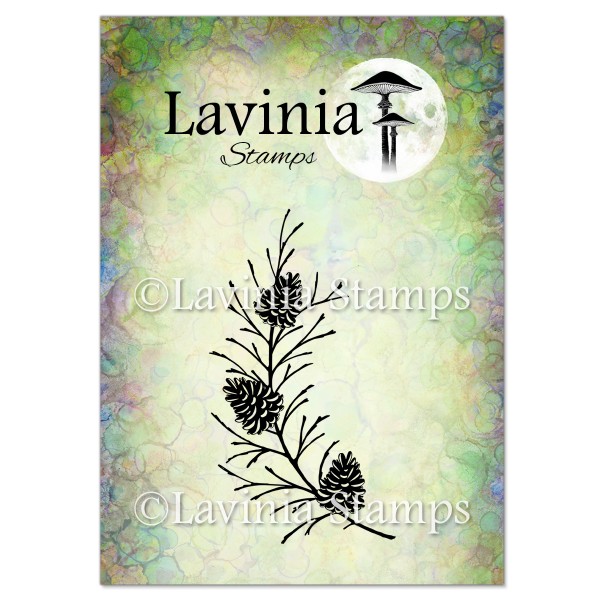
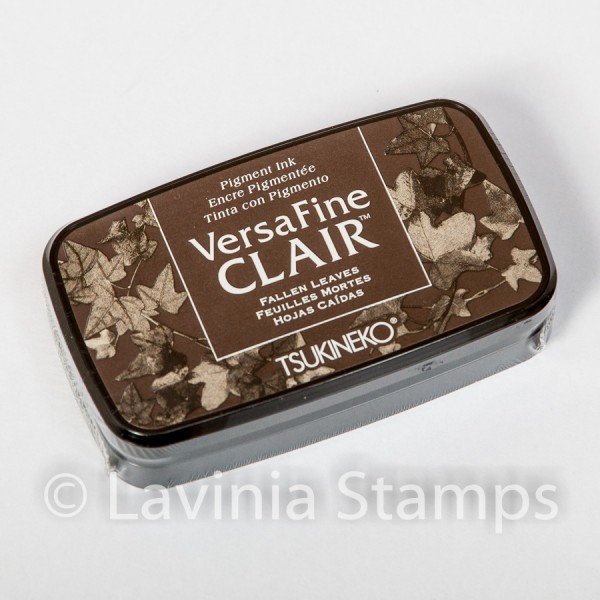
Now stamp the Fir Cone Branch LAV580 in Versafine Clair Fallen Leaves like you see in the Picture.
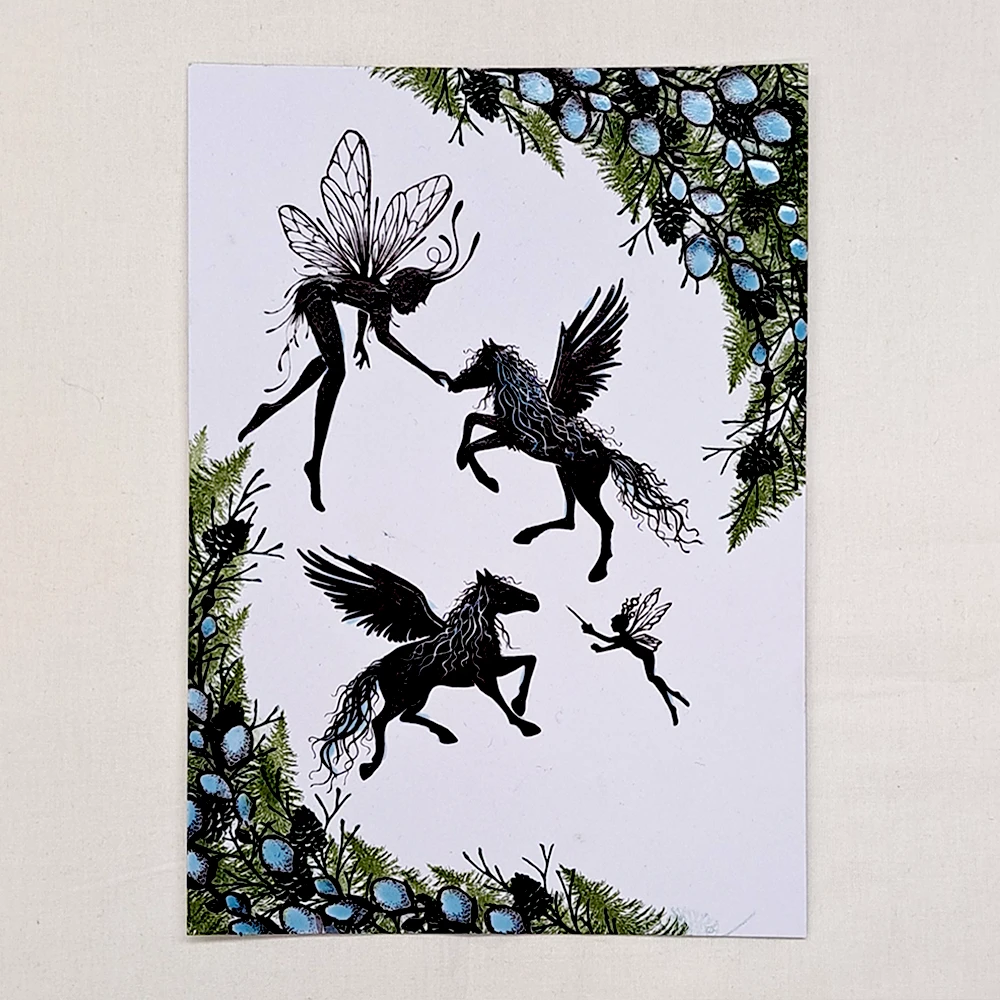
Picture 4
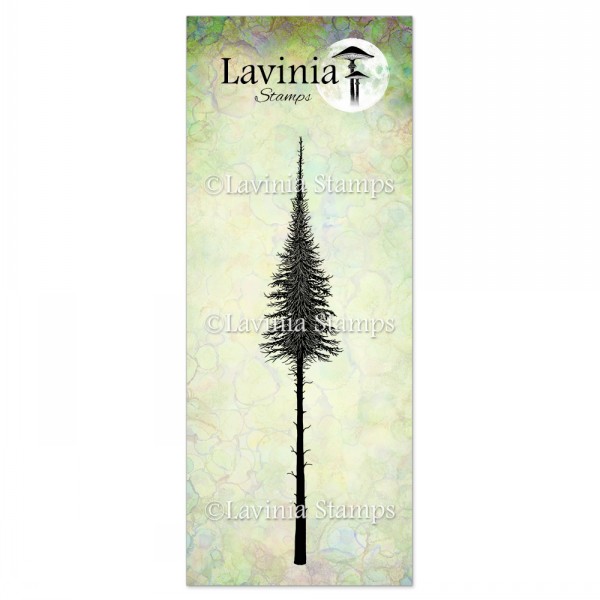
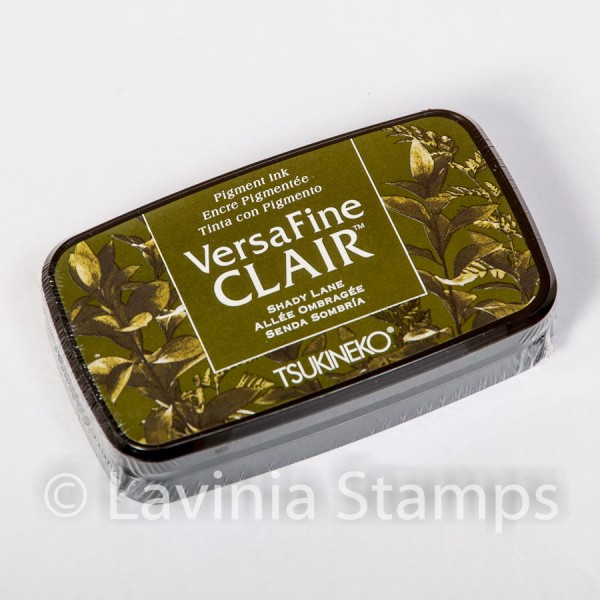
Let us add the Fairy Fir Tree 2 small LAV492 in Versafine Clair Shady Lane. We will only use the top part of the stamp, not the stem.
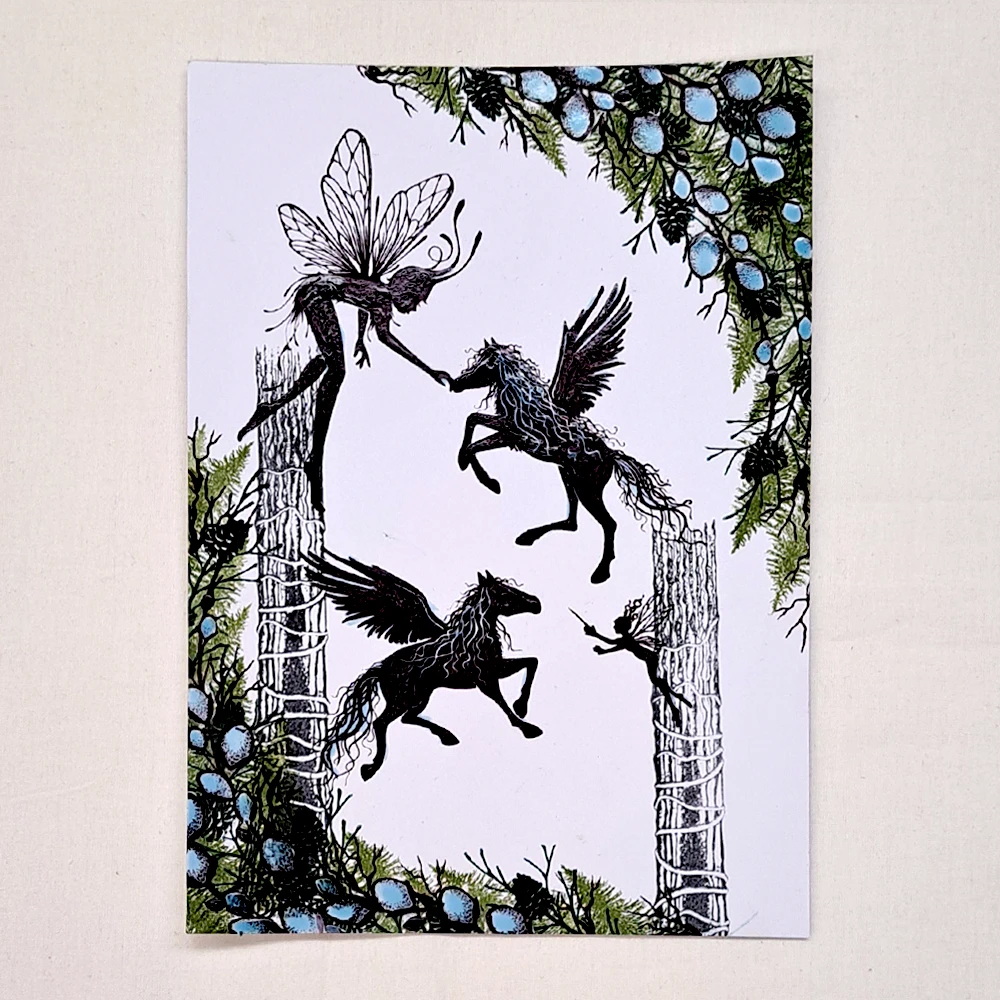
Picture 5
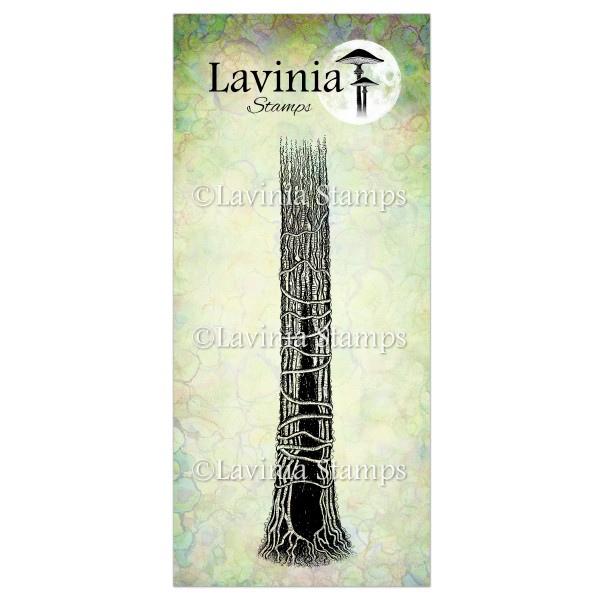
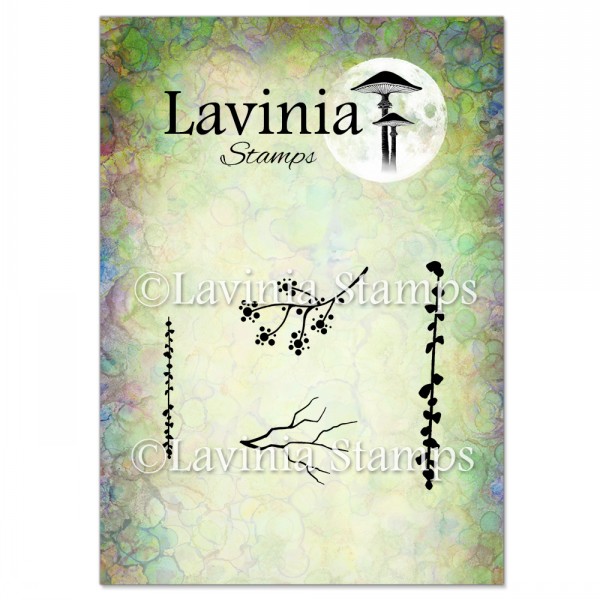
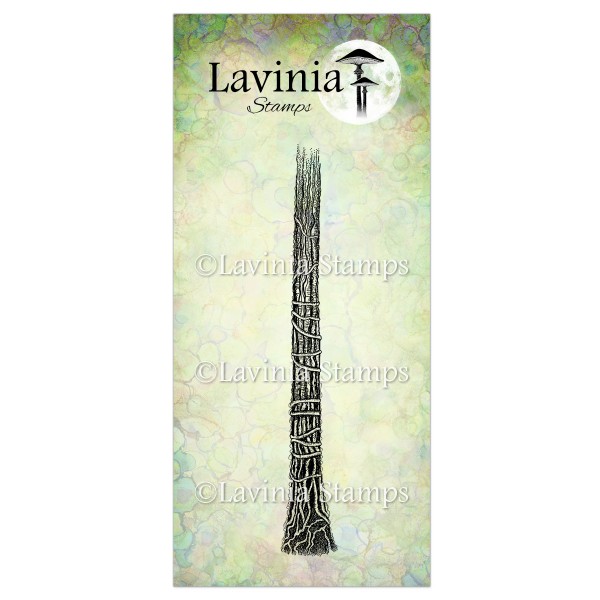
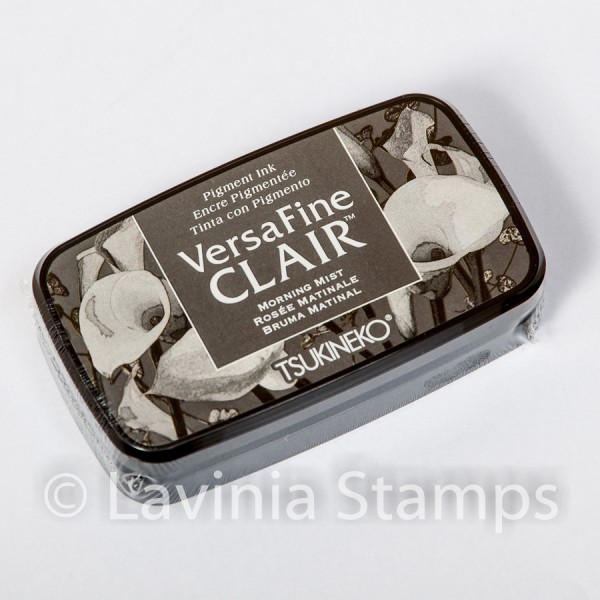
The tall Tree Den LAV642 stamped in Versafine Clair Morning Mist will make a great base for our Far World Castle. Add some small twigs from the Foliage Set LAV679 in Versafine Clair Pinecone.
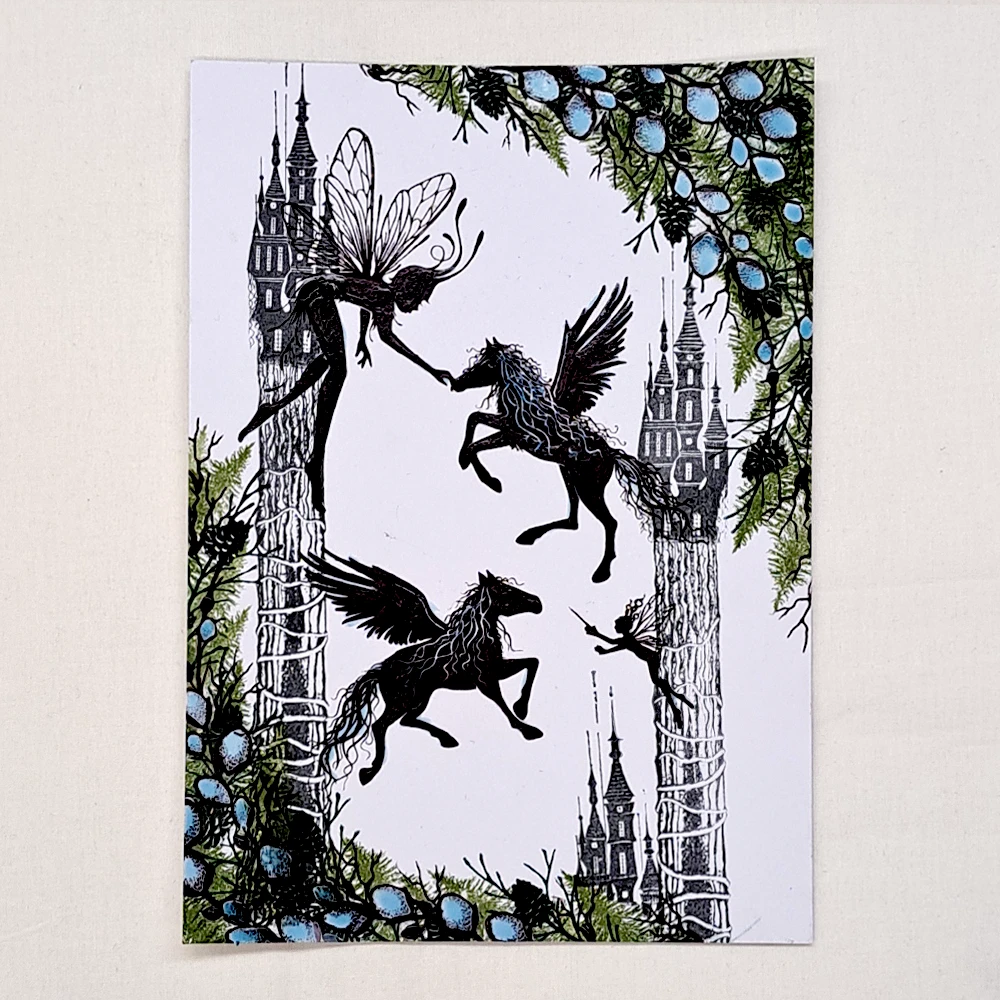
Picture 6
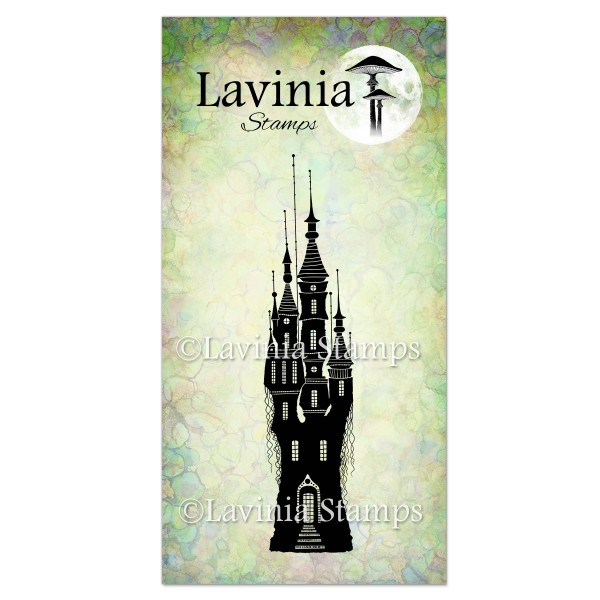
Now stamp the Magical Far World Castle LAV534 in Versafine Clair Morning Mist on top of our Tree Dens and one next to the bottom of the Tree Den on the right, like you see in the picture.
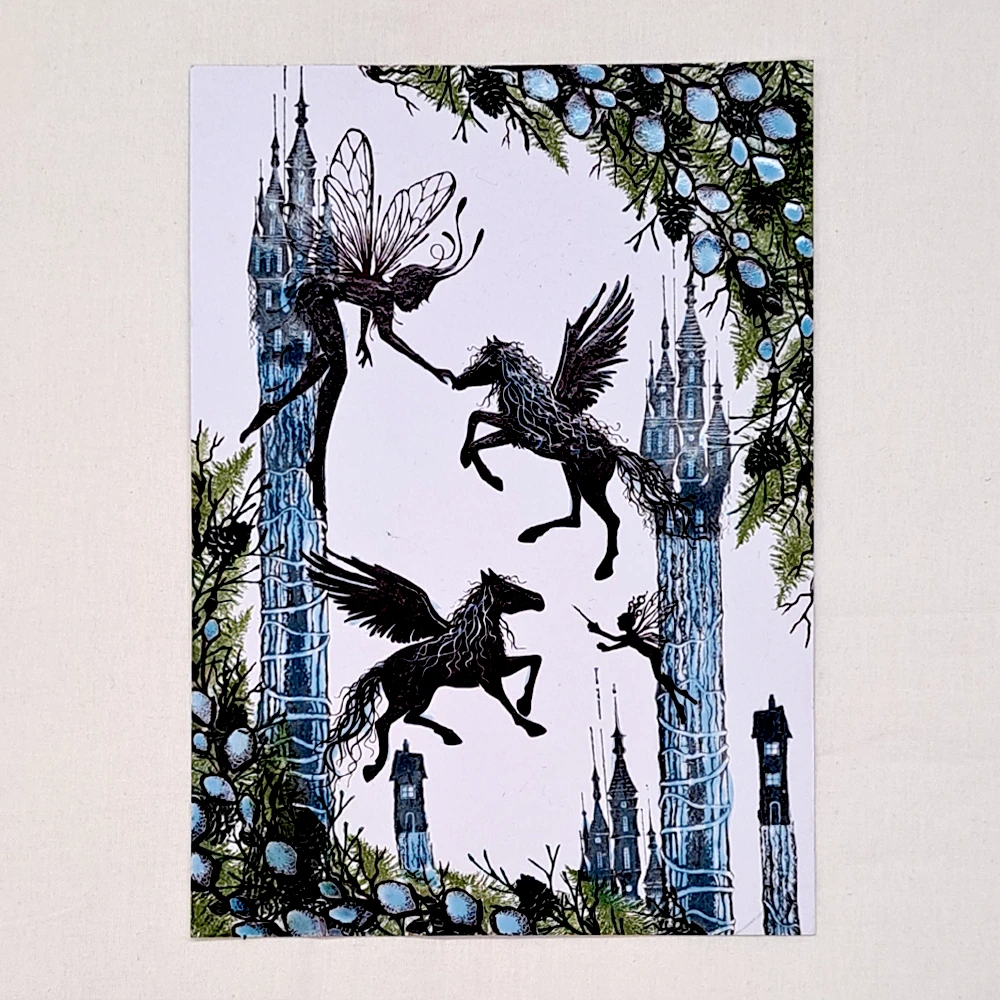
Picture 7
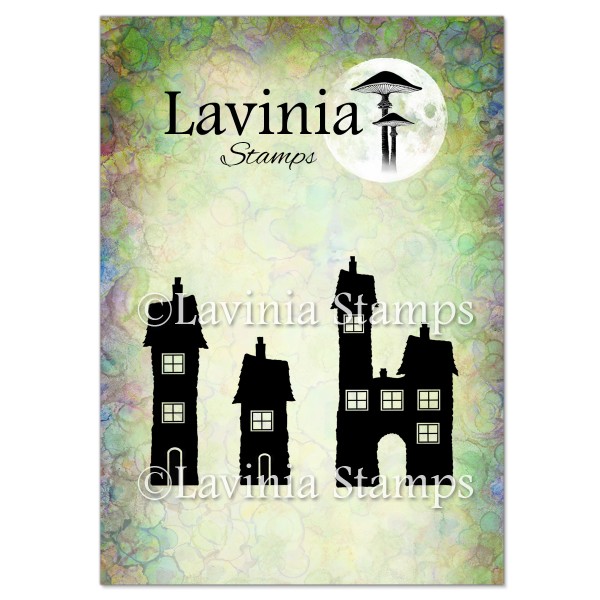
We want some smaller houses too. Stamp the Tree Stem LAV643 in Versafine Clair Morning Mist and on top of those we stamp the Small Dwellings LAV640 also in Versafine Clair Morning Mist. Cover everything in Liquid Masking Fluid.
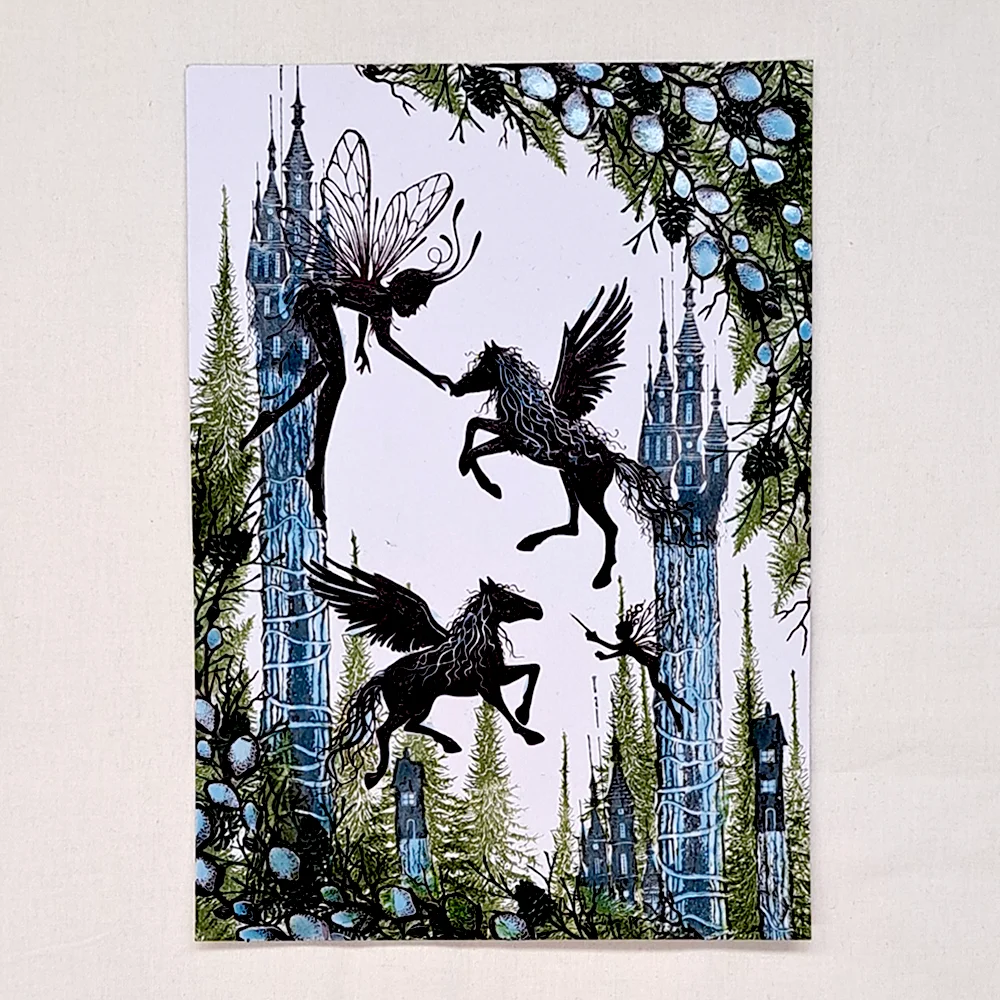
Picture 8
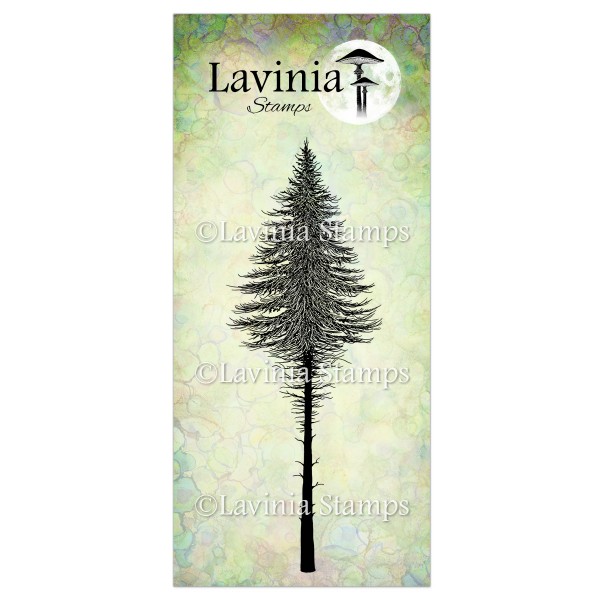
Now stamp the Fairy Fir Tree LAV478 in Versafine Clair Shady Lane.
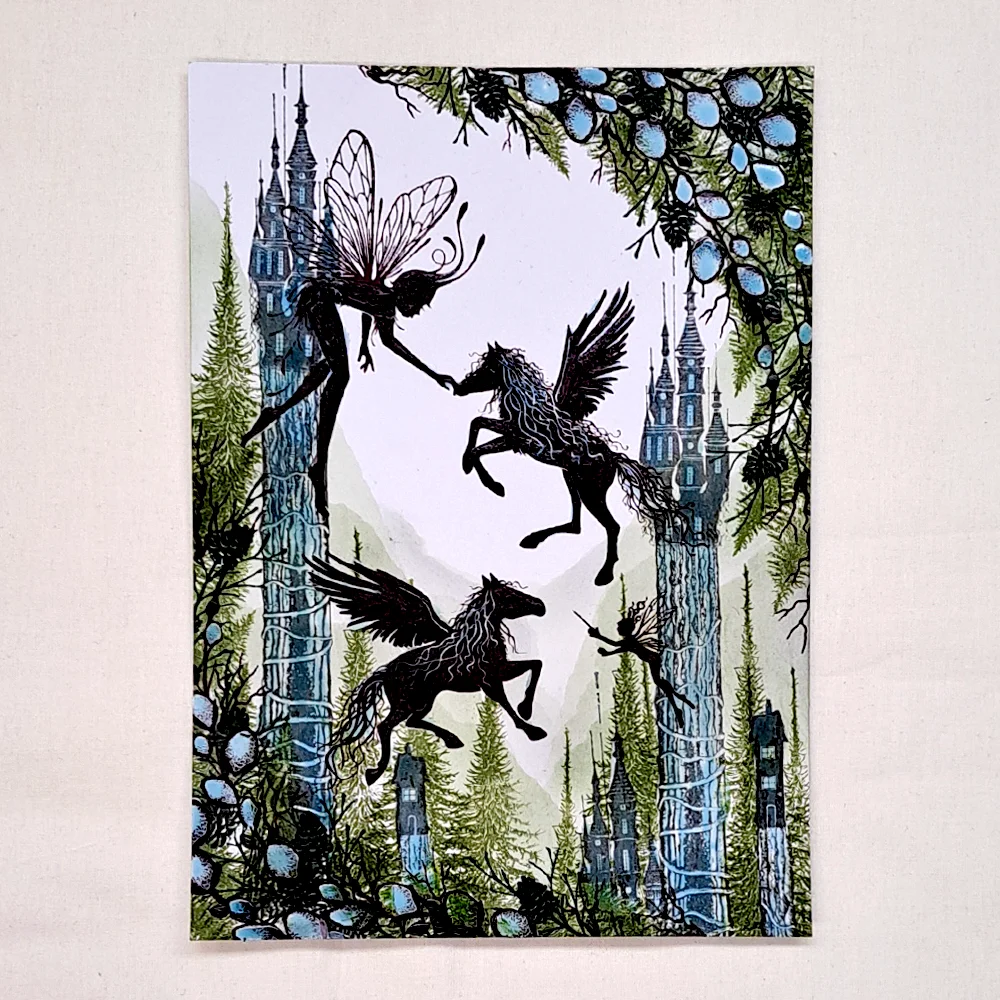
Picture 9
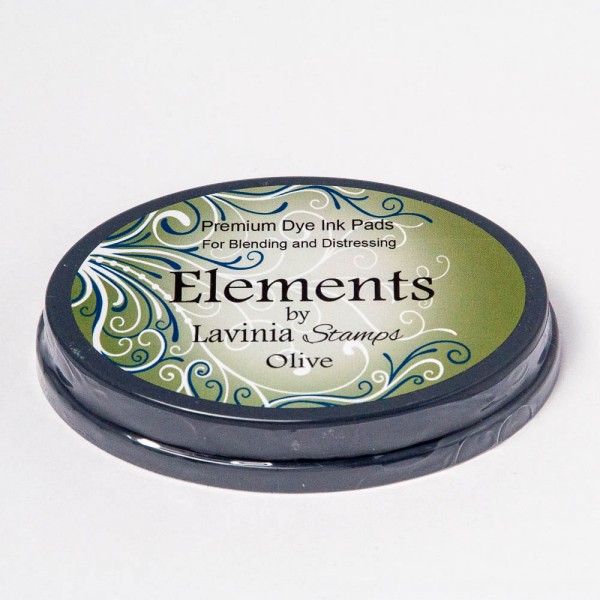
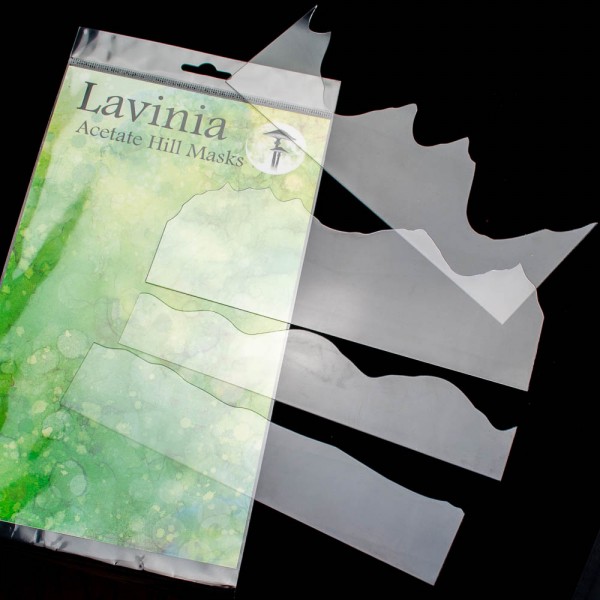
To create some mountains in the background we will use the Hill Masks. Use Elements ink Olive. Create several mountains.
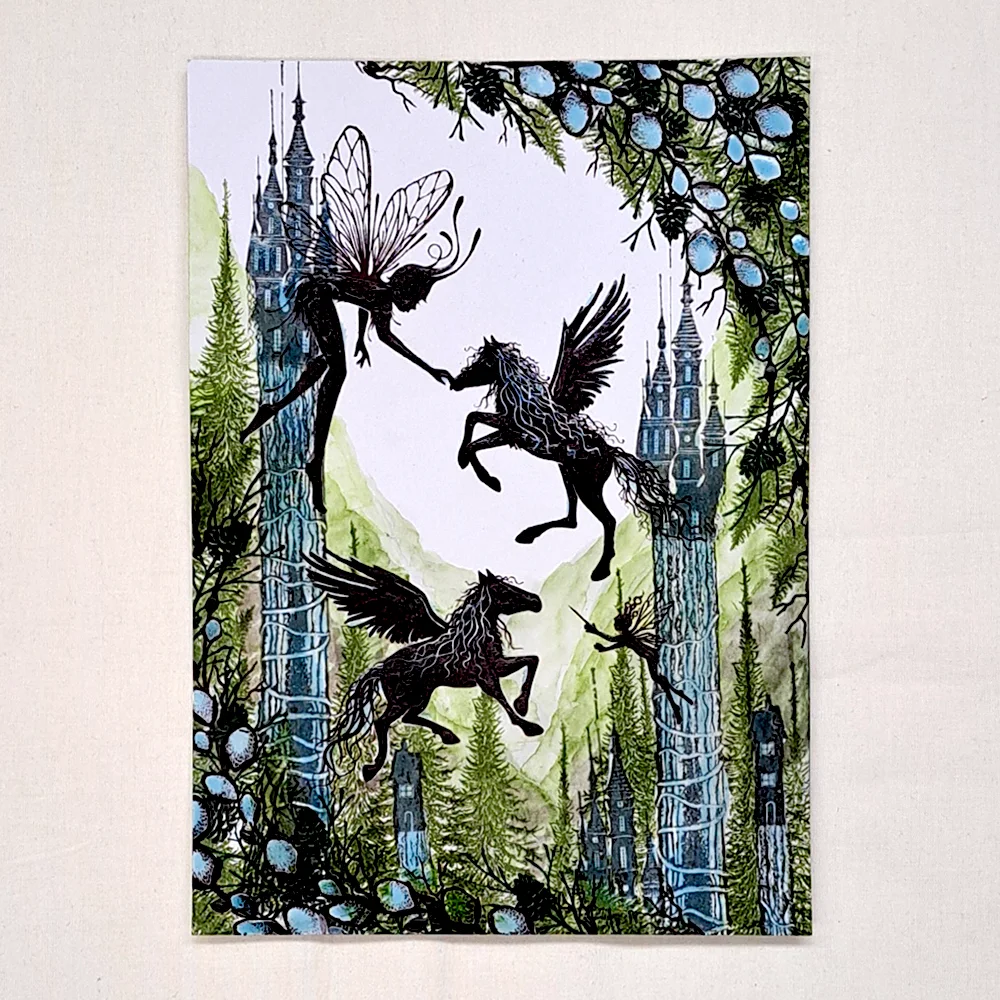
Picture 10
Use a water brush to create a watercolour look, this gives more life to the background.
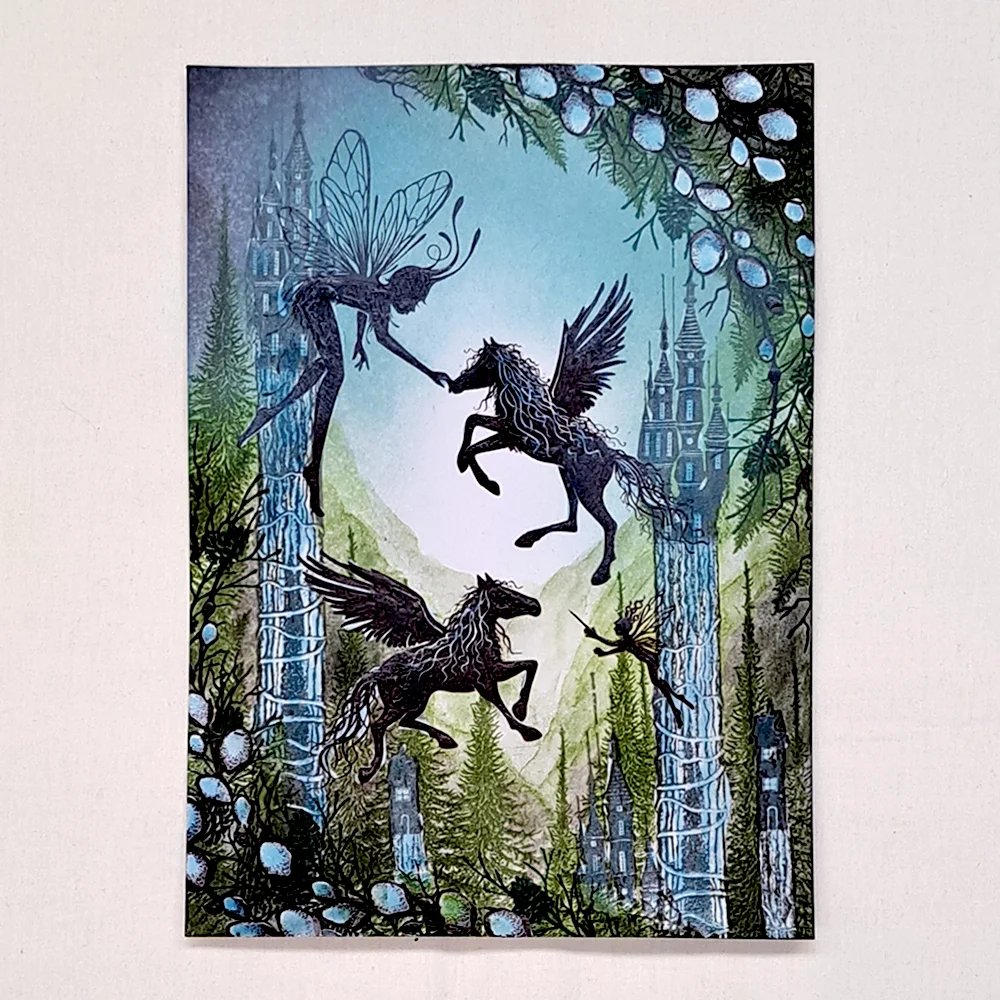
Picture 11
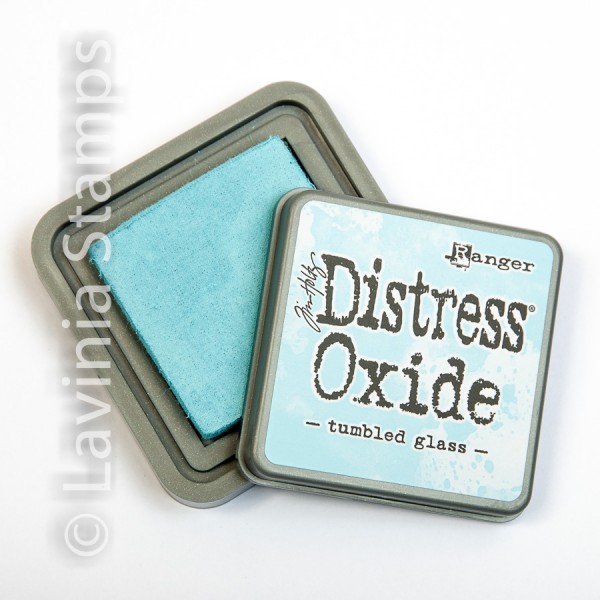
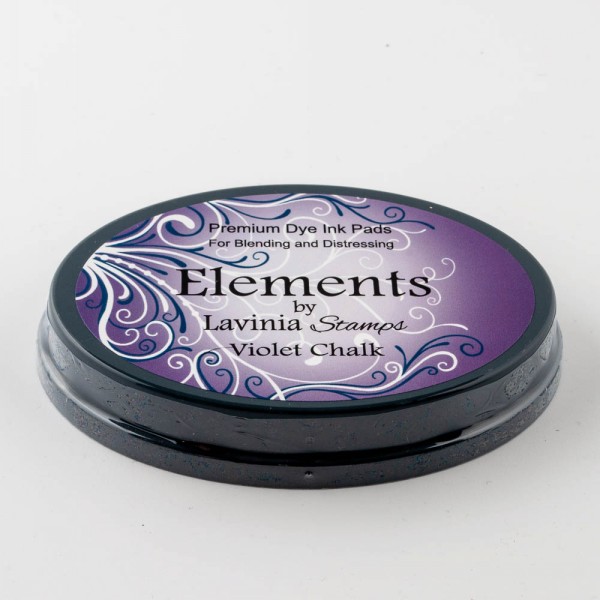
Let’s start with some Distress Oxide Tumbled Glass and some Elements ink Violet Chalk for our sky. Leave the centre of the sky completely without colour.
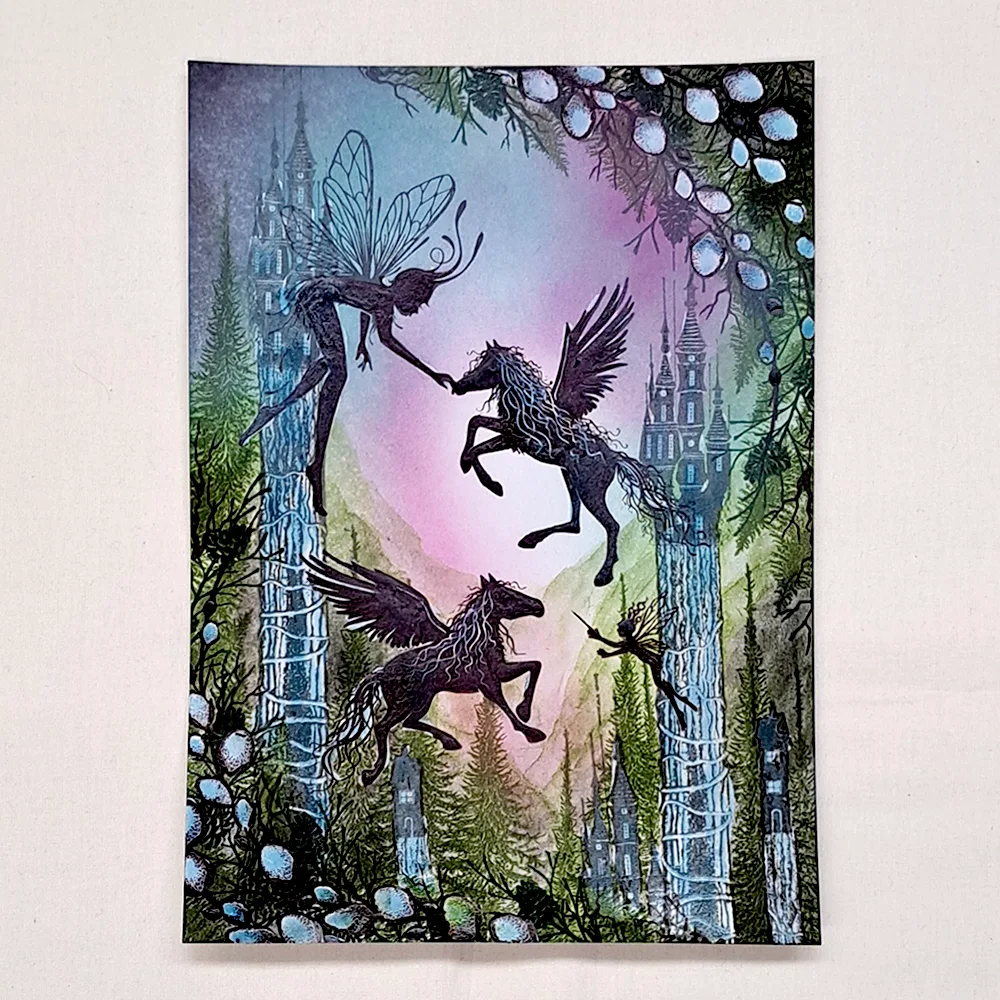
Picture 12
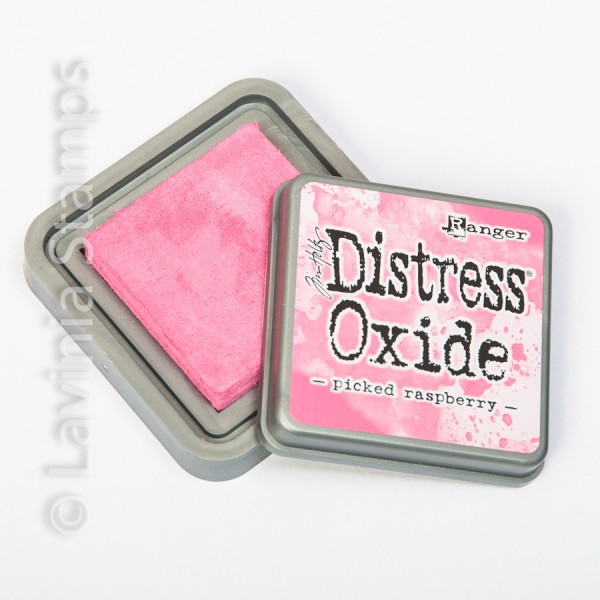
Now add some Distress Oxide Picked Raspberry as you see in the picture.
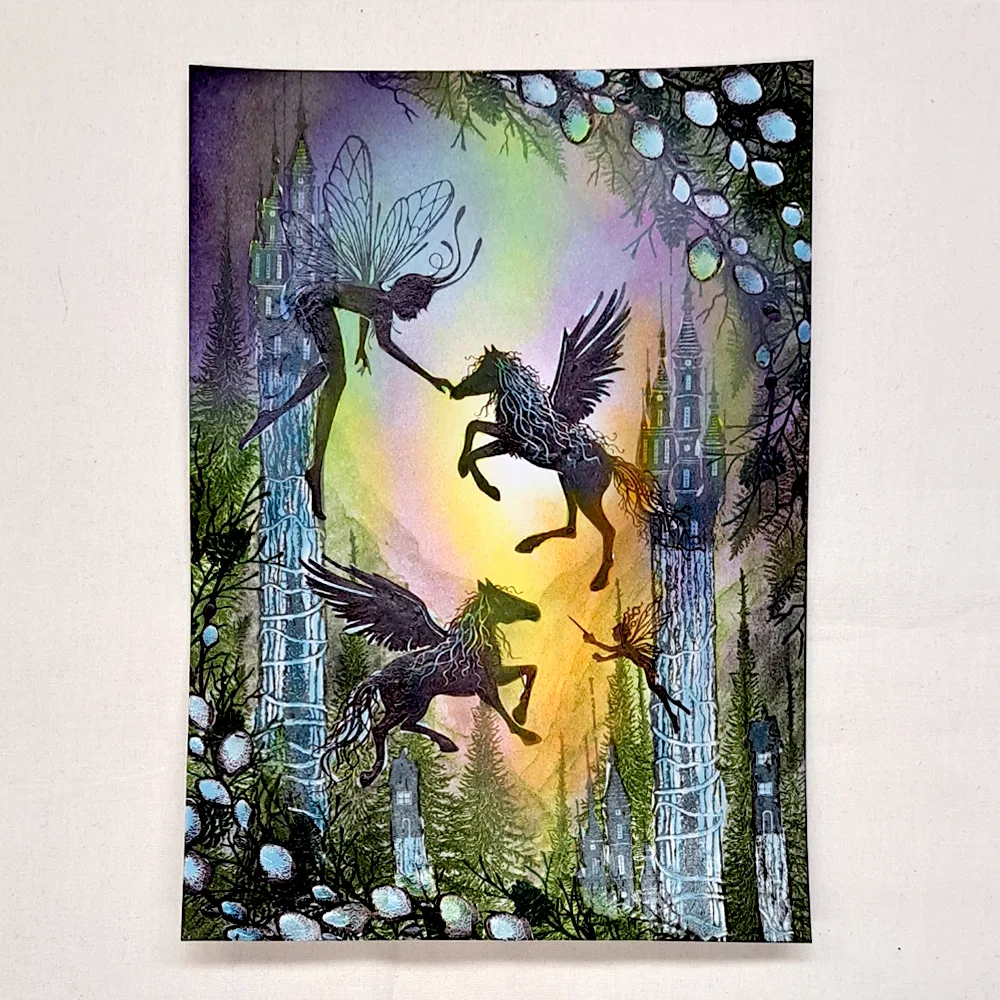
Picture 13
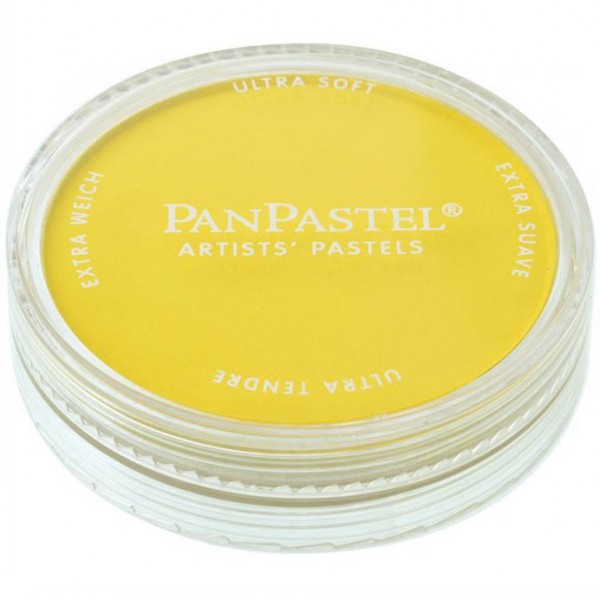
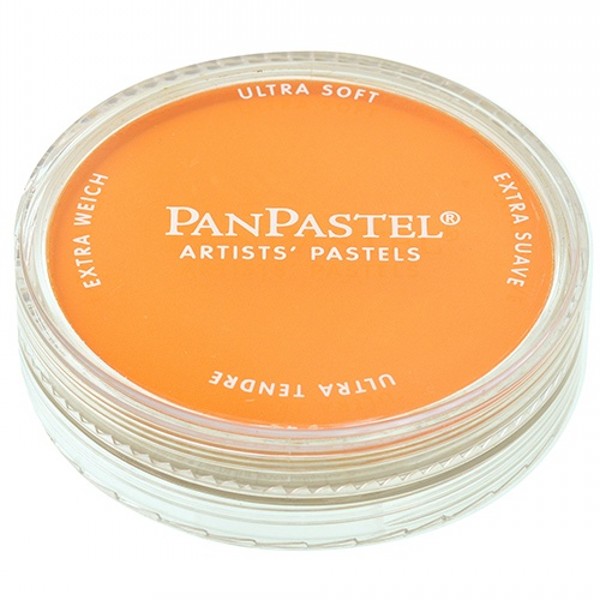
For the magical glow add some Pan Pastel Hansa Yellow and a little touch of Pan Pastel Orange.
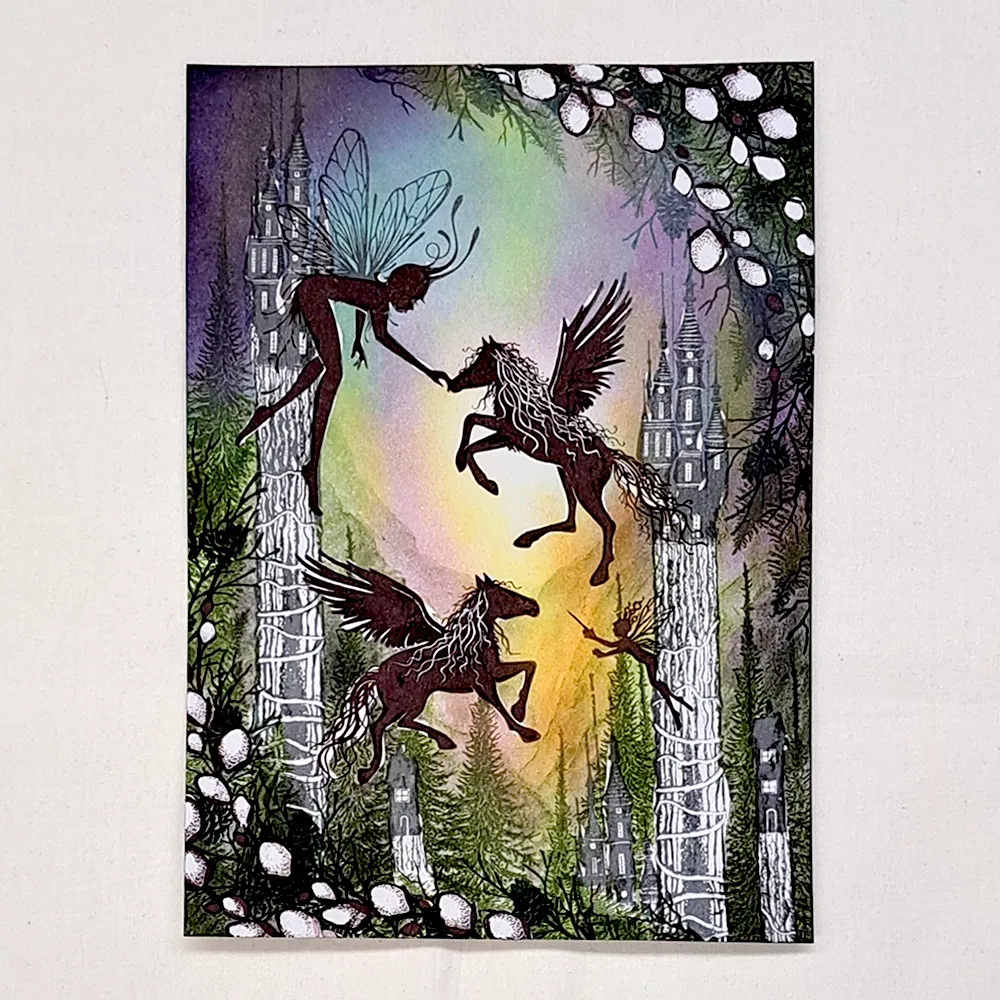
Picture 14
Finally, it is time to remove all the Masking fluid, but before we do, we must make sure our paper is completely dry. If you are not sure if it is dry, use a heat gun. If there is any moisture in the card the paper might rip when you start rubbing it. When the card is 100% dry it will not rip the paper.
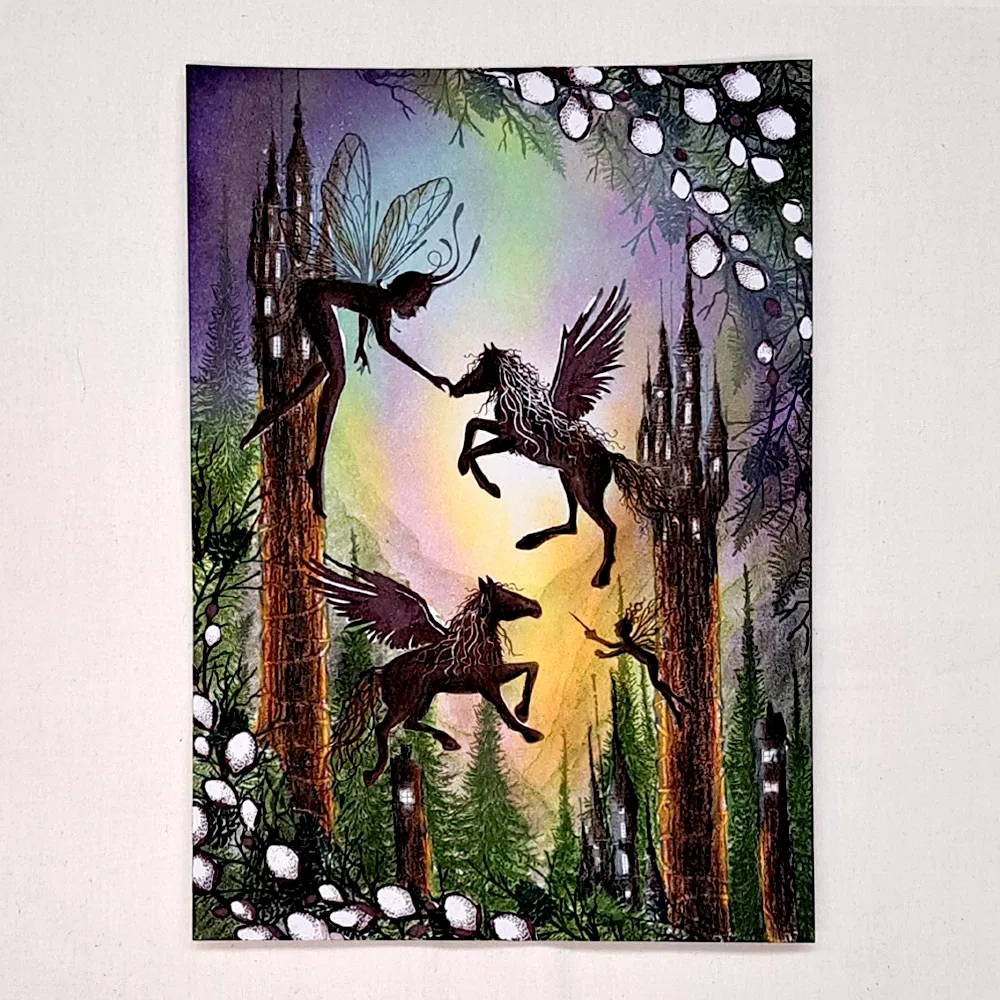
Picture 15
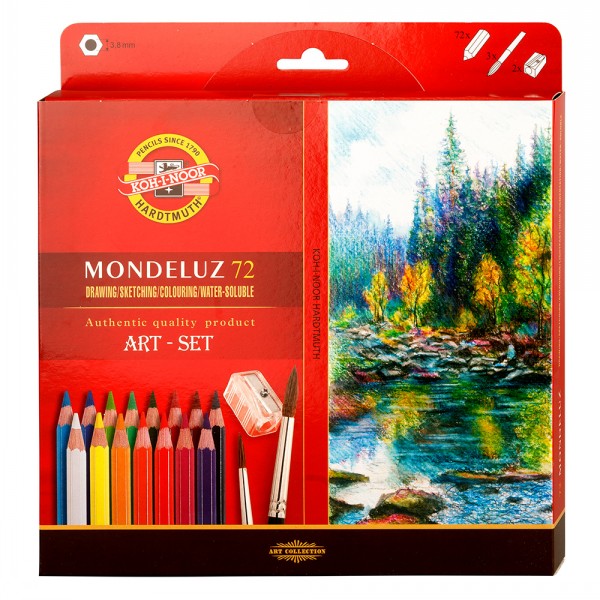
So, we will colour our tree houses and castles with some Mondeluz Watercolour pencils. I love them because they are so vibrant in colour and so soft to draw with and they are great for blending too. For our tree houses use several colours, dark brown, brown, reddish brown and ochre. This creates more life and depth in the objects. Our fairies and horses need to be coloured too so use a colour like the Versafine Clair Pinecone. The wings, mane and tails of the horses we will colour with gold Posca pen later.
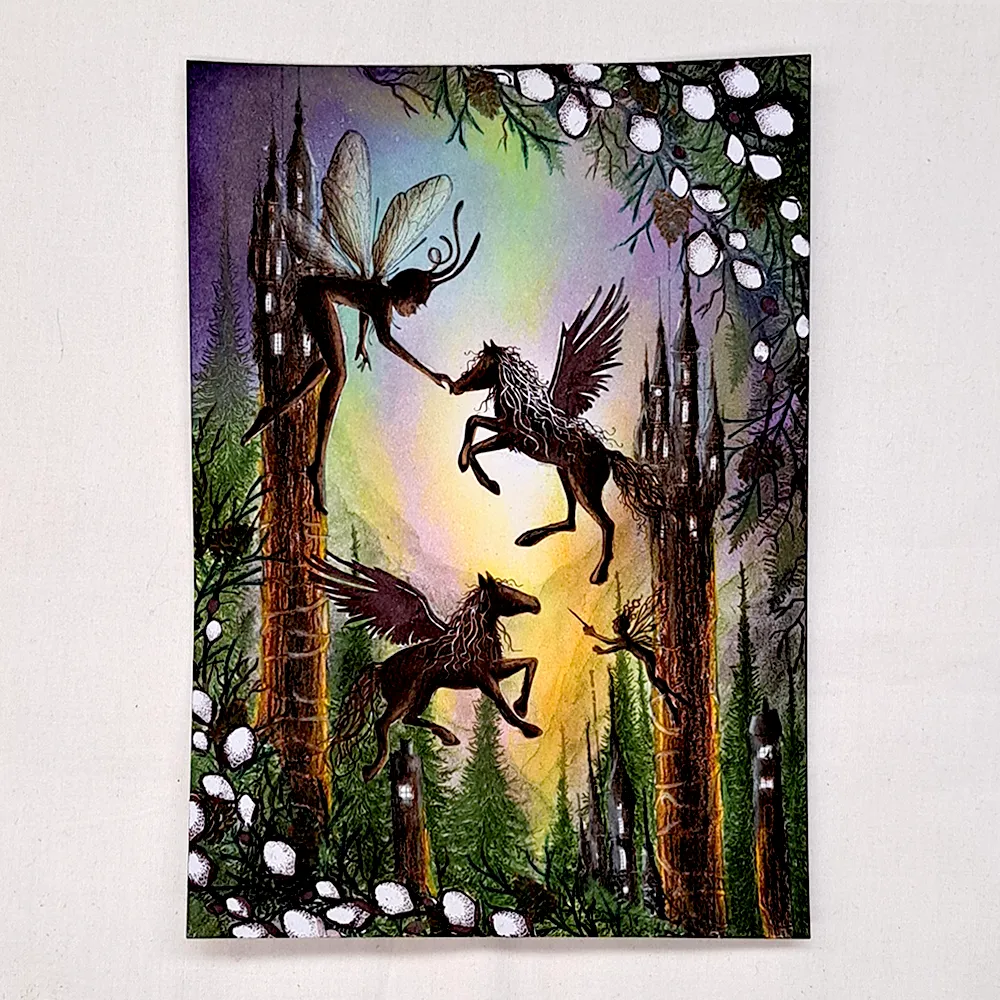
Picture 16
The Fir Cone stamp needs a bit of colour so just use a green pencil for the pine needles and some brown for the pinecones. For some highlights on our fairies and horses we will use a beige colour pencil and add a little bit on the fairy wings.
Picture 17
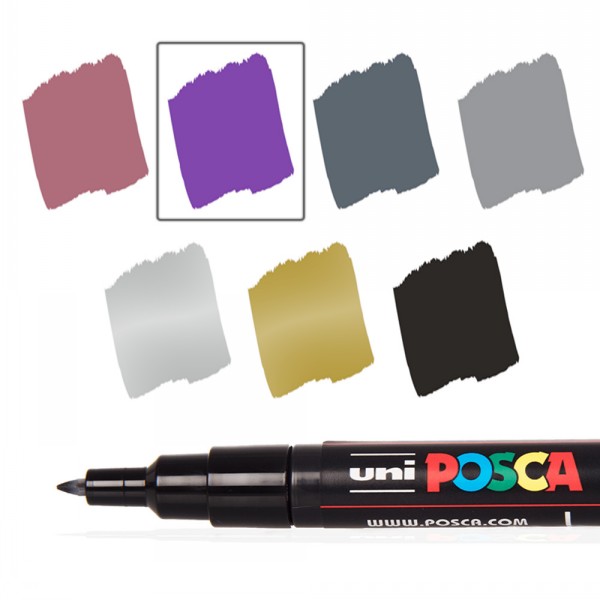
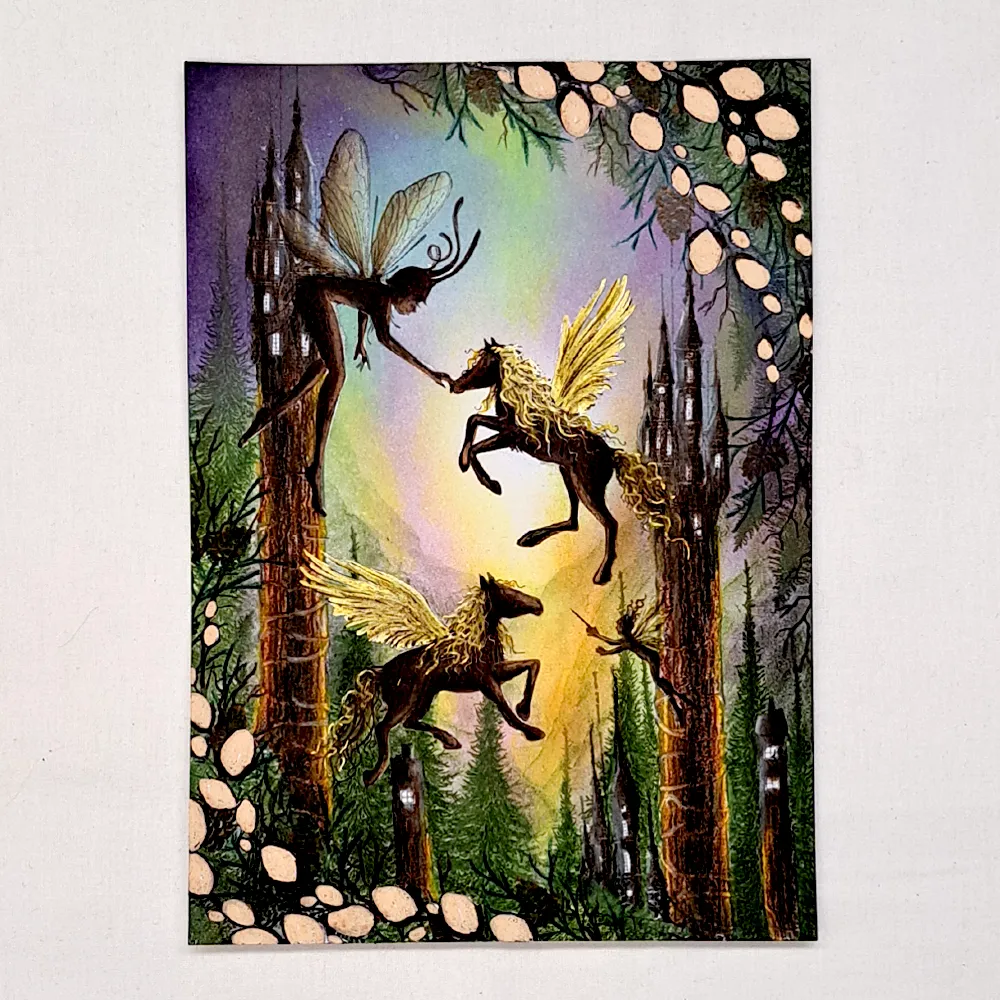
Now we will colour the beautiful Pegasus wings with gold Posca pen. Look at the picture to see how to apply the colour. Add some gold in their tails and manes. When the Posca pen has dried we can use a brown colour pencil to draw on top of the gold to make it a little bit softer in some places. The berries we will colour with some beige Posca pen.
Picture 18
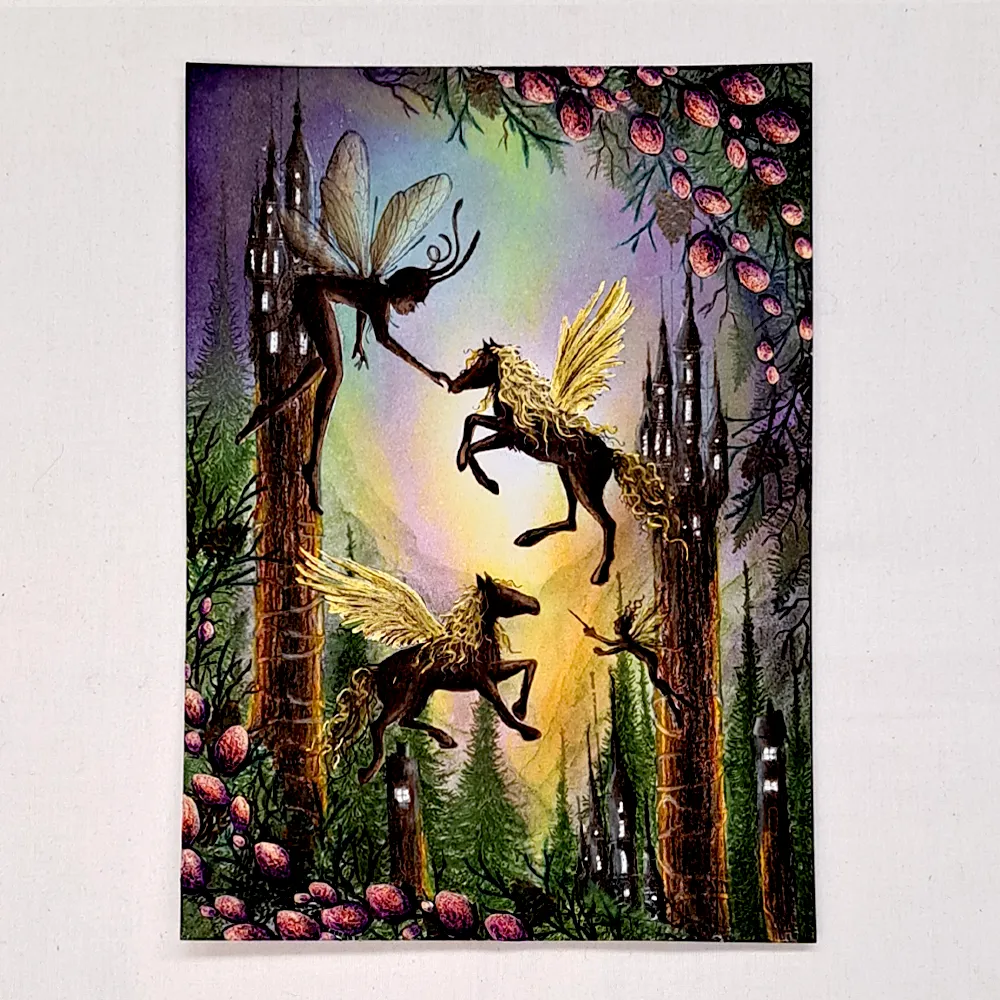
When the beige Posca pen has dried we will use our colour pencils. I used several pinks and purples and the beige for the lightest colour. Use a White Posca pen to put lights in all our windows.
Picture 19
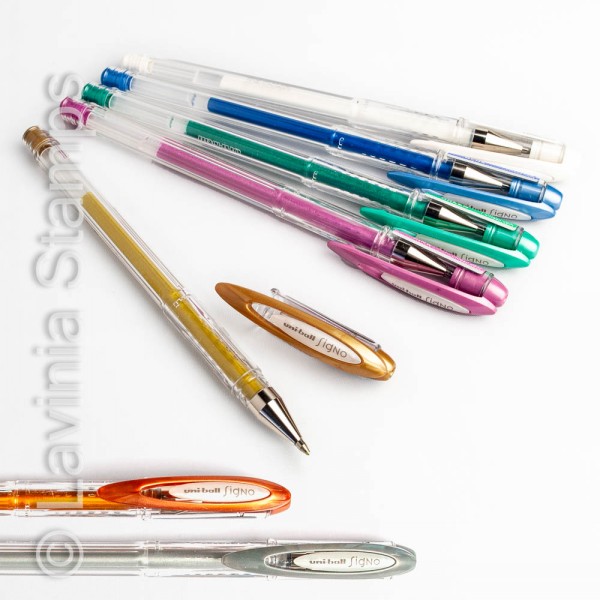
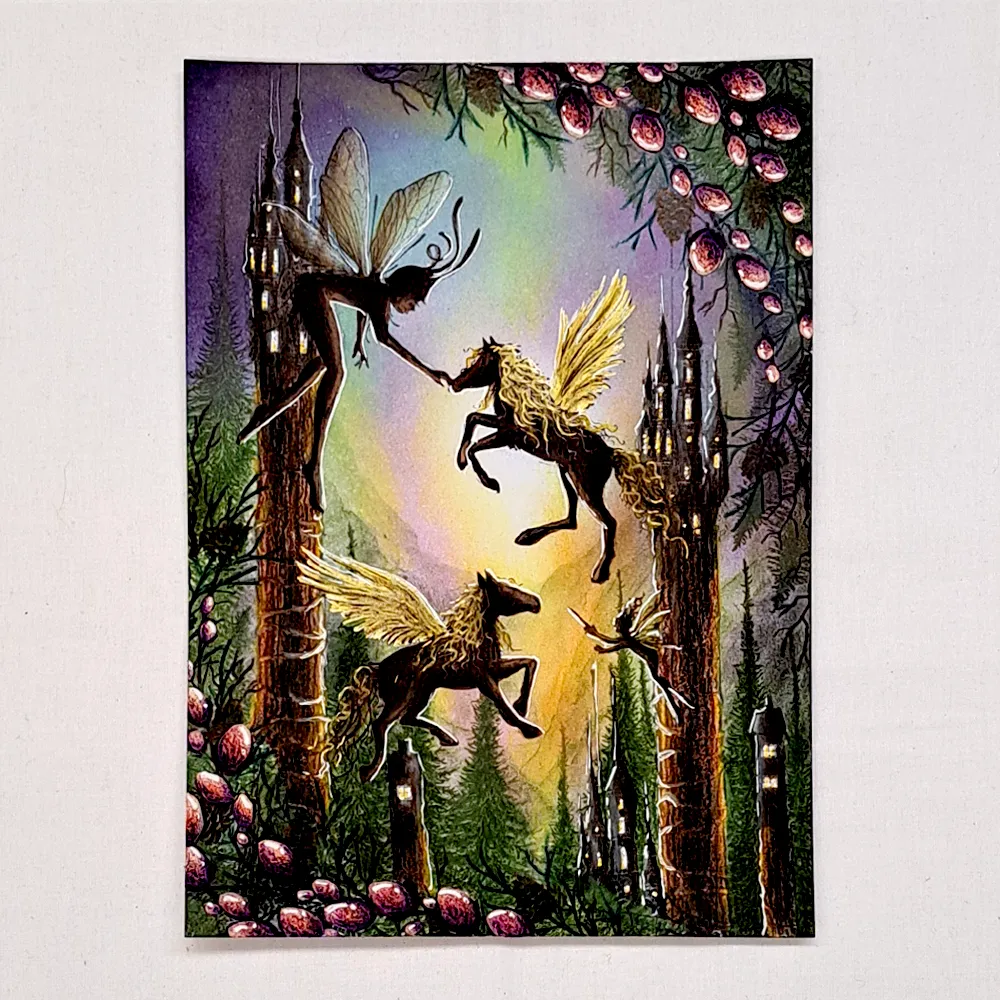
A yellow Posca pen will give us some warmth in the windows of our tree houses. Just a little bit together with the white. Highlights is a particularly important part of our creation. I use a white Uniball pen. Look at the picture for placement.
Picture 20
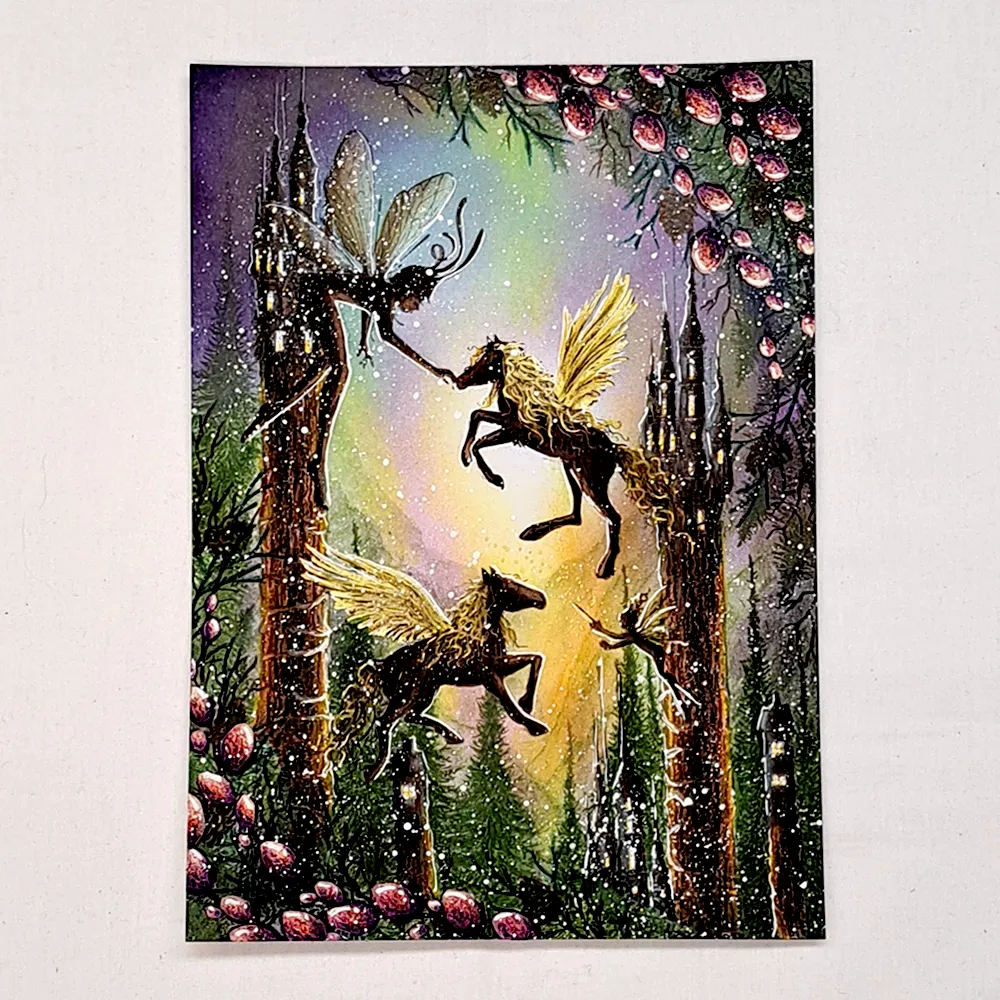
As a finishing touch we will do some Posca pen splatters. This helps to create a feeling of movement and depth in our picture. We will use a white Posca pen for splatters and after we will use our gold Posca and do some dots around the little fairy’s magic wand.
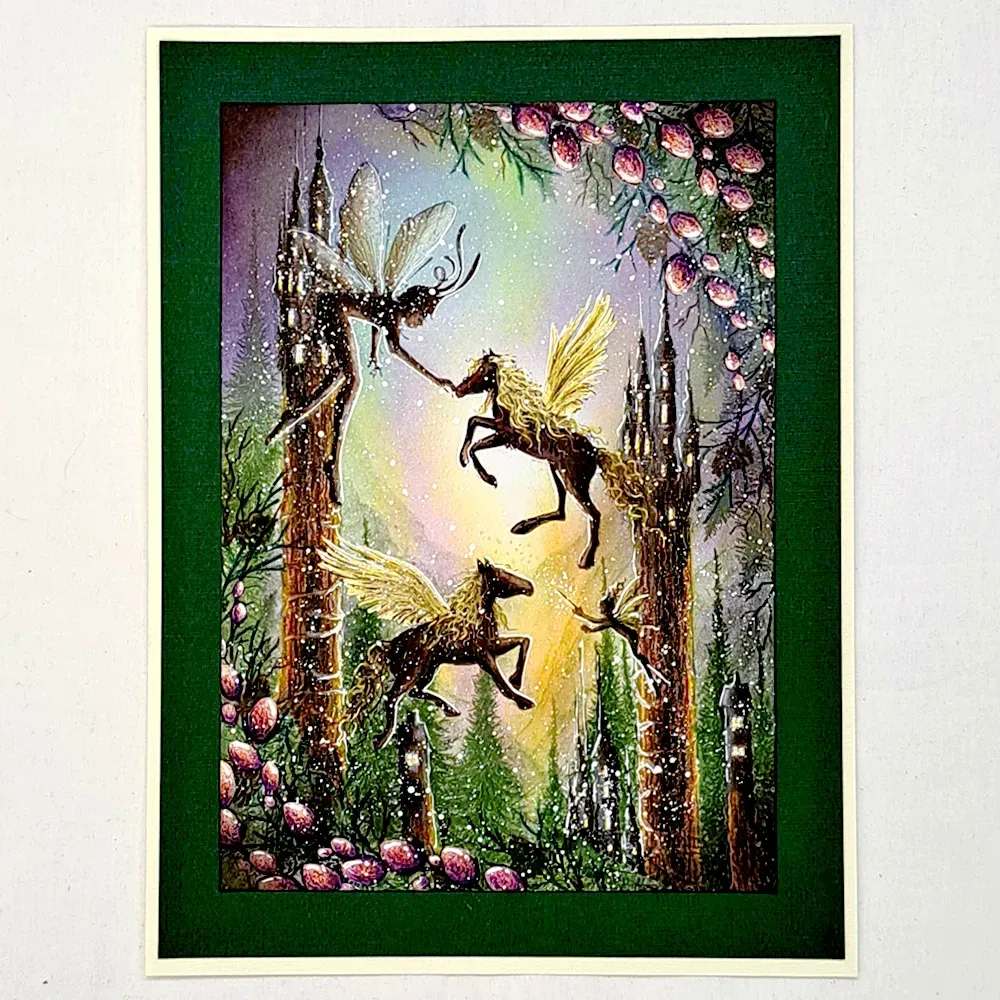
Picture 21
Now we are done with our card and I hope you have enjoyed following my tutorial. If there is anything you want to ask me just send me a message and I will answer as soon as I can.
Big hugs from Mona


