Step by Step by Mona Hauge
Hi everyone, hope you all are keeping well!
Here is my latest Step By Step Tutorial called “Snow”
Hope you like it 💙
Picture 1
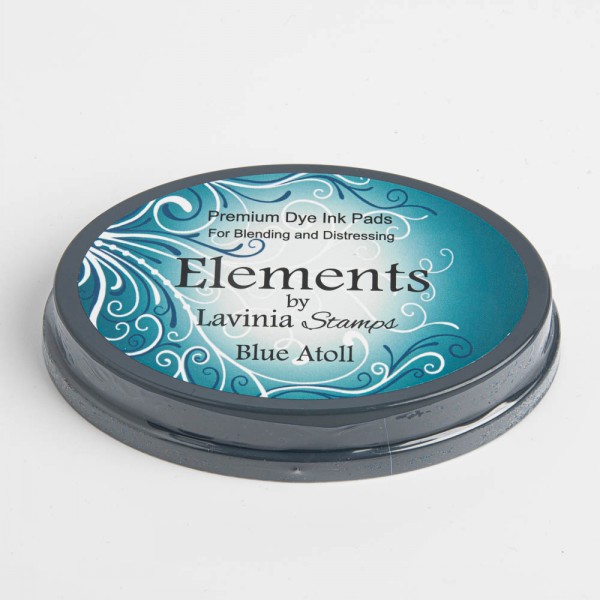
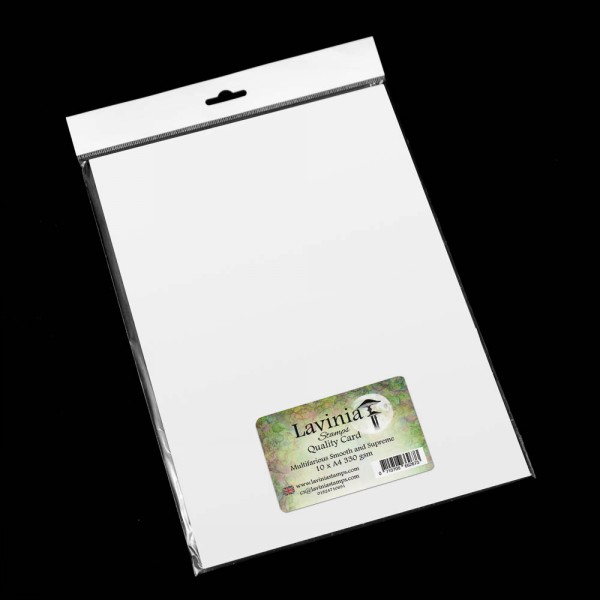
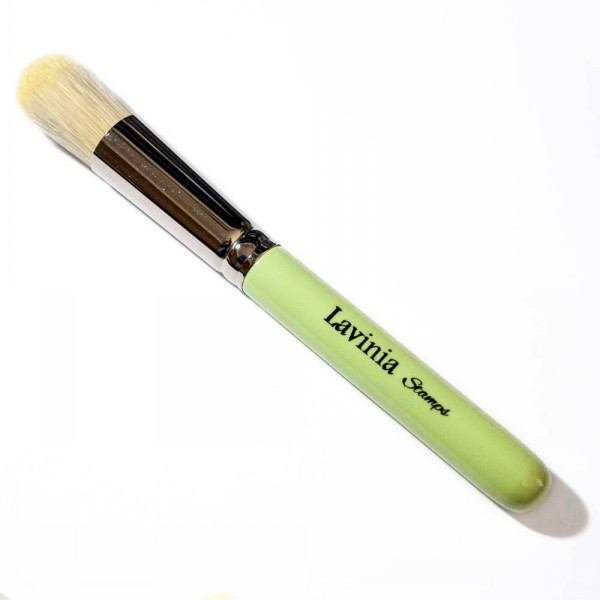
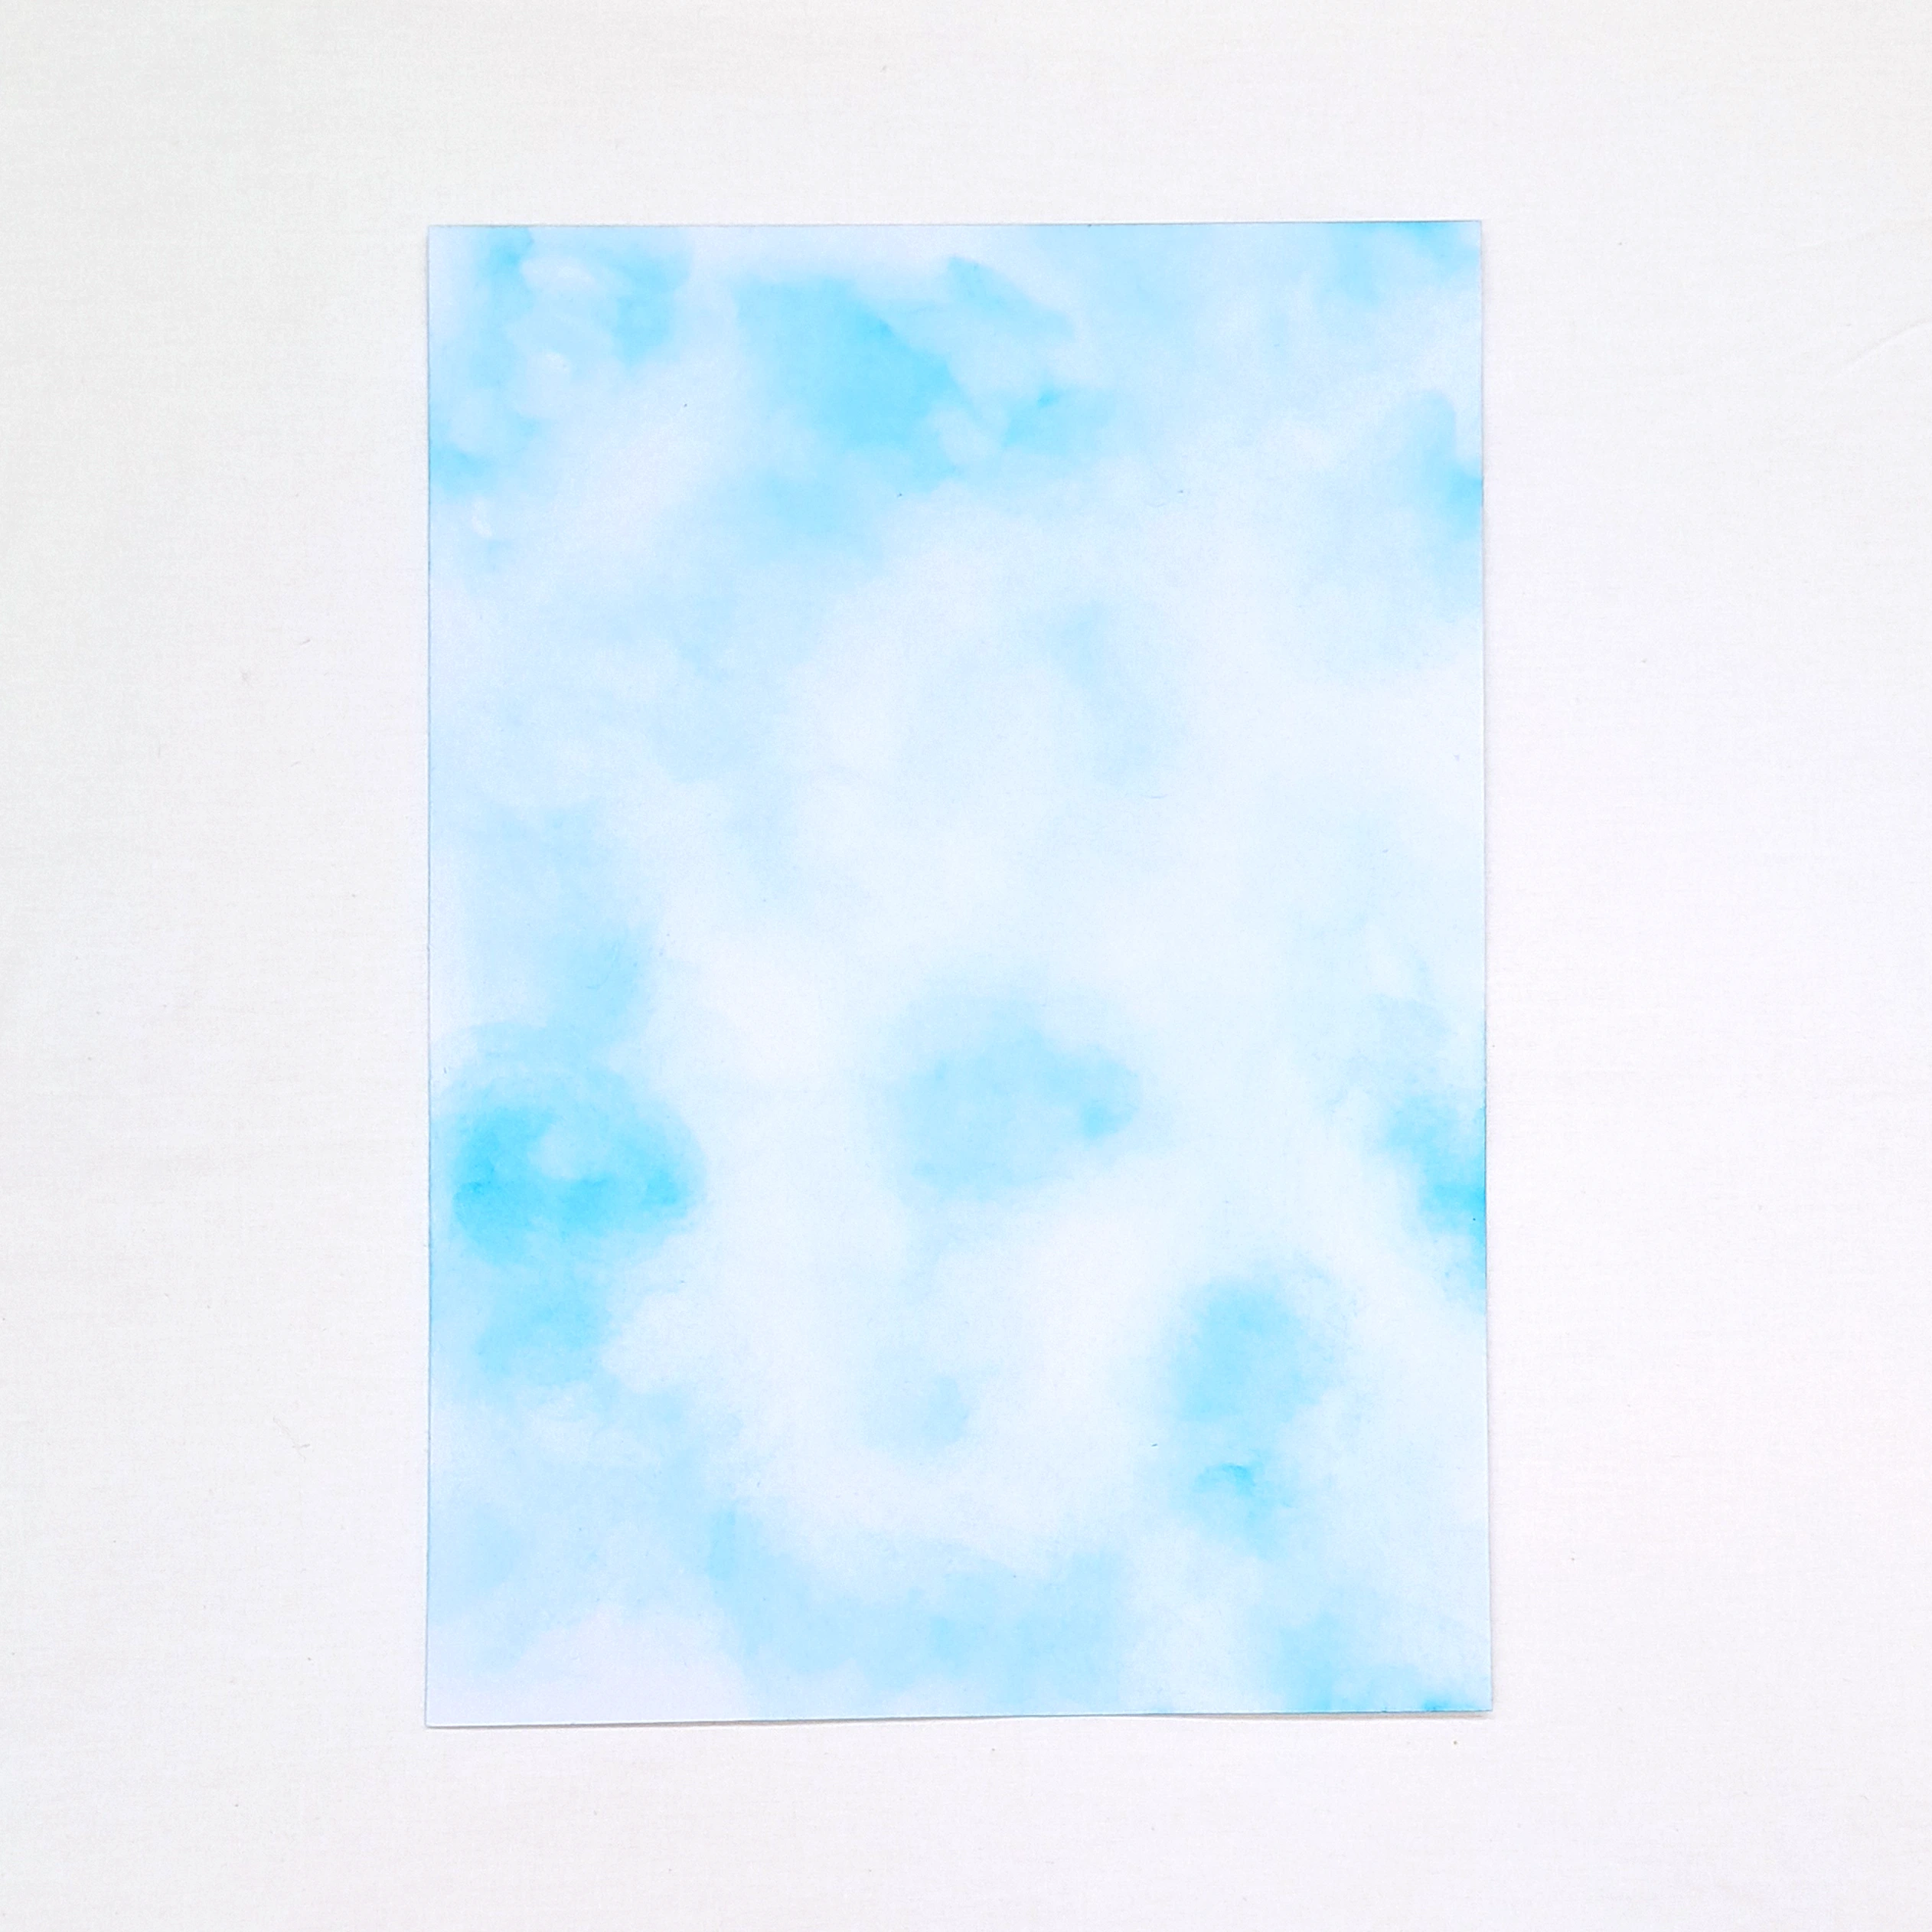
We need 2 x A4 white Multifarious papers to create the snow background paper. Apply some Elements Blue Atoll using a series 9 stencil brush. This should be applied unevenly.

Picture 2
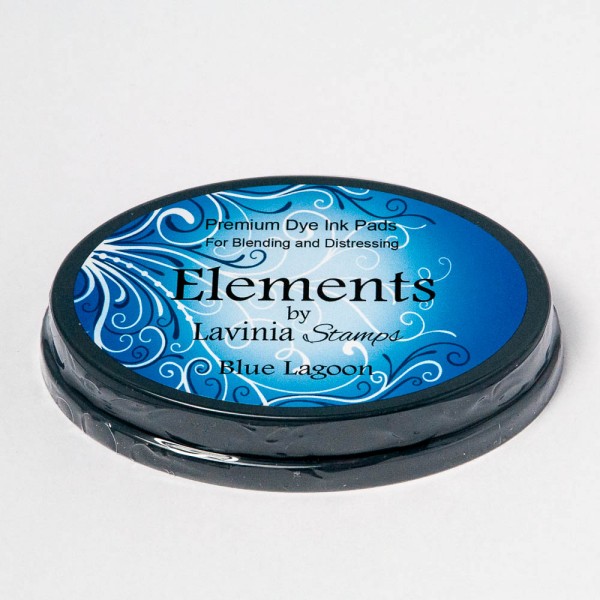
Apply some Elements Blue lagoon also unevenly.

Picture 3
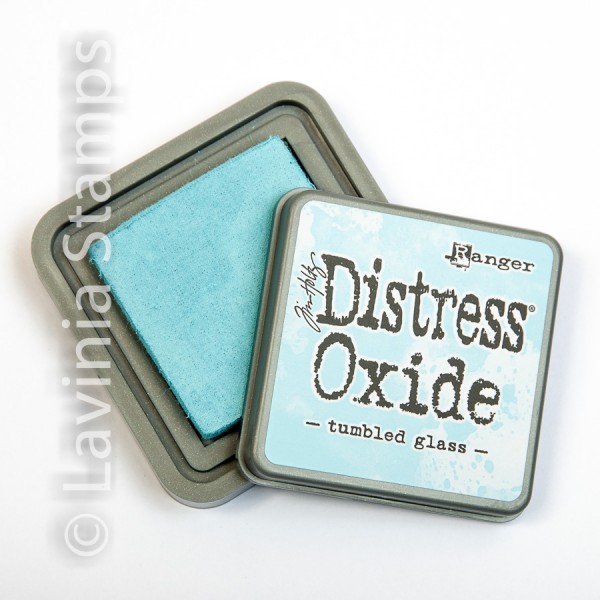
Apply some Distress Oxide Tumbled Glass very unevenly. Spray some water on the papers and let the magic happen.

Picture 4
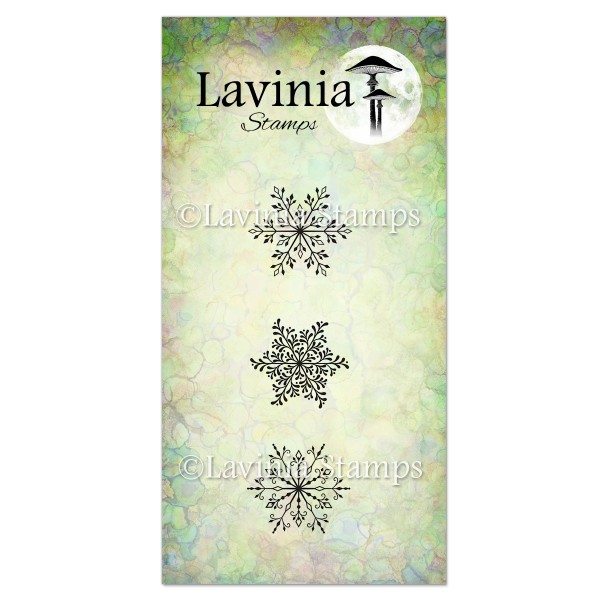
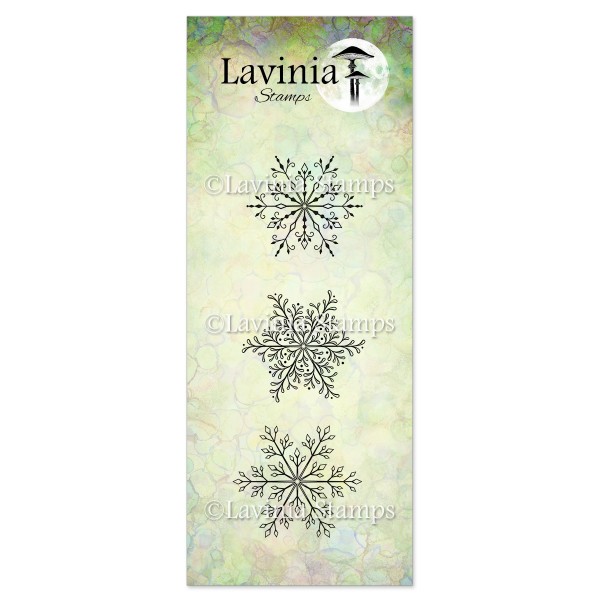
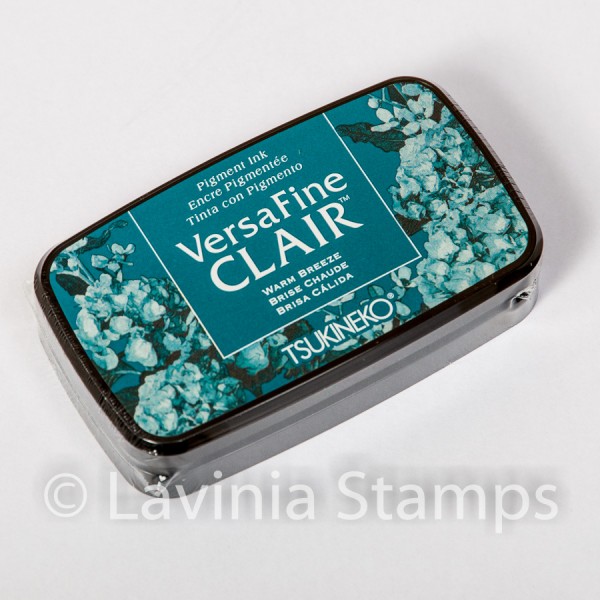
Stamp the Snowflakes Small LAV843 and the Snowflakes Large LAV842 in Versafine Clair Warm Breeze.

Picture 5
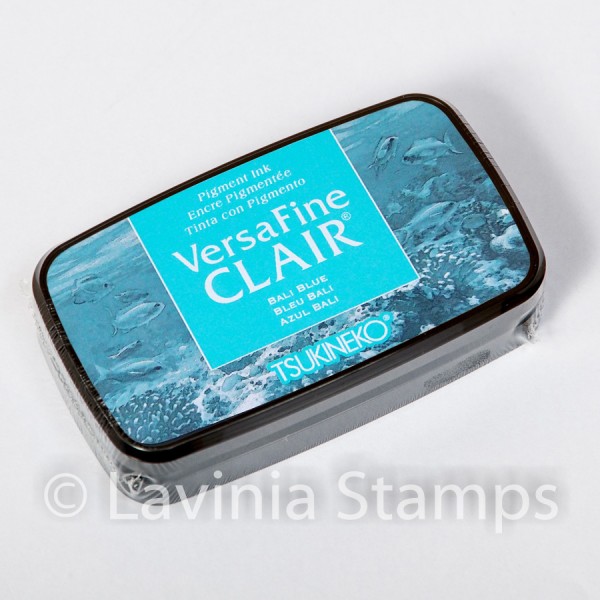
Now stamp the same Snowflakes stamp in Versafine Clair Bali Blue.

Picture 6
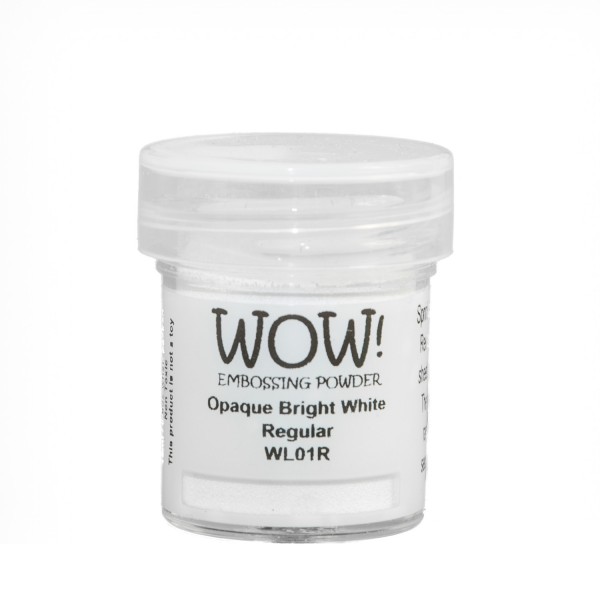
Choose the small snowflake and use some white WOW Opaque Bright embossing powder.

Picture 7
Now we will go crazy with white Posca pen splatters. Do a lot !!!!! You can make the splatters by holding the Posca pen under a series 9 stencil brush and tapping the Posca pen with the stencil brush.
Picture 8
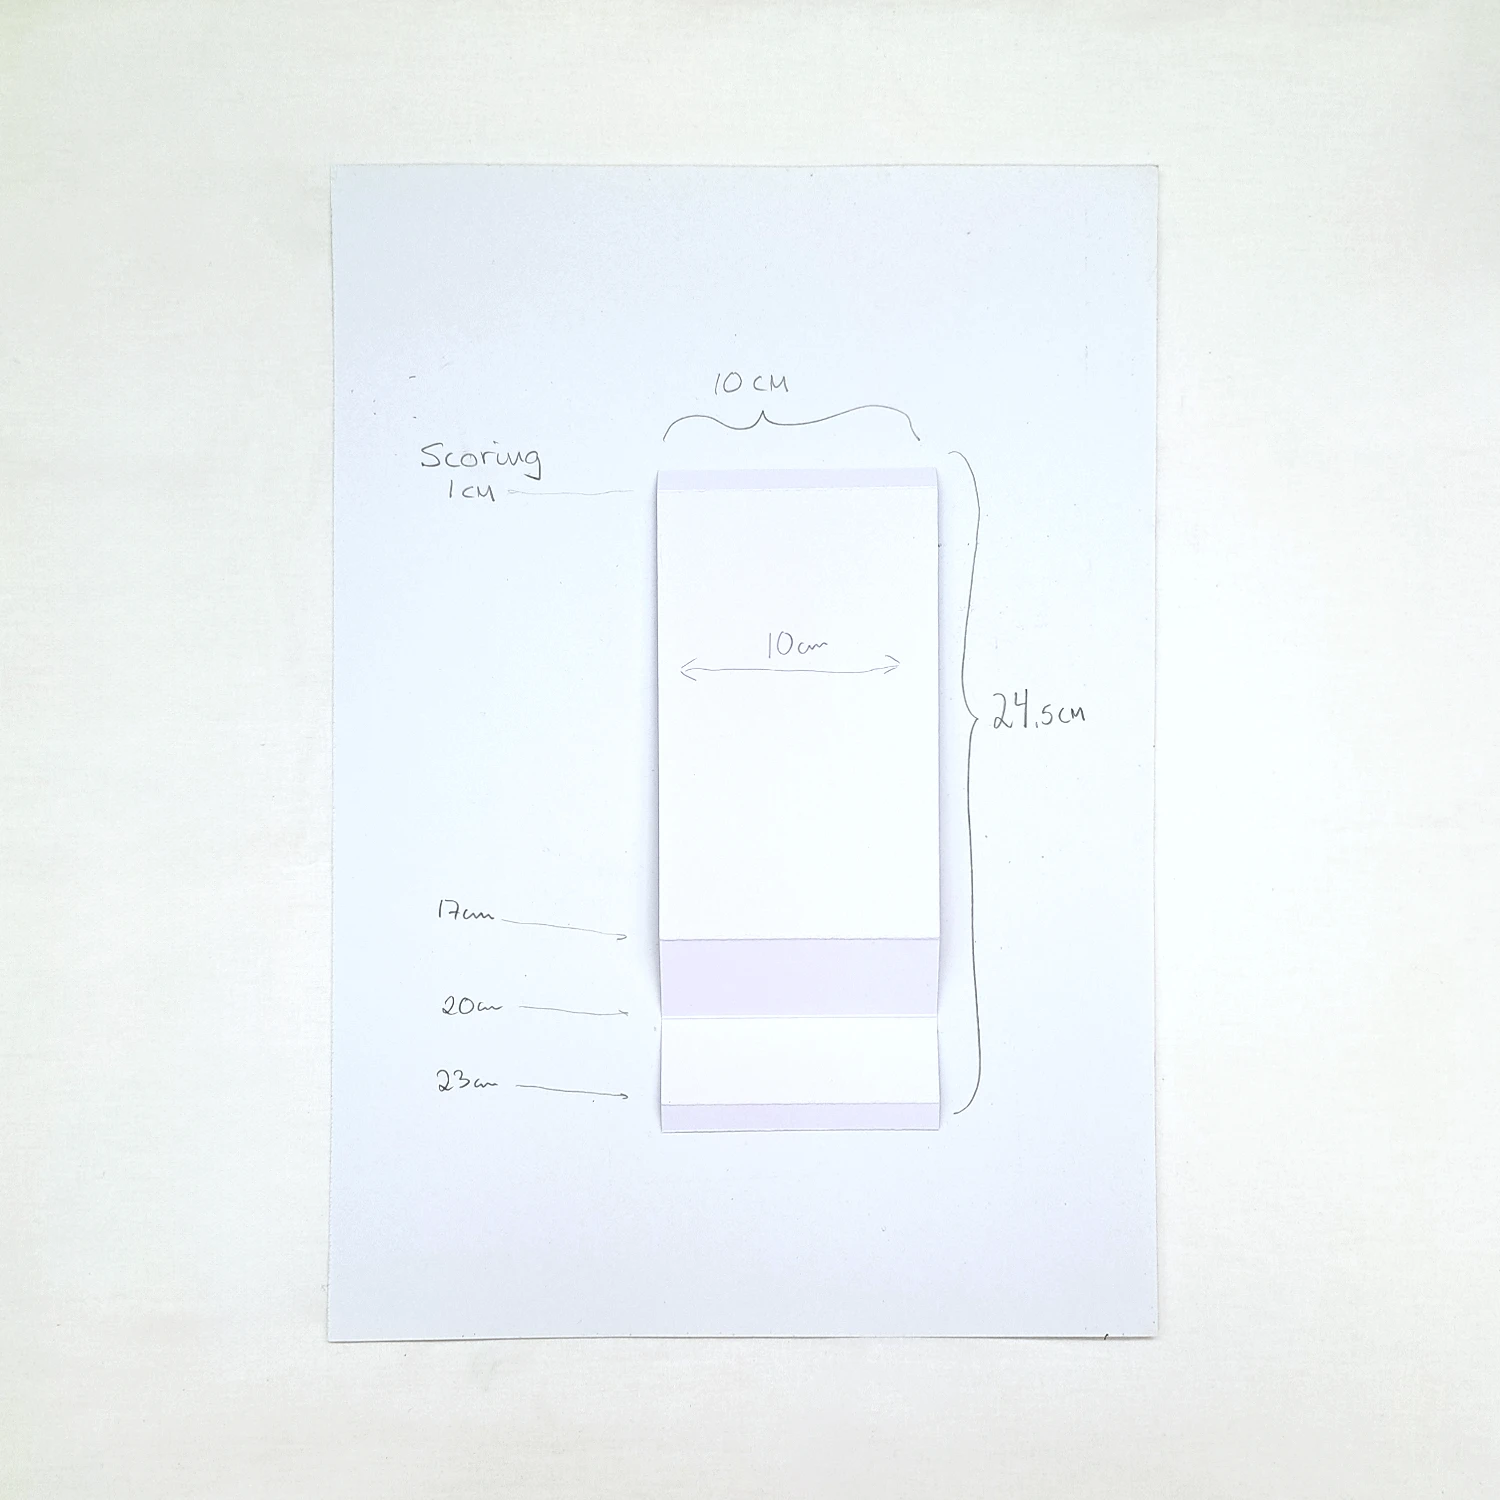
Cut some White Multifarious paper to 10cm x 24.5cm. Now Score on 1cm, 17cm, 20cm and 23cm.
Picture 9
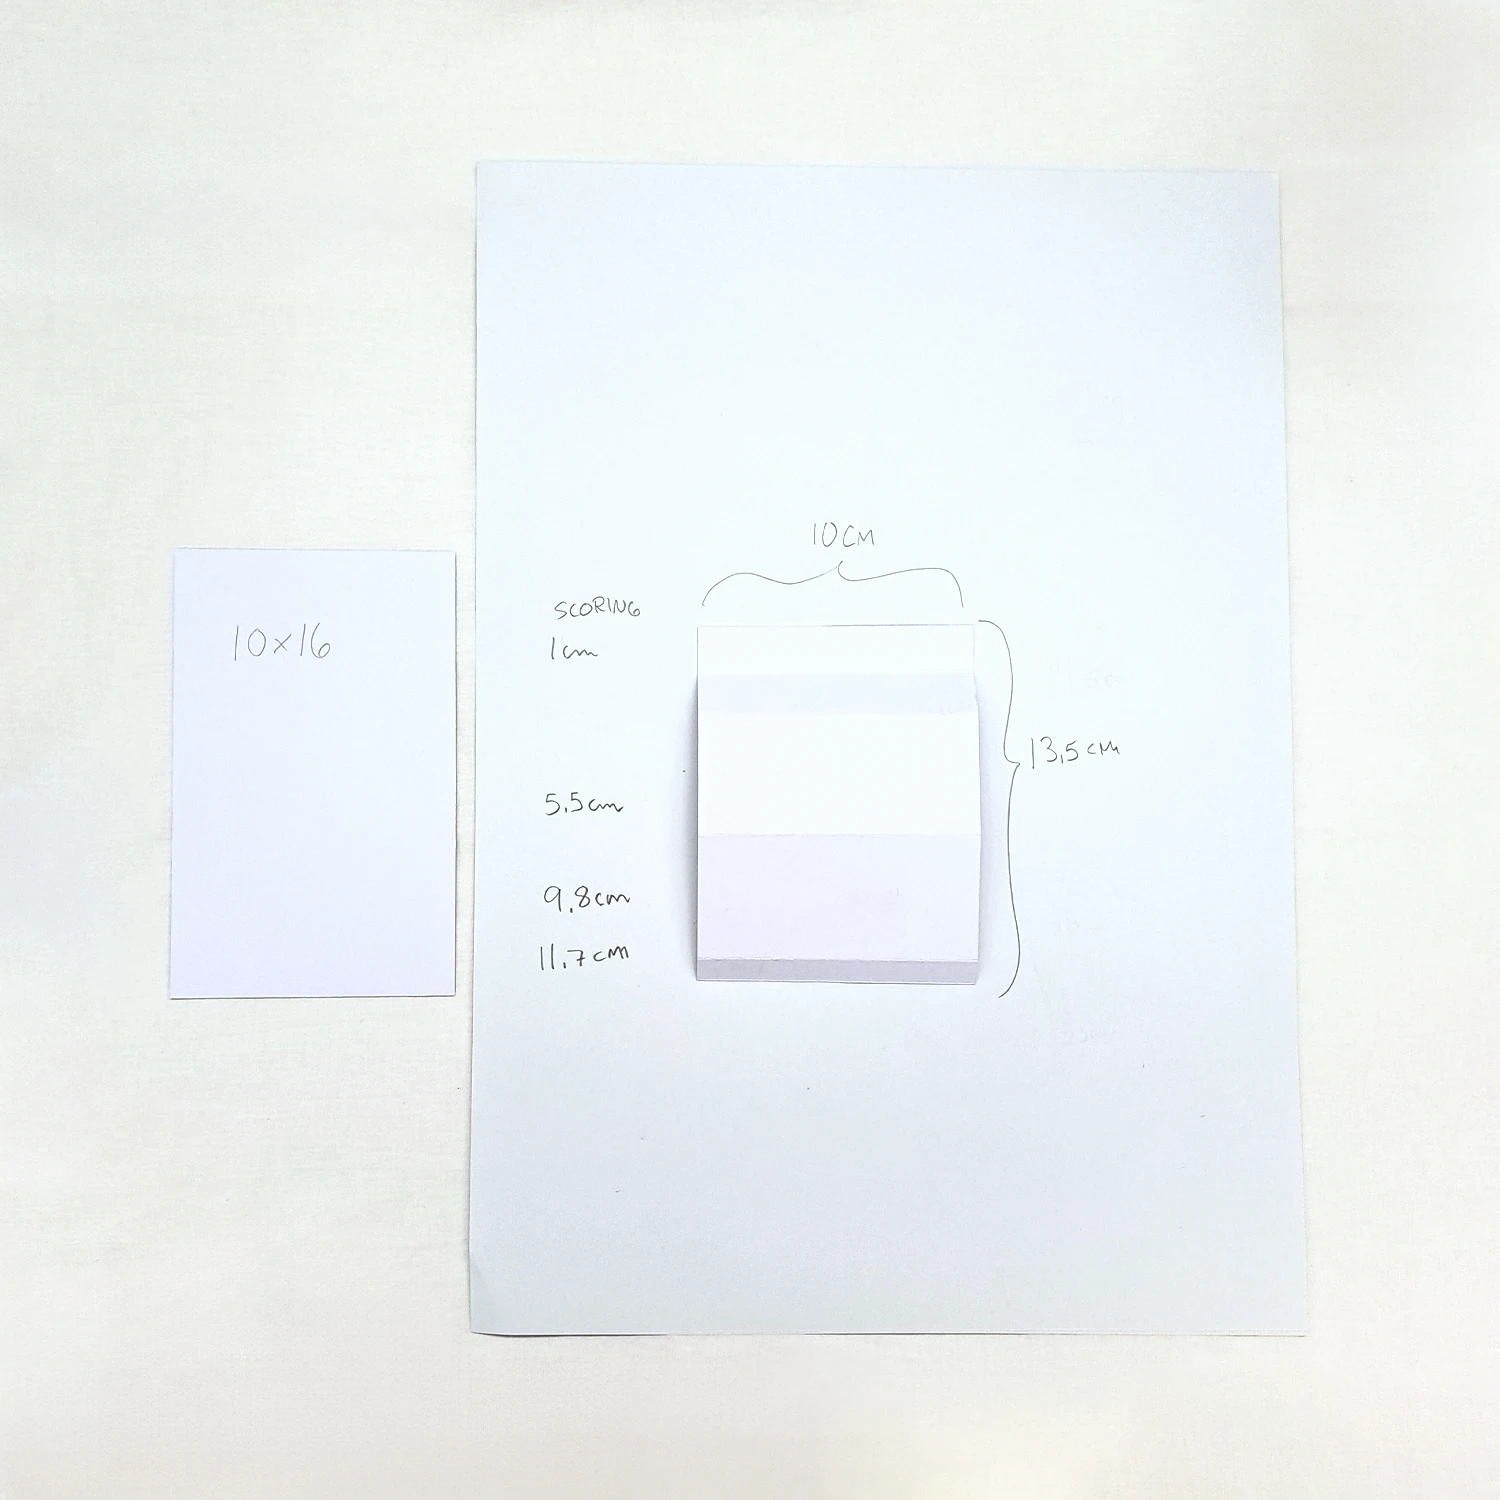
Cut another piece of white Multifarious paper to 10cm x13.5cm. Now Score on 1cm, 5.5cm, 9.8cm and 11.7cm.
Picture 10
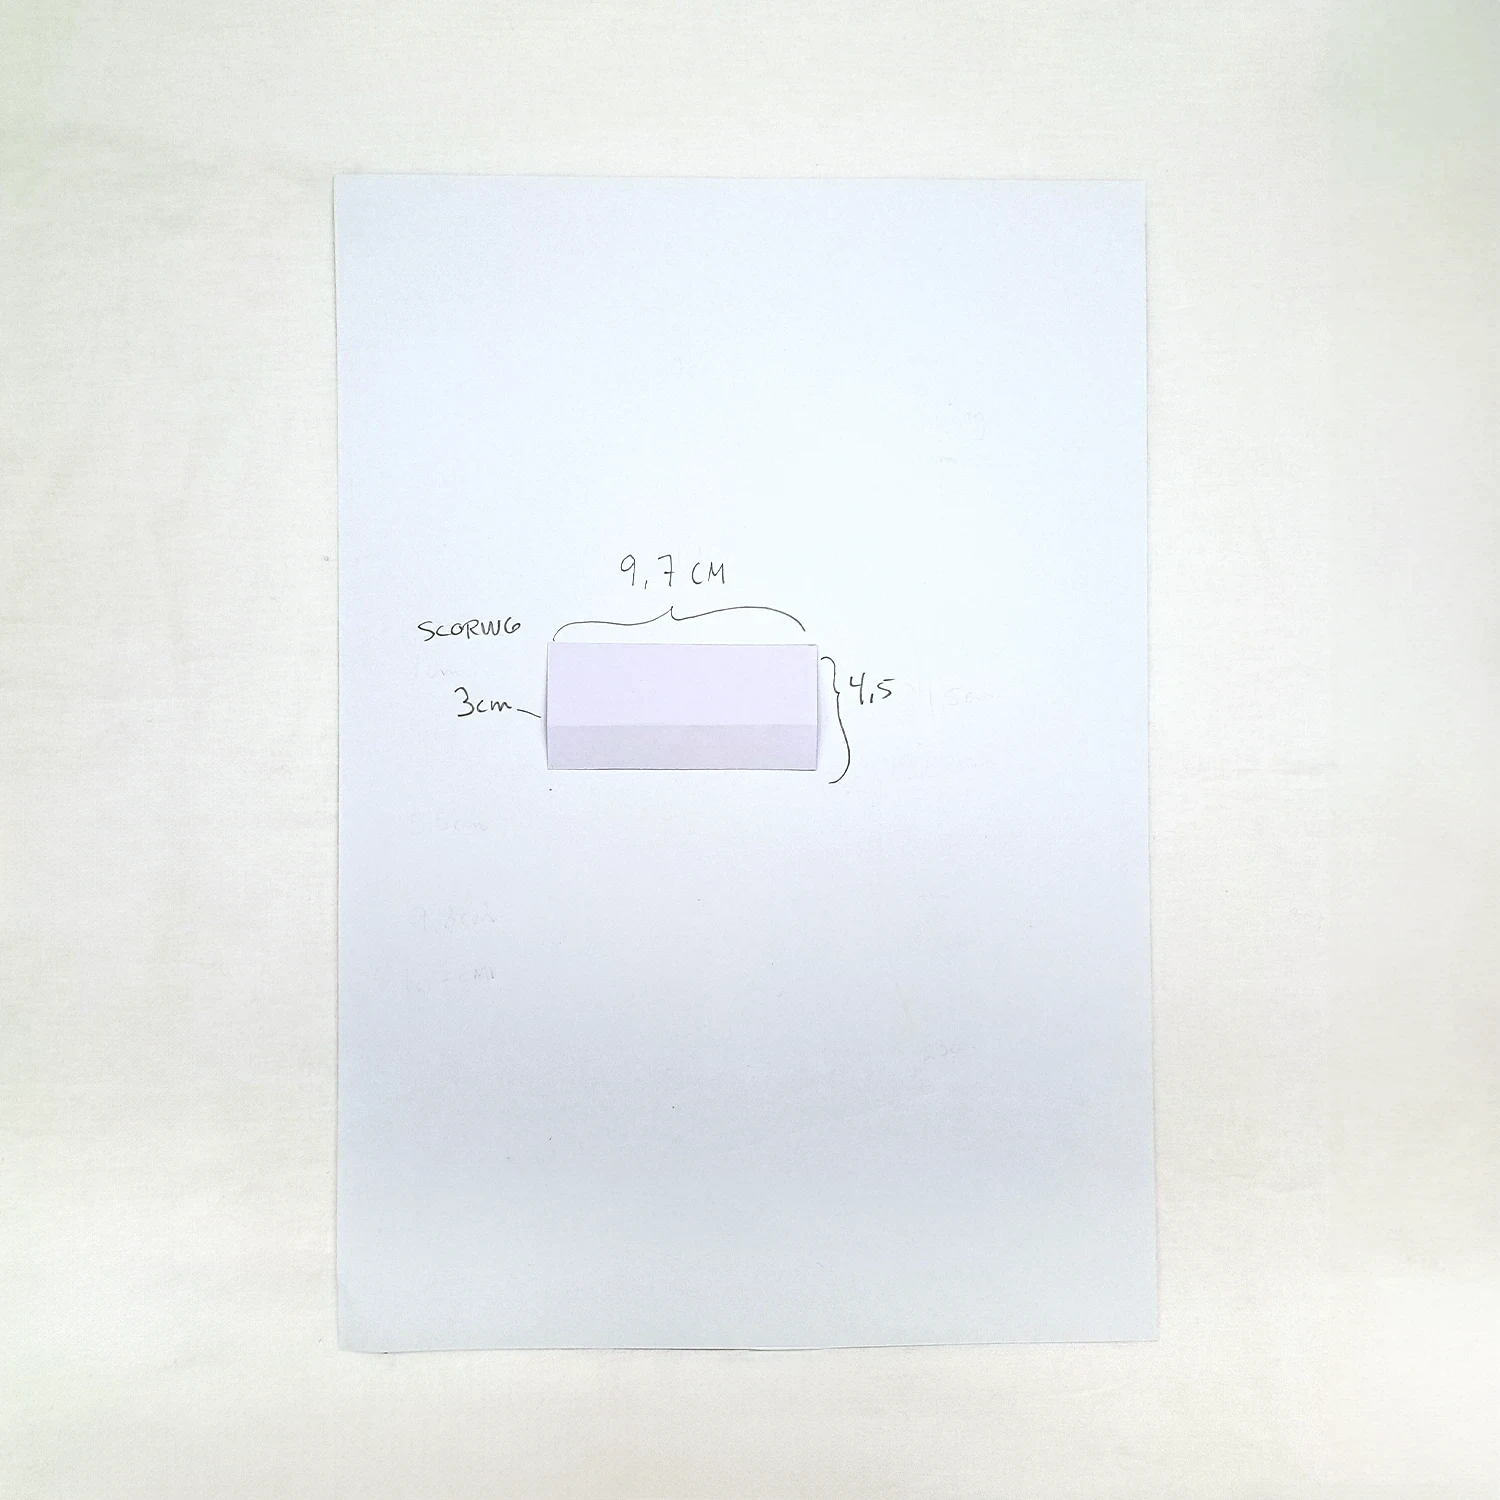
Cut a piece of white Multifarious paper to 9.7cm x 4.5cm. Score on 3cm.
Picture 11
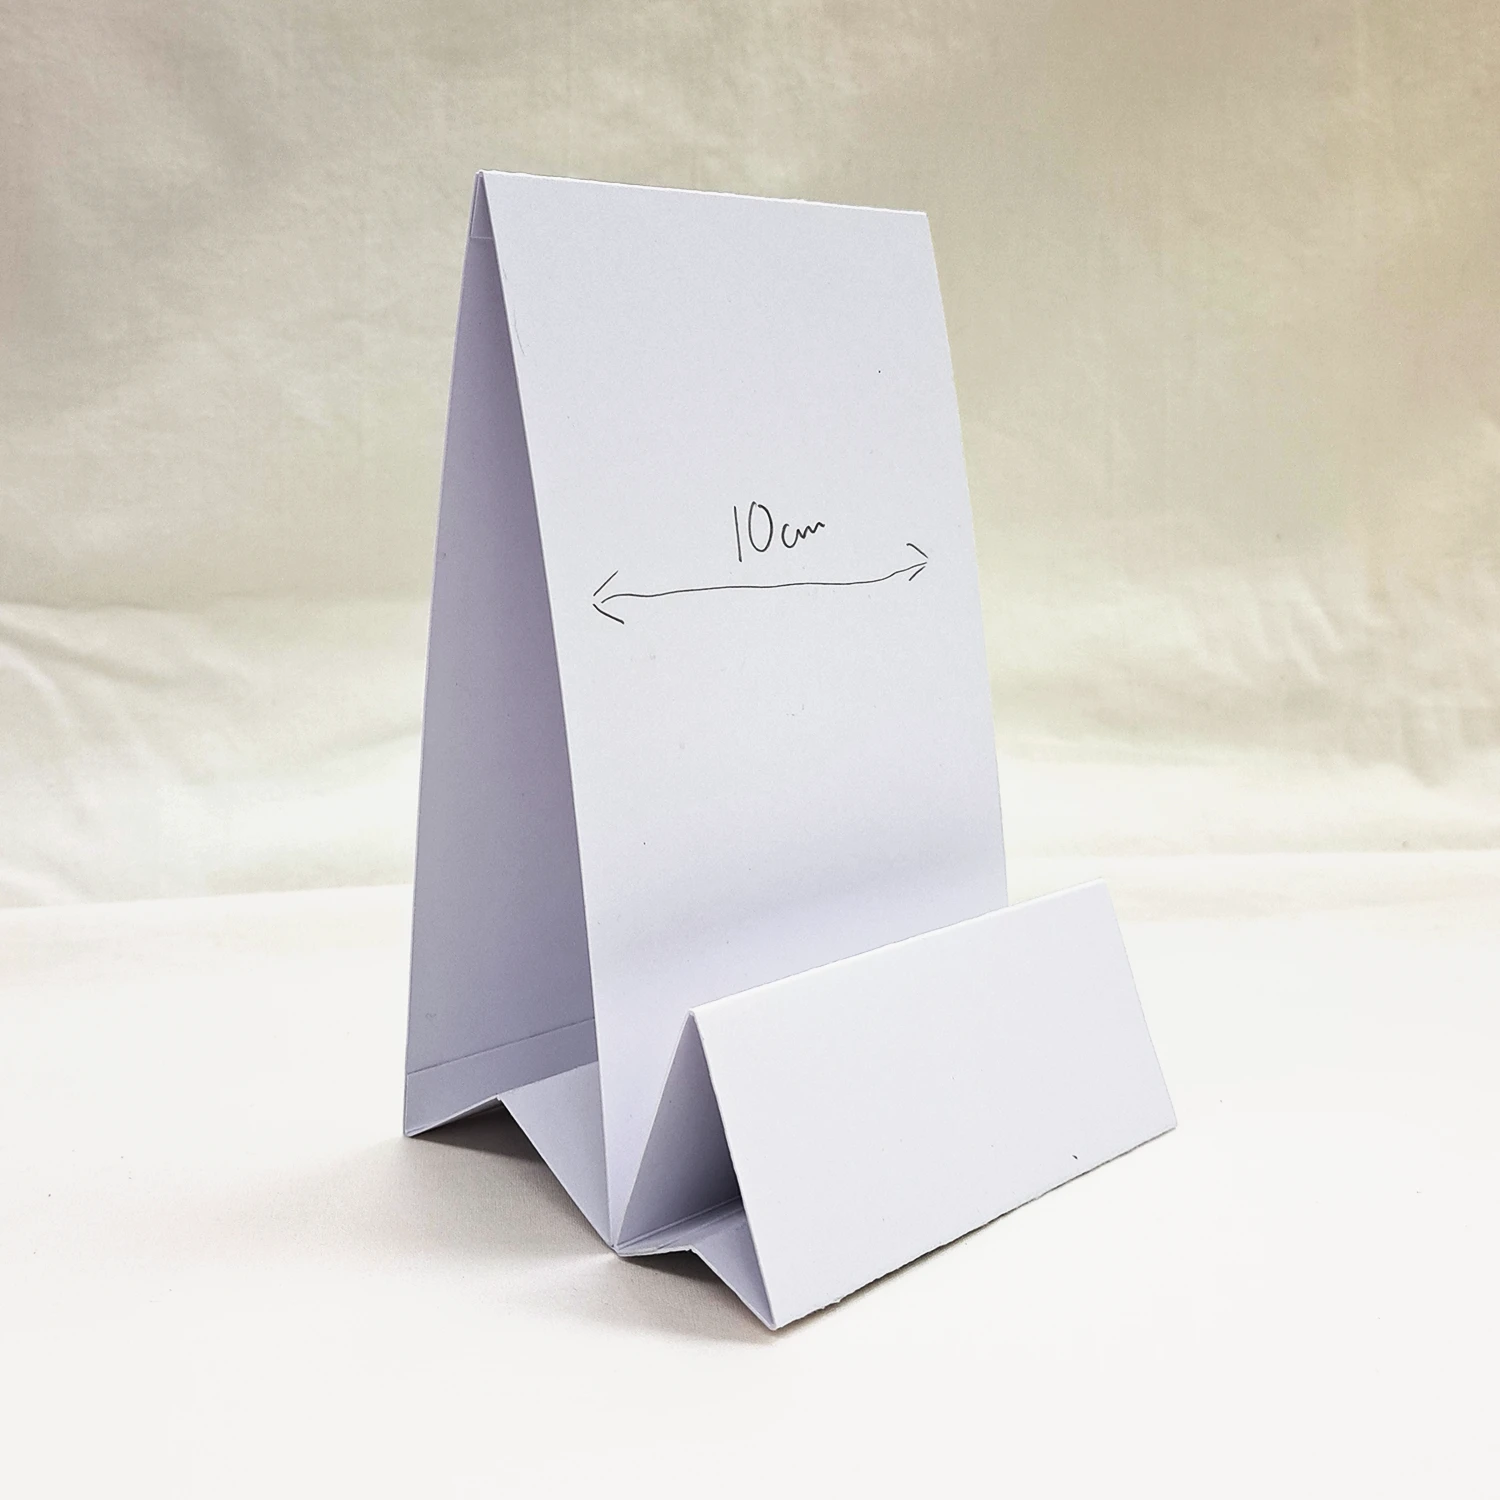
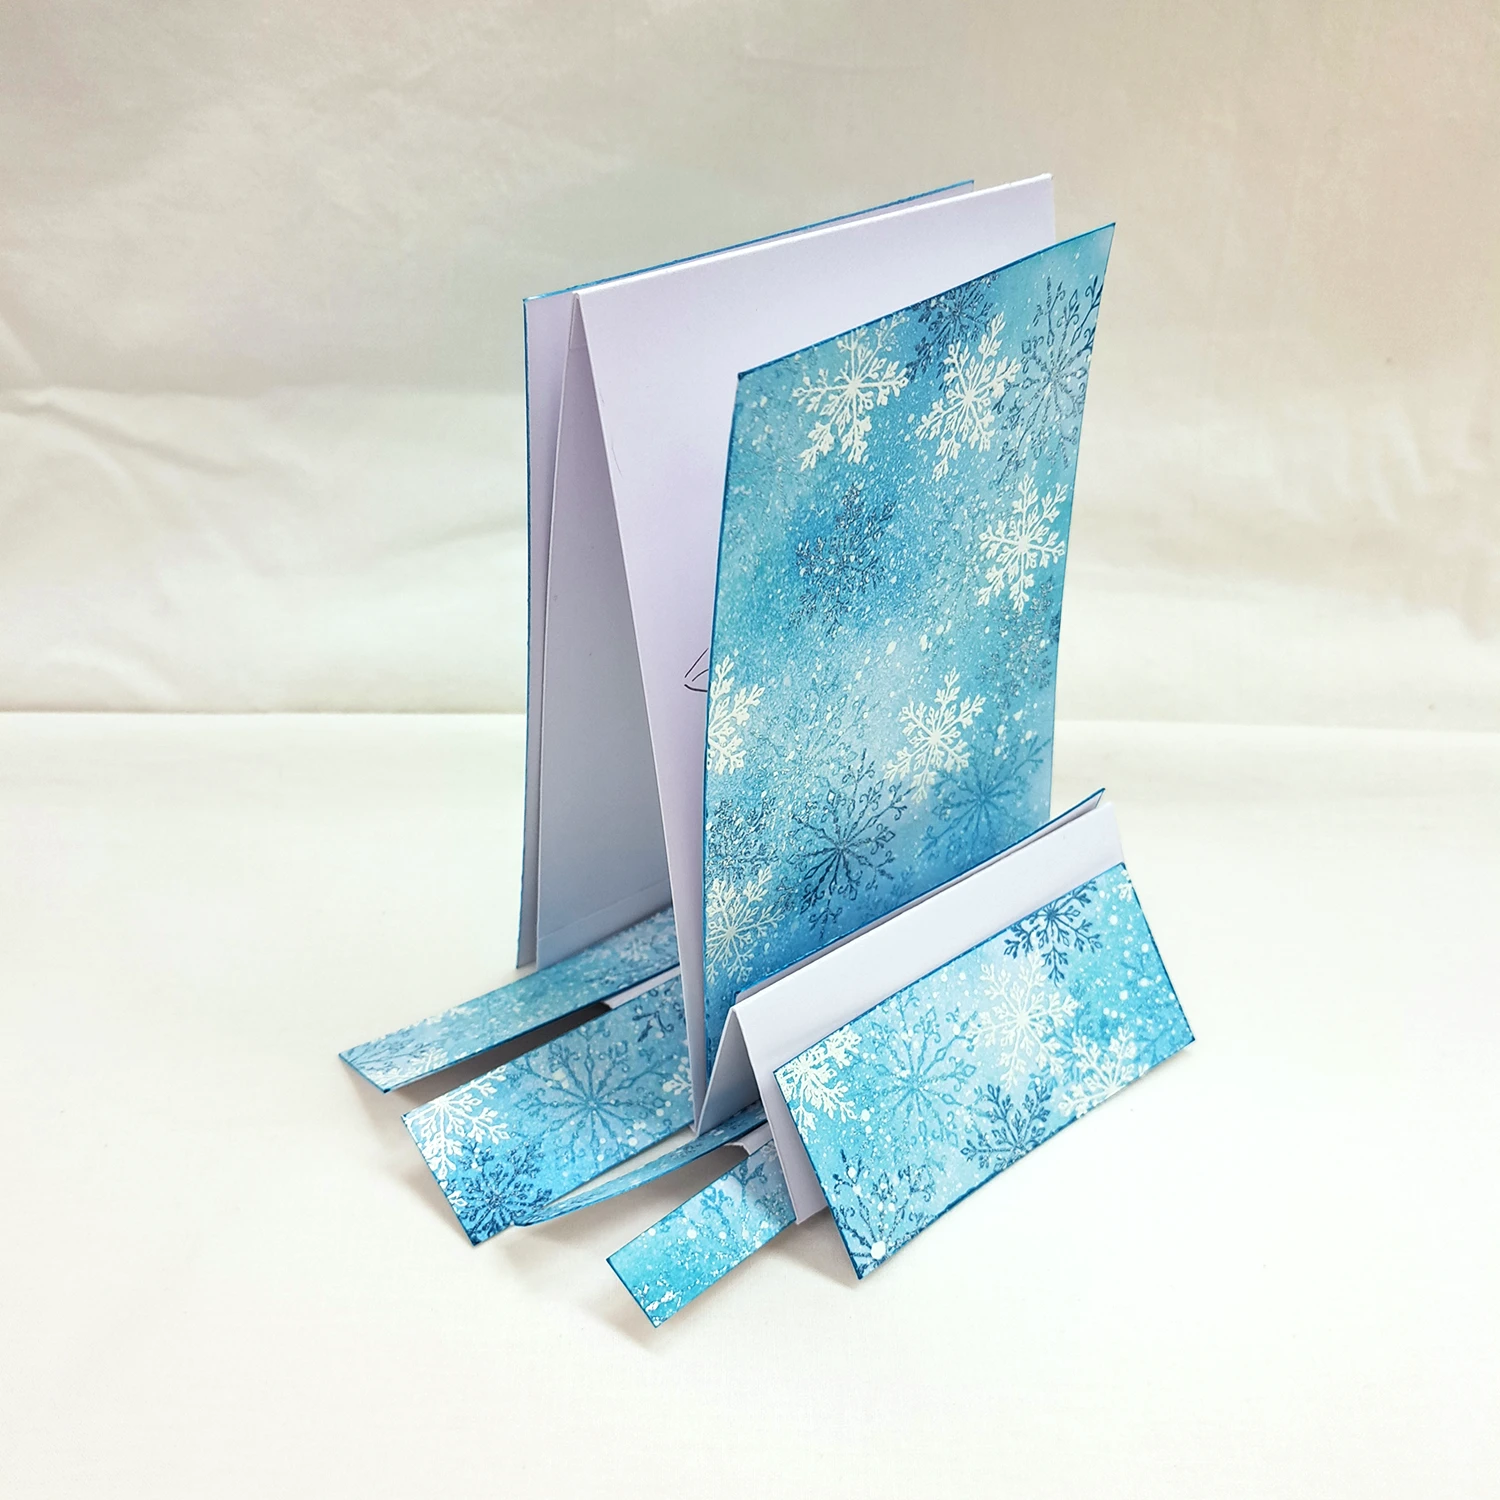
Glue the big card together and then the small card together. Use the small piece of paper to connect the two pieces together.
Picture 12
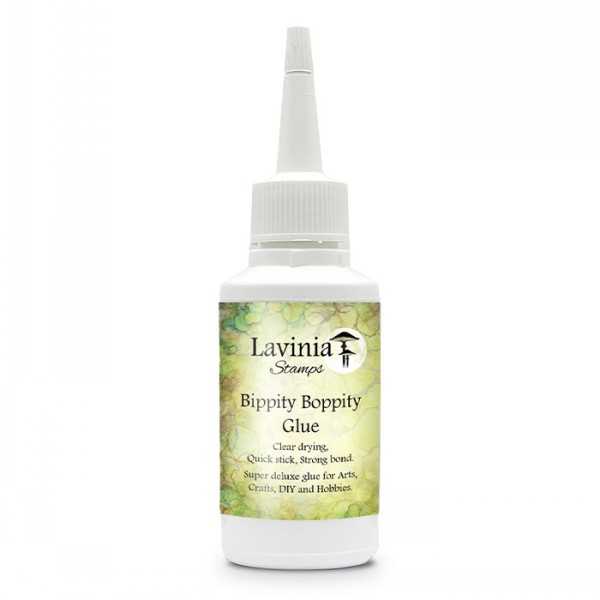
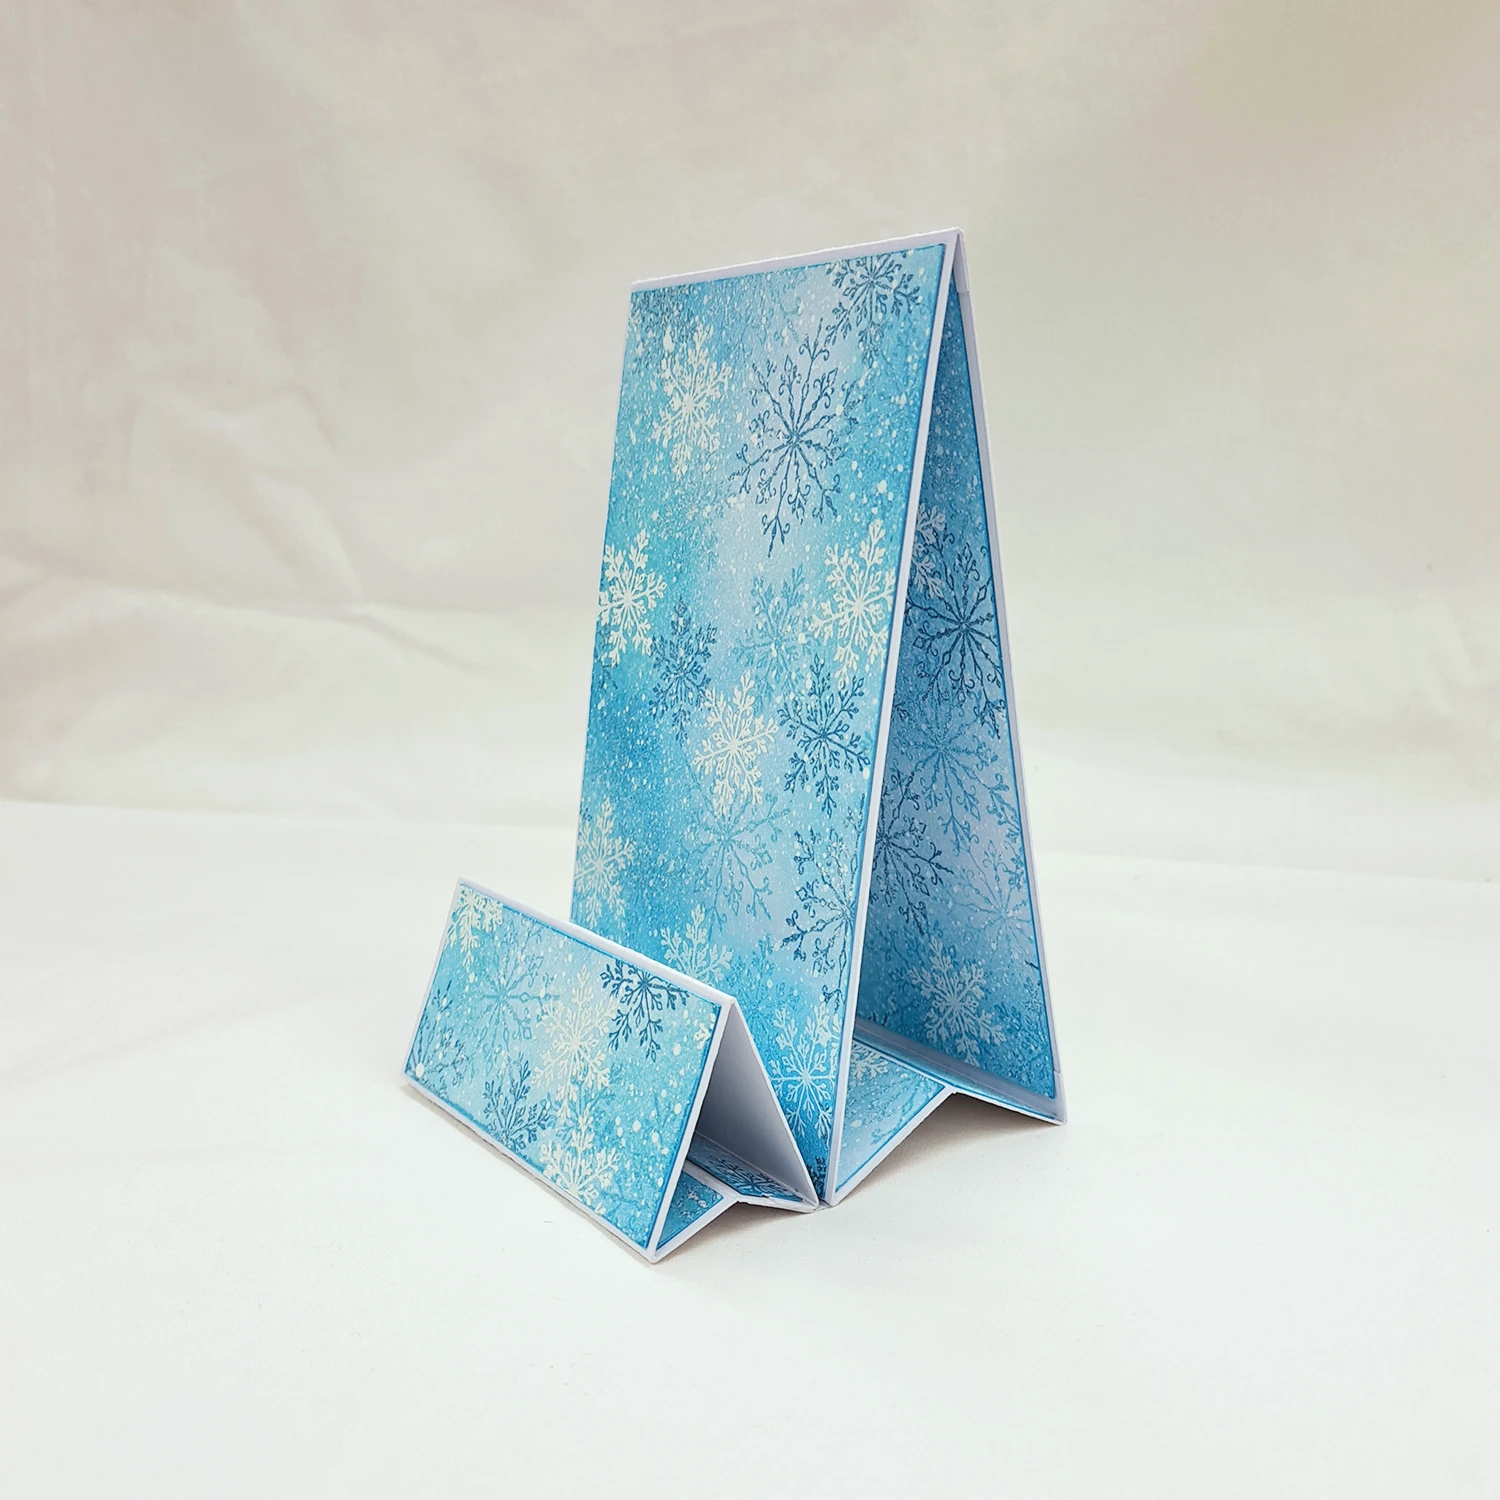
Cut the Snowflakes background paper into panels for all the sides of the card, not under. Look at the picture for placement. They can be attached using Bippity Boppity Glue or double sided sticky tape.
Picture 13
Once all panels are stuck into position this is how it is supposed to look.
Picture 14
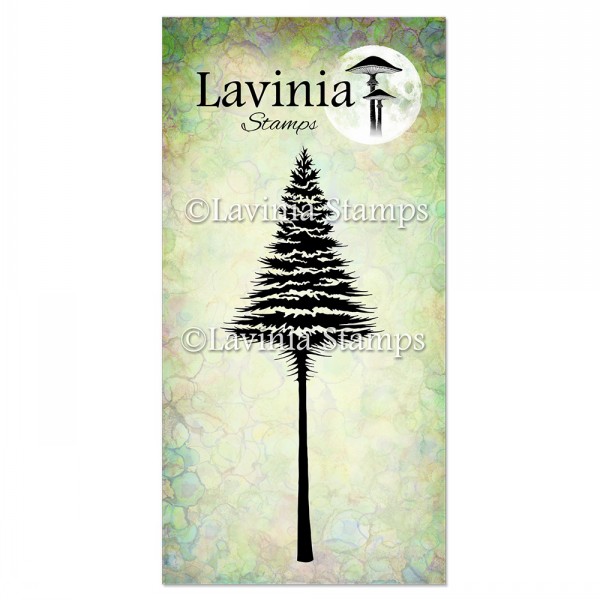
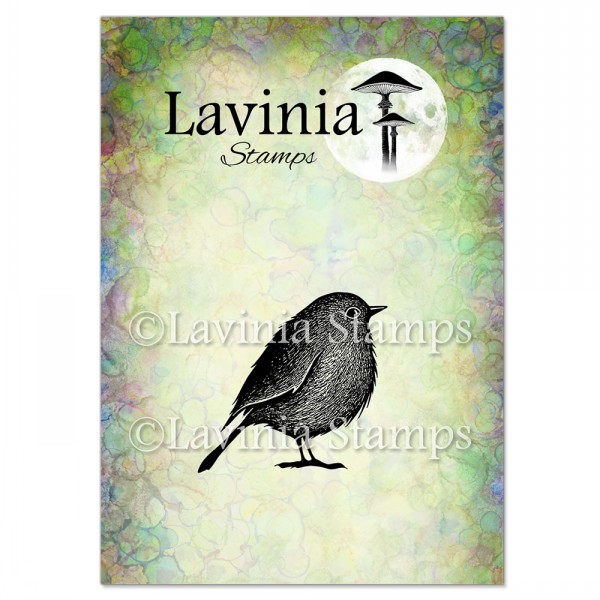
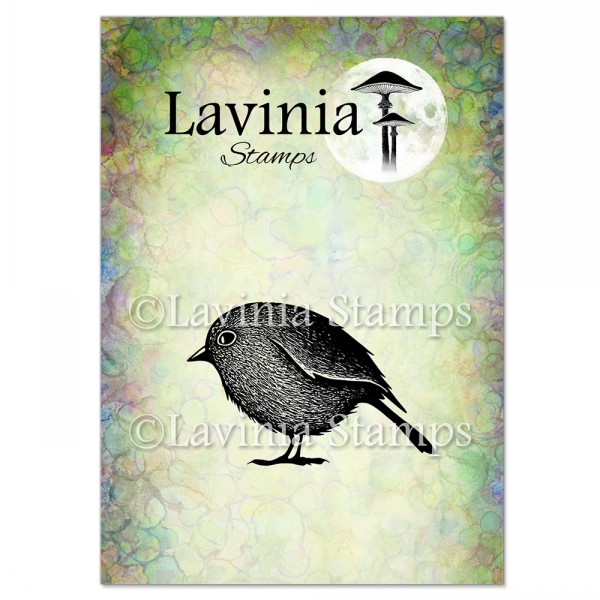
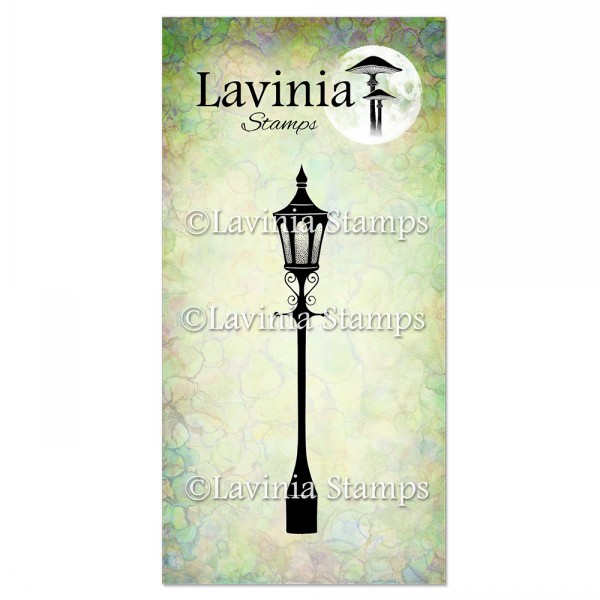
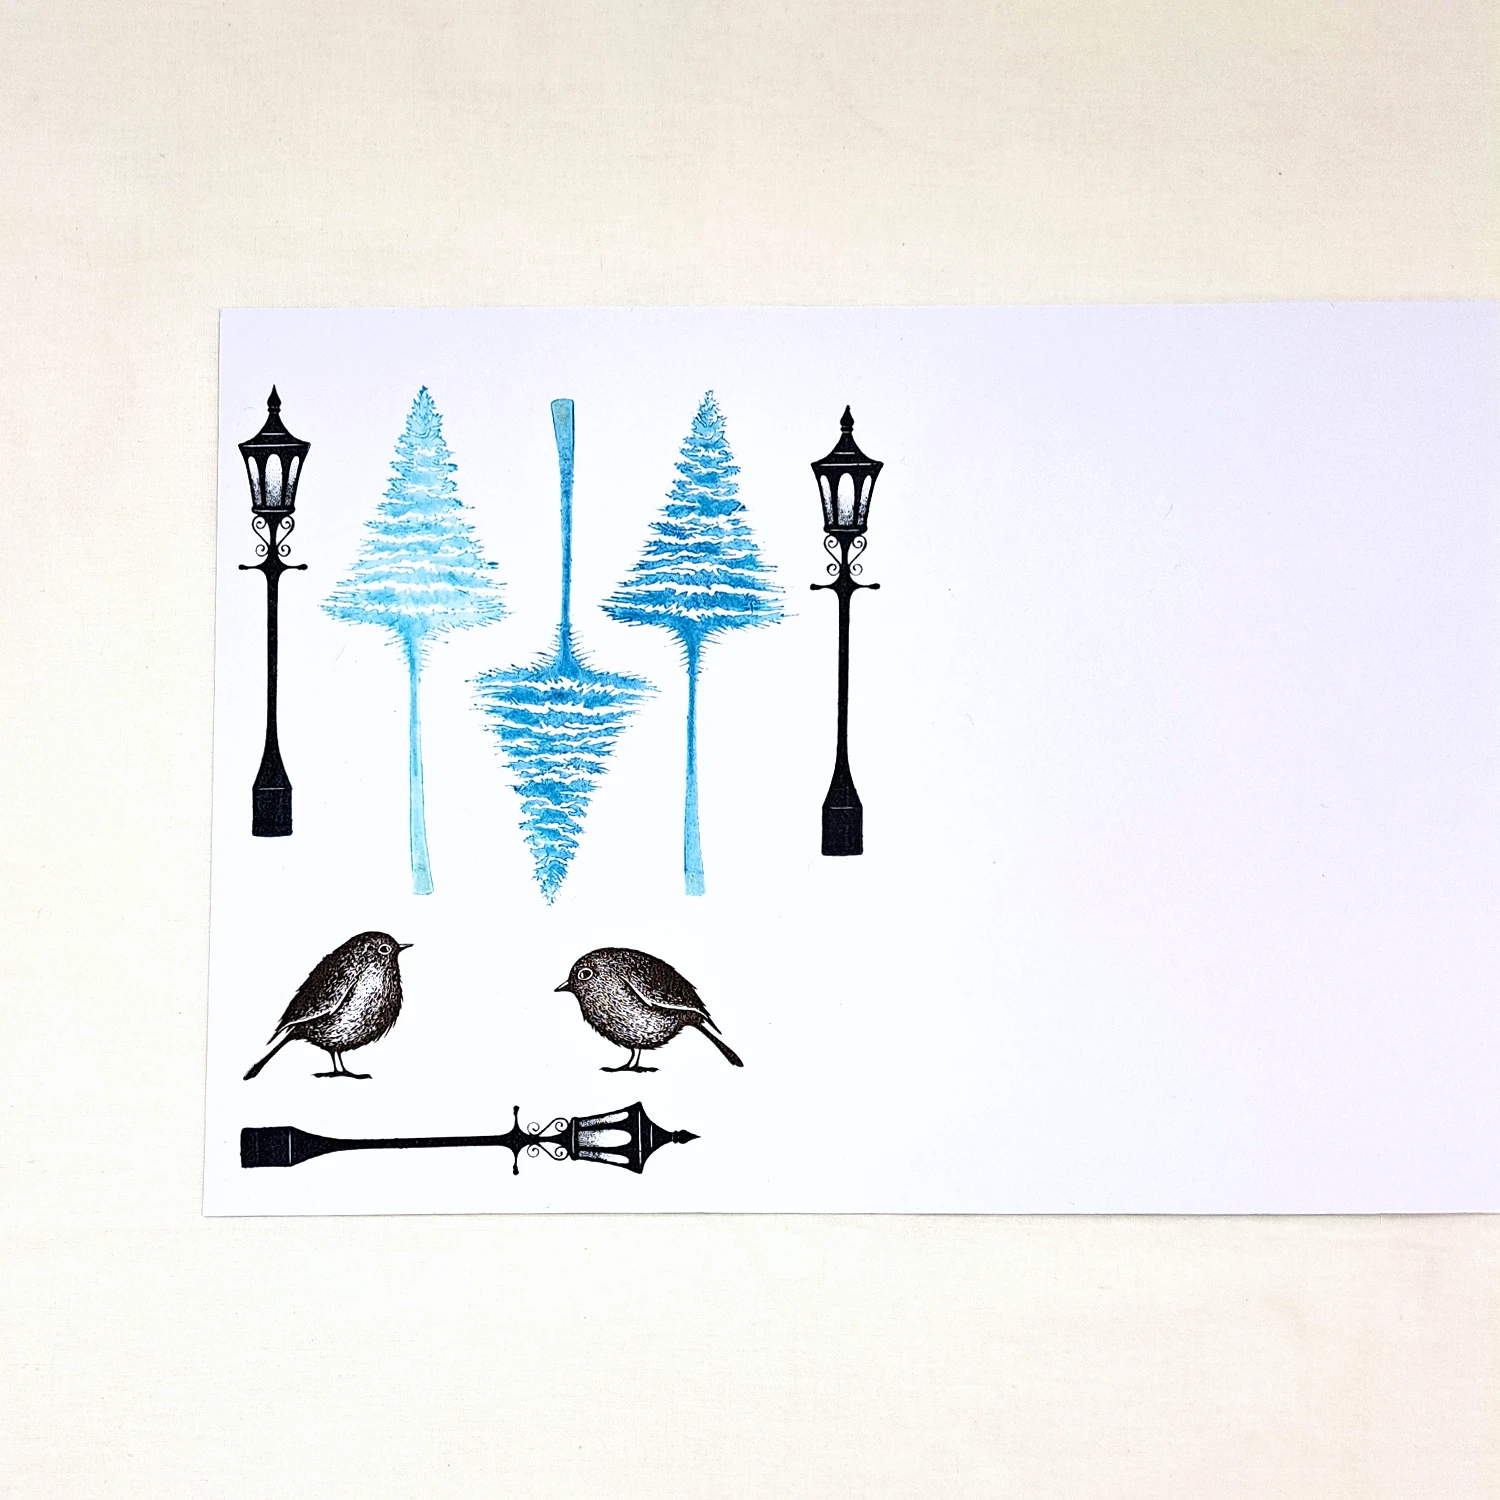
Stamp the beautiful Snowy Fir Tree LAV930 in Versafine Clair Warm Breeze 2 times and one time in Versafine Clair Bali Blue. Stamp the super cute Bobby LAV922 and Jemima LAV925 in Versafine Clair Fallen Leaves. Finally stamp the gorgeous Street Light LAV931 in Versafine Clair Nocturne 3 times.
Picture 15
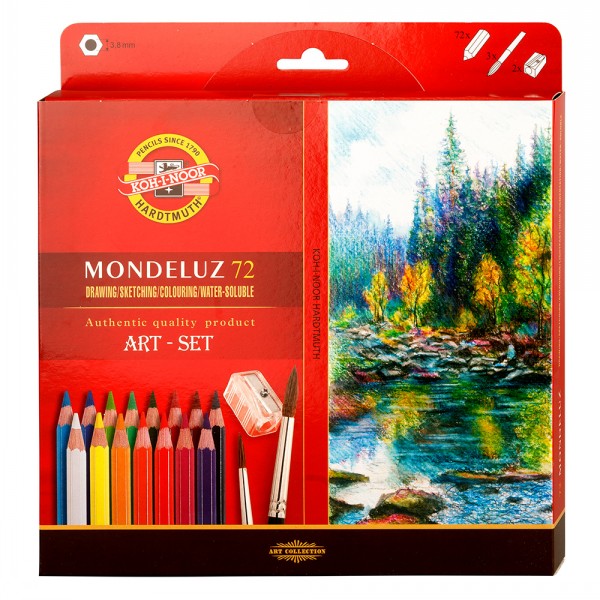
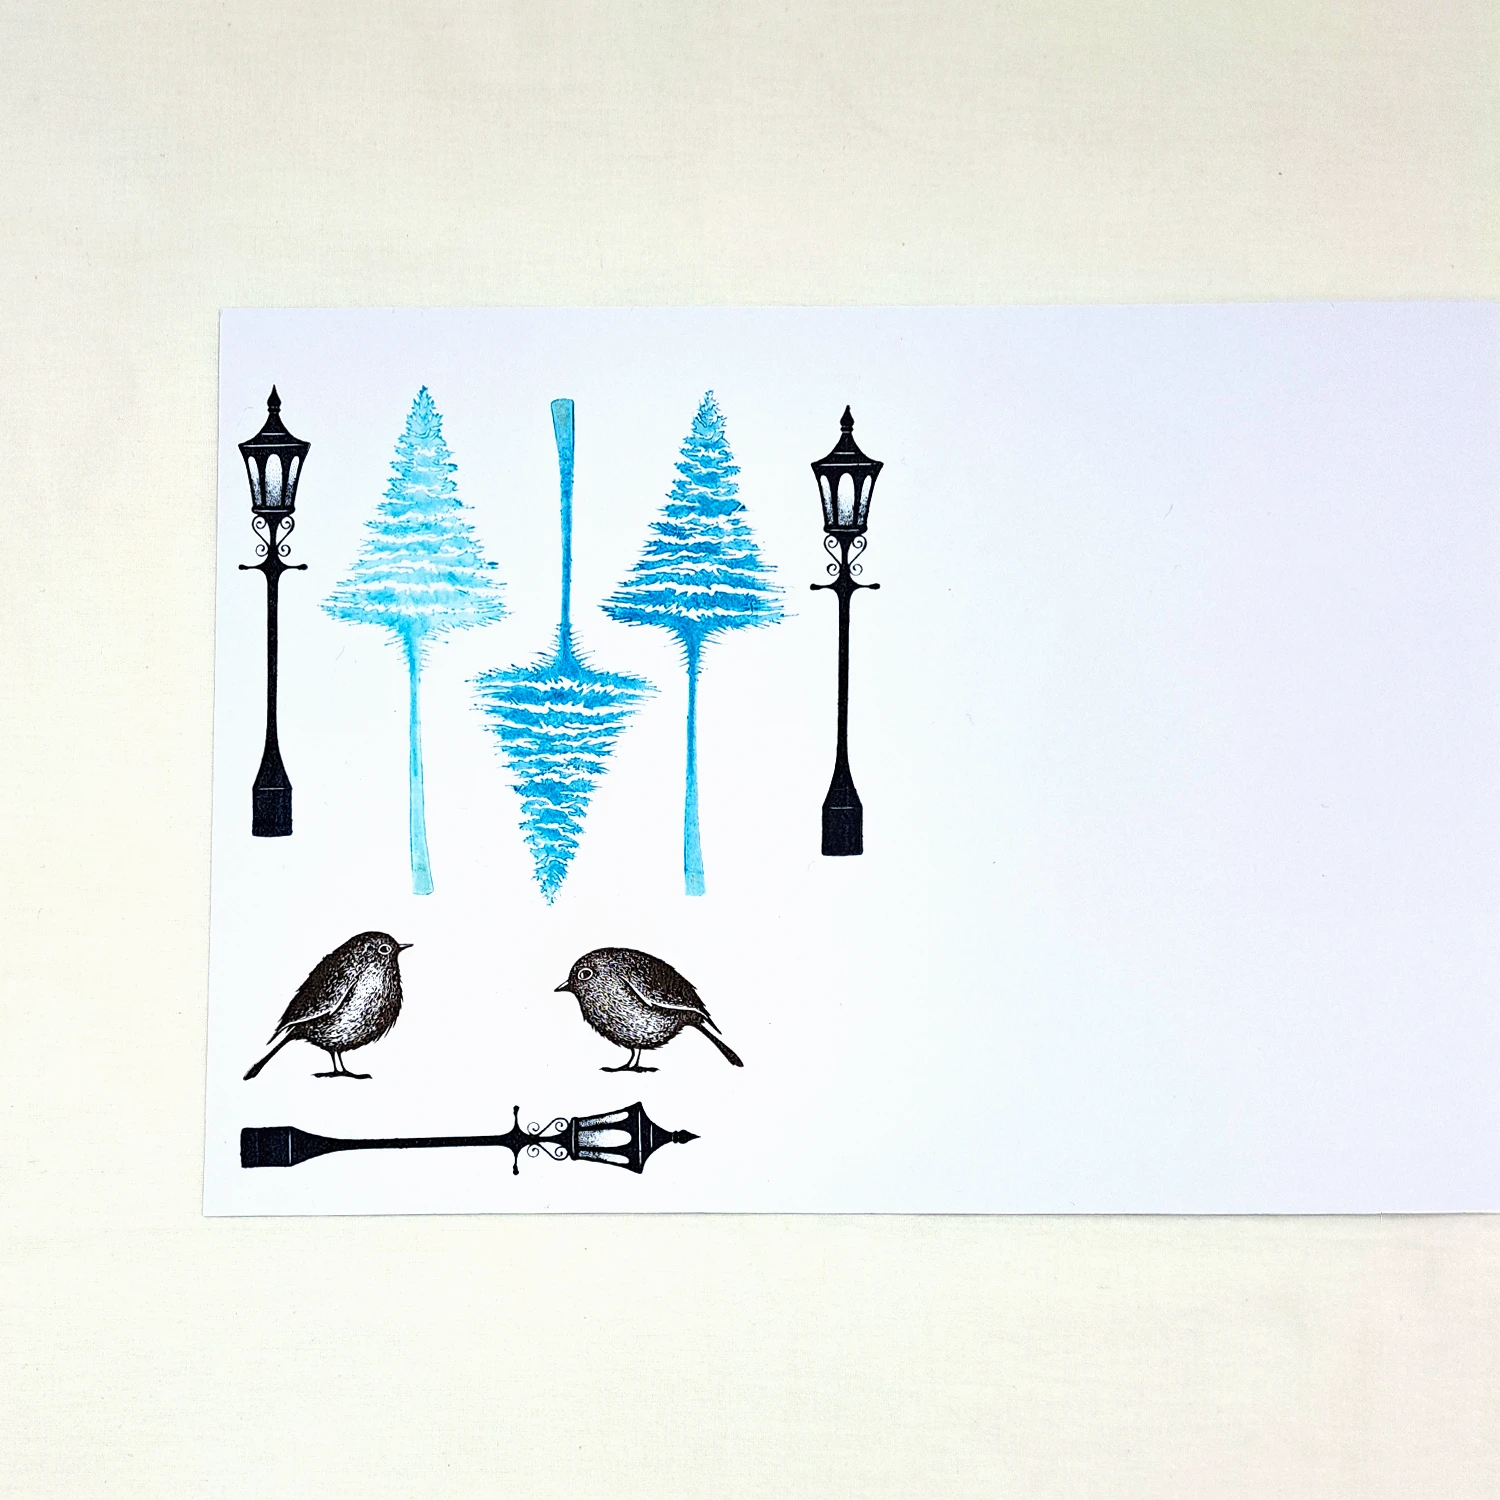
Colour the different parts like you see in the picture. I’ve used some Mondeluz Watercolour Pencils. Do some white Posca pen splatters only on the trees.
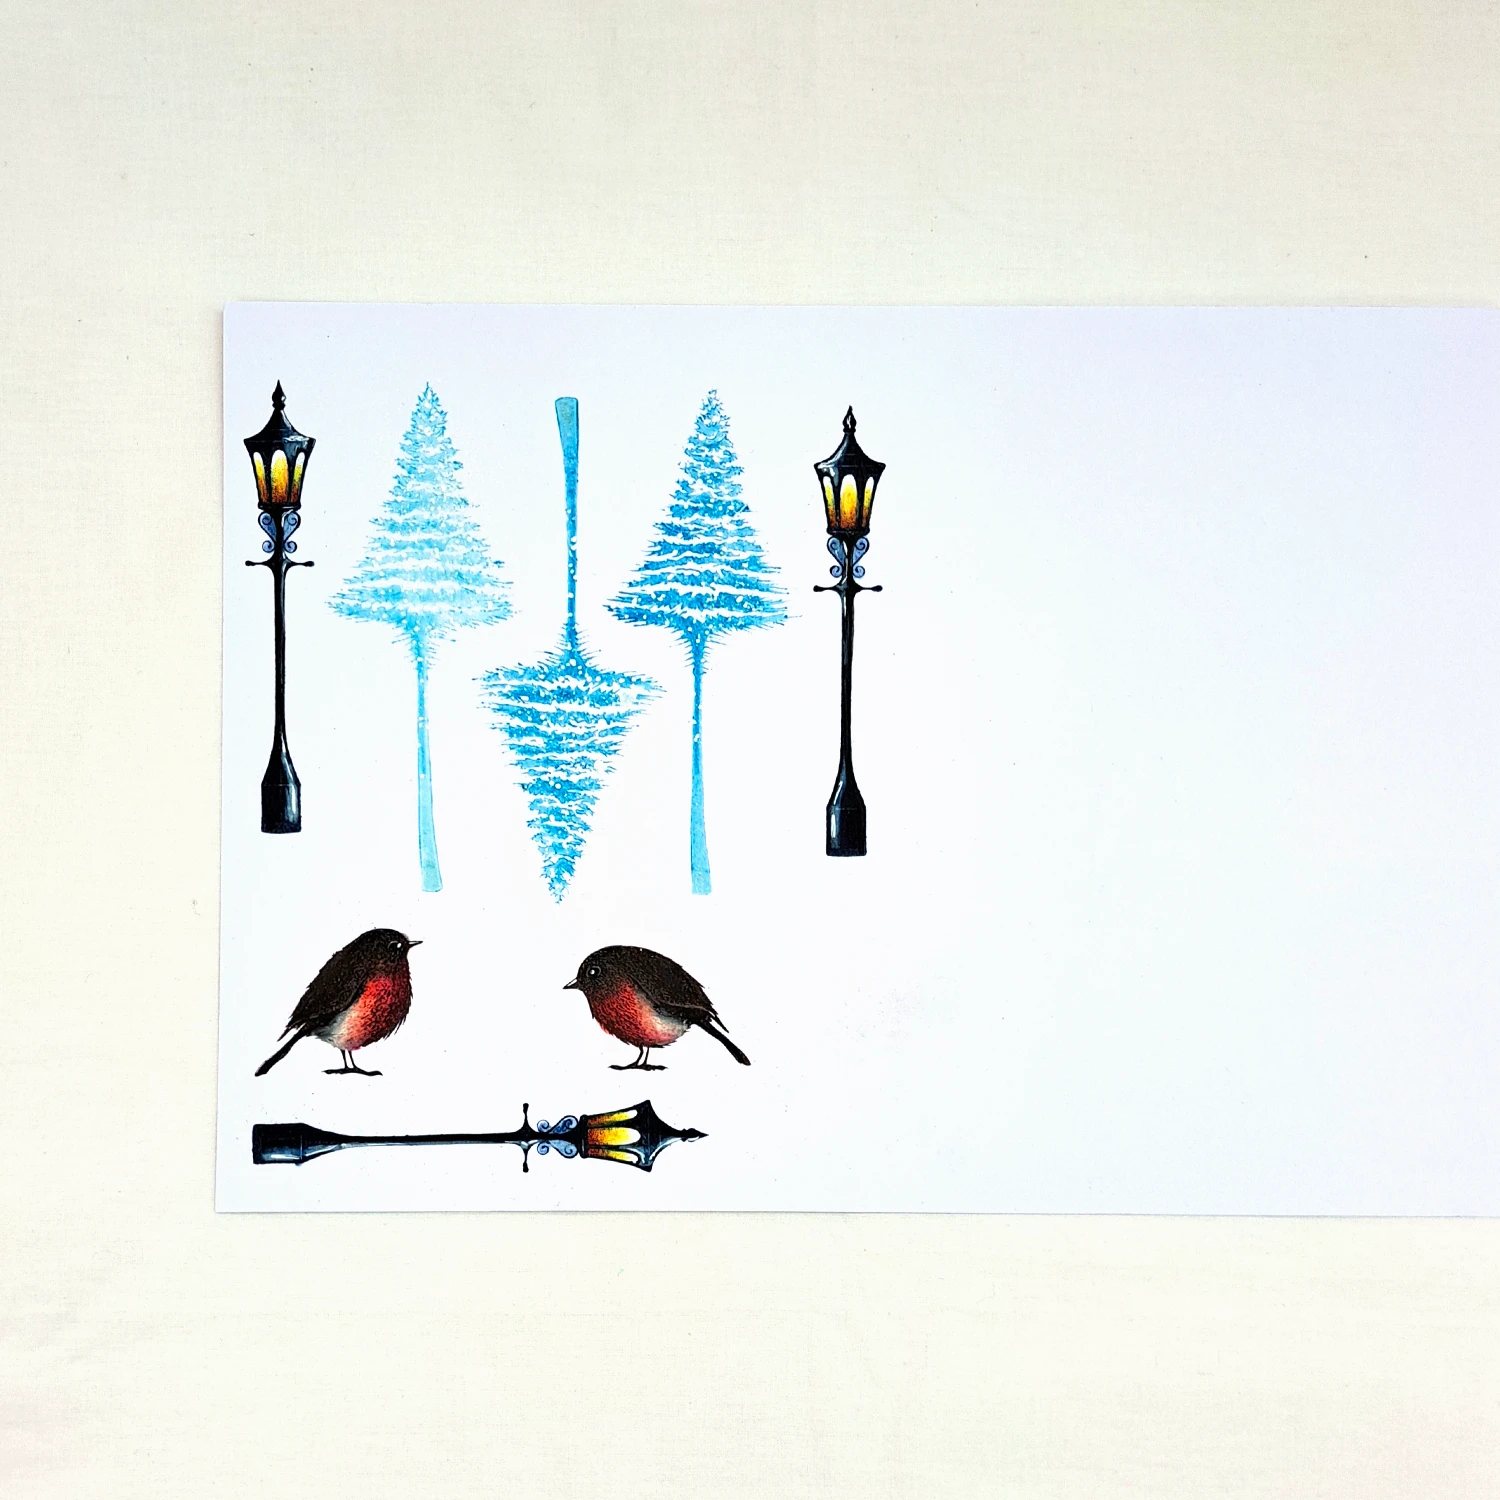
Picture 16
Cut out all the different parts.
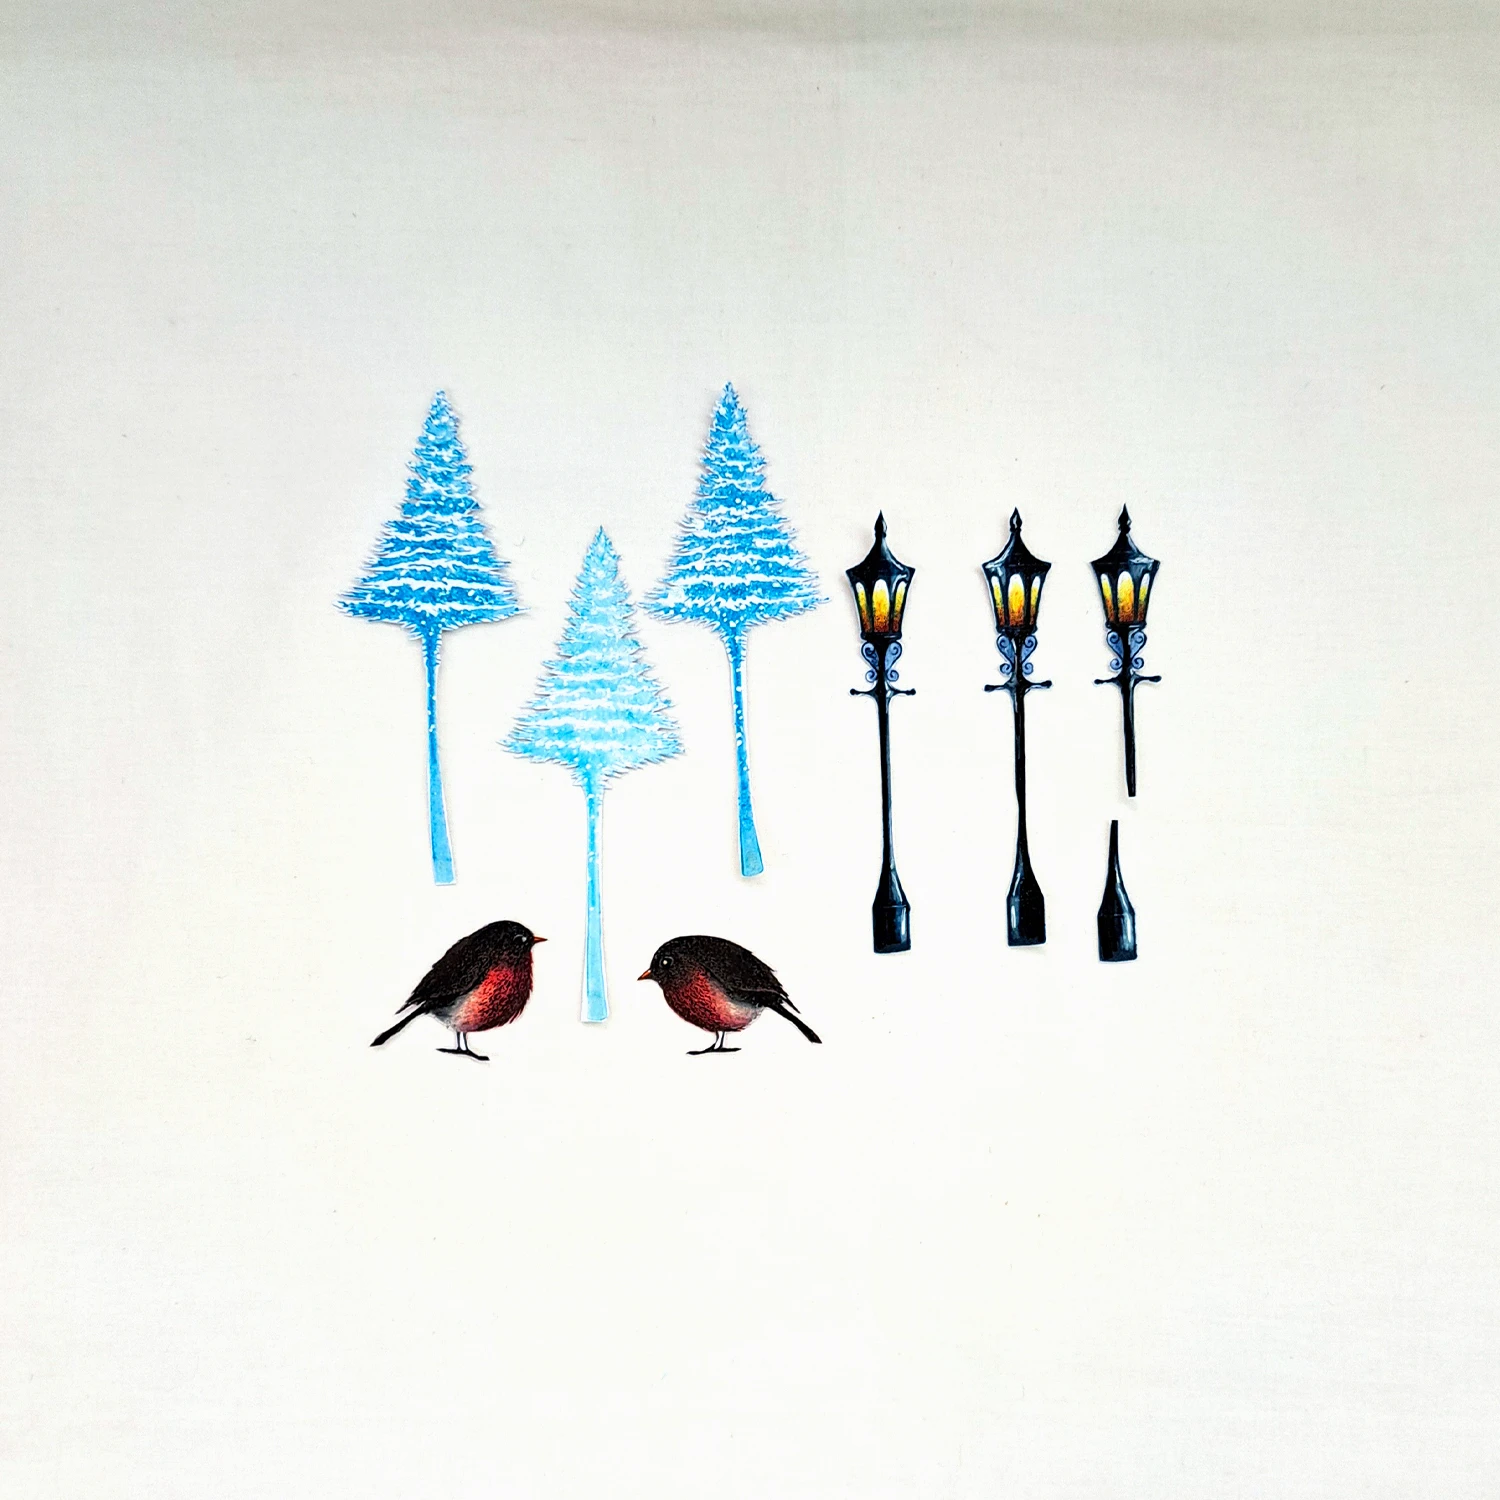
Picture 17
One of the Street Lights has to be a bit shorter than the other 2. Just cut it and glue it back together a little bit shorter.We have a lot of snowflake paper left and this we will turn into 3 gift tags and 3 simple post cards.

Picture 18
The 2 birds are glued on the top of the short part of the card and everything else is glued on with different sizes of 3D foam. Look at the picture for placement.

Picture 19
As you can see in the picture the post cards and the gift tags can be stored inside our card.

Picture 20
We are all done . Hope you have enjoyed this tutorial . If there is anything you want to ask me please just write me a message and I will answer as soon as I can .
Big hugs from Mona


