


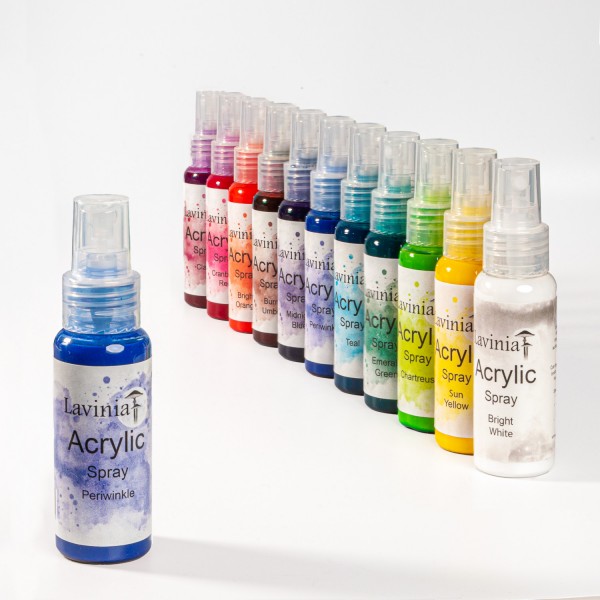
 Acrylic Spray Periwinkle
£6.29
Add to cart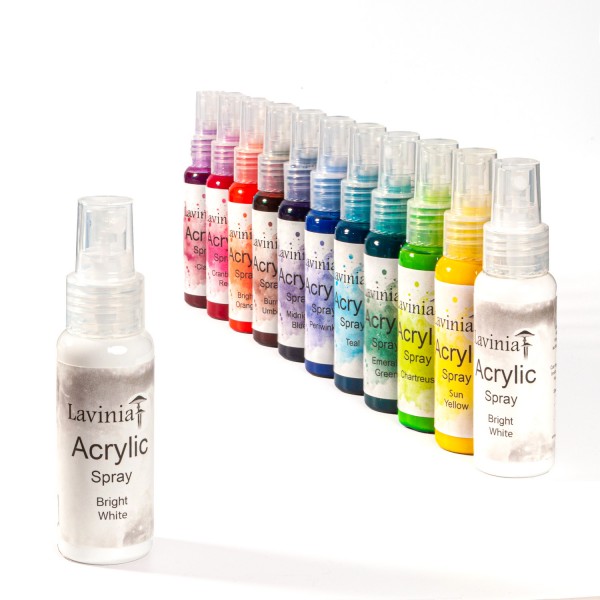 Acrylic Spray Bright White
£6.29
Add to cart Distress Oxide Ink Pad – Tumbled Glass
£6.25
Add to cart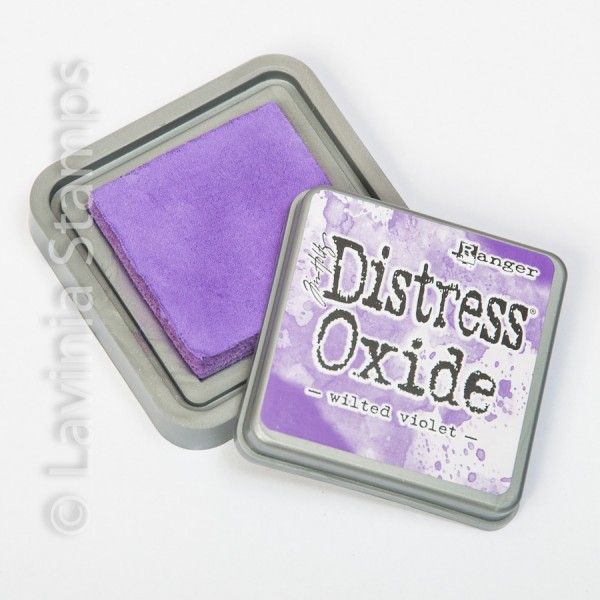 Distress Oxide Ink Pad – Wilted Violet
£6.25
Add to cart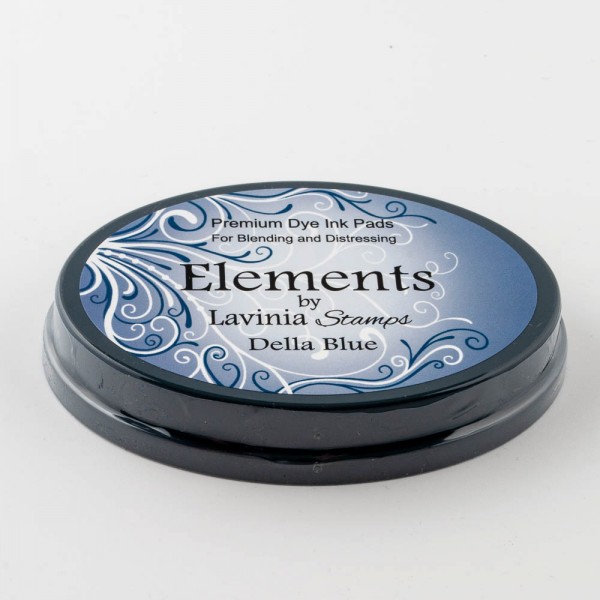 Elements Premium Dye Ink – Della Blue
£5.85
Add to cart Elements Premium Dye Ink – Dark Denim
£5.85
Add to cart Versafine Clair Ink Pad – Nocturne
£5.80
Add to cart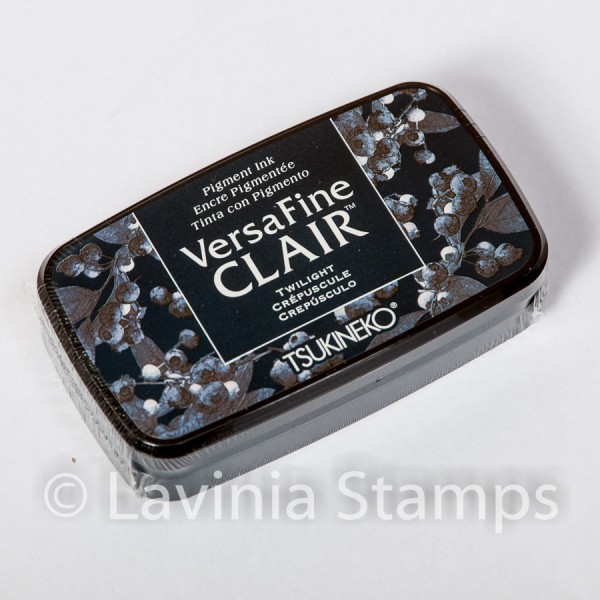 Versafine Clair Ink Pad – Twilight
£5.80
Add to cart