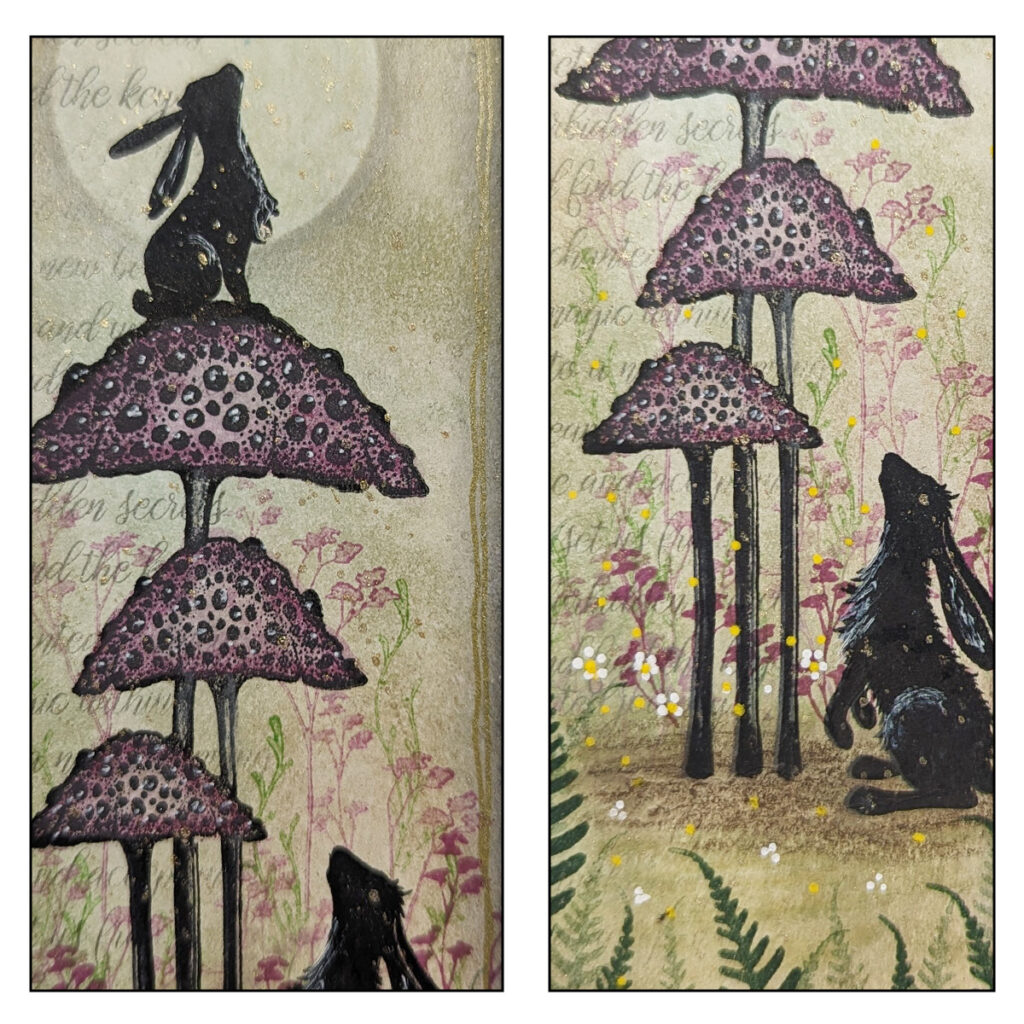

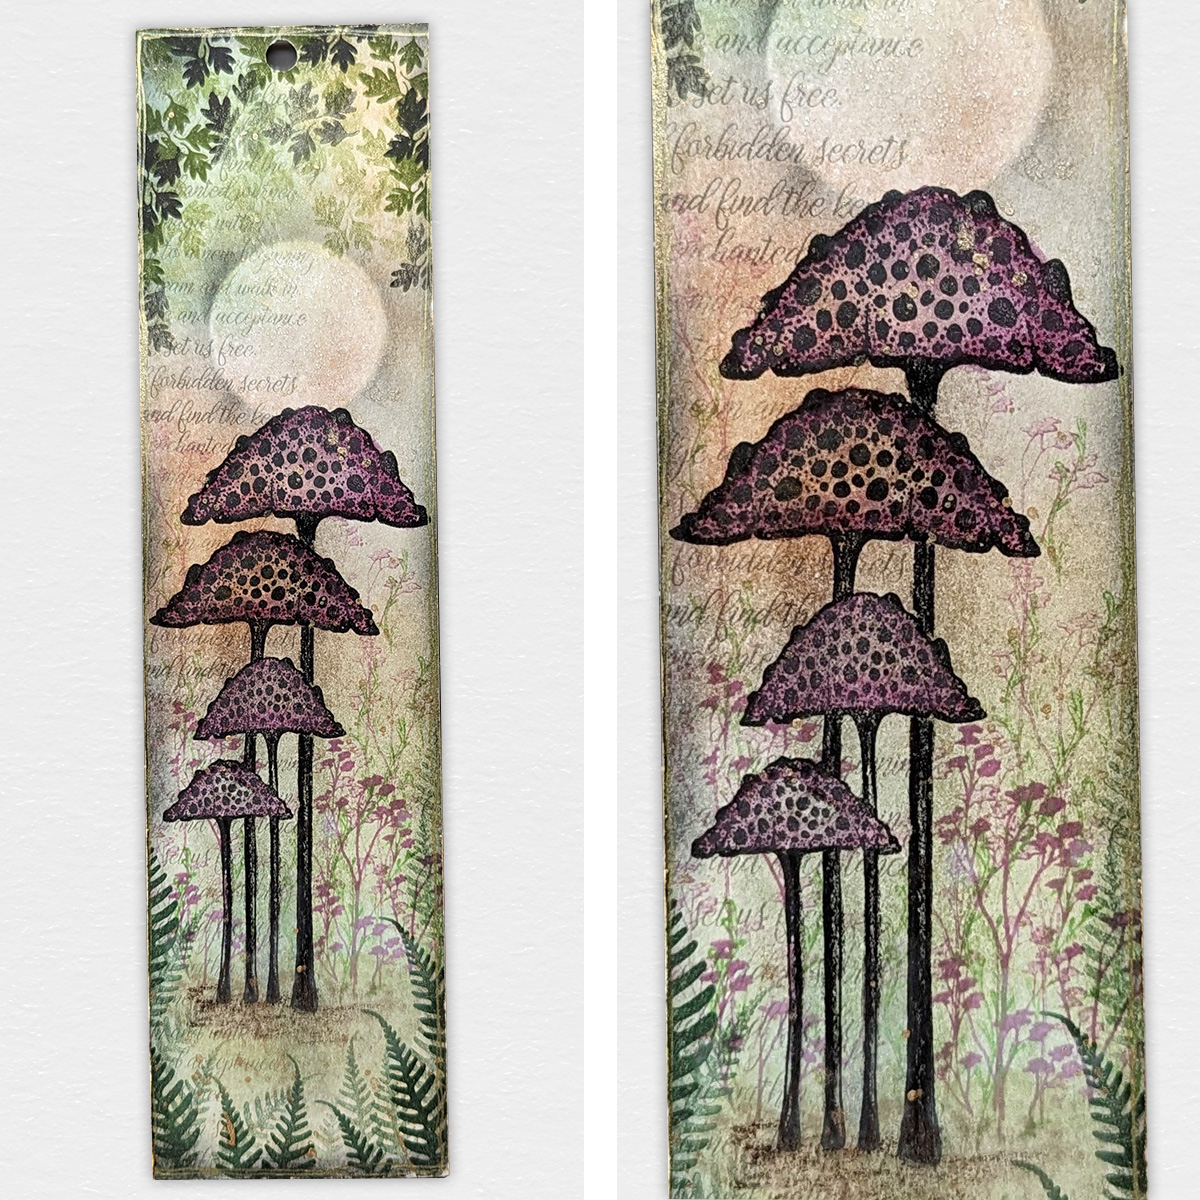


 Elfin Cap Cluster Stamp
£7.20
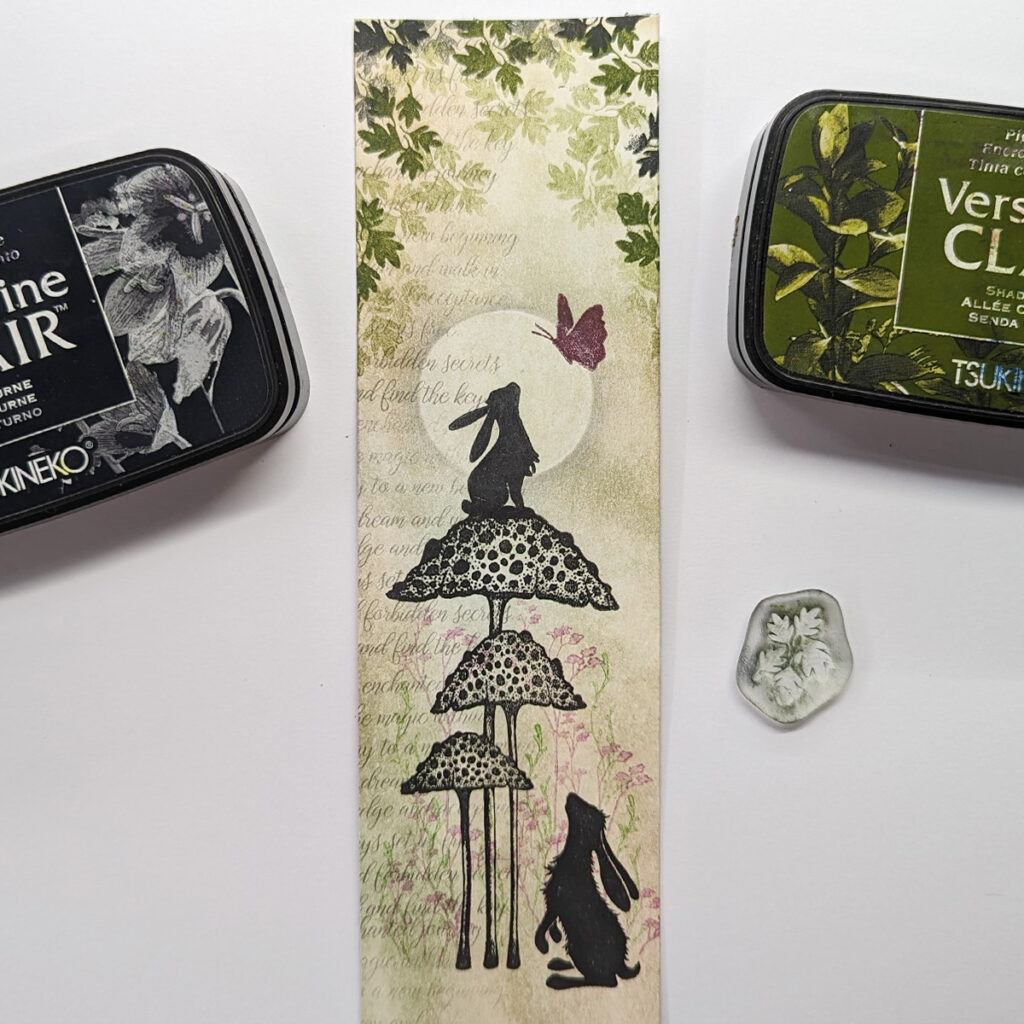
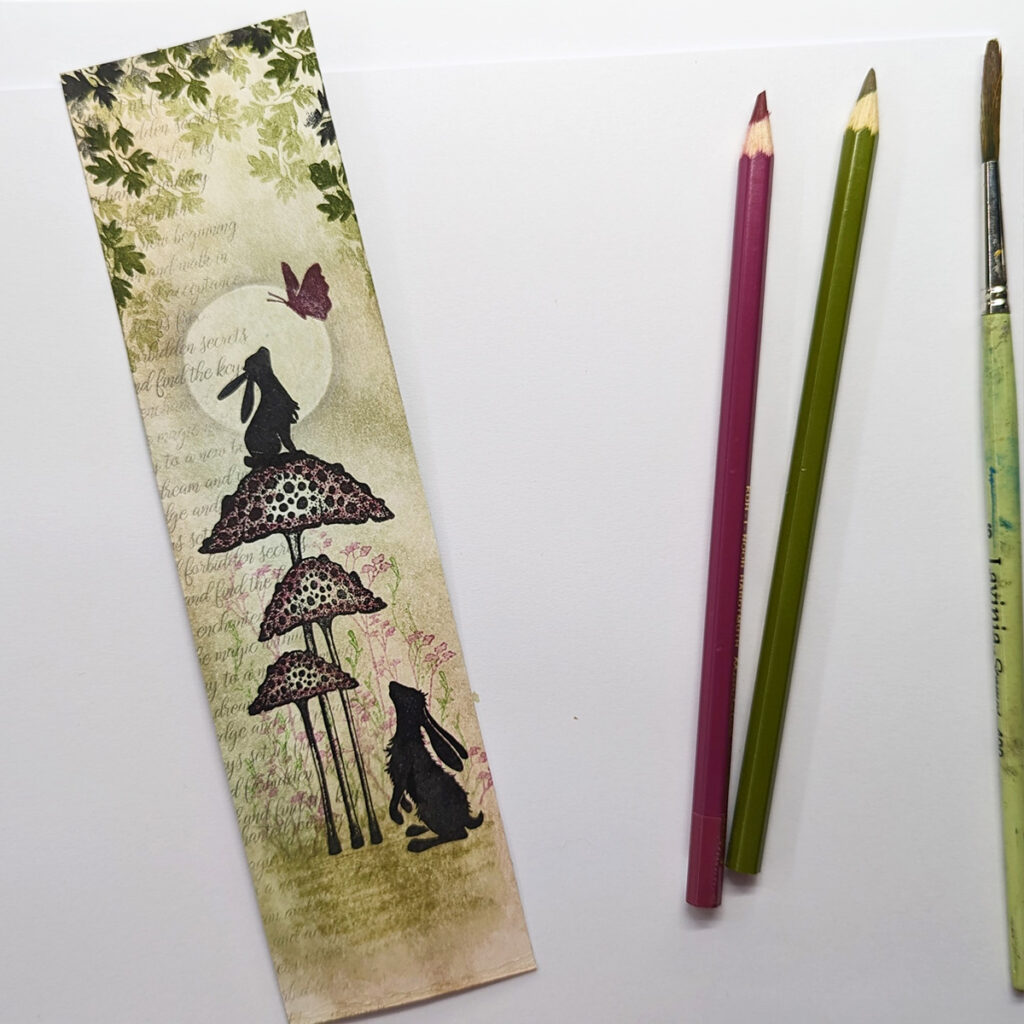
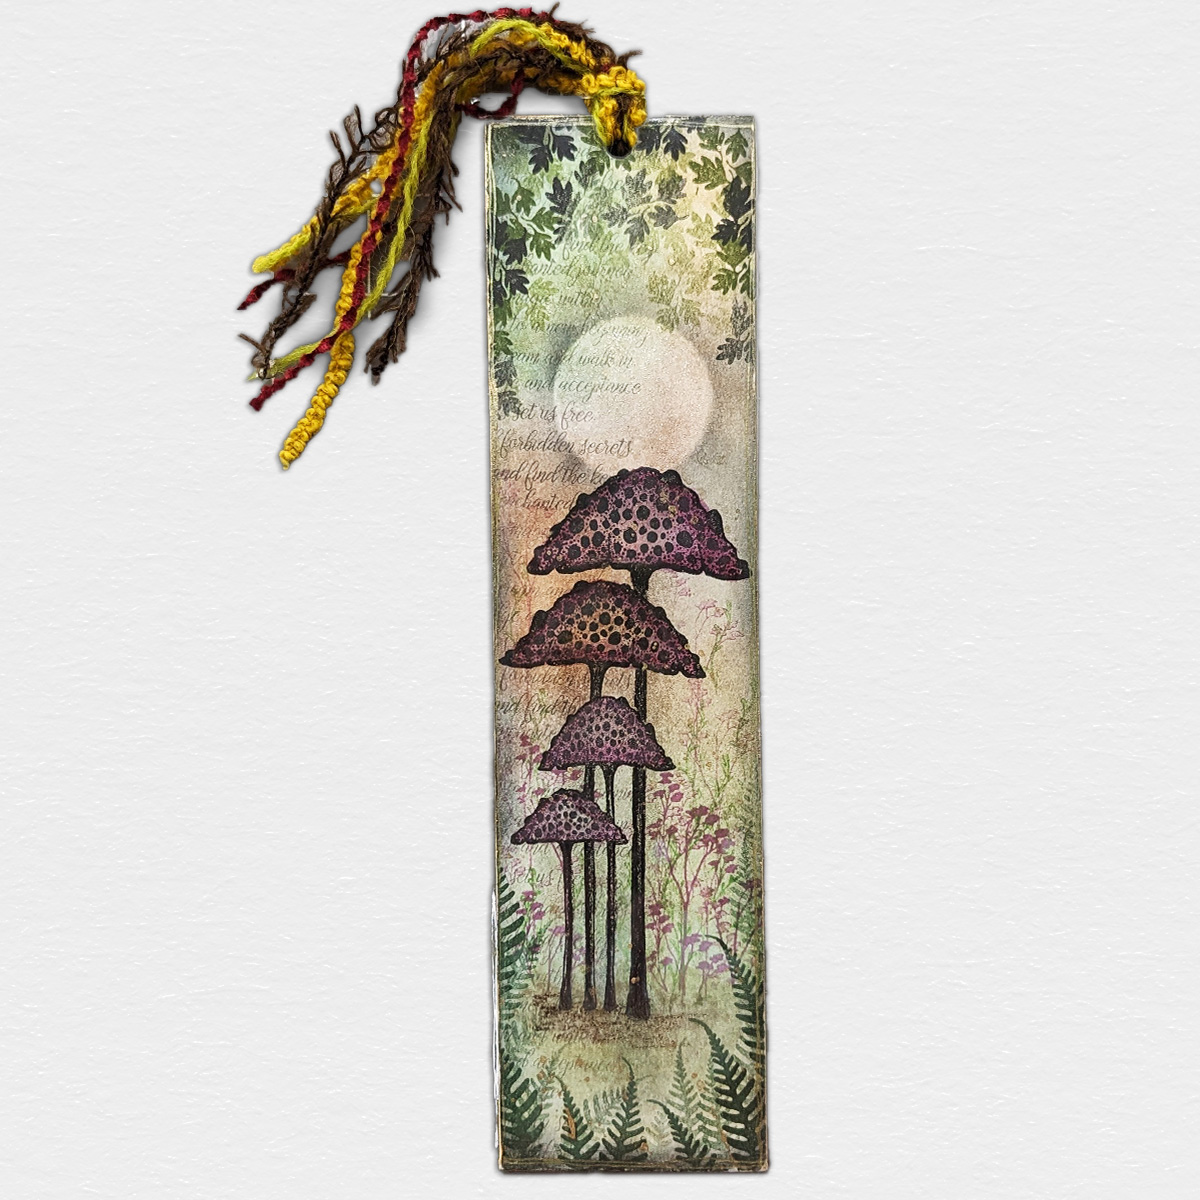
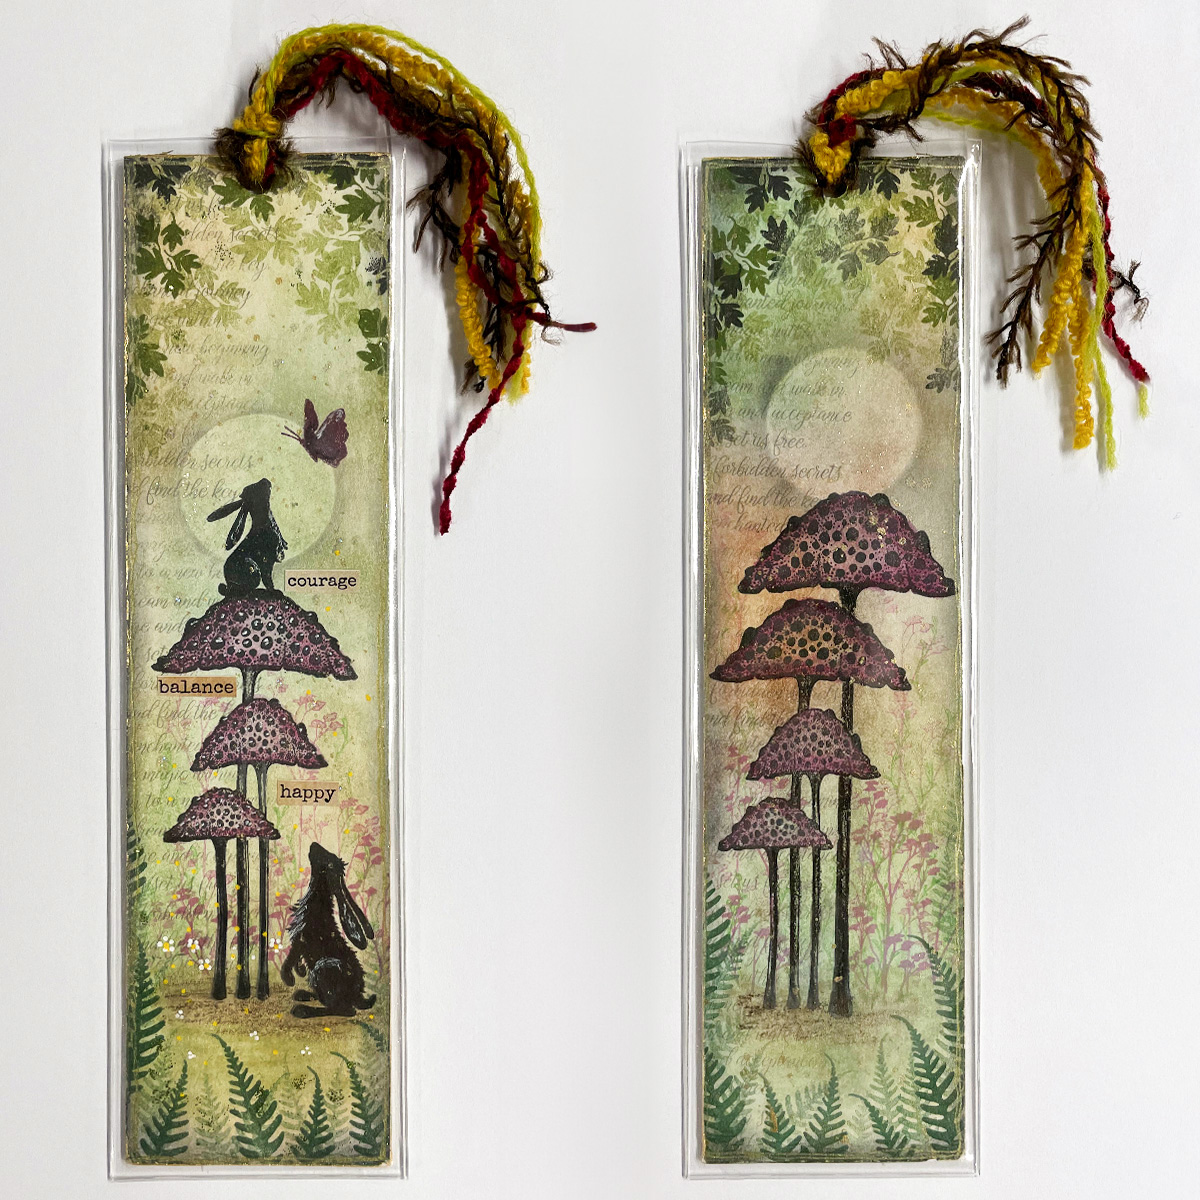
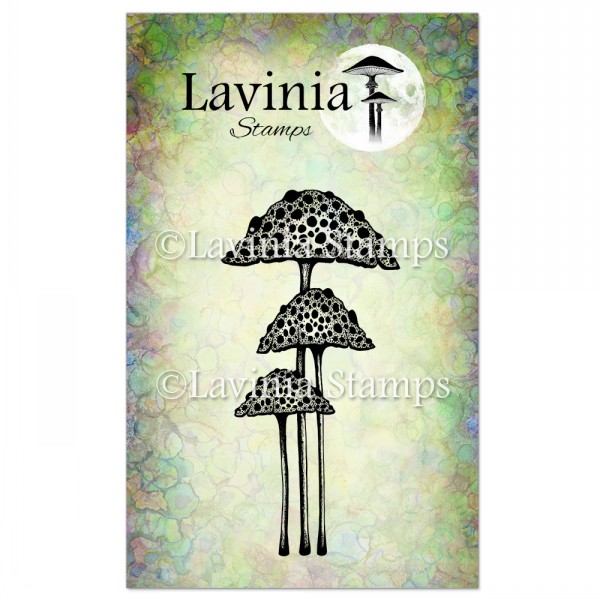
Add to cart Forbidden Secrets Stamp
£6.90
Add to cart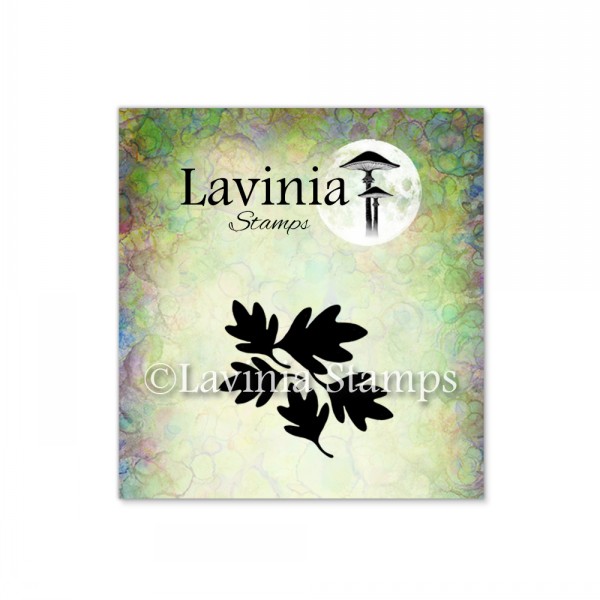 River Leaves Mini Stamp
£1.10
Add to cart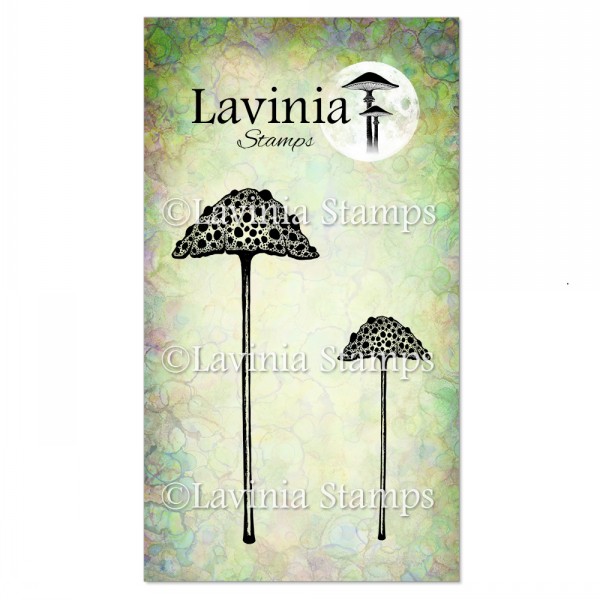 Elfin Caps Stamp
£8.40
Add to cart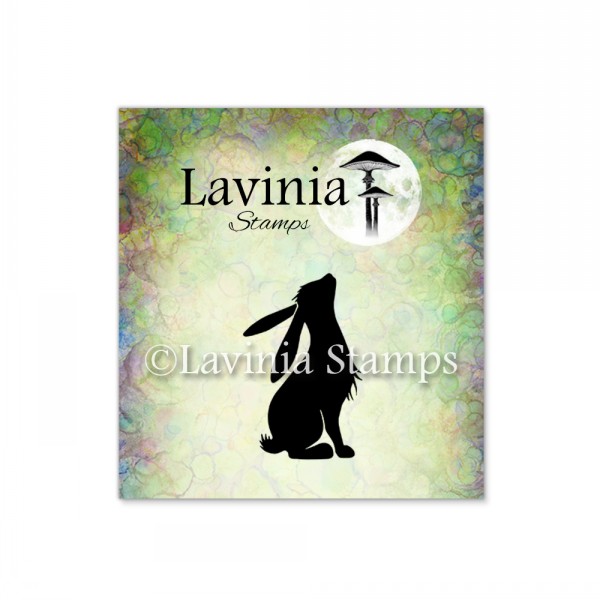 Pipin Mini Stamp
£1.10
Add to cart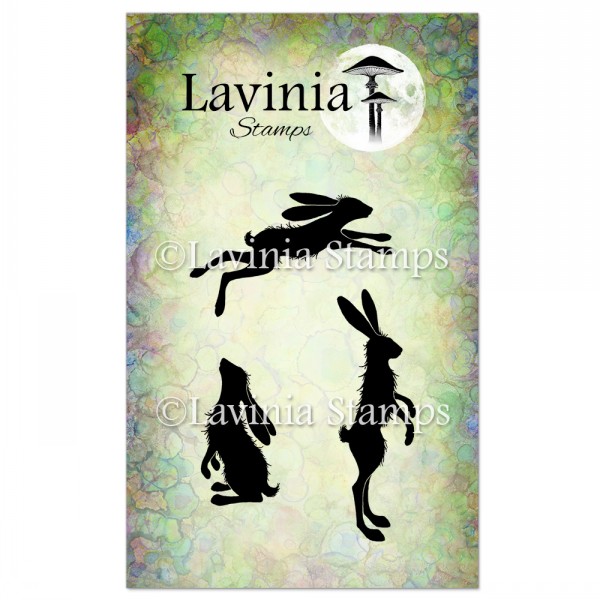 Whimsical Hares Stamp
£8.00
Add to cart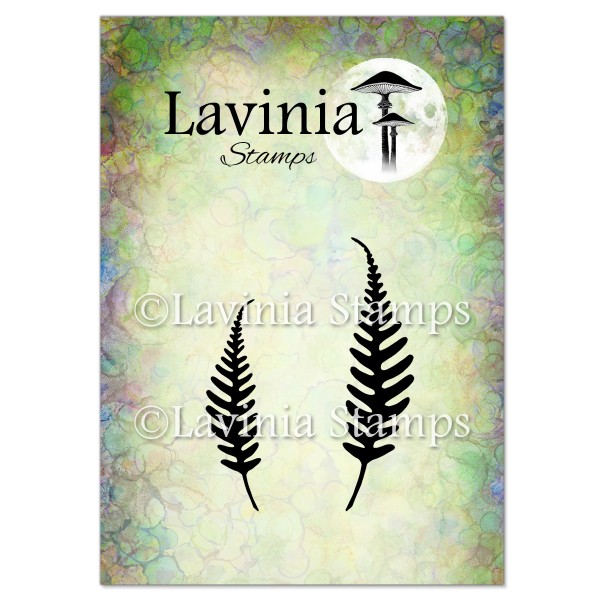 Woodland Fern Stamp
£4.30
Add to cart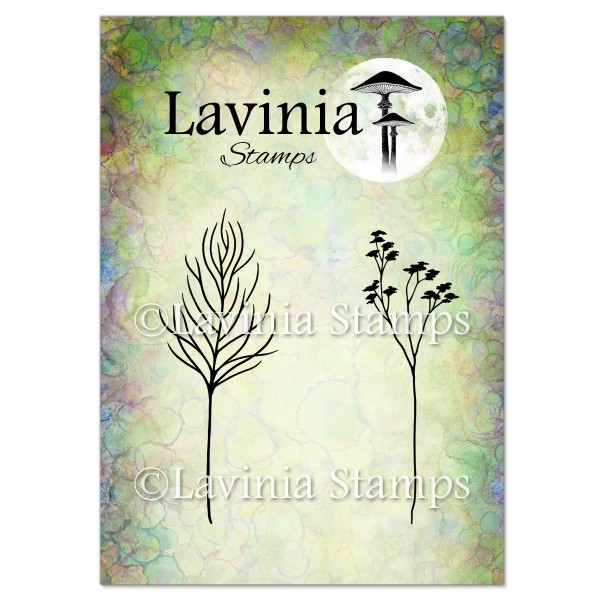 Flora Set Stamp
£7.20
Add to cart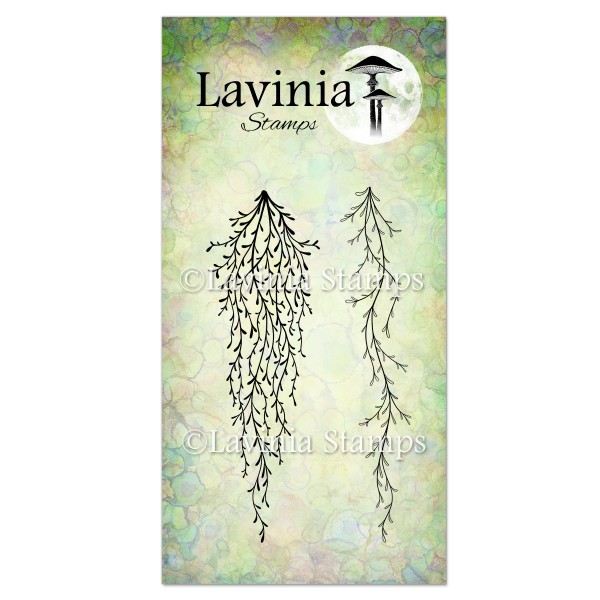 Spanish Moss Stamp
£8.20
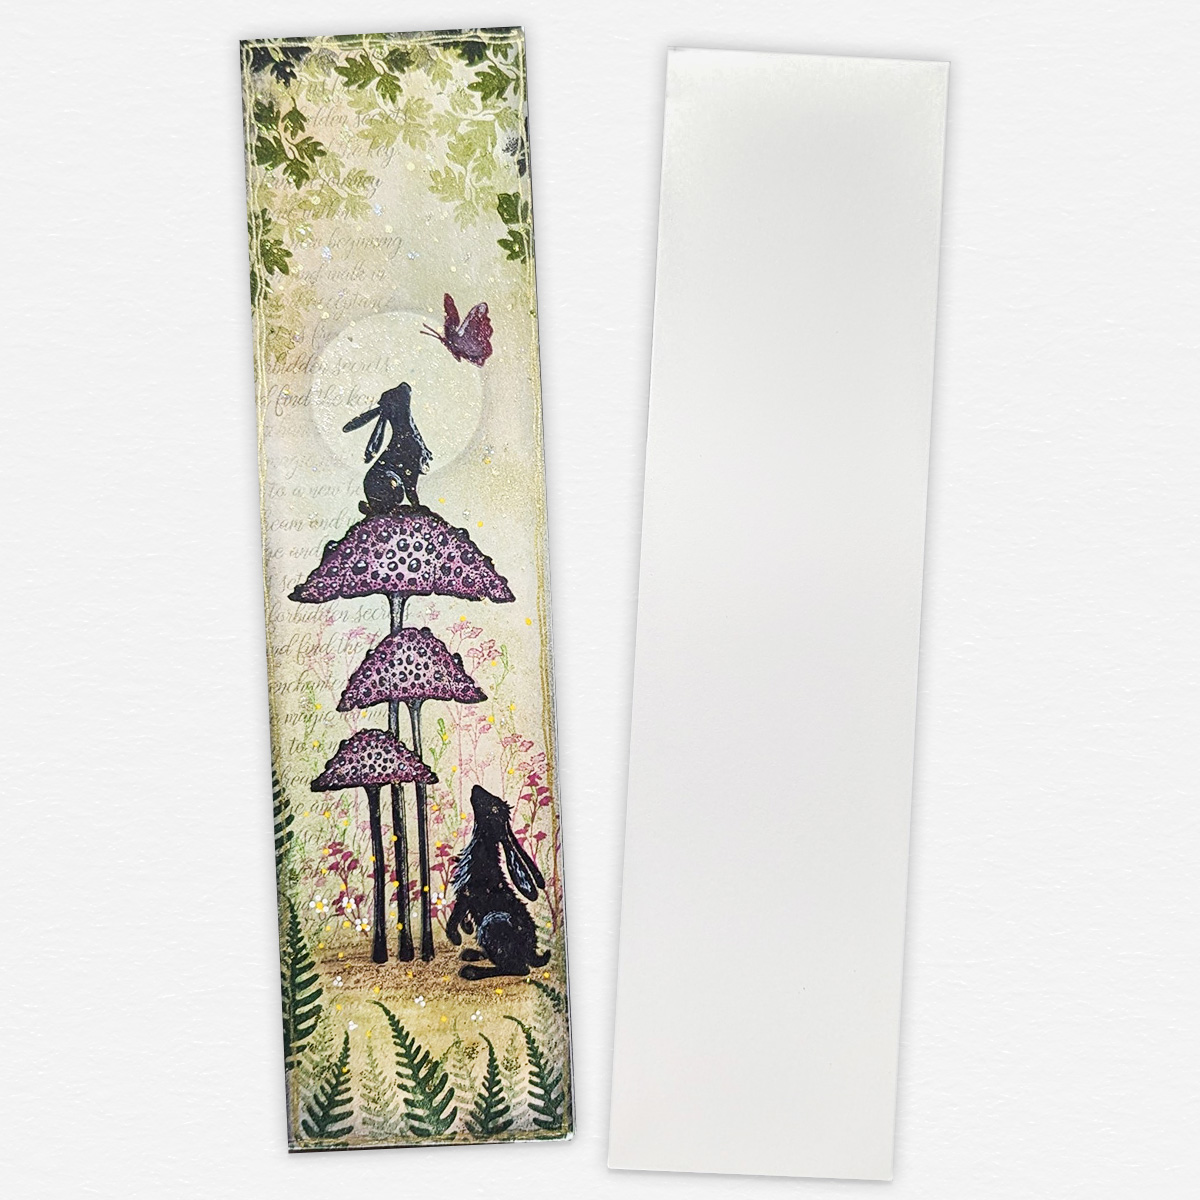
Add to cart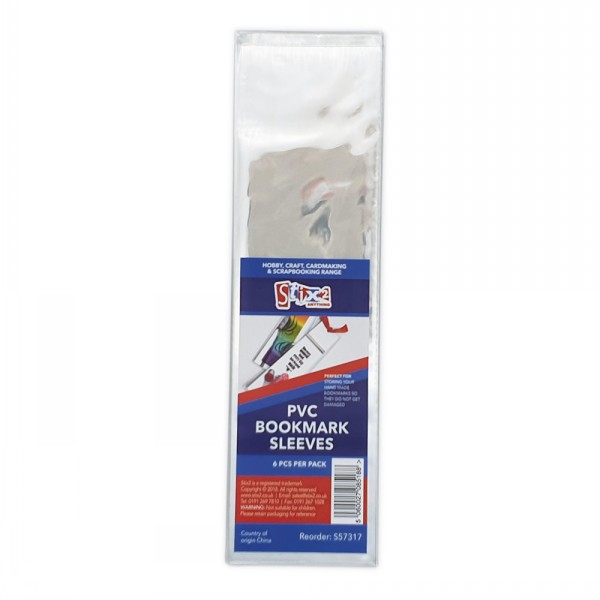 Bookmark Sleeves
£2.10
Add to cart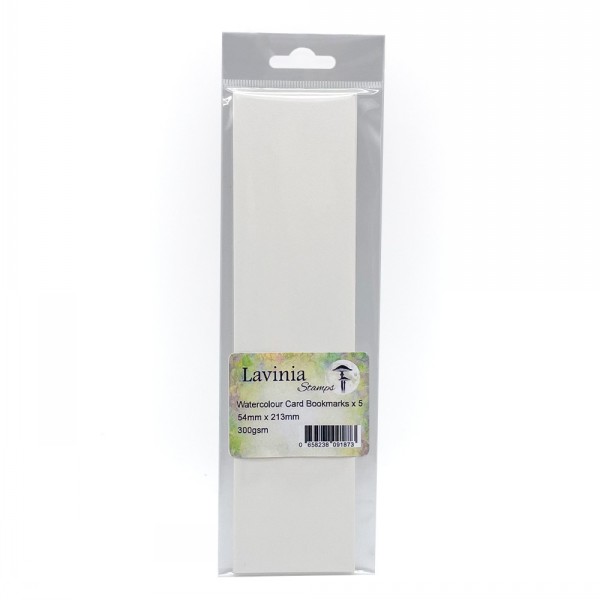 Watercolour Card Bookmarks
£2.80
Add to cart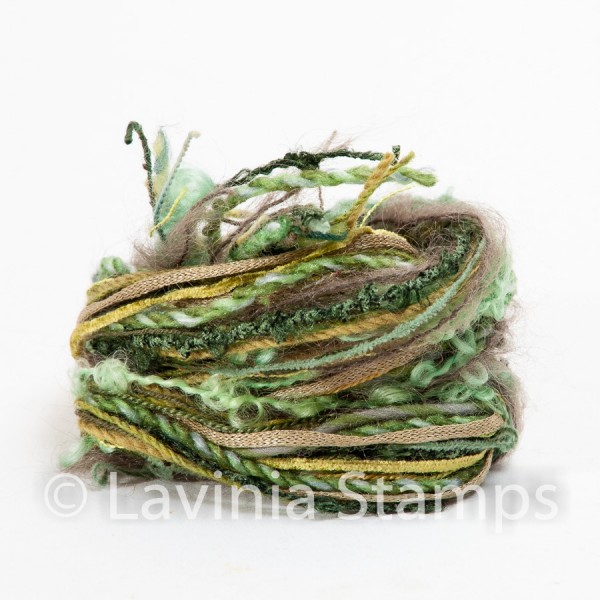 Crafting Yarn – Earth Green
£4.45
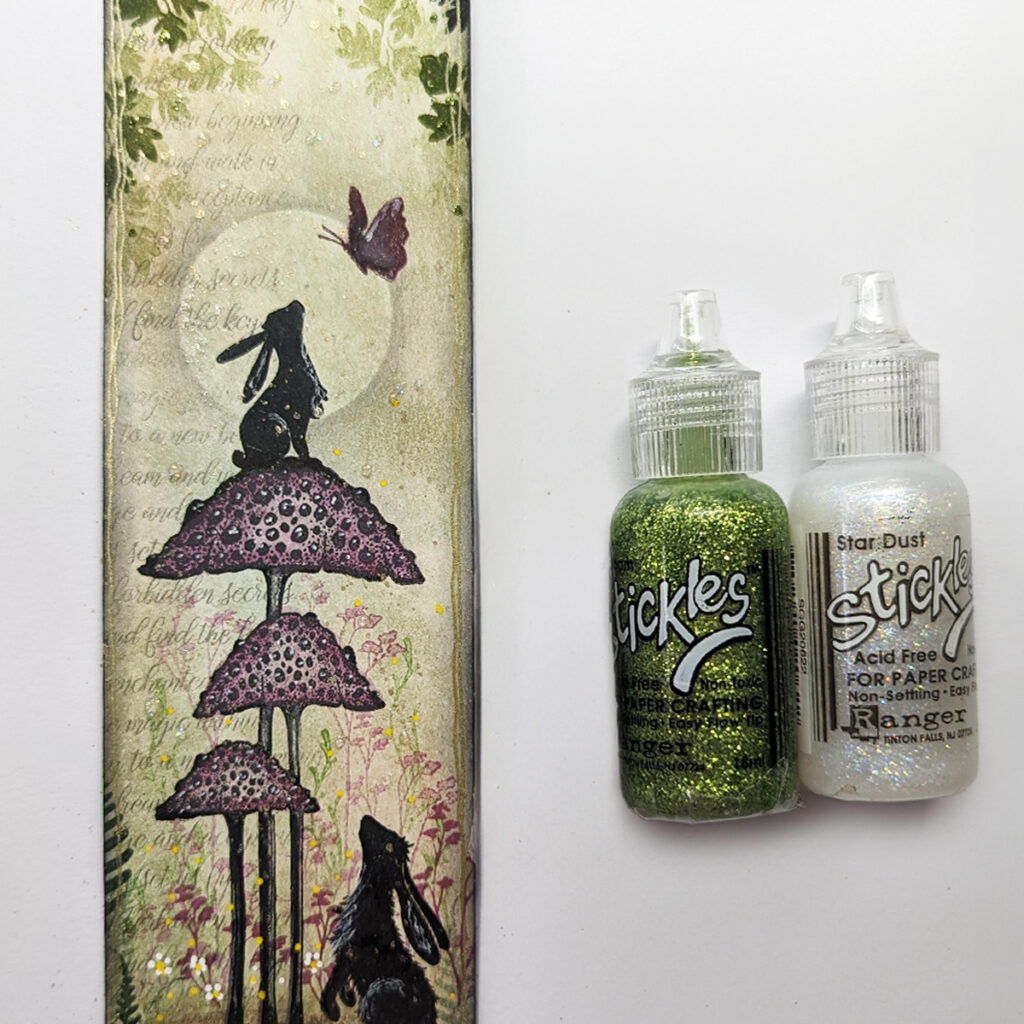
Add to cart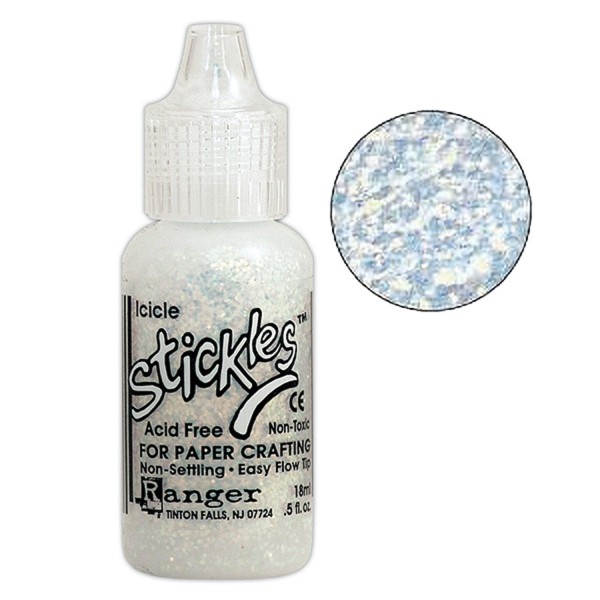 Stickles Glitter Icicle
£2.99
Add to cart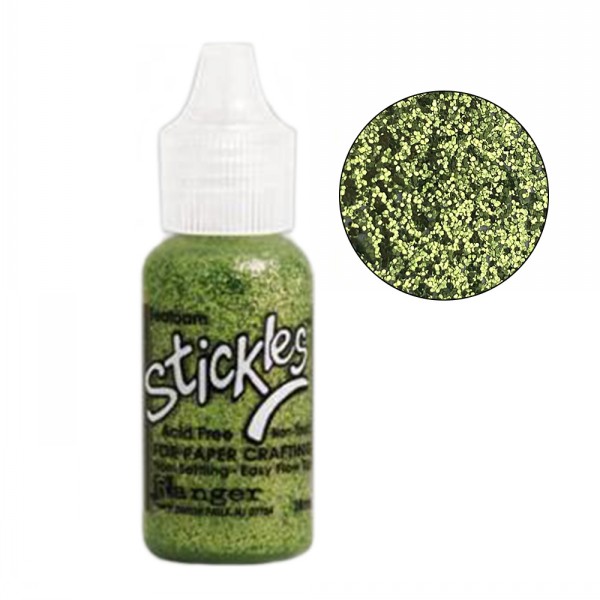 Stickles Glitter Seafoam
£2.99
Add to cart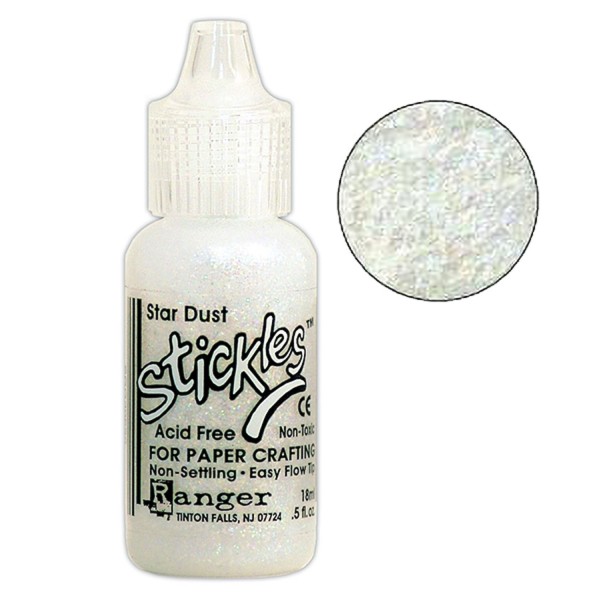 Stickles Glitter Star Dust
£2.99
Add to cart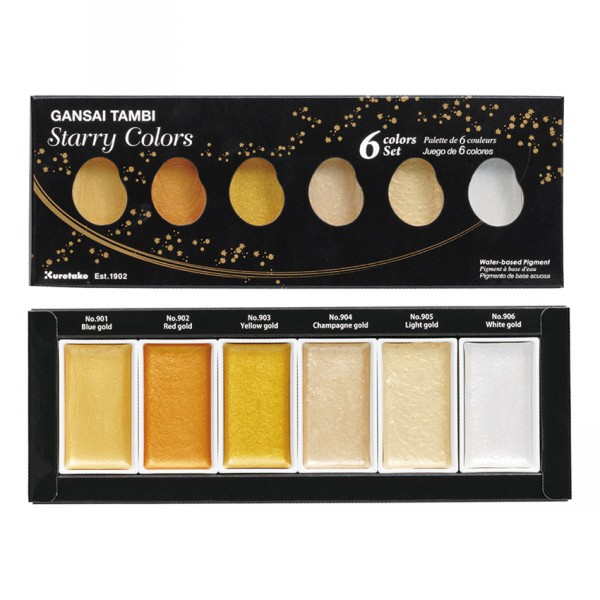 Kuretake Gansai Tambi Starry Colours
£13.50
Add to cart Multifarious Card – A5 White
£5.80
Add to cart