Step by Step by Katarina Eliasson
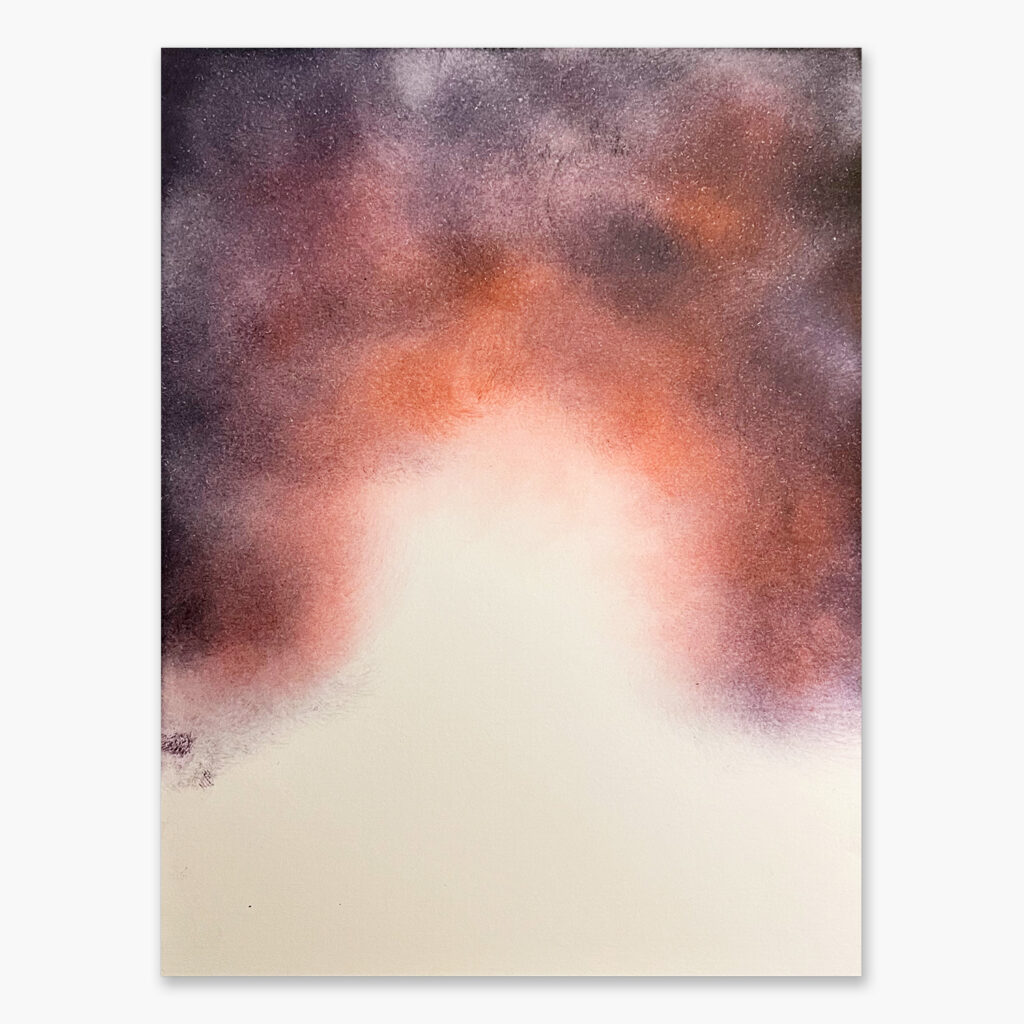
1. Let’s start with the background with Elements. Blend Midnight Blue, Violet Chalk and Confetti with a blending brush. Leave the centre uncoloured.
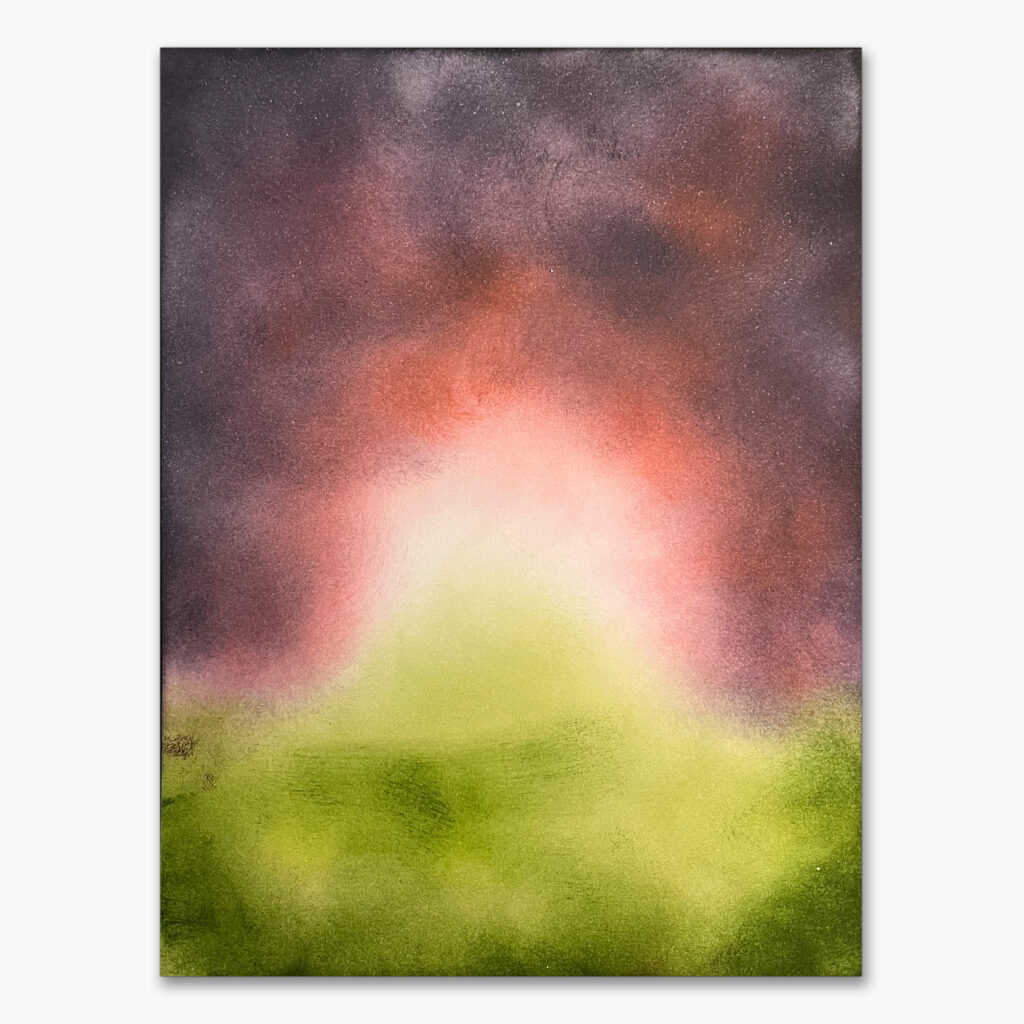
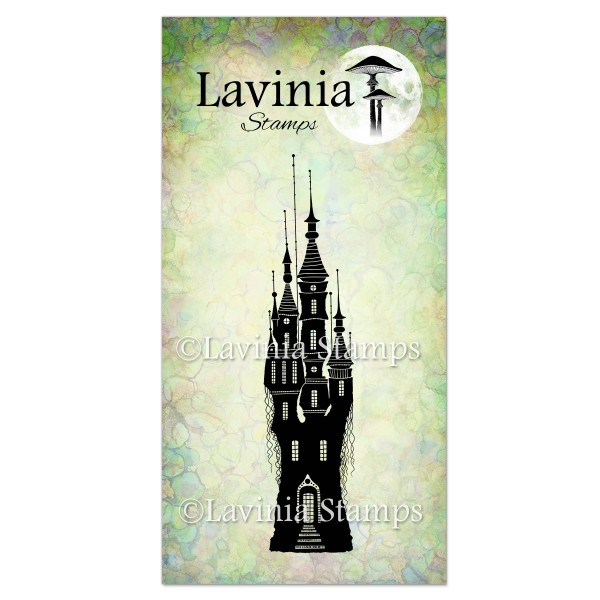
2. Use Olive and Lime Punch with a blending brush for the grass. Make a small hill in the middle where the castle should be.
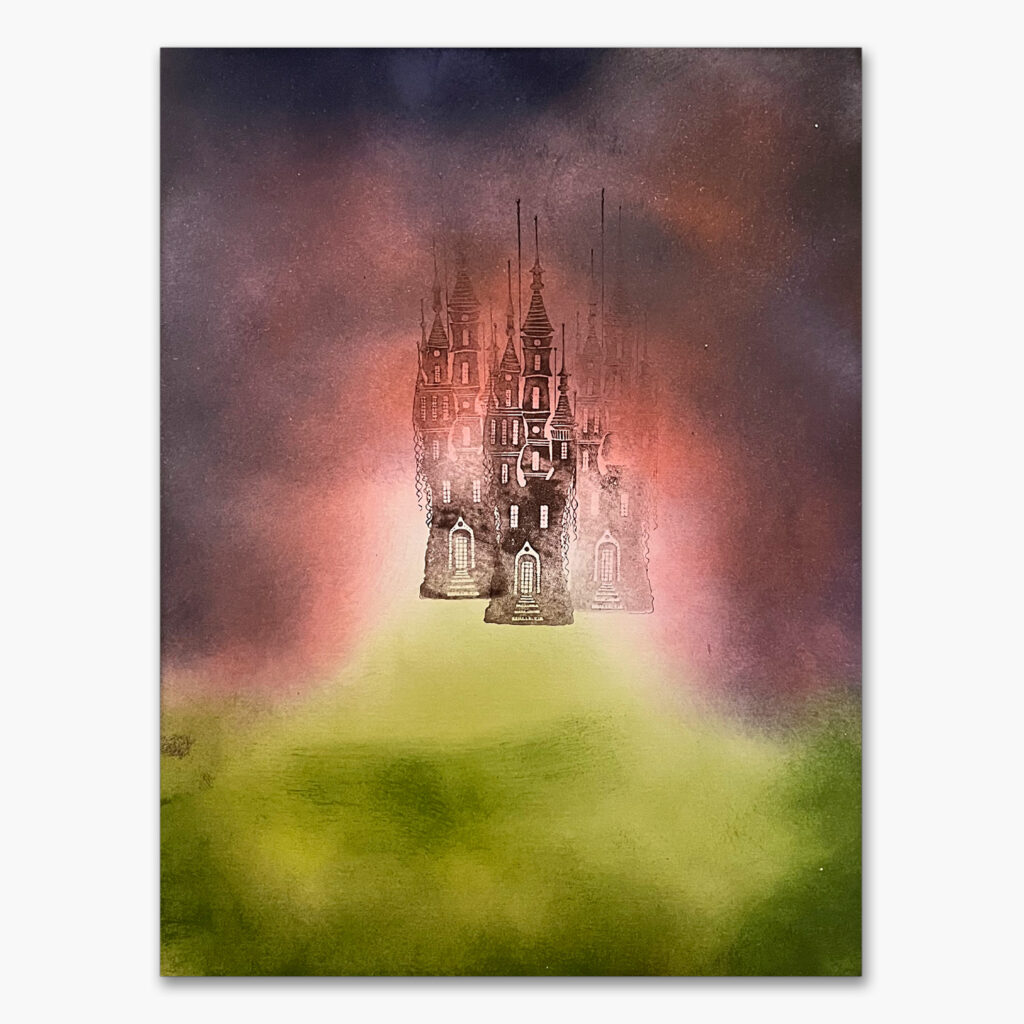
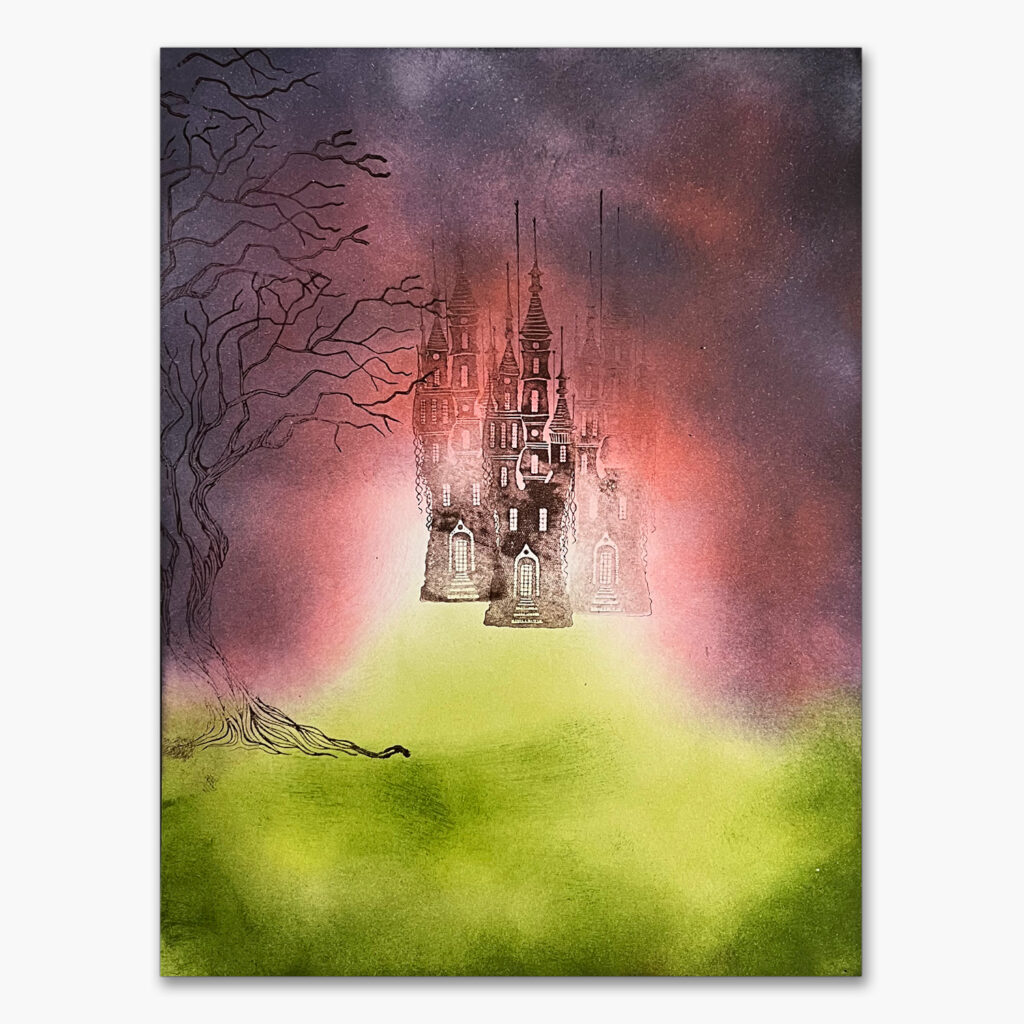
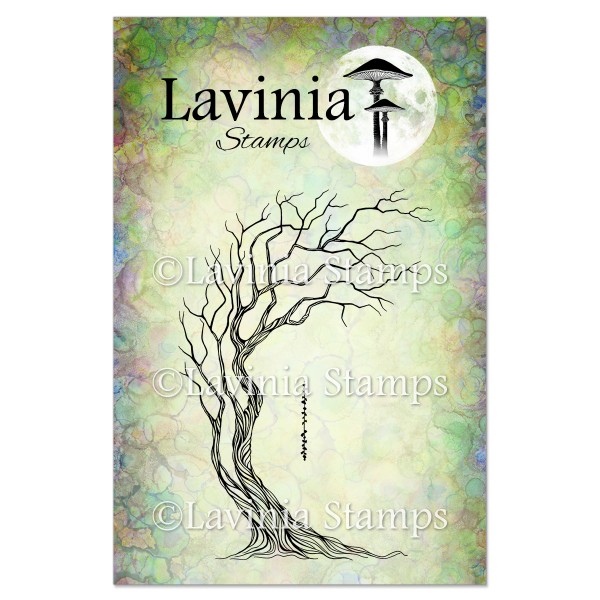
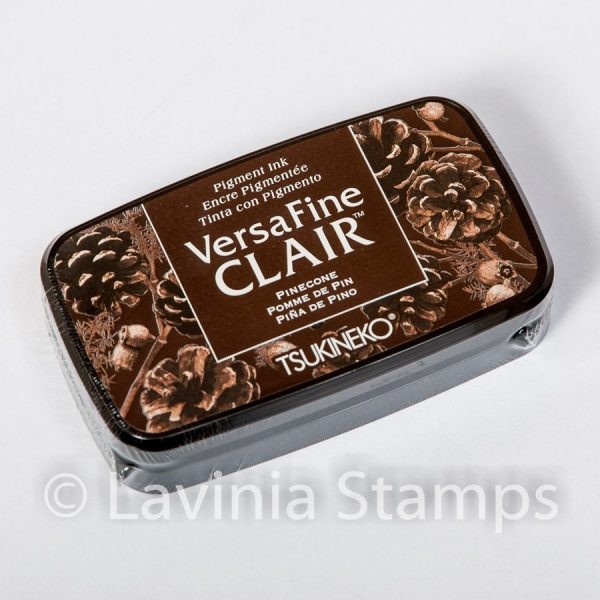
4. Stamp the Tree of Courage using Pinecone.
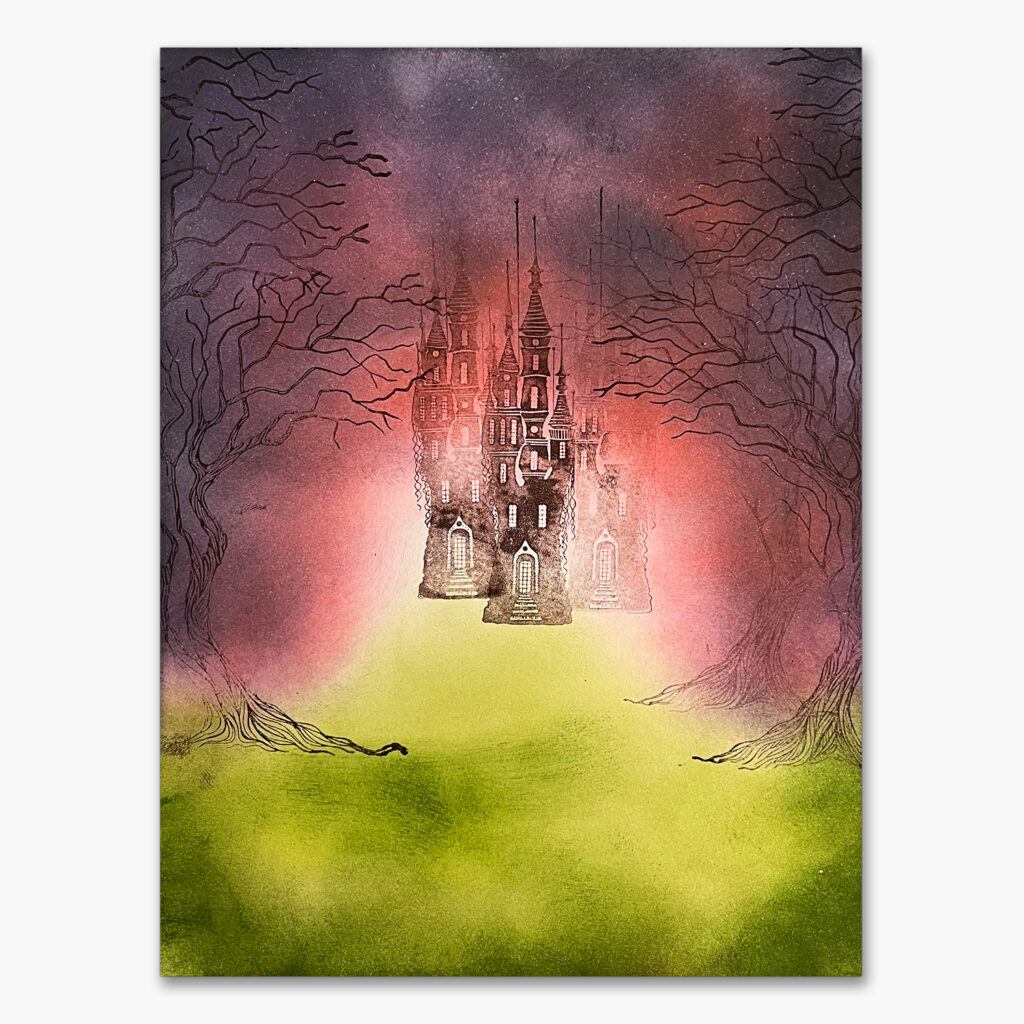
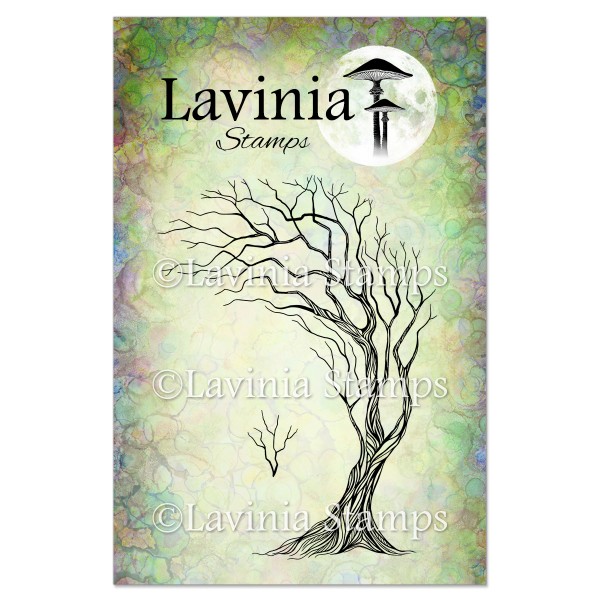
5. Stamp the Tree of Hope twice in first- and second-generation using Pinecone.
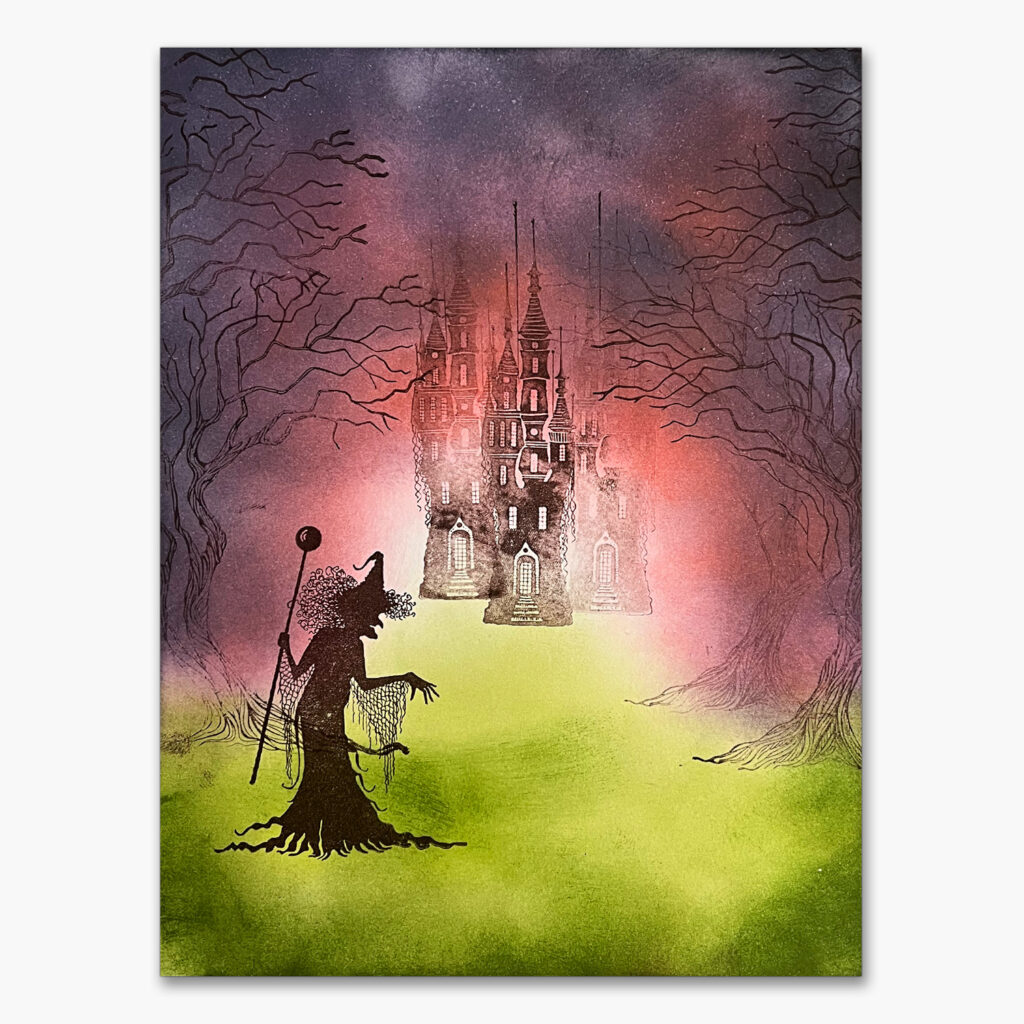
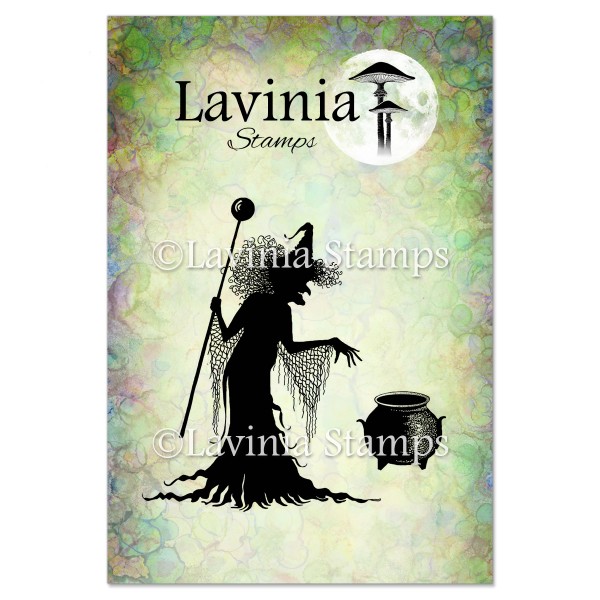
6. Time for the witch to enter the scene using Pinecone once more.
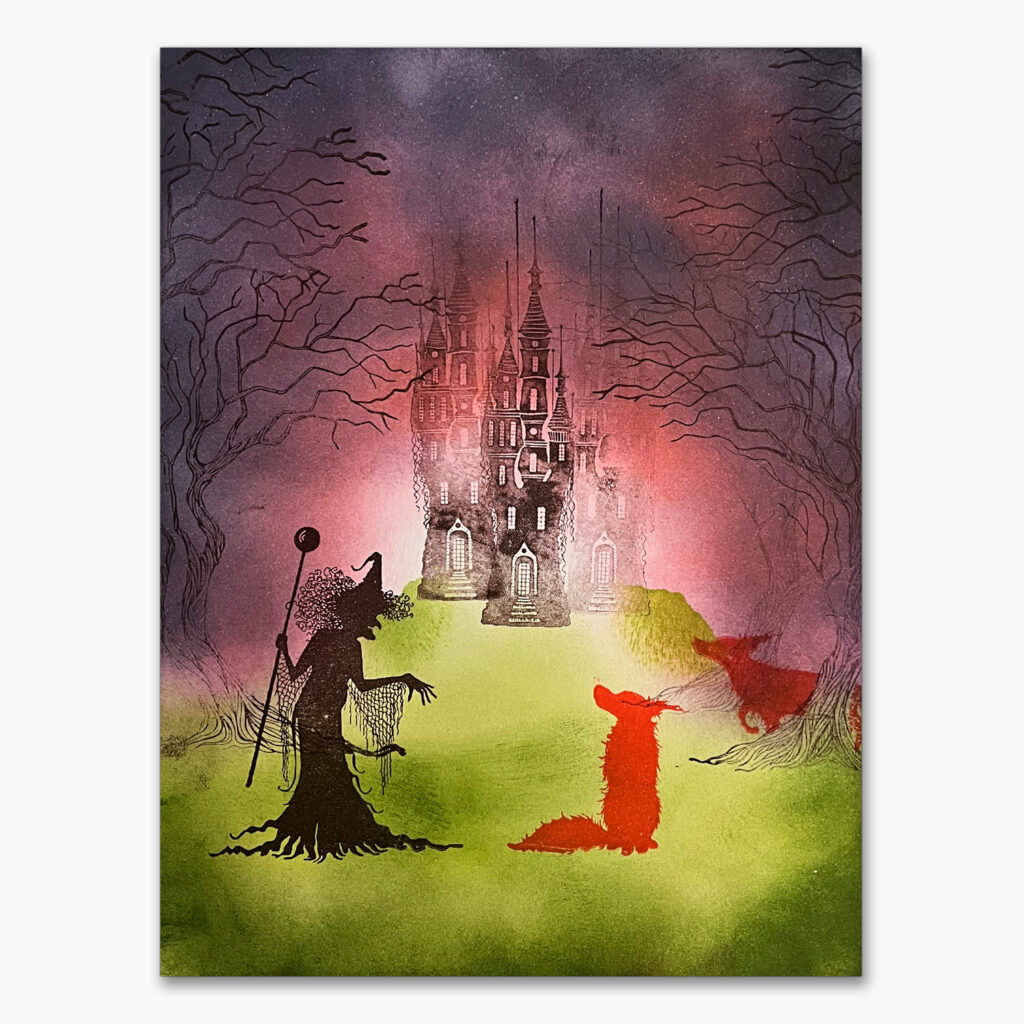
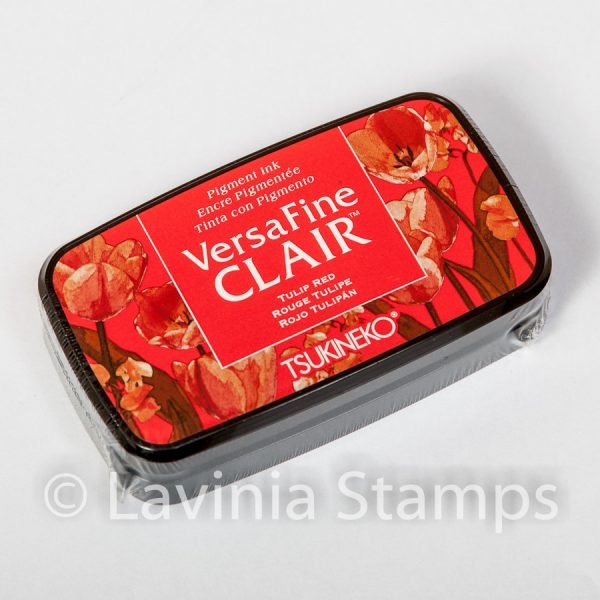
7. Stamp the two foxes in Tulip Red. Mask the tree before stamping the fox behind it.
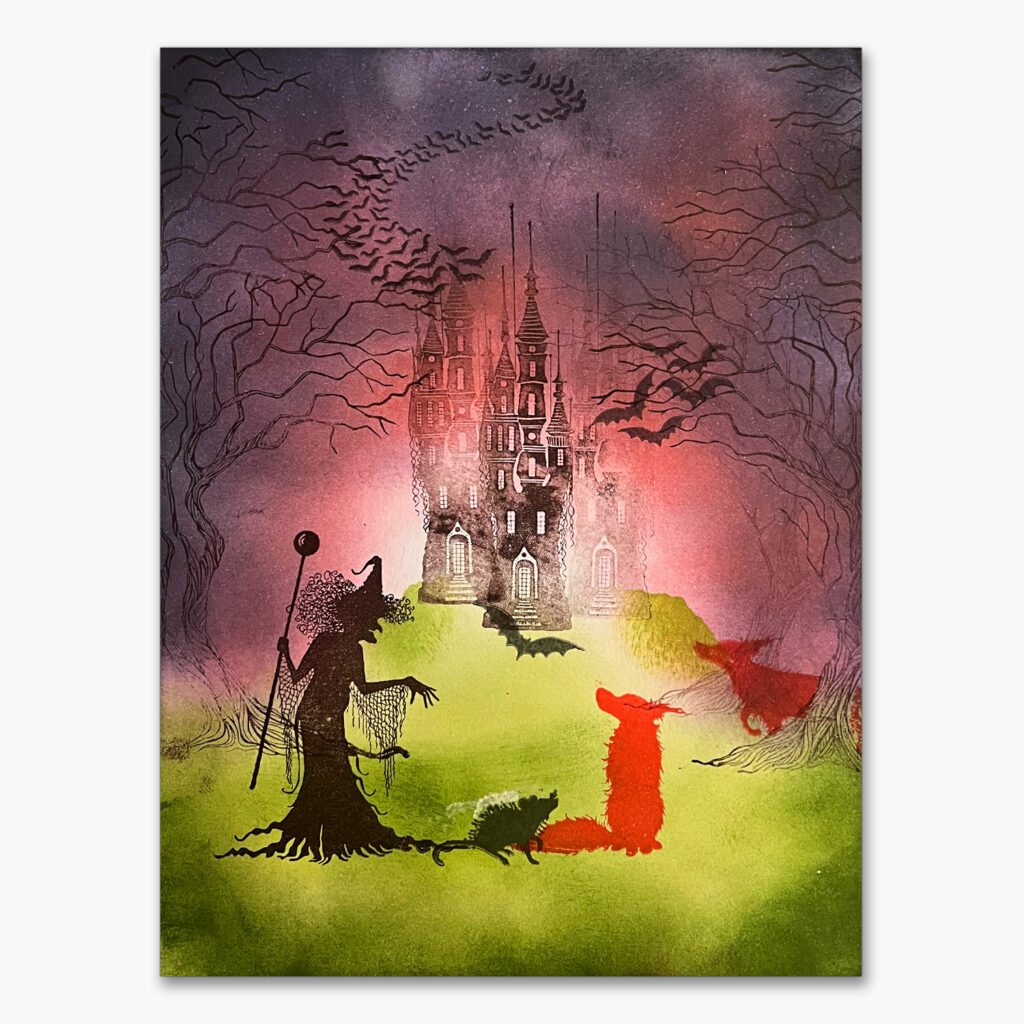
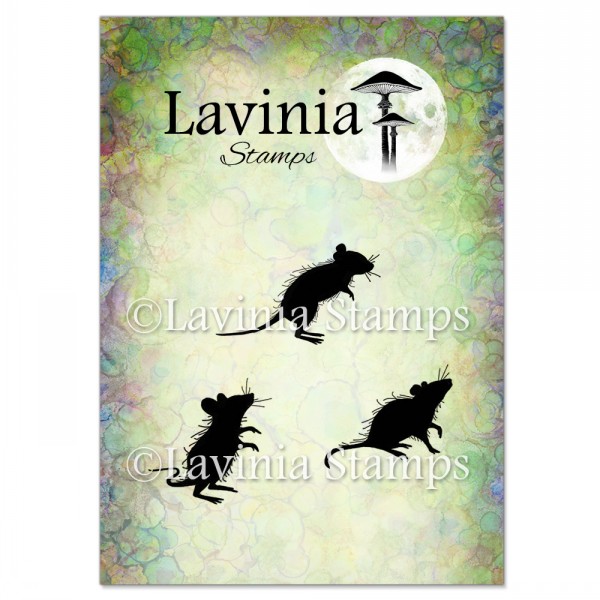
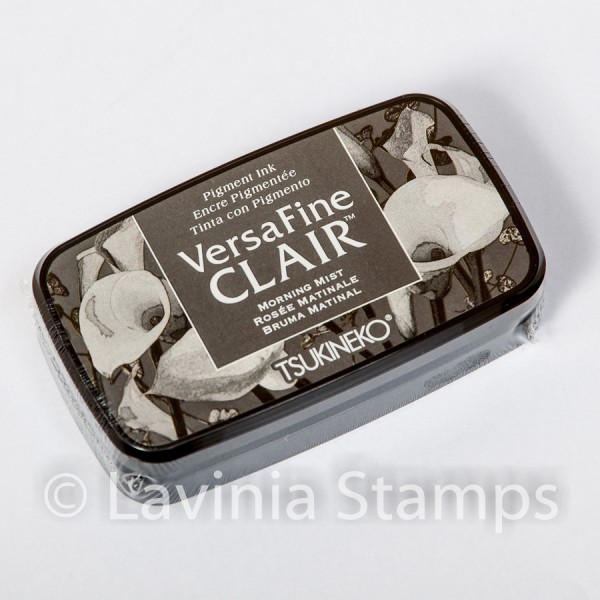
8. Using Morning Mist, stamp the bats and the mouse.
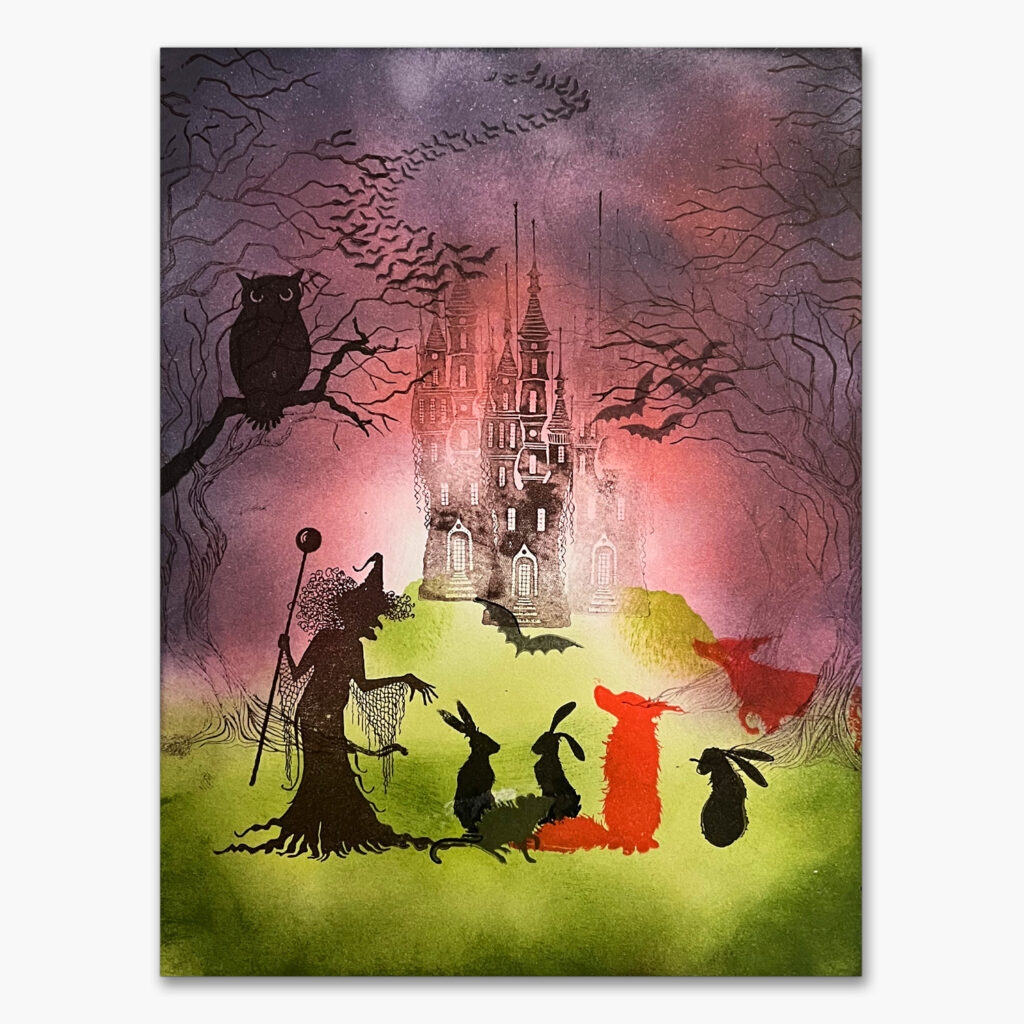
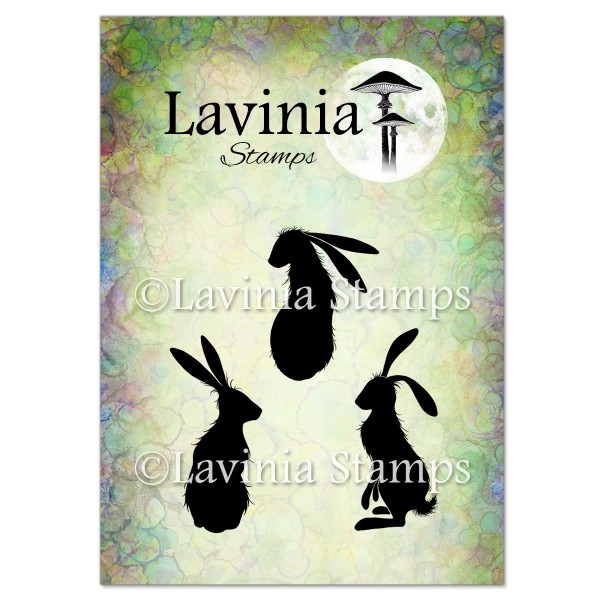
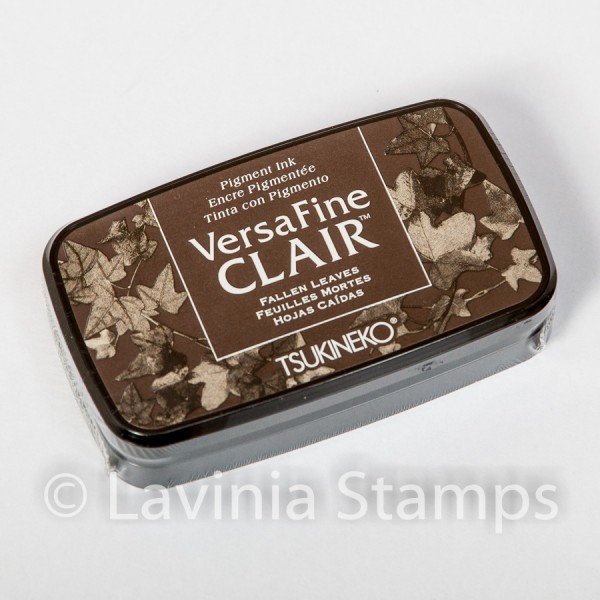
9. Stamp the hares and the owl in Fallen Leaves. Mask the mouse and the fox before stamping.
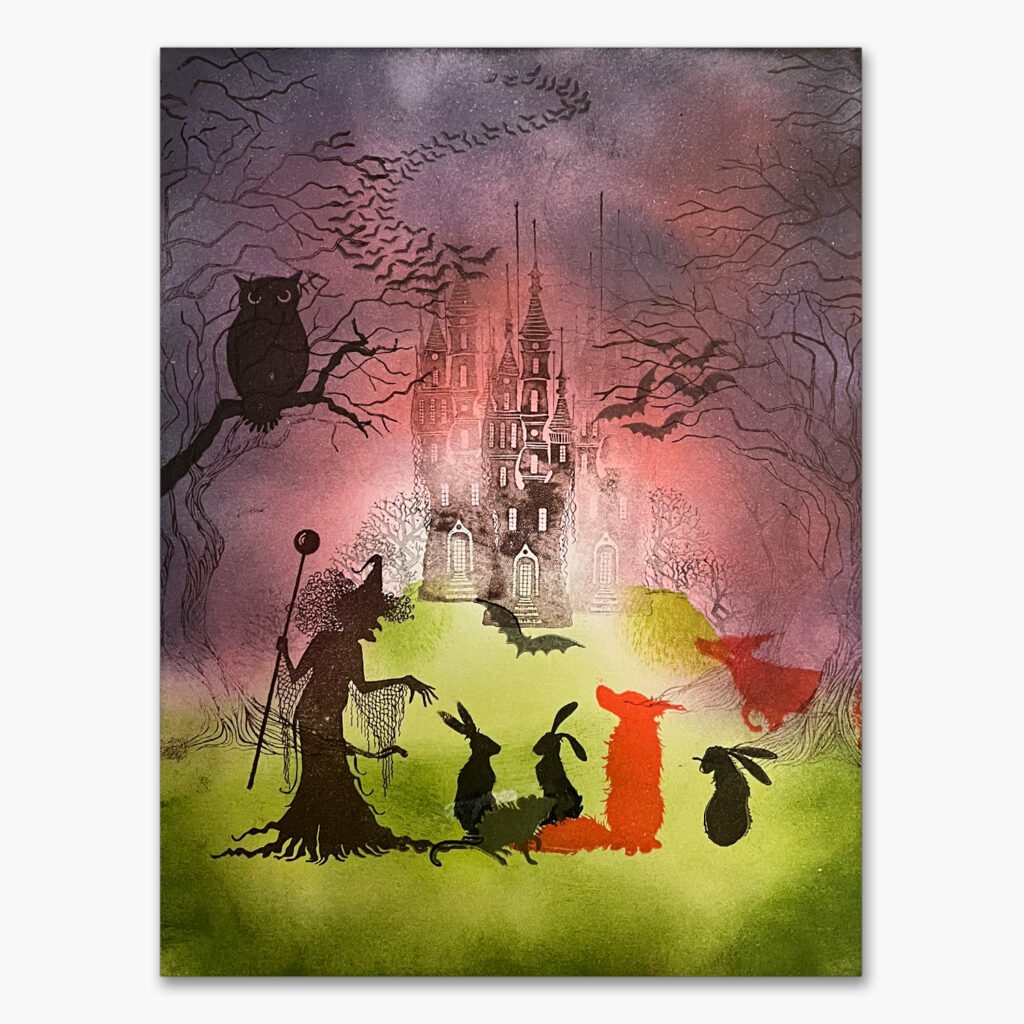
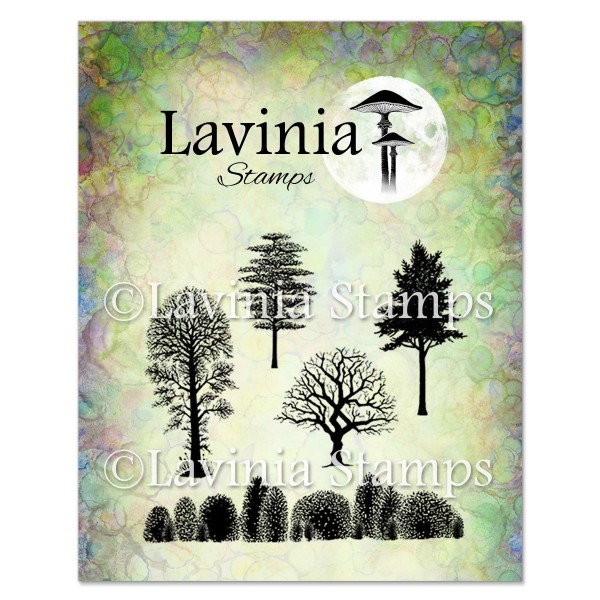
10. Mask the hill and the castle with a piece of paper or masking fluid. Stamp some trees on the hill using Morning Mist. I used the tree to the right on the Trees scene stamp sheet.
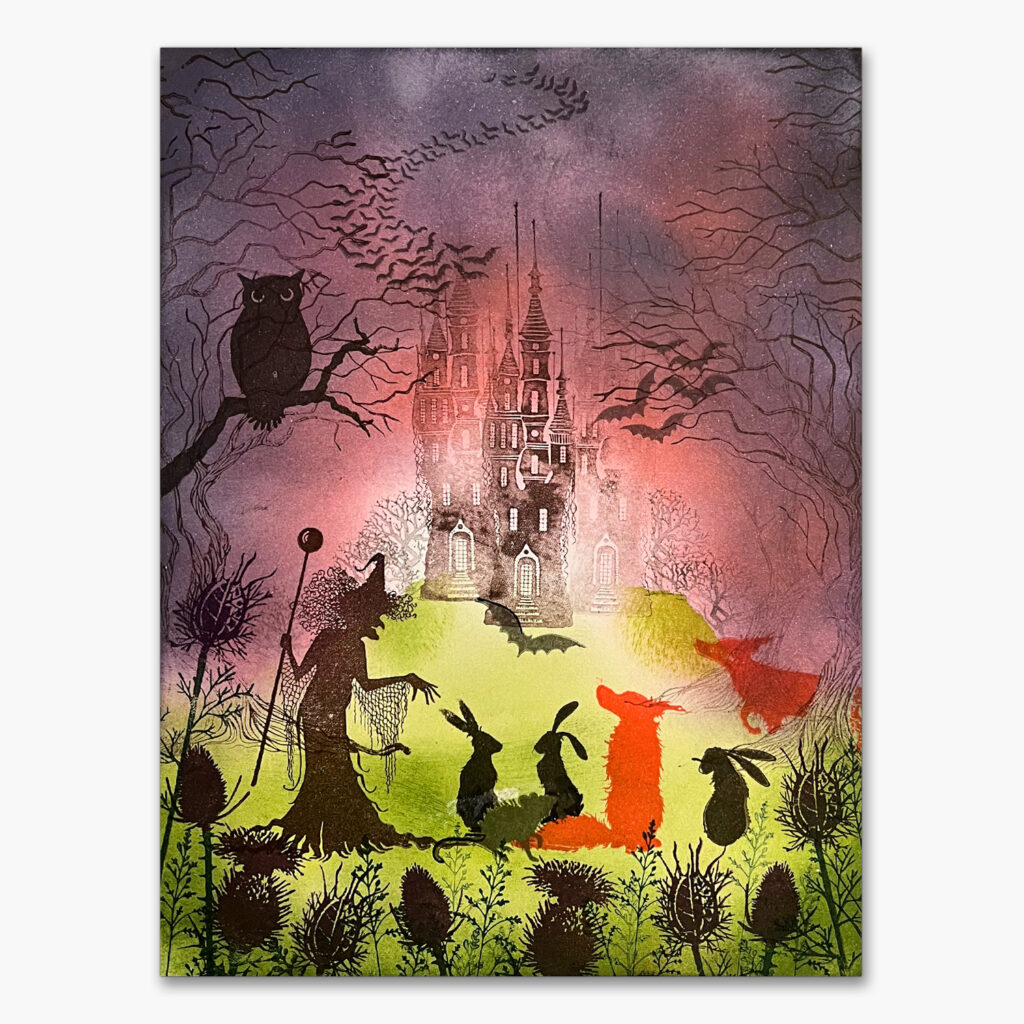
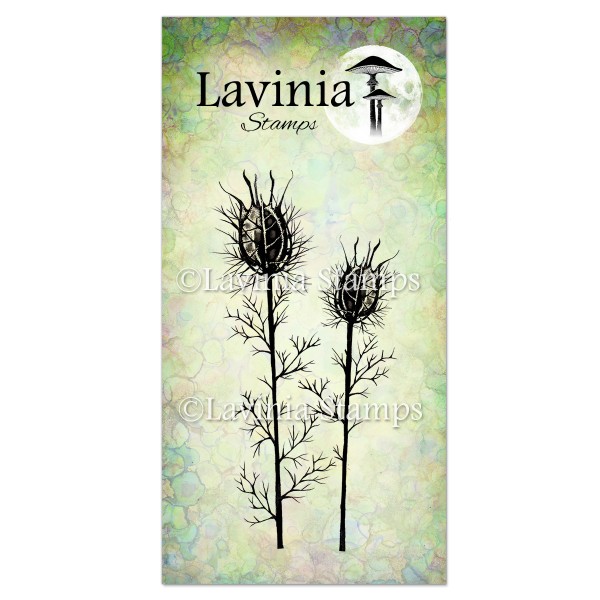
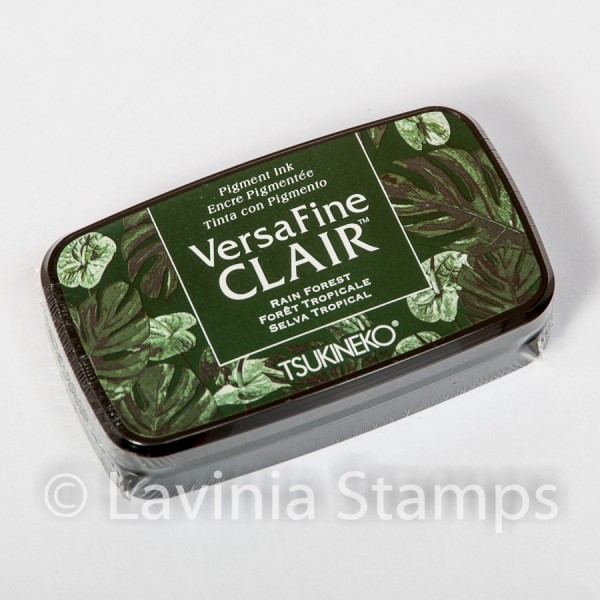
11. Stamp the thistles and orchard grass on the bottom of the card using Rain Forest.
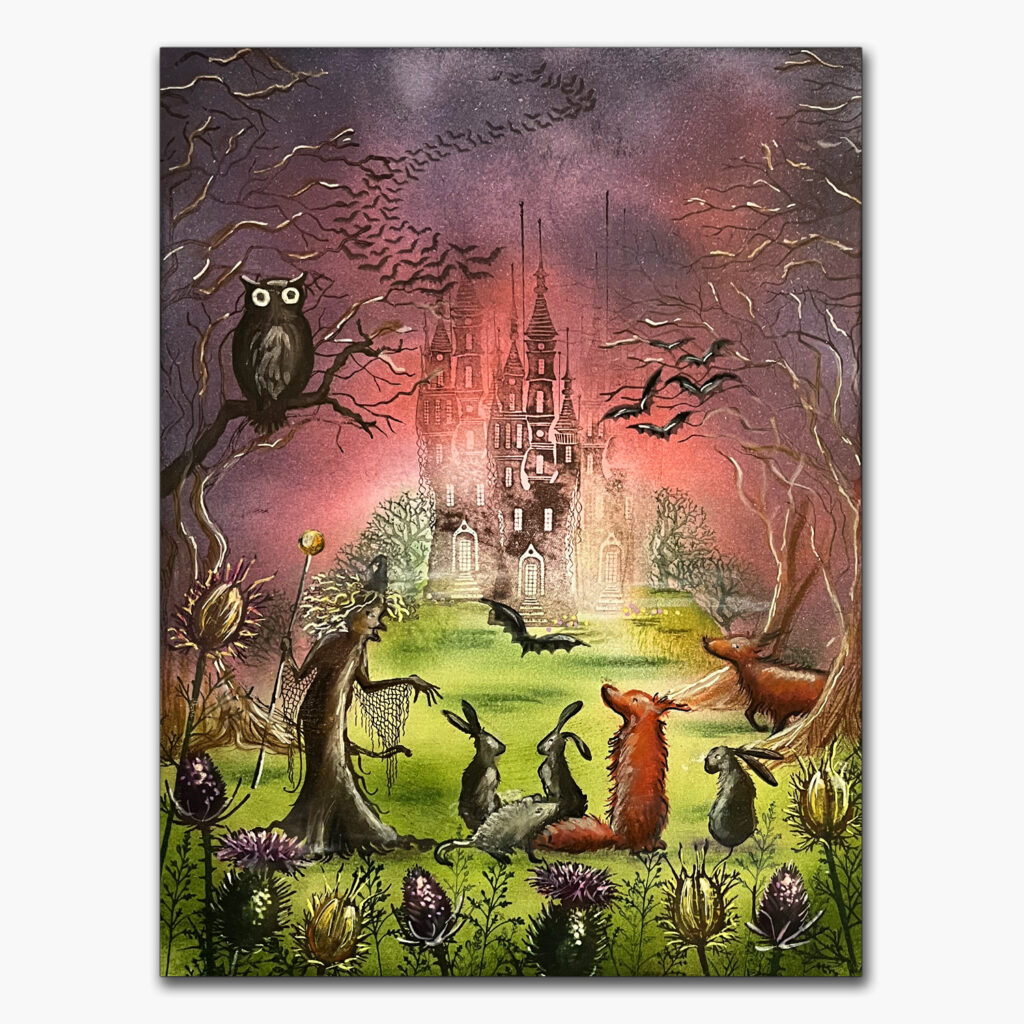
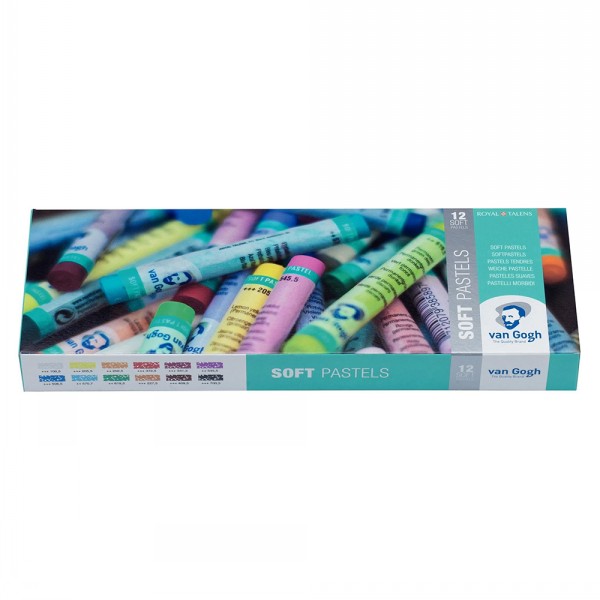
12. Time to colour. I used Pastel pencils in a lot of colours as you can see in the picture. Use the colours you like. With Posca pens highlight some parts in the picture.
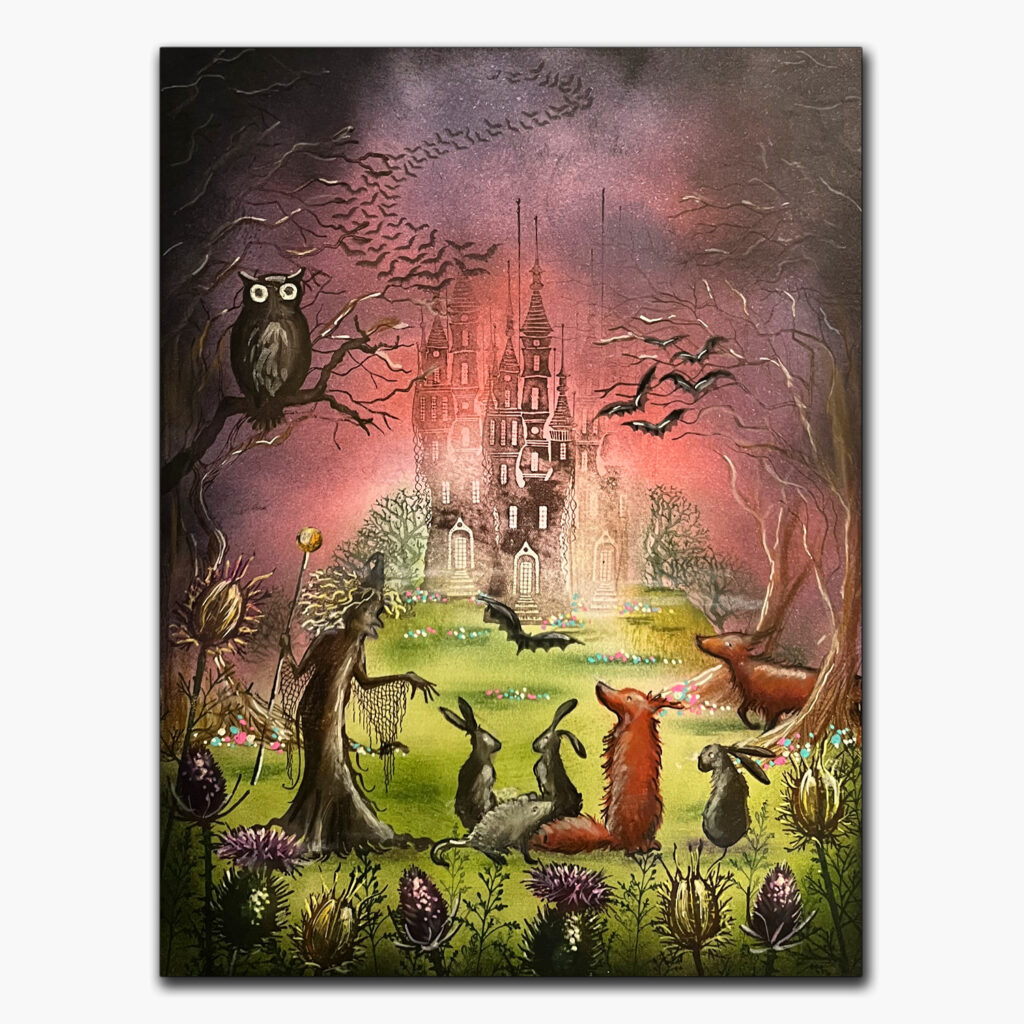
13. Make some dots with Posca pens to make it look like flowers further away. To finish the card make the edges on the card darker. Use Midnight Blue on the top of the card and Graphite on the bottom.
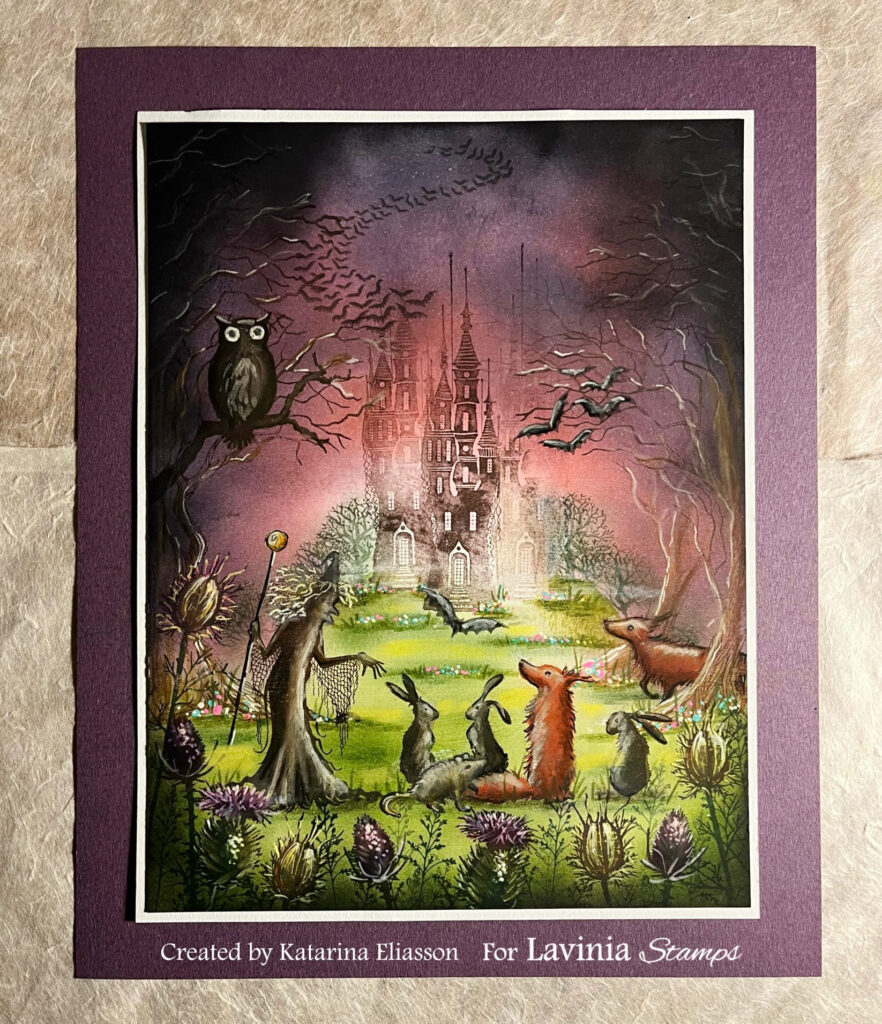
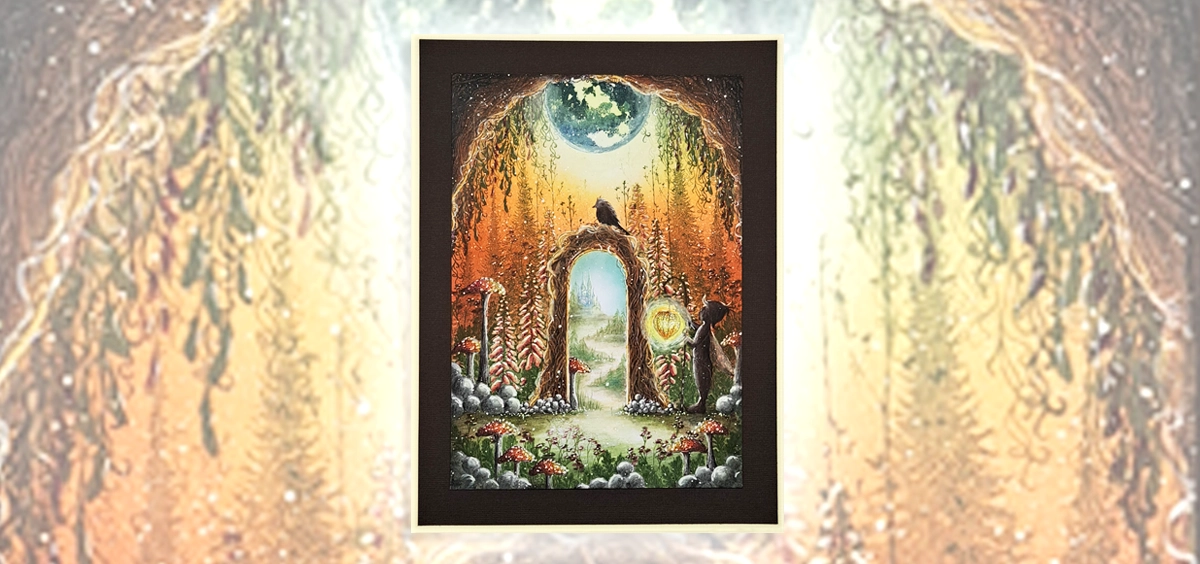
14. Use a colour you like on the cardstock to mount the picture. I do hope you’ve enjoyed this Picture tutorial and will have a go at making this card. Happy crafting!


