Step by Step
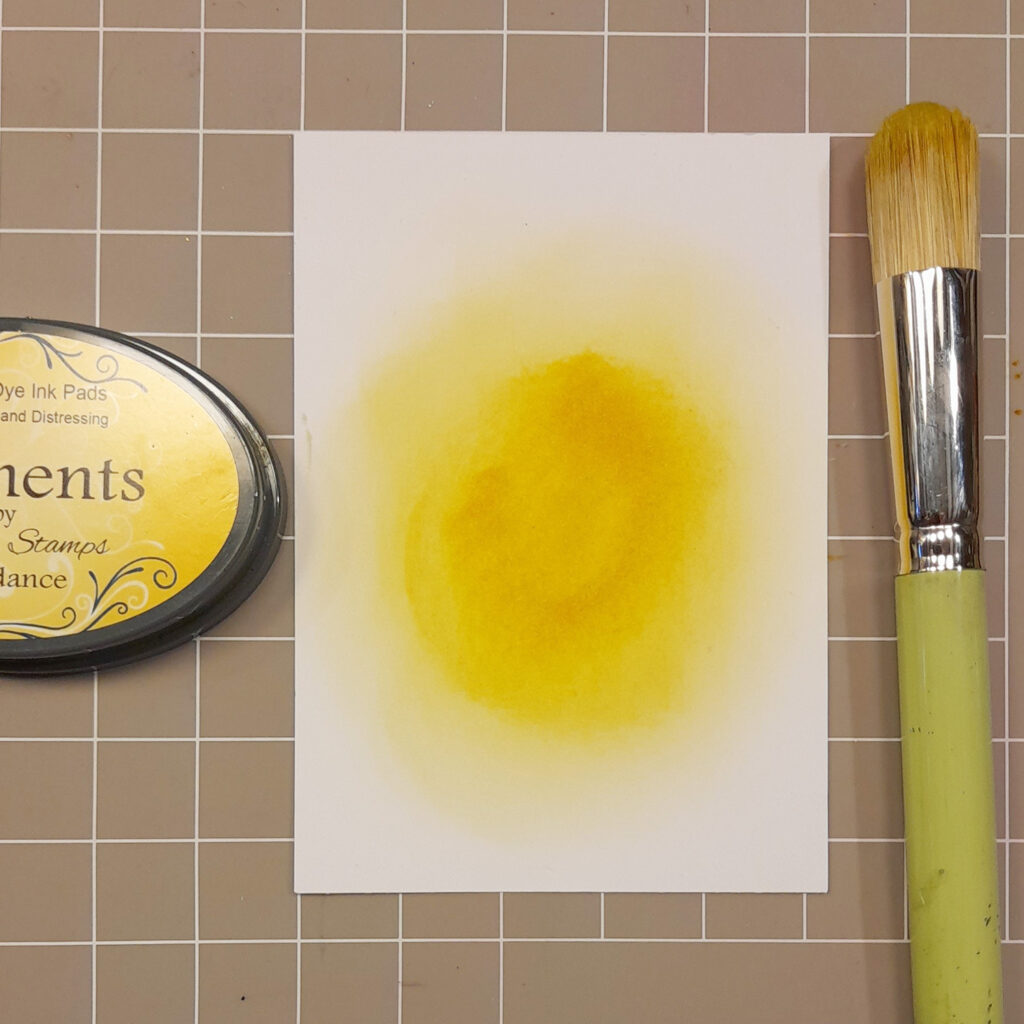
Picture 1
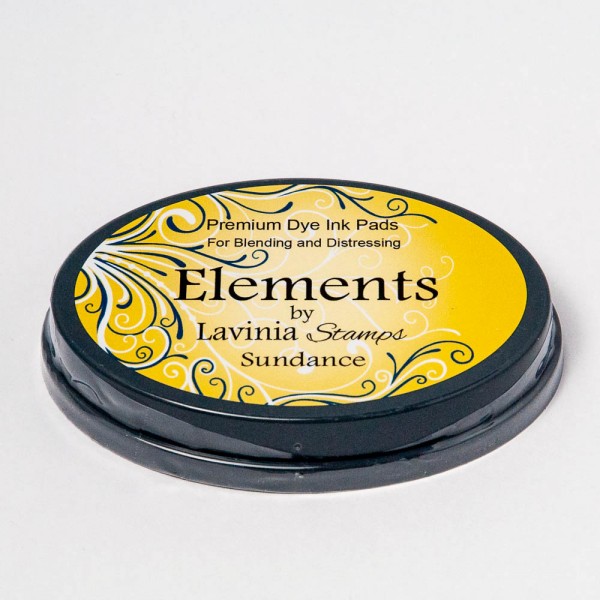
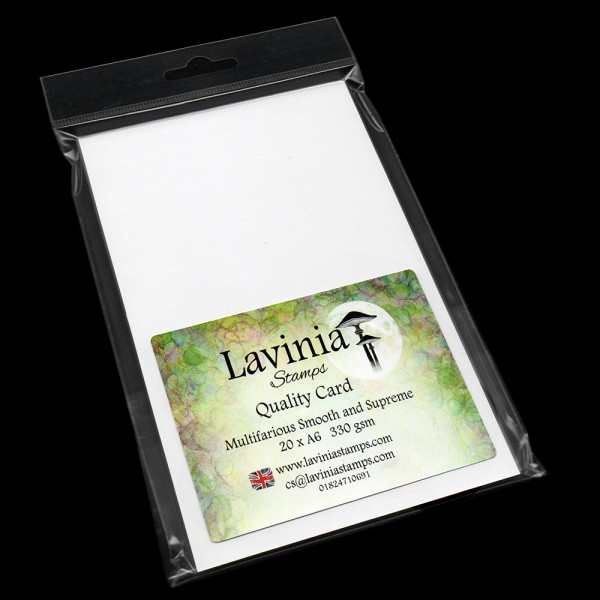
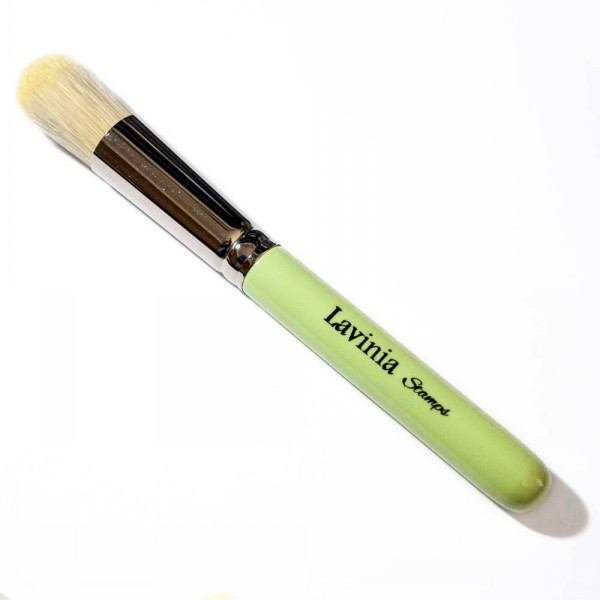
On a piece of A6 Multifarious Card, add some Elements Inks Sundance with a Stencil Brush series 9. Apply to the centre of the card and slowly blend outwards to almost nothing.
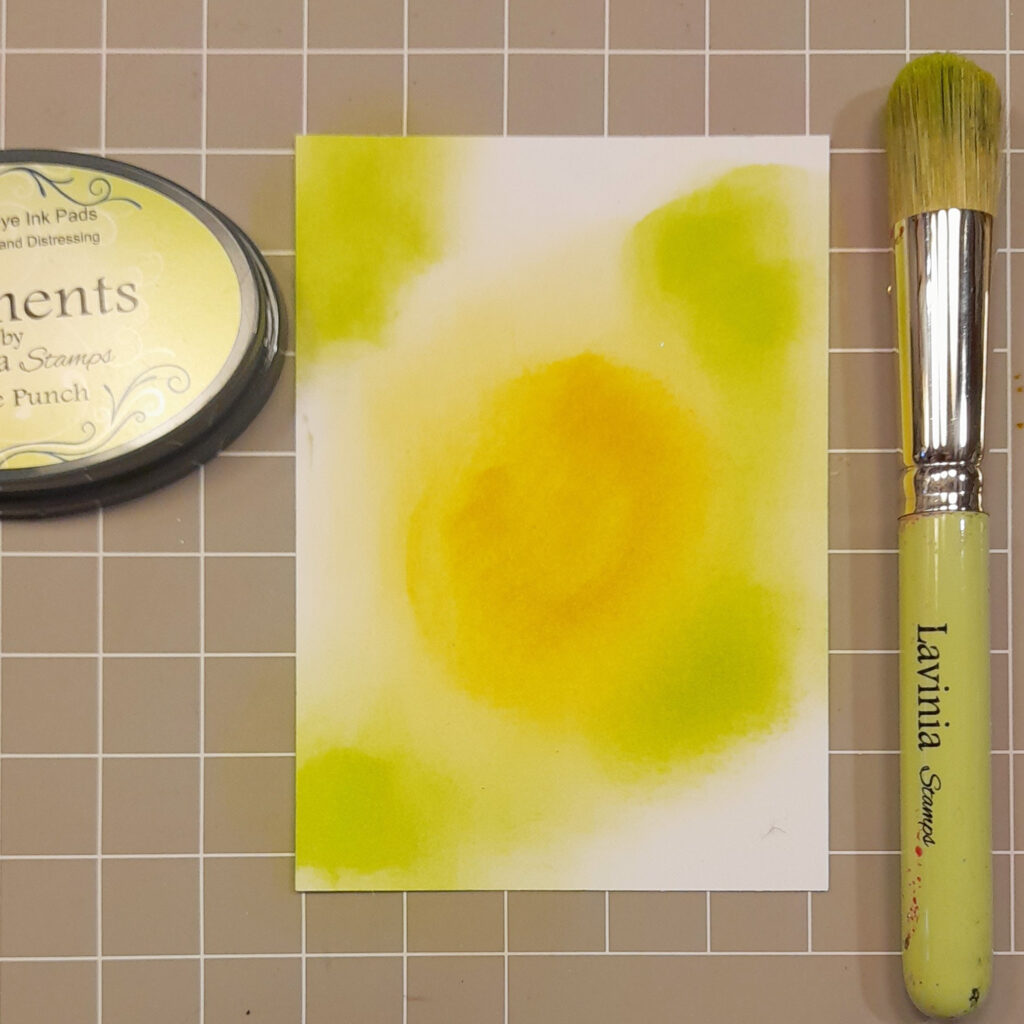
Picture 2
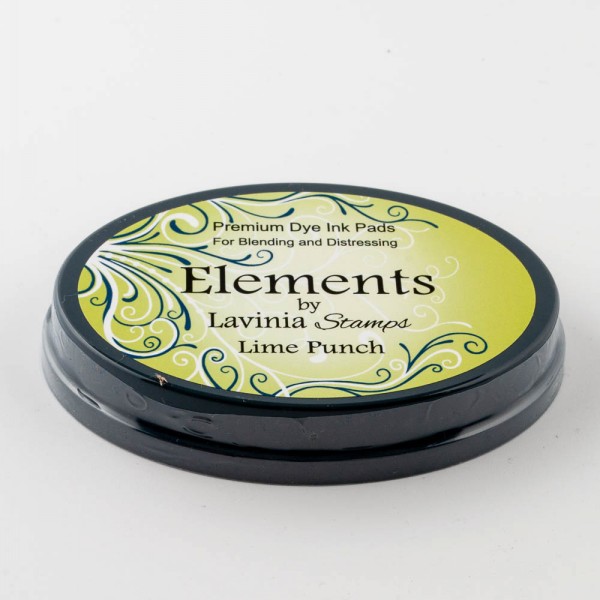
Next using a Stencil Brush series 9 apply some Elements inks Lime Punch around 4 smaller circular shapes around the yellow centre.
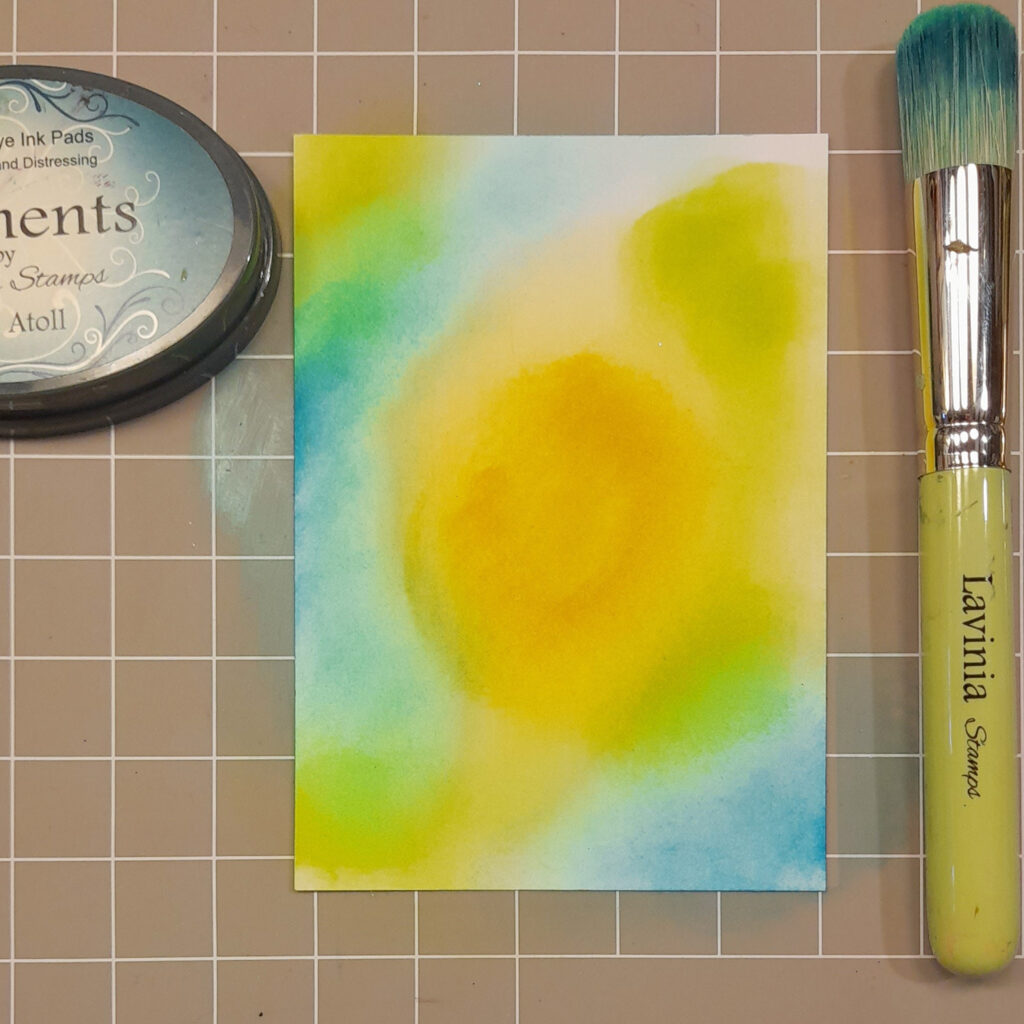
Picture 3
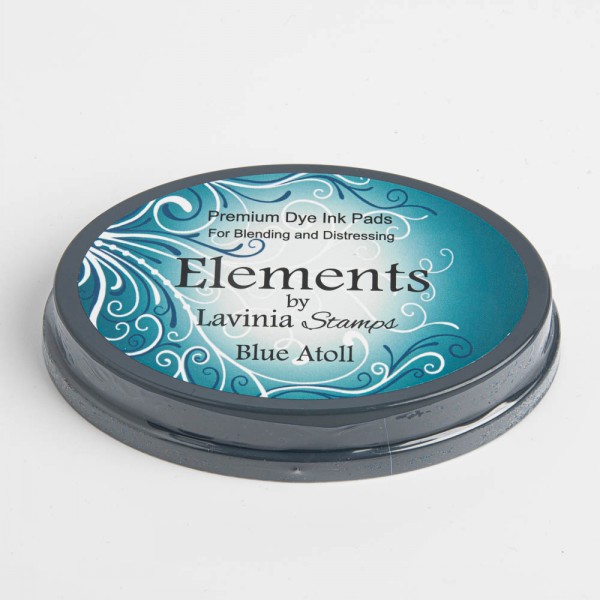
Now using a Stencil Brush series 9 apply some Elements inks Blue Atoll in the remaining white spaces and blend gently into the Lime Punch and Sundance.
Picture 4
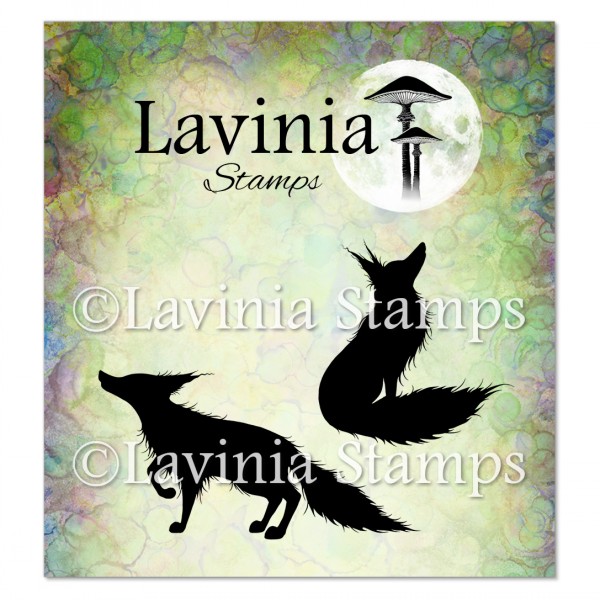
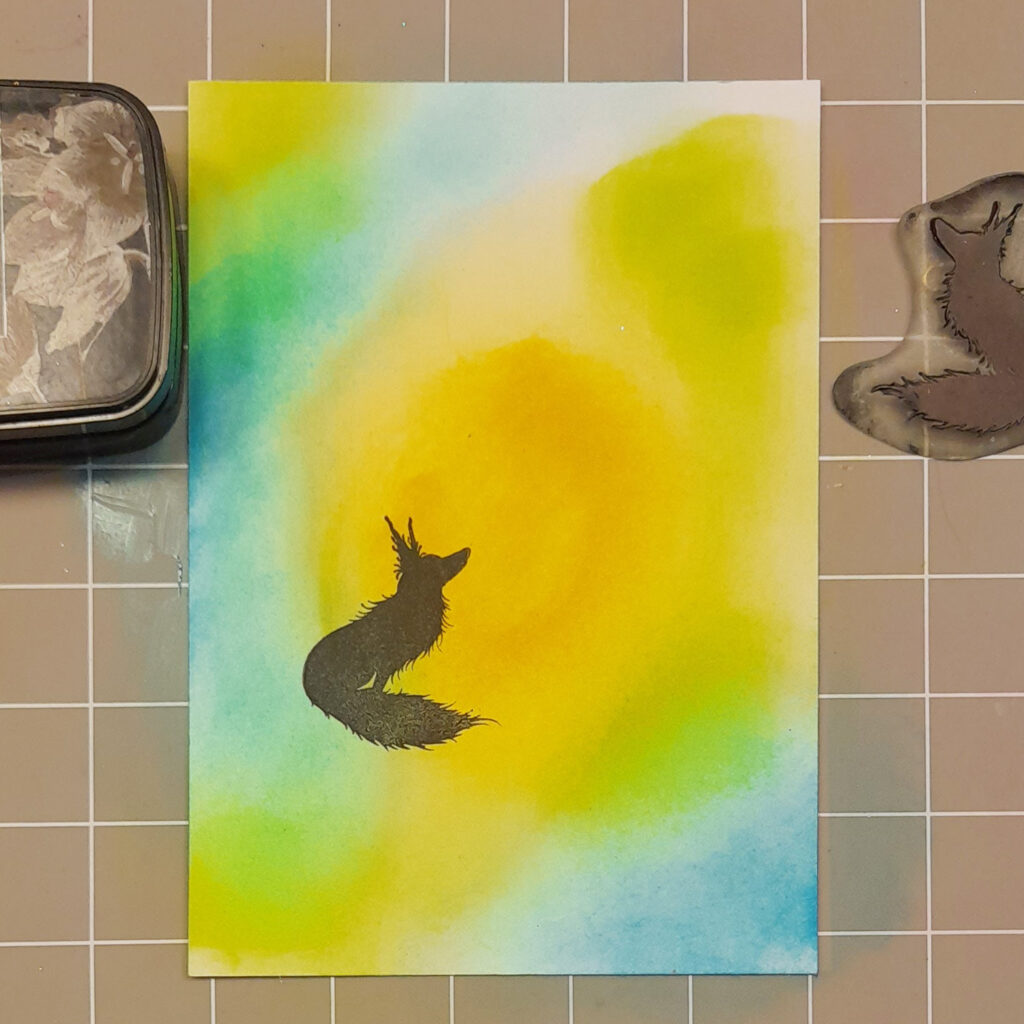
In the lower part of the yellow centre of the card stamp the seated fox that is looking up from Fox Set 1. Stamp it in Versafine Clair Nocturne. See the photo for placement.
Picture 5
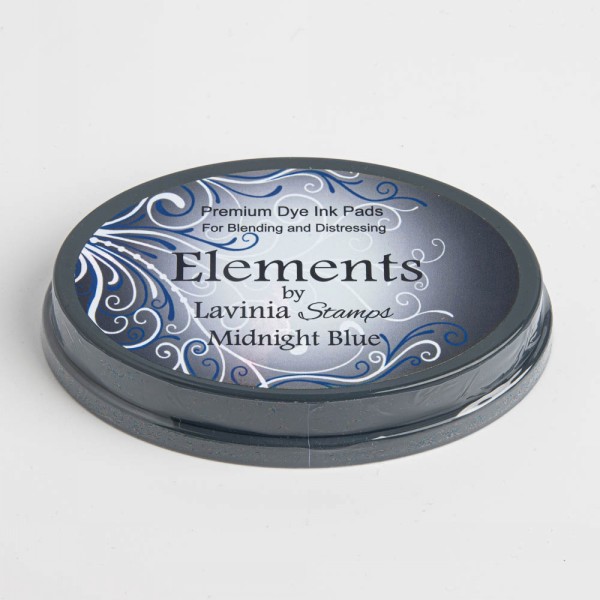
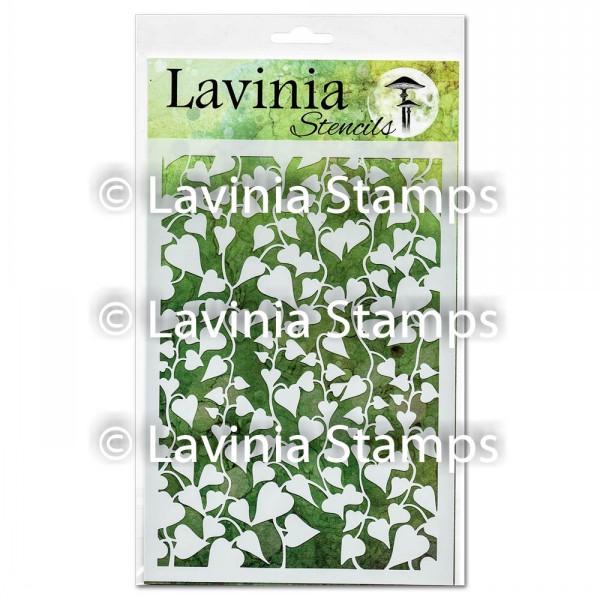
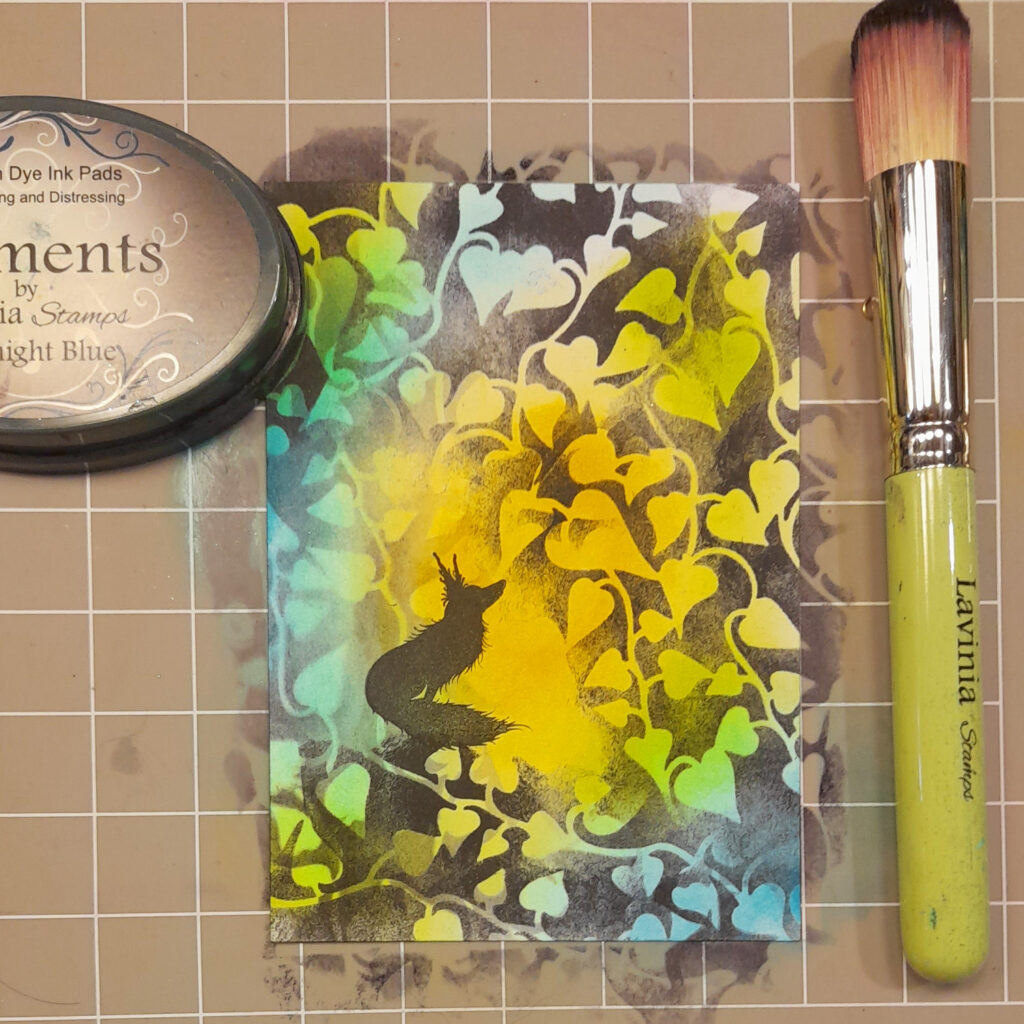
Next using a Stencil Brush series 9 apply some Elements inks Midnight Blue through the Ivy stencil. Place the stencil so it frames the fox, making it darkest around the edges. Leave the fox in a yellow centre. See photo for placement.
Picture 6
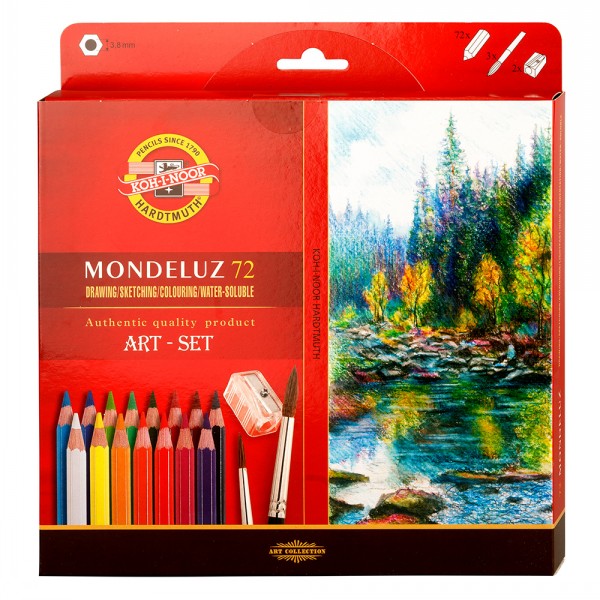
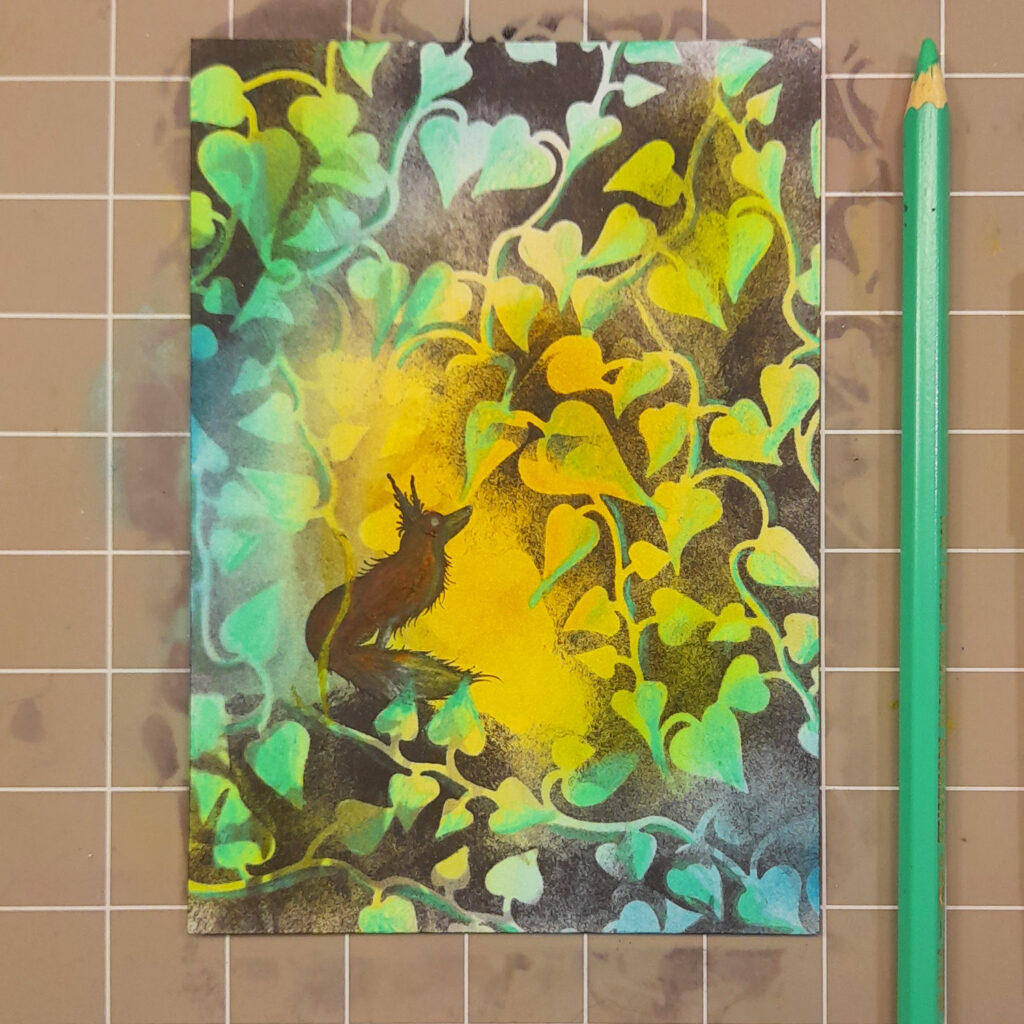
Now using a Mondeluz Watercolour pencil in pale green colour on top of the stencilled leaves. If you colour the half of each leaf that is furthest away from the yellow centre this puts that part of leaf in shadow. It also adds to the impression that the yellow is a bright light. Using a white watercolour pencil colour in the end of the tail. Now using a yellow Posca Pen draw a vine over the foxes back linking the stencilled leaves. See the photo for placement.
Picture 7
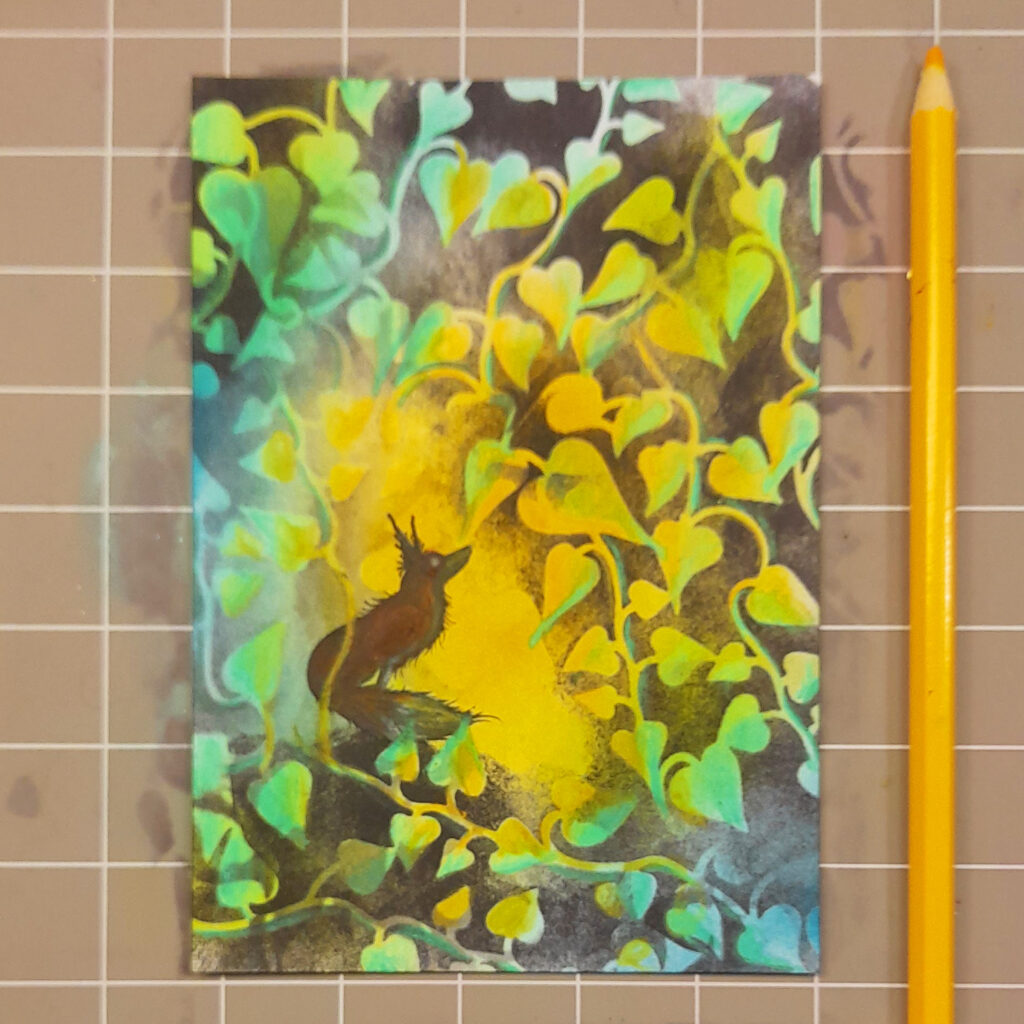
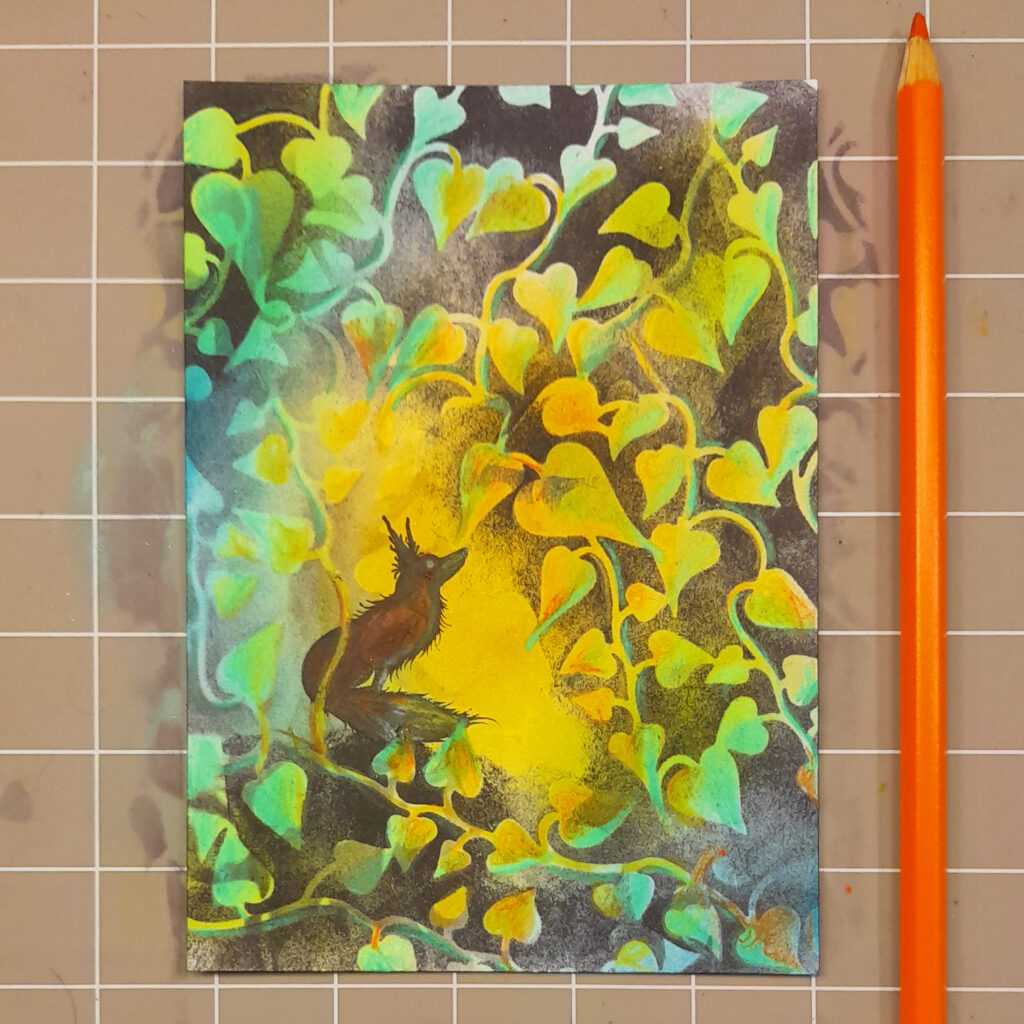
Now using a Mondeluz Watercolour pencil in yellow colour the other side of the stencilled Ivy leaves in yellow. This is the side that is closest to the light. See photo for further details.
Picture 8
Now blend into the yellow part of the leaves a little of a Mondeluz Watercolour pencil in orange. This helps to bring the focus back to the centre of the card. Also add some orange to the body of the fox. As you are colouring on black it will add a touch of orange to the fox. Using a white pencil lightly shade the face of the and the end half of the tail.
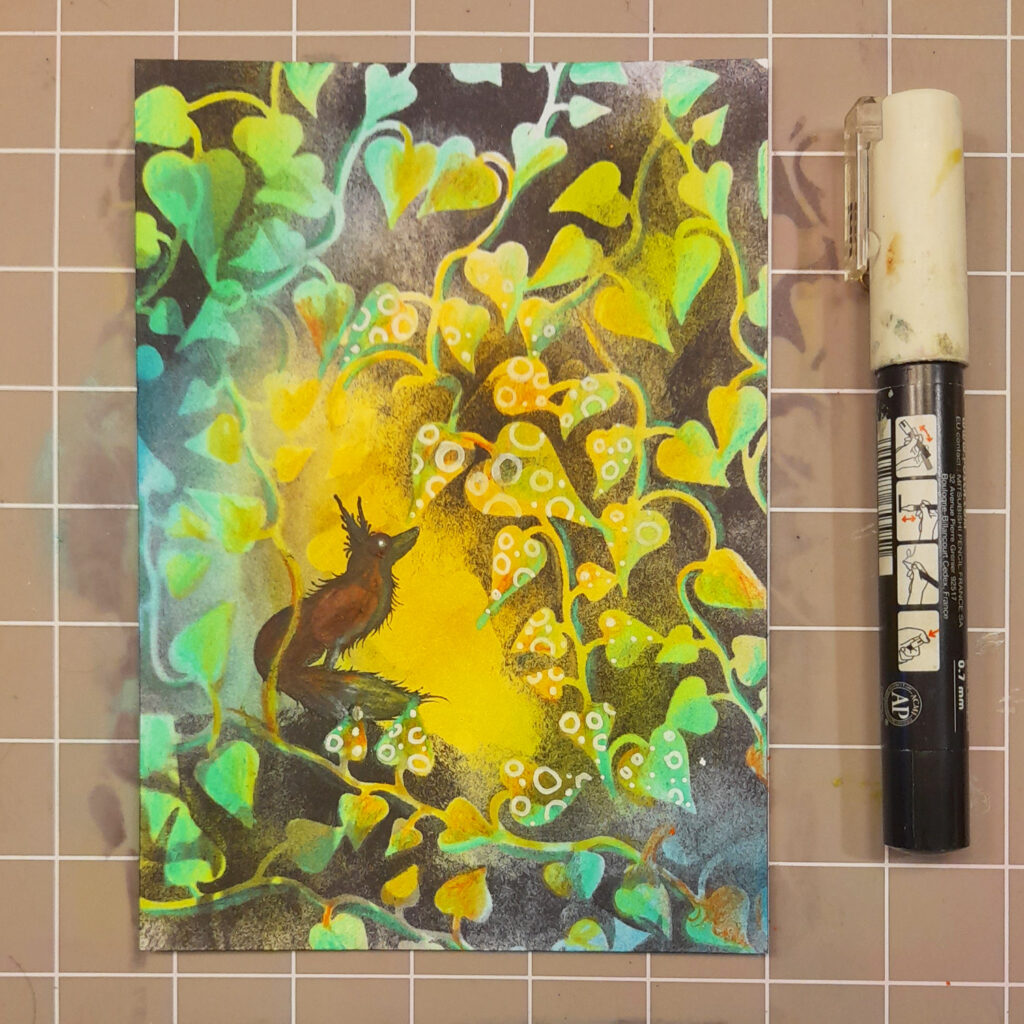
Picture 9
Using a white Posca Pen add some open circles and dots to the leaves that the fox would be looking at.
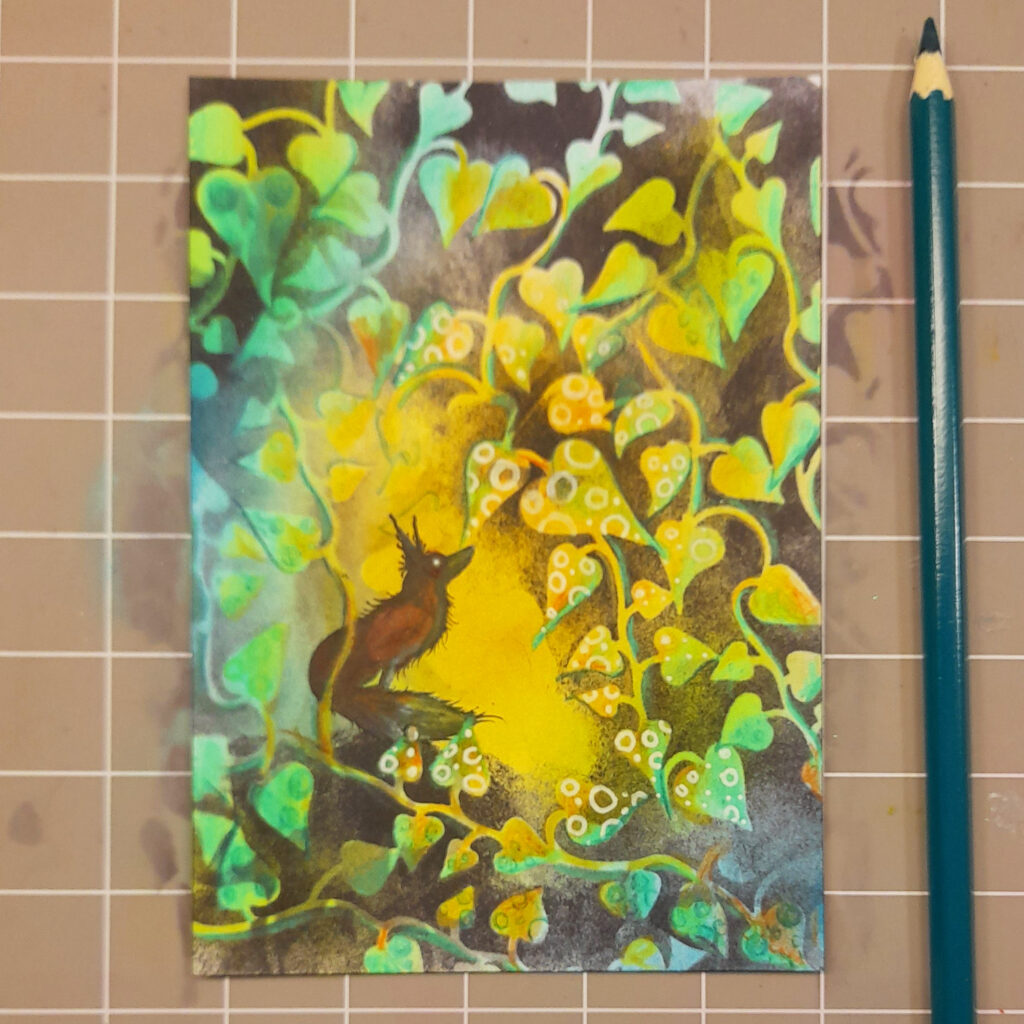
Picture 10
Using a Mondeluz Watercolour pencil in dark blue green, outline the leaves but only on the darker side of the leaf. Also draw along the darker side of the vines- the side furthest away from the yellow centre.
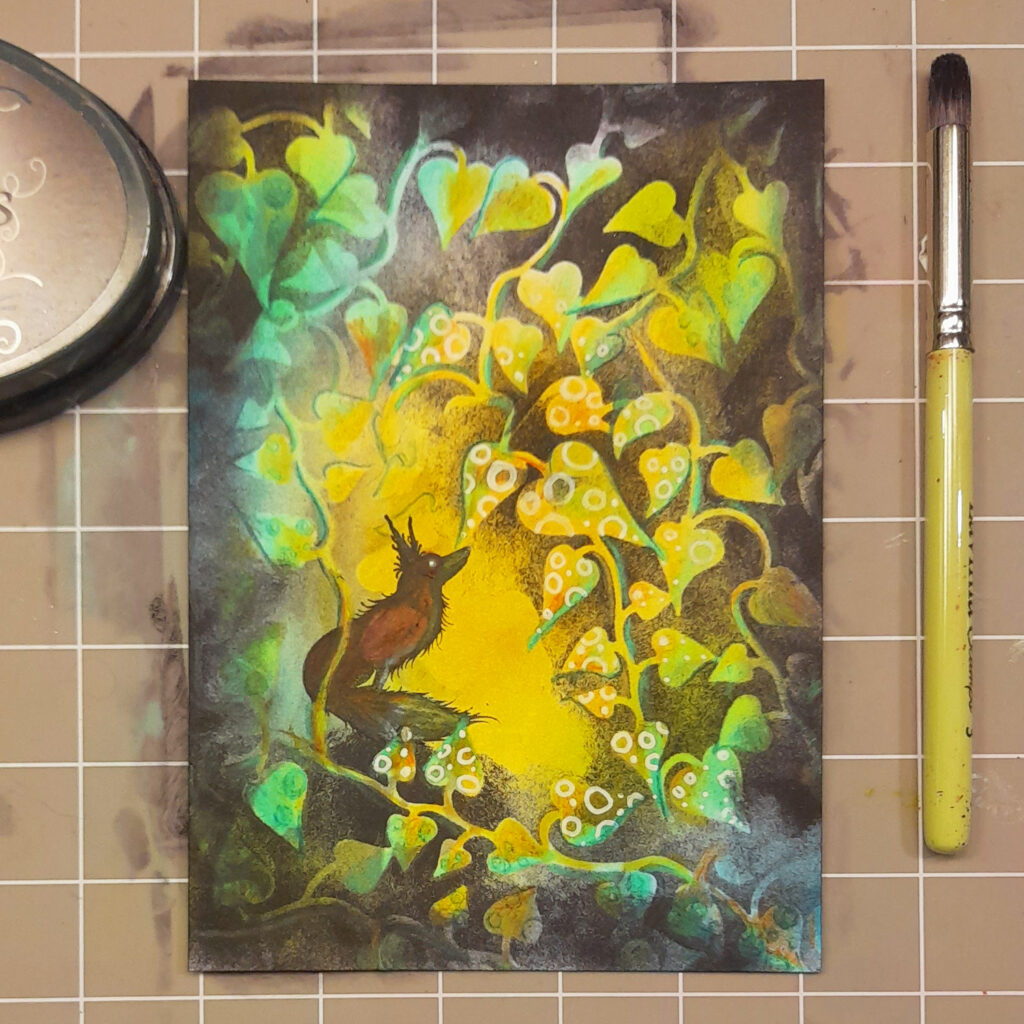
Picture 11
Using a Stencil Brush series 3 and some Elements ink Midnight Blue create a frame by blending along the outside edges.
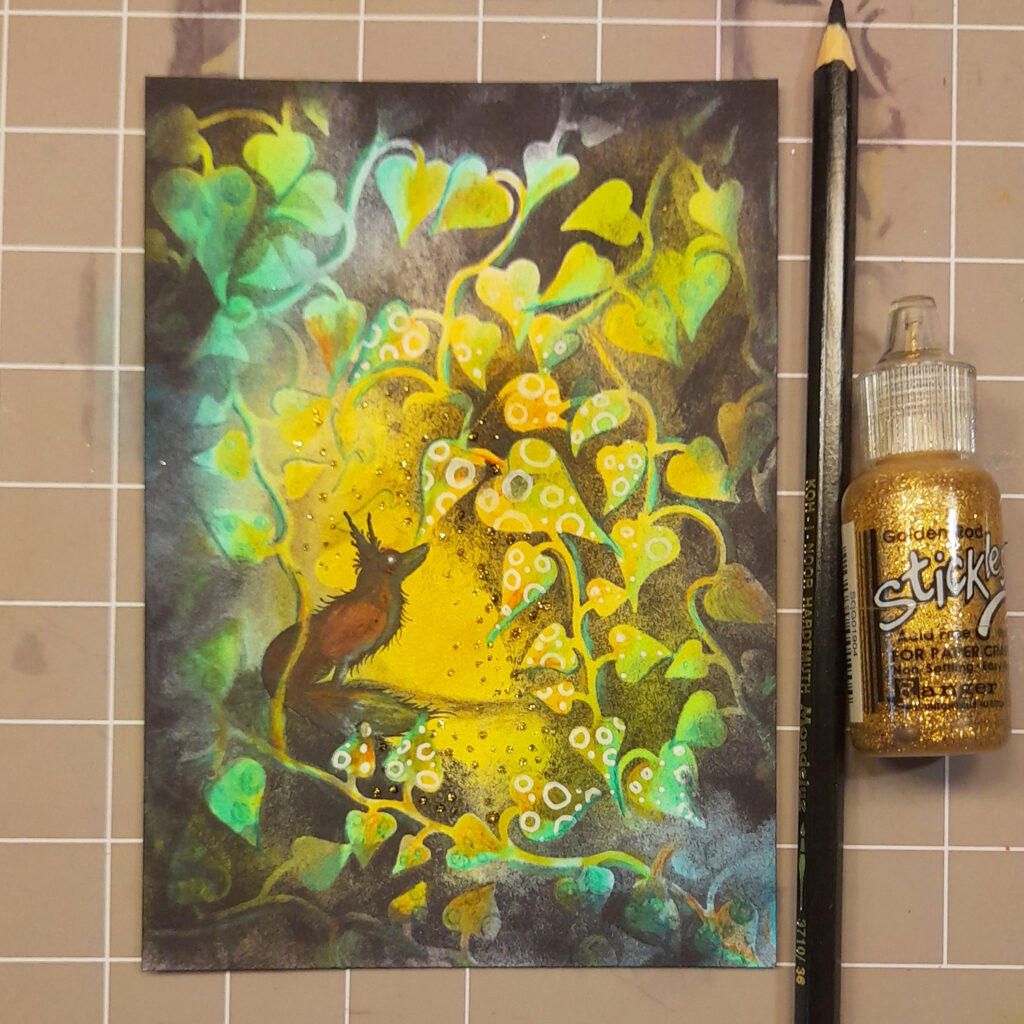
Picture 12
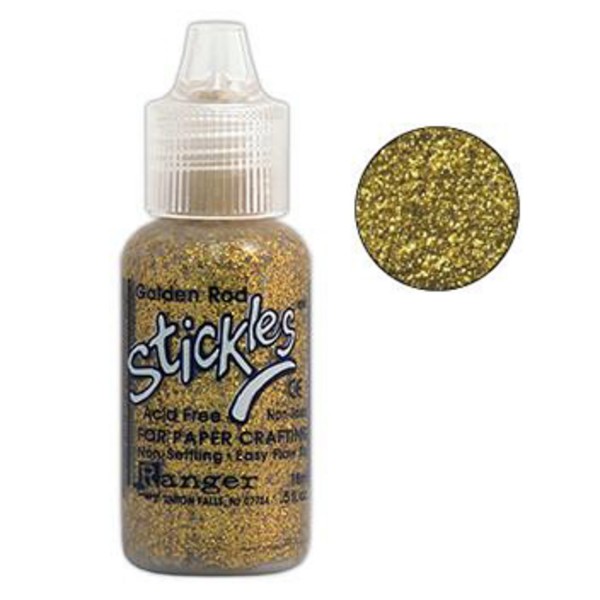
Now with a black Mondeluz Watercolour pencil add some shadow around the fox to give them something to sit on. In the Yellow centre add some small dots of Golden Rod Stickles.
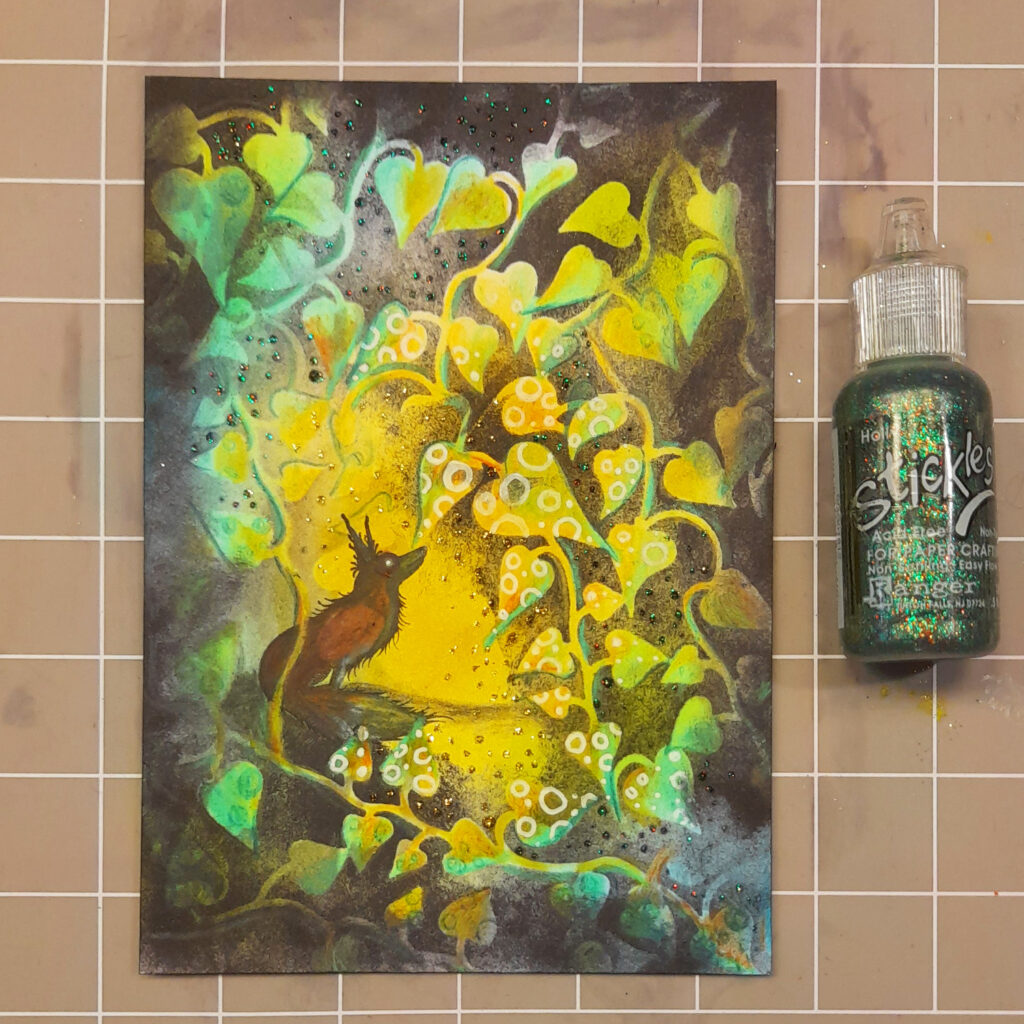
Picture 13
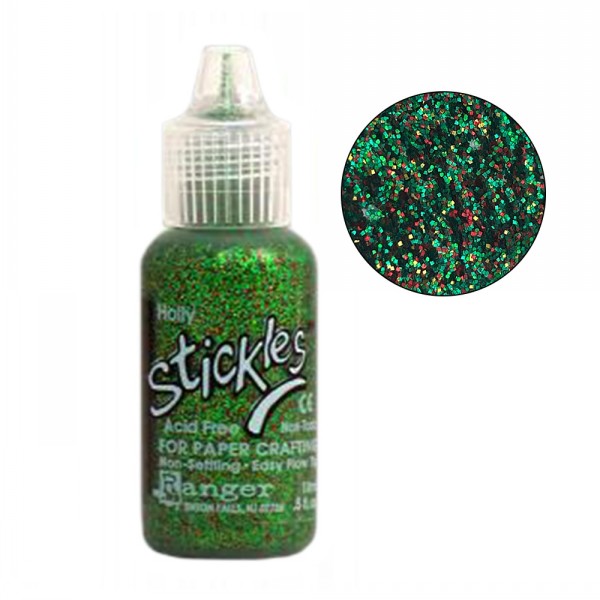
In the darker areas of the ivy add some dots of Stickles Holly.
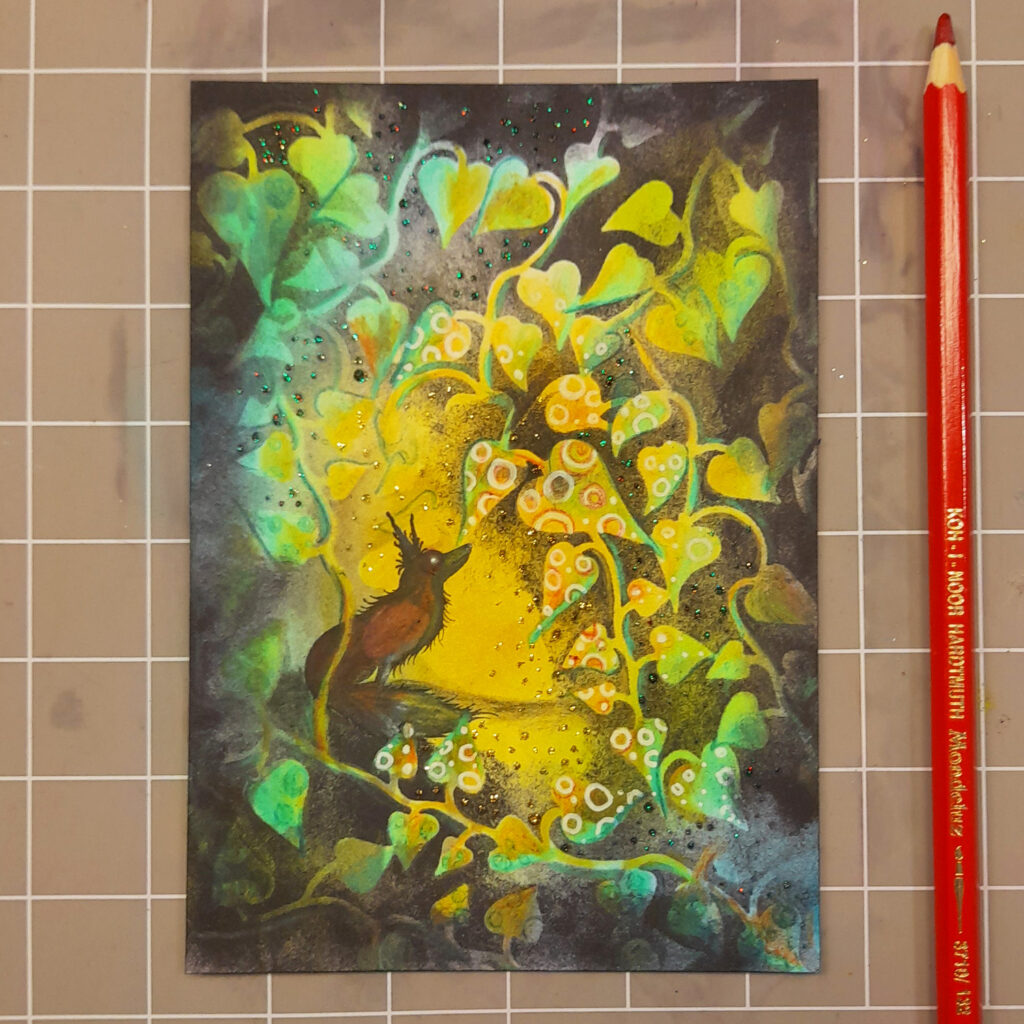
Picture 14
With a red Mondeluz Watercolour pencil add some circles and dots within the leaves closest to the fox.
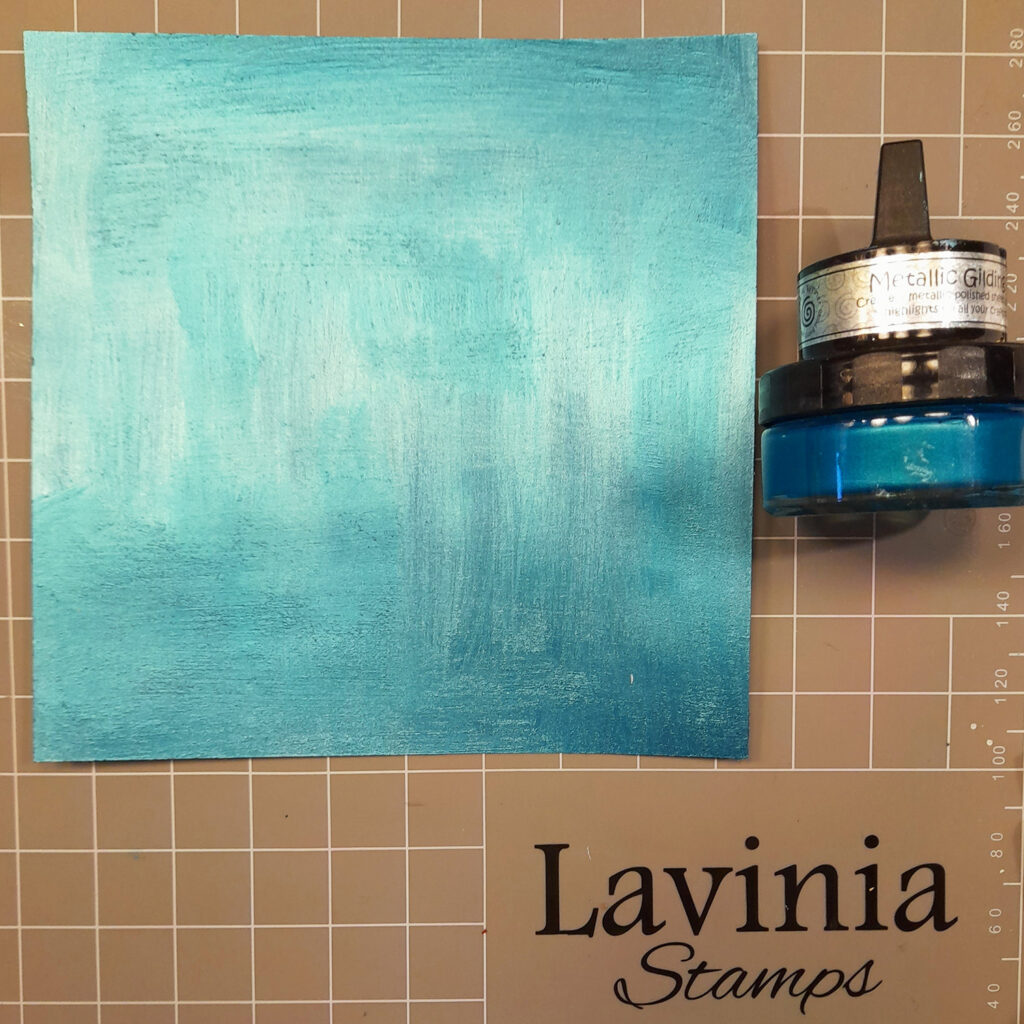
Picture 15
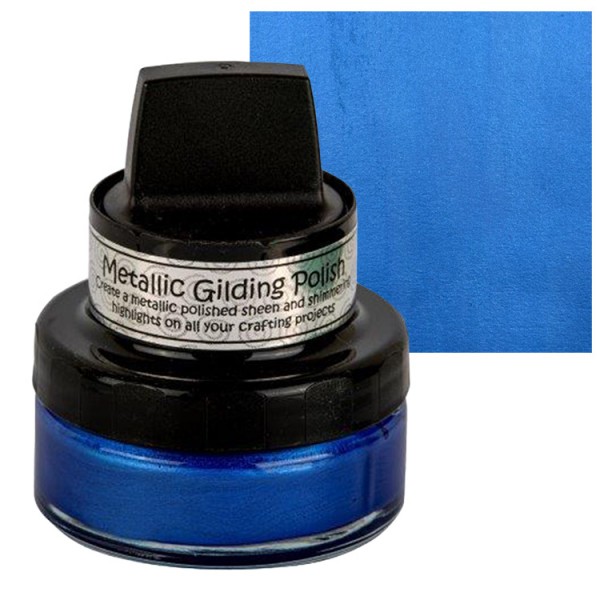
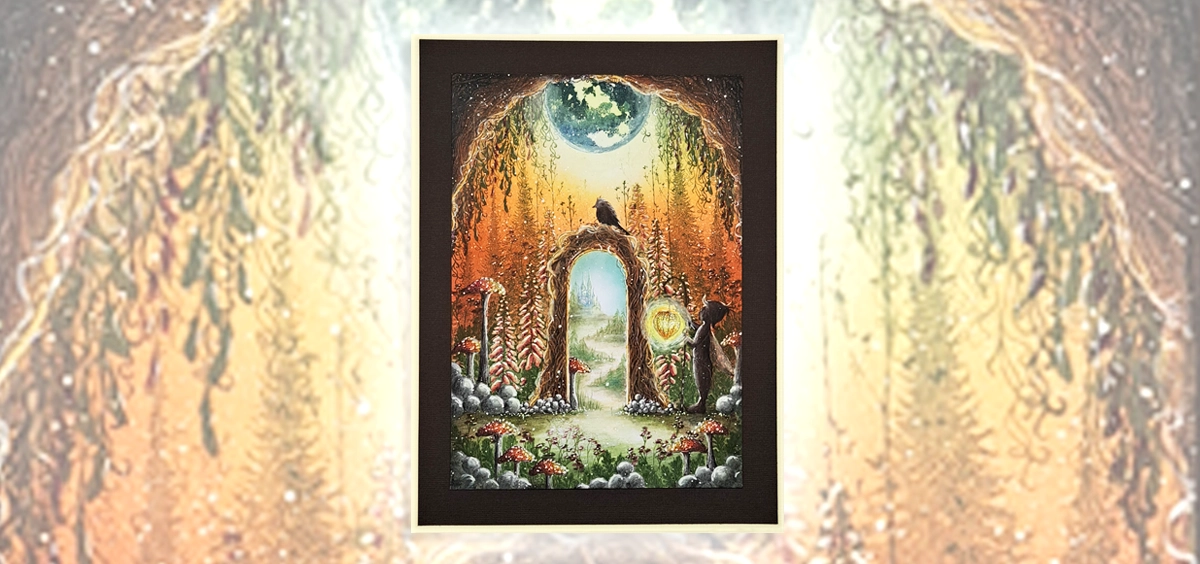
To mount apply some Ocean Teal Cosmic Shimmer Gilding Polish over some 7×7 Multifarious Card and cut to give a small border around the design. Fix to your design to the border using Bippity Boppity Glue. Add to a white card for a crisp finish.
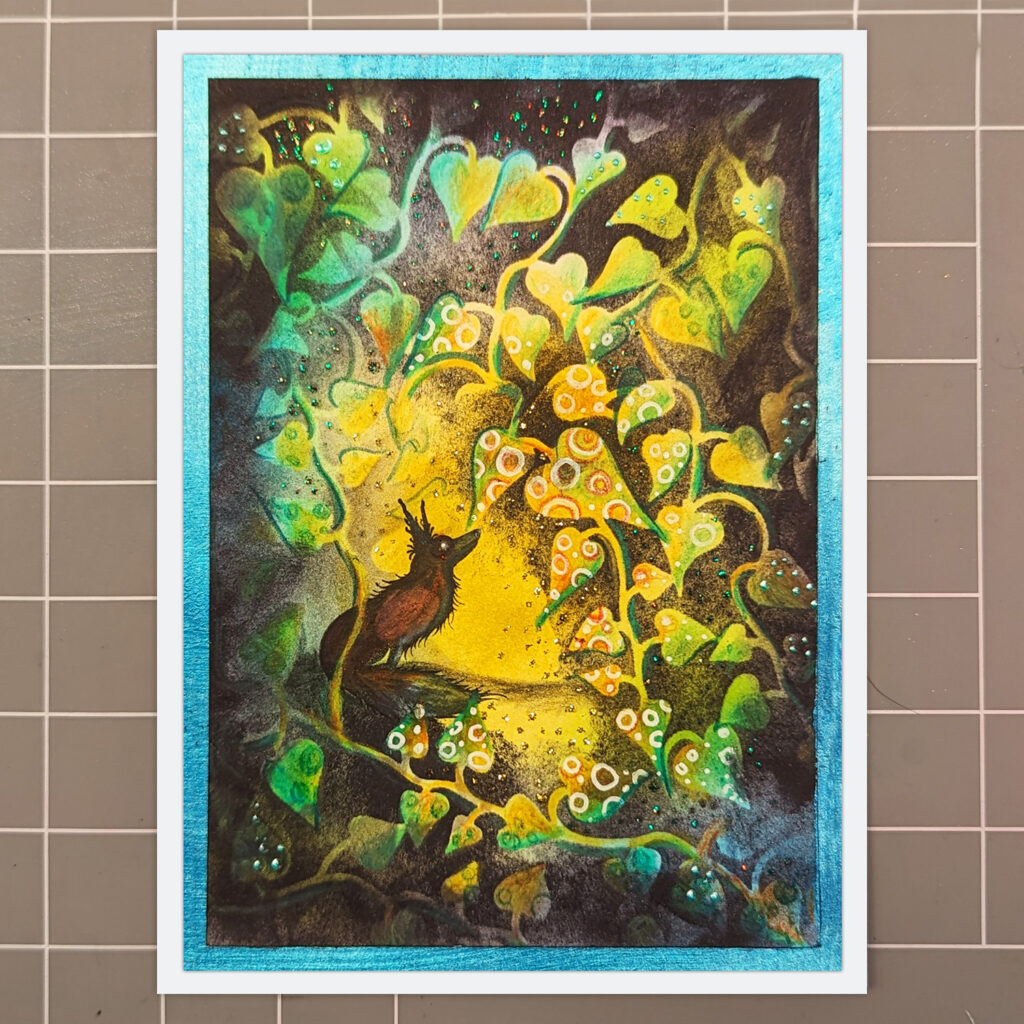
Picture 16
The card is now finished. I hope you enjoyed the tutorial. Thank you for watching.
Have fun! Emma-Jo.🧚♂️💙👓X


