Step by Step
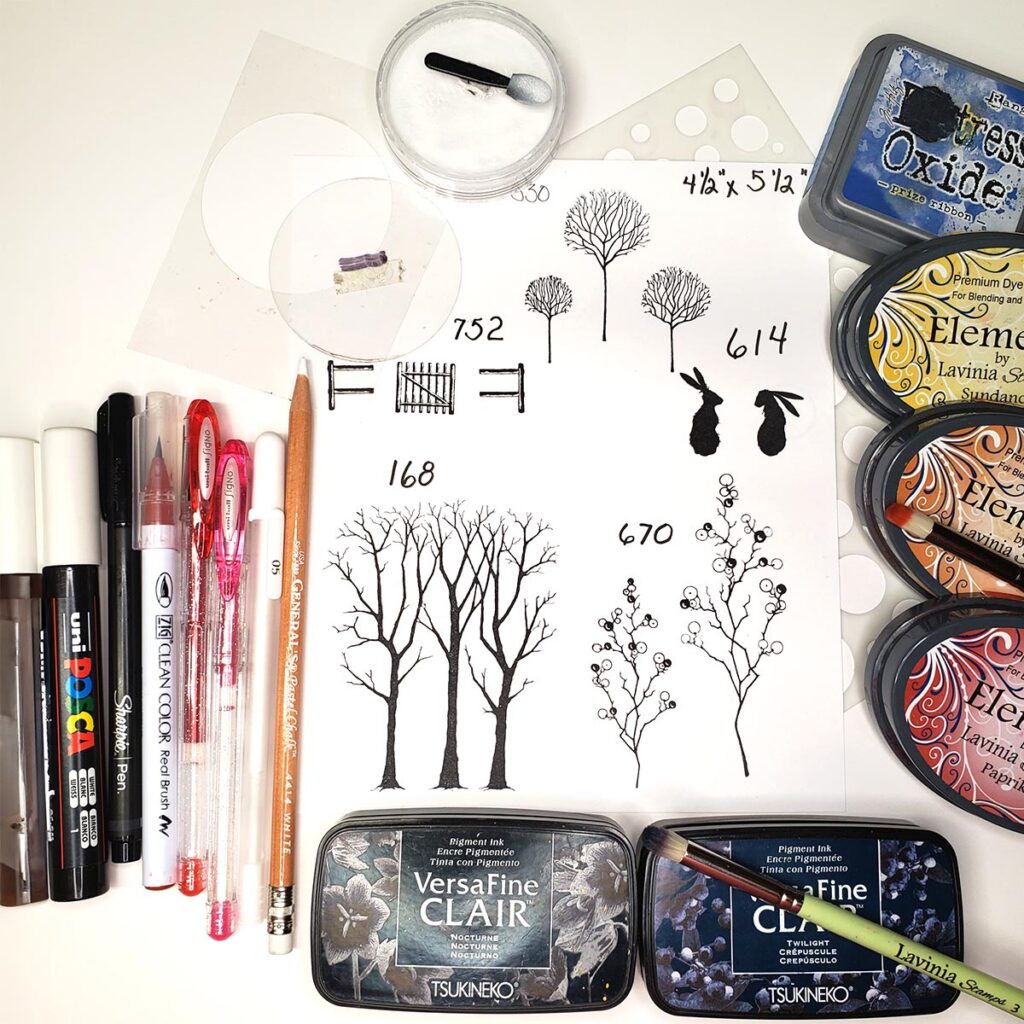
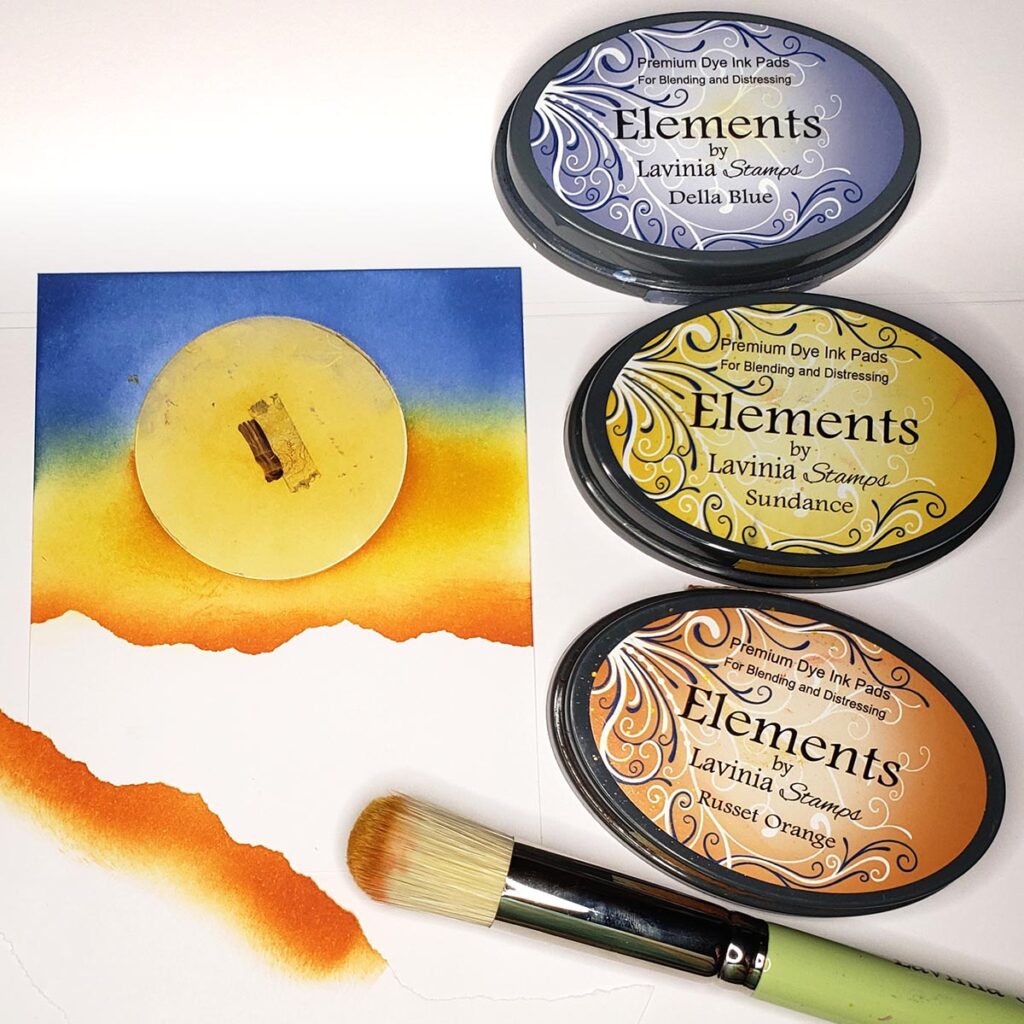
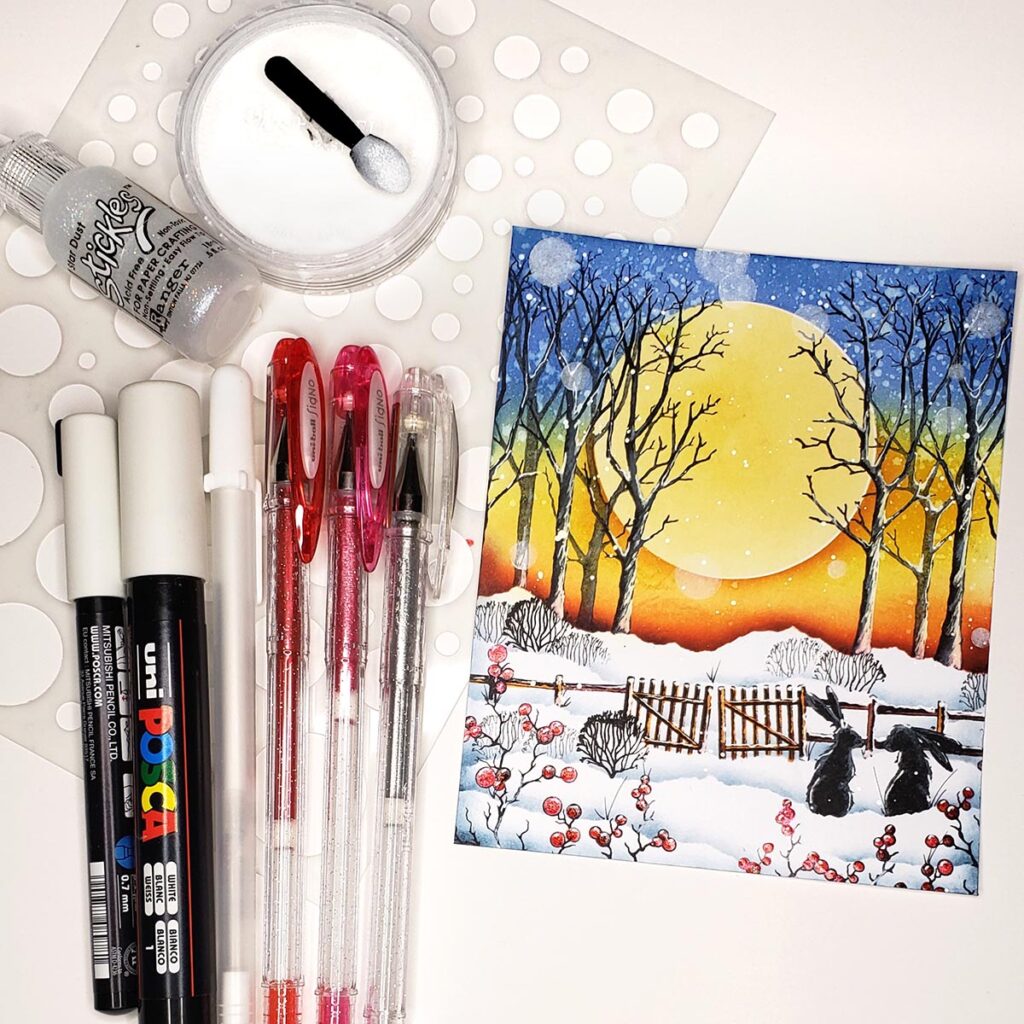
I hope you enjoyed following my step by step.
Thank you for watching.
Bye for now. Judy!
By visiting our site, you agree to our privacy policy regarding cookies, tracking statistics, etc.


I hope you enjoyed following my step by step.
Thank you for watching.
Bye for now. Judy!
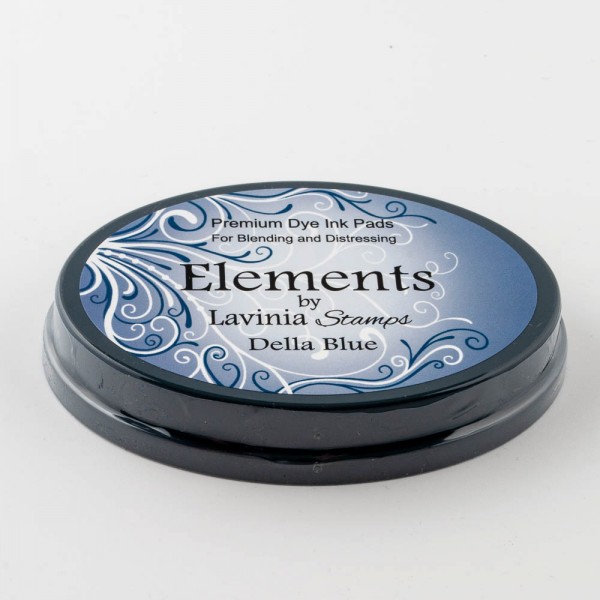 Elements Premium Dye Ink – Della Blue
£5.85
Add to cart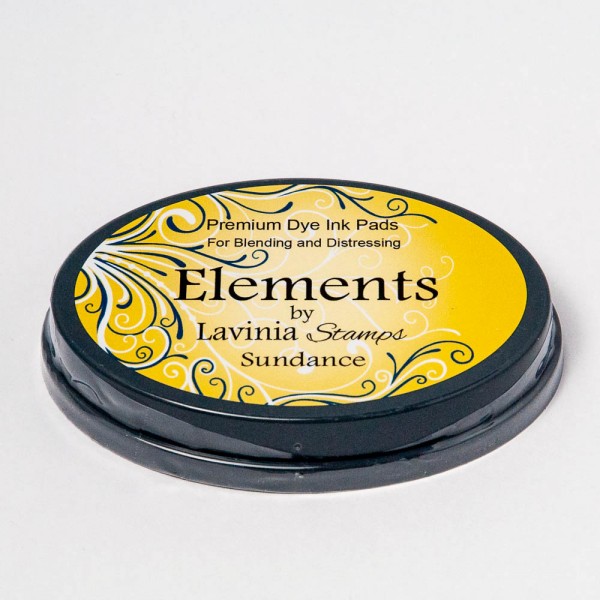 Elements Premium Dye Ink – Sundance
£5.85
Add to cart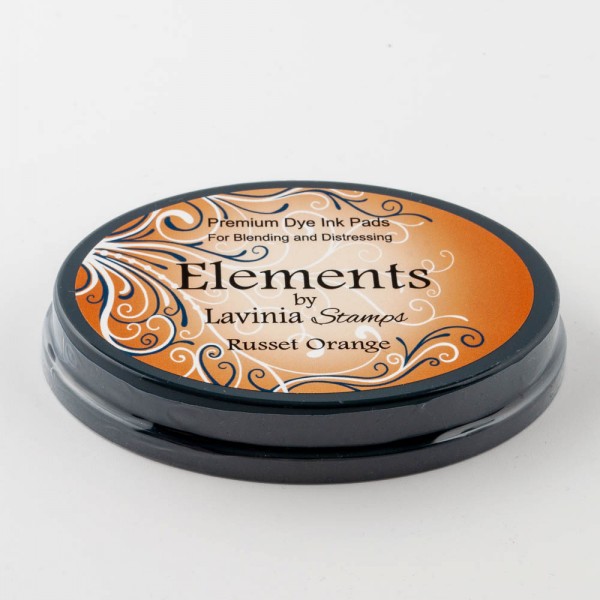 Elements Premium Dye Ink – Russet Orange
£5.85
Add to cart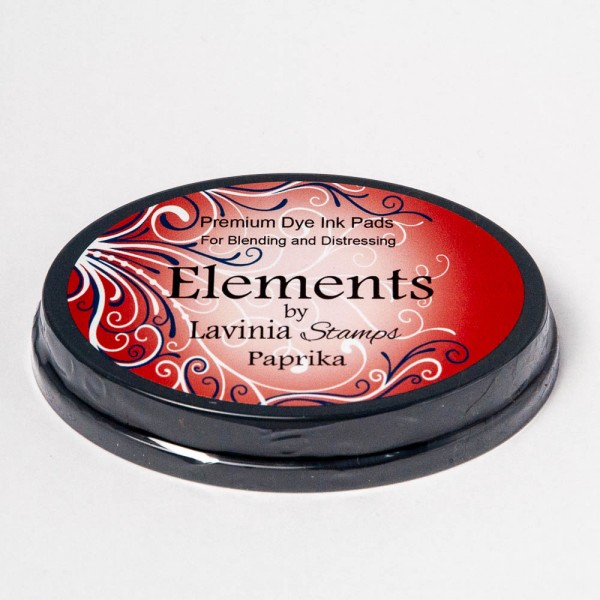 Elements Premium Dye Ink – Paprika
£5.85
Add to cart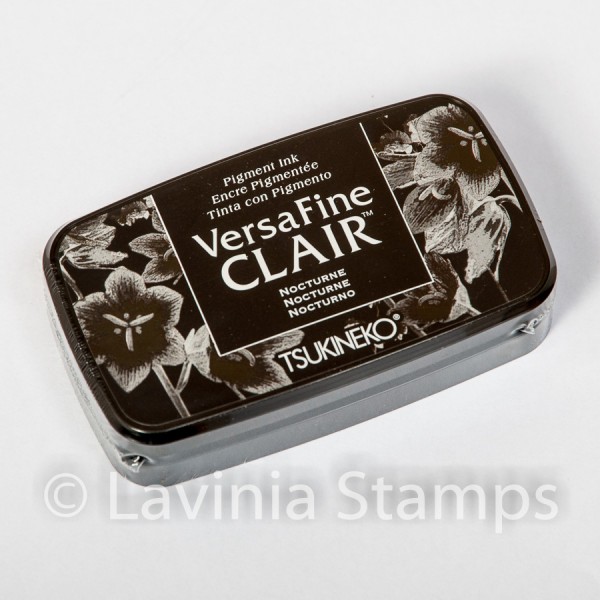 Versafine Clair Ink Pad – Nocturne
£5.80
Add to cart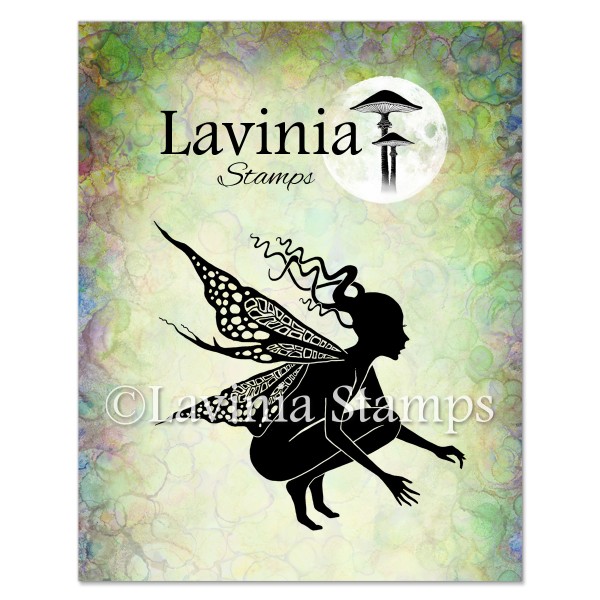 Twilight Stamp
£7.80
Add to cart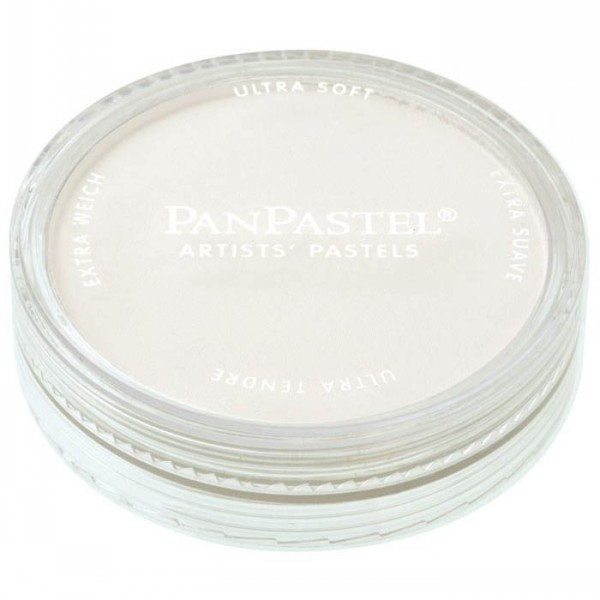 PanPastels – Titanium White
£9.30
Add to cart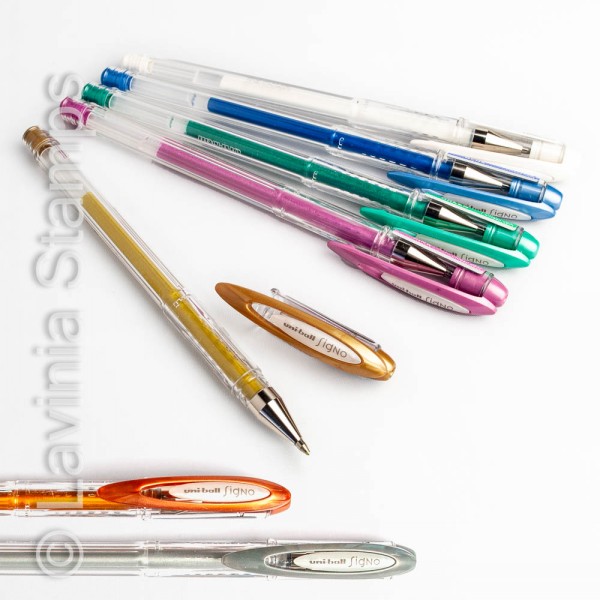 Uni-Ball Gel Pens
£1.90
Select options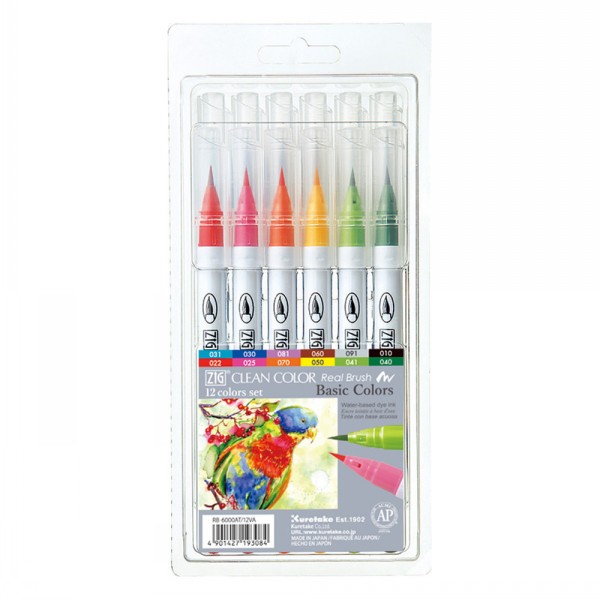 Kuretake Clean Colour Real Brush Pens Set of 12
£27.25
Add to cart Posca Fine Tip Pens Summer Collection
£3.15
Select options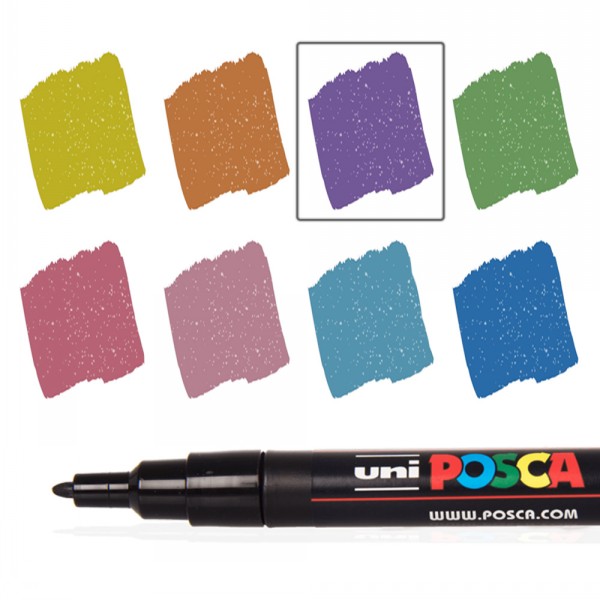 Posca Fine Tip Pens Sparkling Collection
£3.15
Select options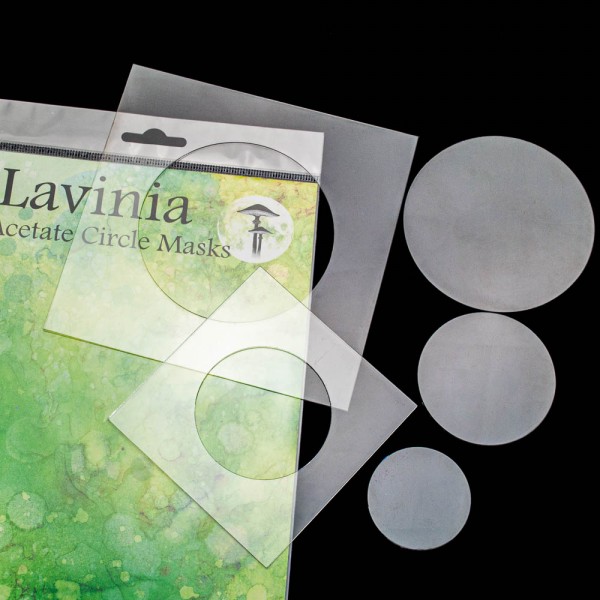 Acetate Circle Masks
£4.35
Read more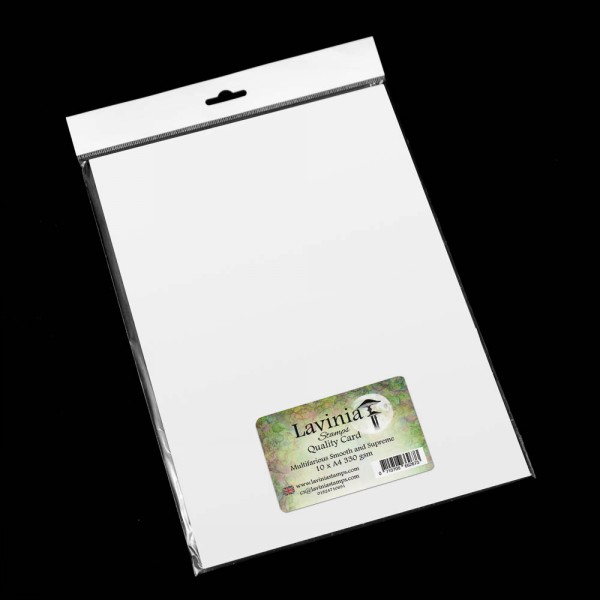 Multifarious Card – A4 White 10 Sheets
£5.80
Add to cart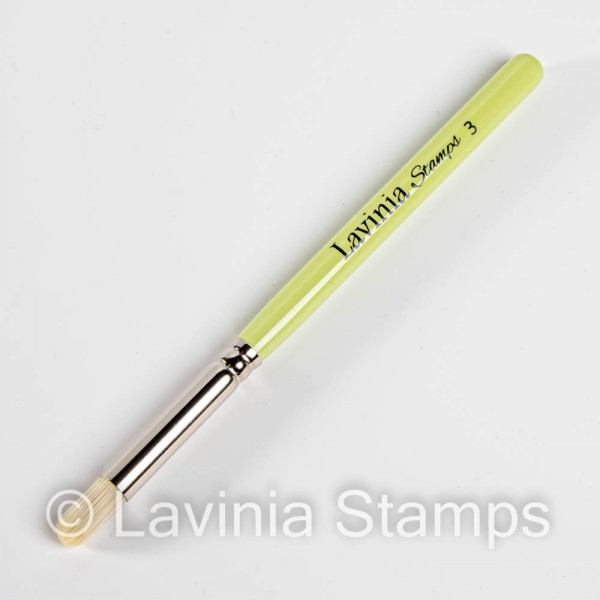 Lavinia Stencil Brush (Series 3)
£3.50
Add to cart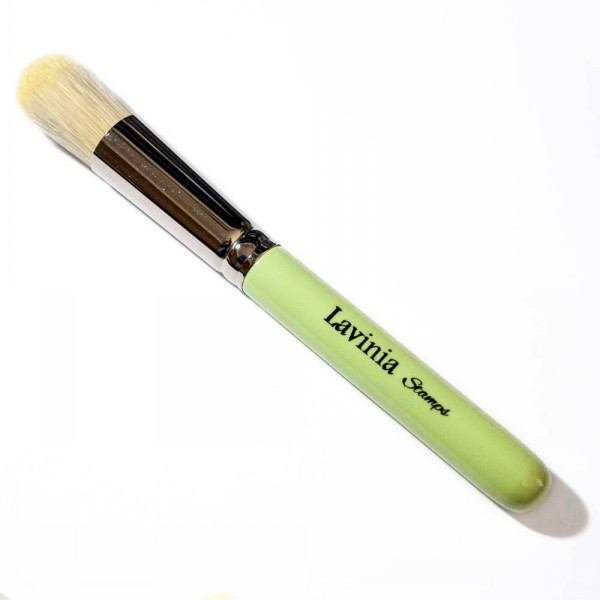 Lavinia Stencil Brush (Series 9)
£5.25
Add to cart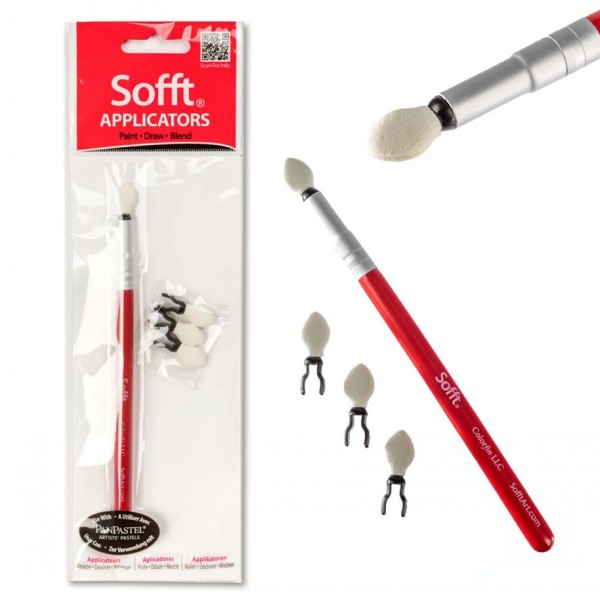 Sofft Applicator with Replaceable Heads
£11.15
Add to cart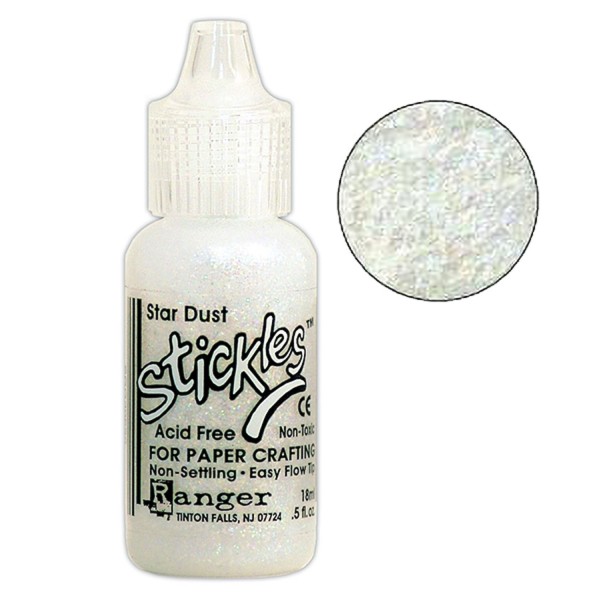 Stickles Glitter Star Dust
£2.99
Add to cart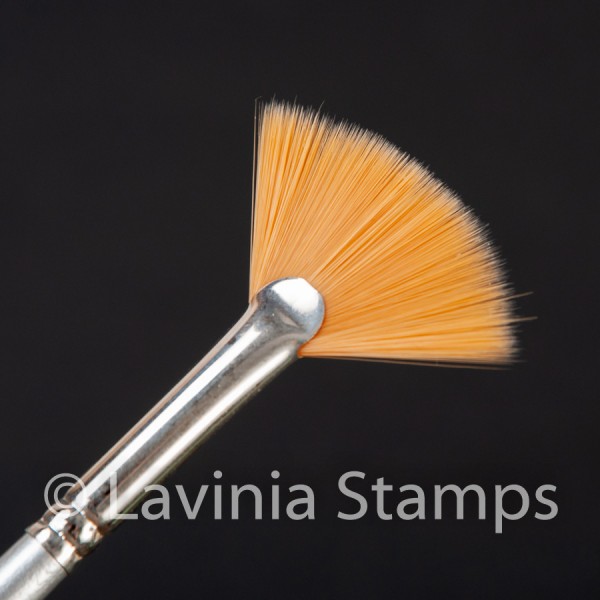 Synthetic Fan Brush
£3.80
Add to cart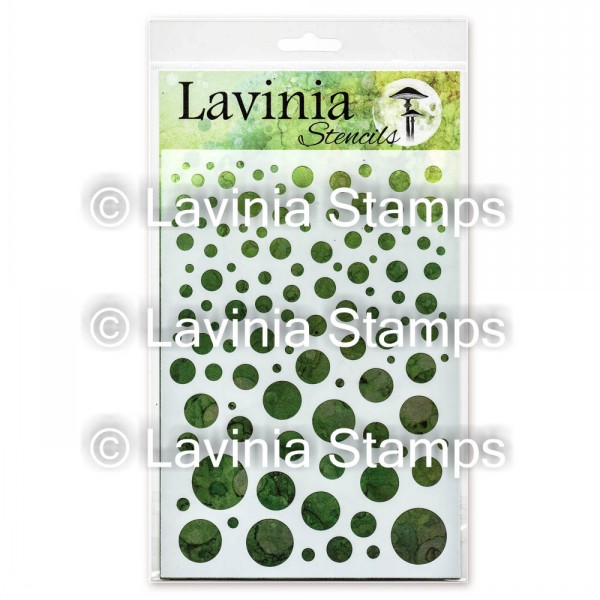 White Orbs – Lavinia Stencils
£4.80
Add to cartExplore
Take a look at some more of our step by step tutorials.
Your Account
Information
Shop Opening Times
Our new shop premises at 26 Well Street, Ruthin, LL15 1AW, will open at 9am on 4th April. You can continue to place online orders as usual.
Regular hours:
Monday – Friday 9.00am – 5.00pm
Saturday 10.00am – 4.00pm.
Click here for more details

The intellectual capital underpinning the Lavinia Stamps Limited brand cannot be underestimated. Our people, creative skill, and expertise together with our intellectual property are fundamental to our corporate social responsibility. Ethics, compliance, and respect for intellectual property lie at the heart of our ethos. All intellectual property rights in our products and designs (and on this website) are, and will remain, the property of Lavinia Stamps Limited. Any infringements will be treated seriously.
Lavinia Stamps is a Registered Trademark
General Product Safety Regulation (GPSR) Compliance
EU Authorised Contact: Euify OSS B.V.
T.A.V. Lavinia Stamps Limited
Prinses Margrietplantsoen 33, 2595 AM
Den Haag, The Netherlands
Email: GPSR@euify.eu
EPoS by Easitill | Web Design by Blue Door Design